manuals.online logo
Brands
  1. Home
  2. •
  3. Brands
  4. •
  5. SSV Works
  6. •
  7. Automobile Accessories
  8. •
  9. SSV Works JJL-DS10 User manual

SSV Works JJL-DS10 User manual

Other SSV Works Automobile Accessories manuals
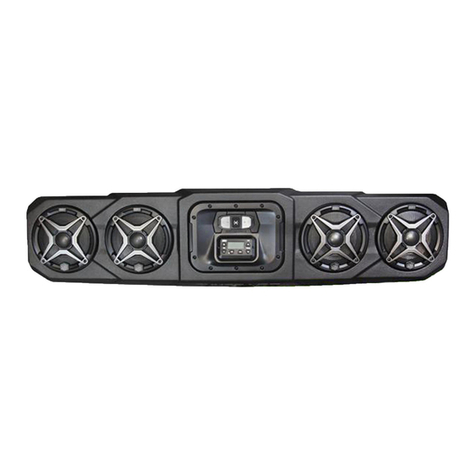
SSV Works WP3-RG34O4 User manual

SSV Works

SSV Works WP3-RG34O4 User manual
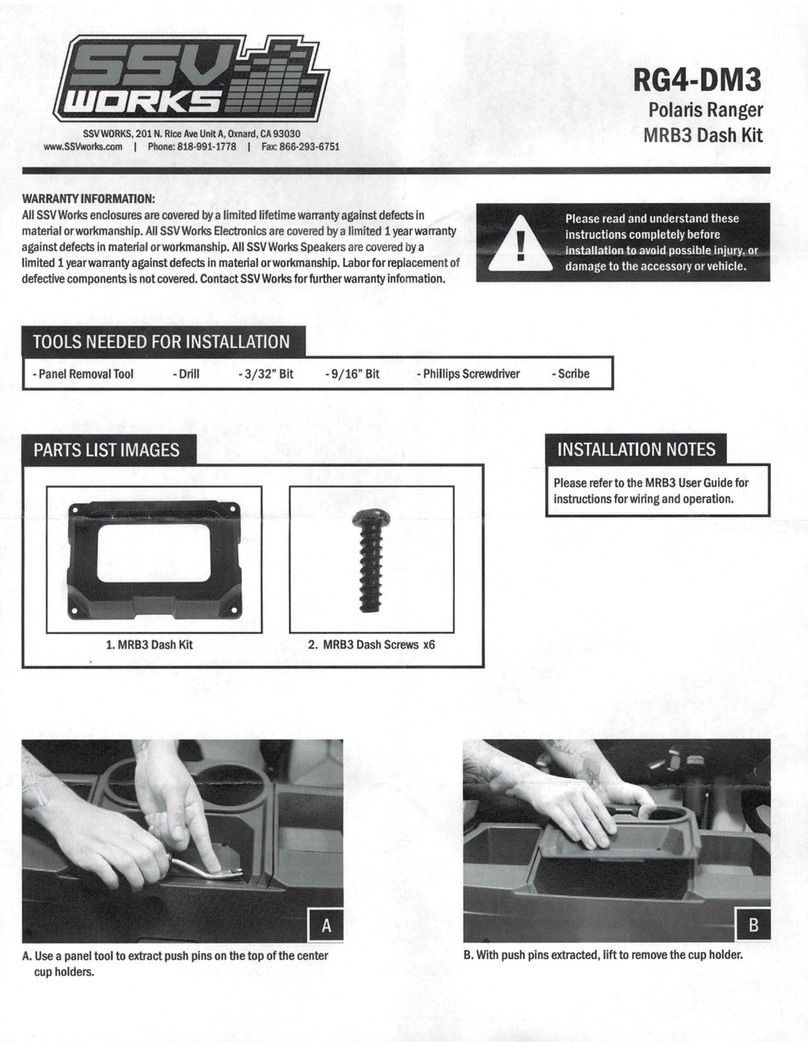
SSV Works RG4-DM3 User manual

SSV Works

SSV Works RG4-DM3 User manual
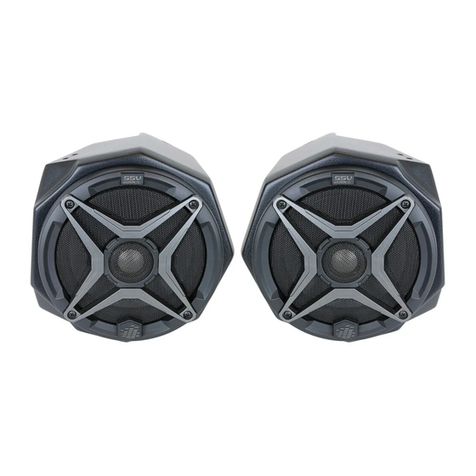
SSV Works MT-2A User manual

SSV Works

SSV Works MT-2A User manual
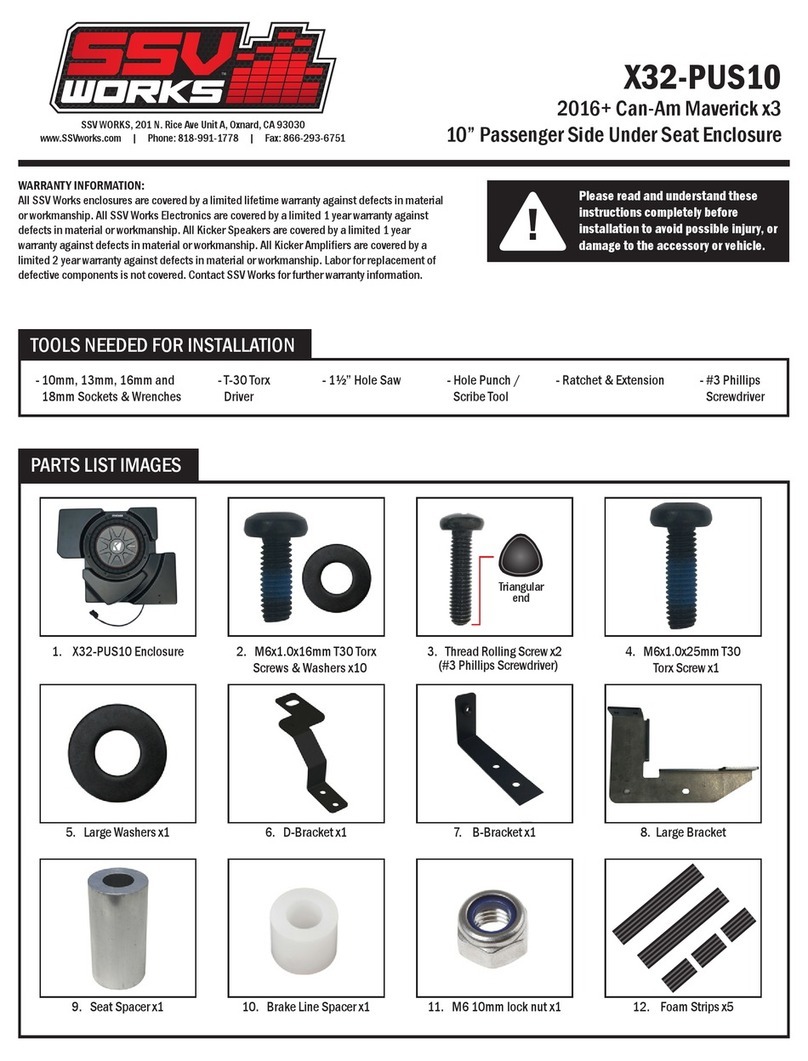
SSV Works X32-PUS10 User manual

SSV Works

SSV Works X32-PUS10 User manual

SSV Works TXF-OSP65 User manual

SSV Works

SSV Works TXF-OSP65 User manual
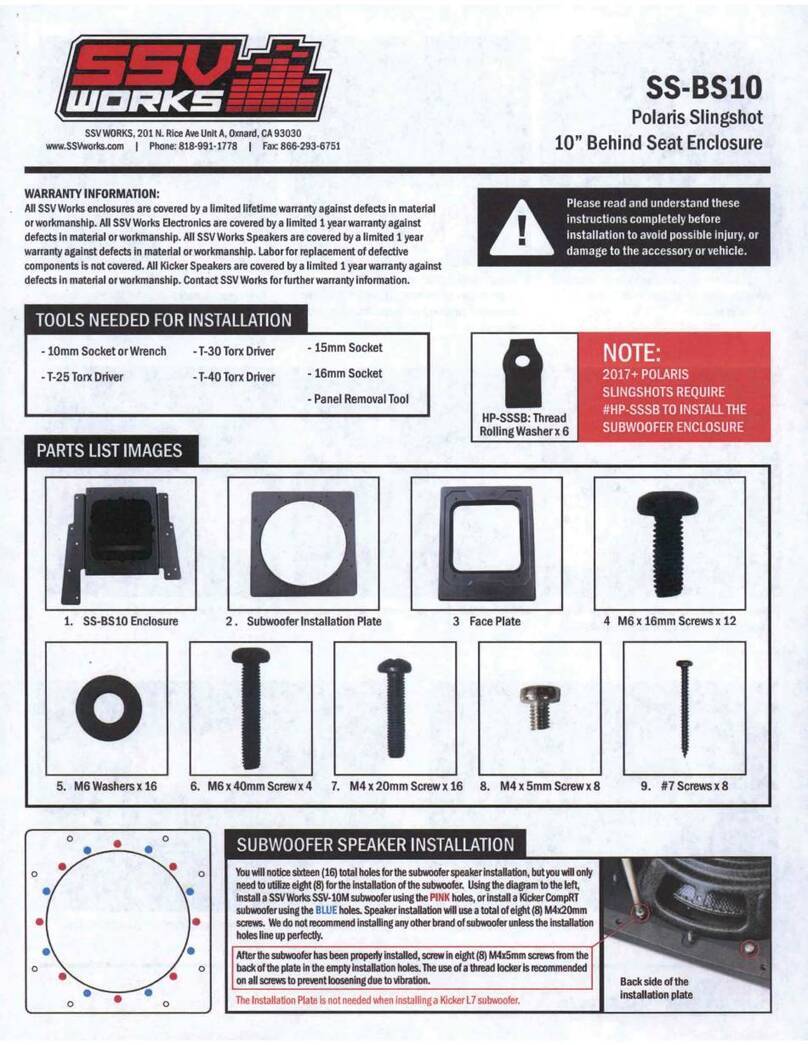
SSV Works SS-BS10 User manual

SSV Works

SSV Works SS-BS10 User manual

SSV Works WC-FKP65 User manual

SSV Works

SSV Works WC-FKP65 User manual
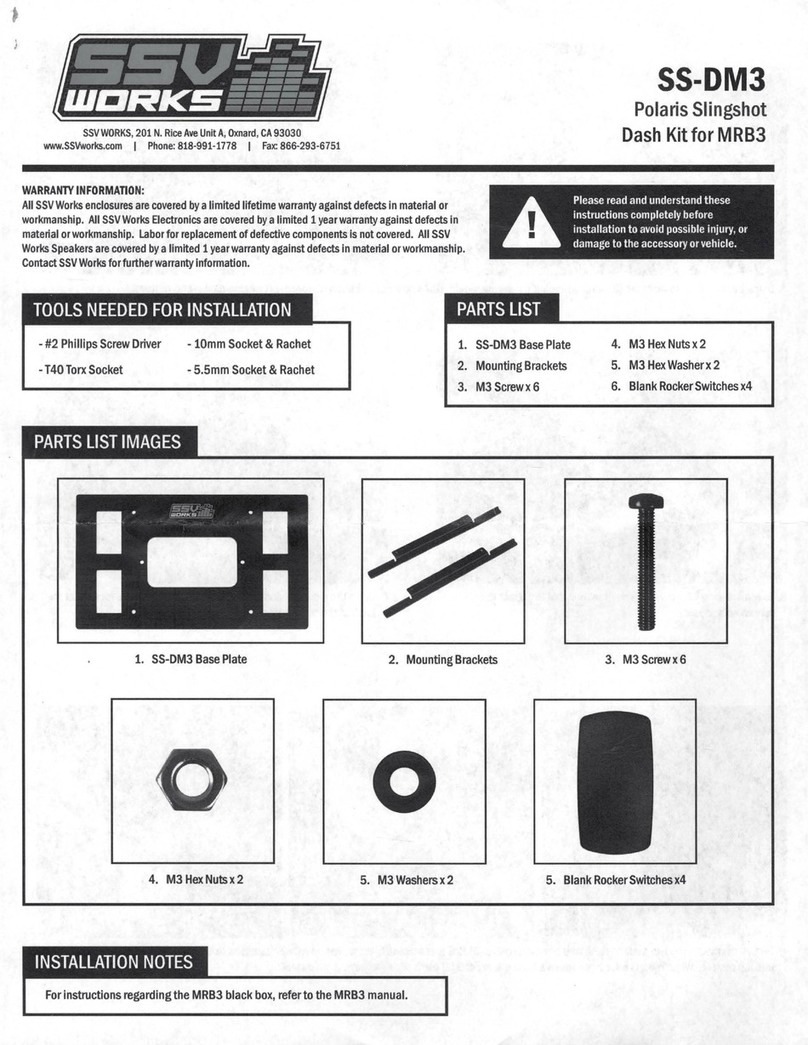
SSV Works SS-DM3 User manual

SSV Works

SSV Works SS-DM3 User manual
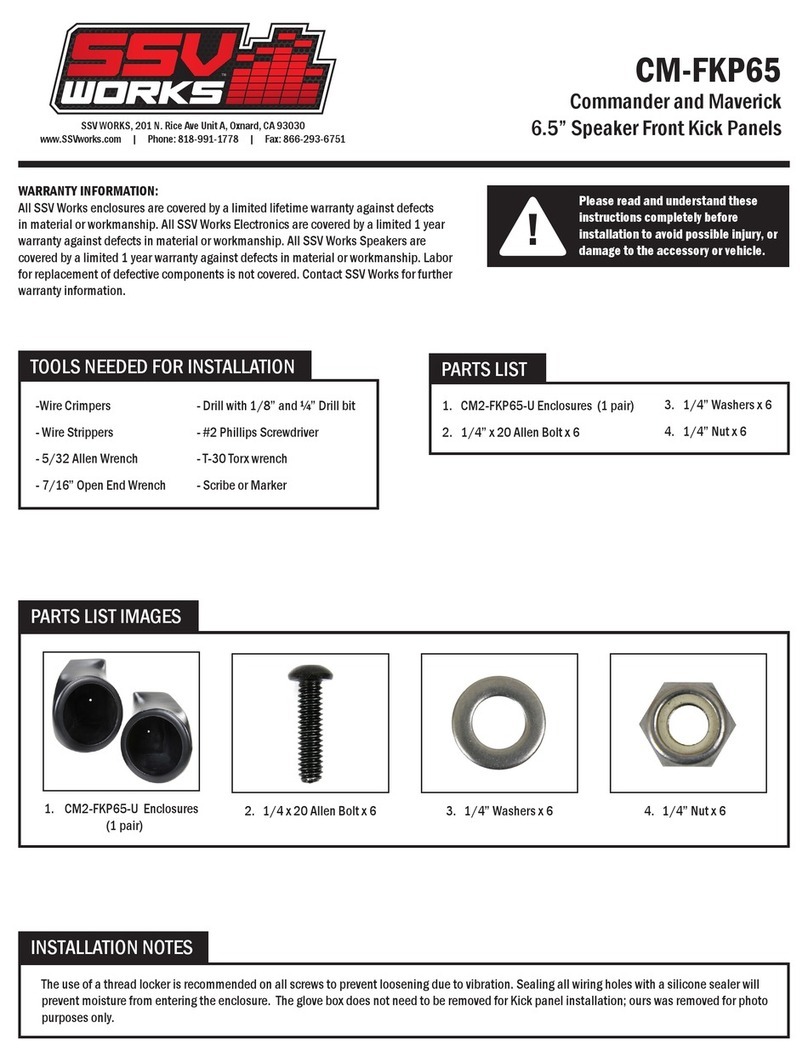
SSV Works CM-FKP65 User manual

SSV Works

SSV Works CM-FKP65 User manual
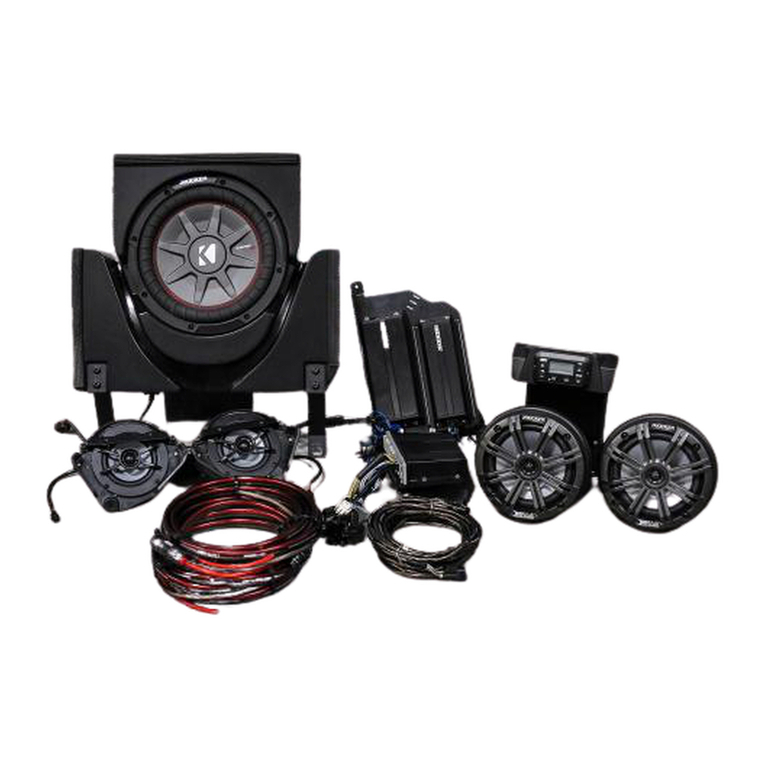
SSV Works PHASE 5 X3-5K User manual

SSV Works

SSV Works PHASE 5 X3-5K User manual

SSV Works CM2-UD10 User manual

SSV Works

SSV Works CM2-UD10 User manual

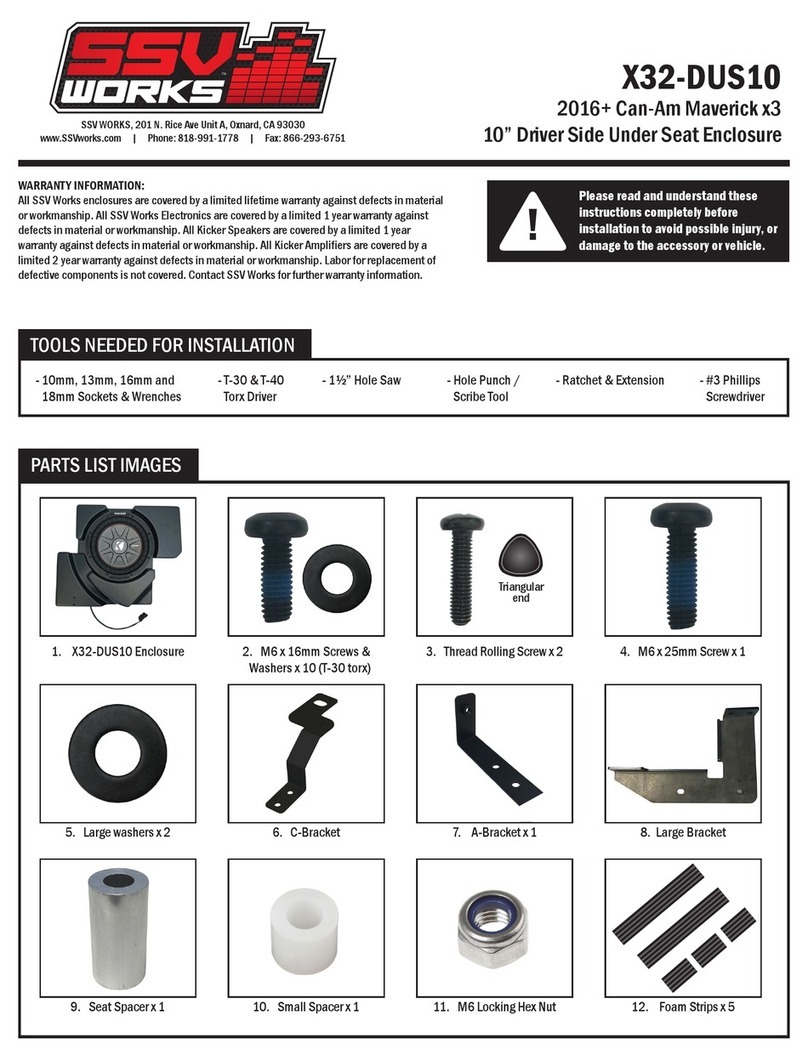
SSV Works X32-DUS10 User manual

SSV Works

SSV Works X32-DUS10 User manual

SSV Works F3-2A User manual

SSV Works

SSV Works F3-2A User manual

SSV Works DF-2A User manual

SSV Works

SSV Works DF-2A User manual

SSV Works DF-F65 User manual

SSV Works

SSV Works DF-F65 User manual

SSV Works WP-RZ304 User manual

SSV Works

SSV Works WP-RZ304 User manual

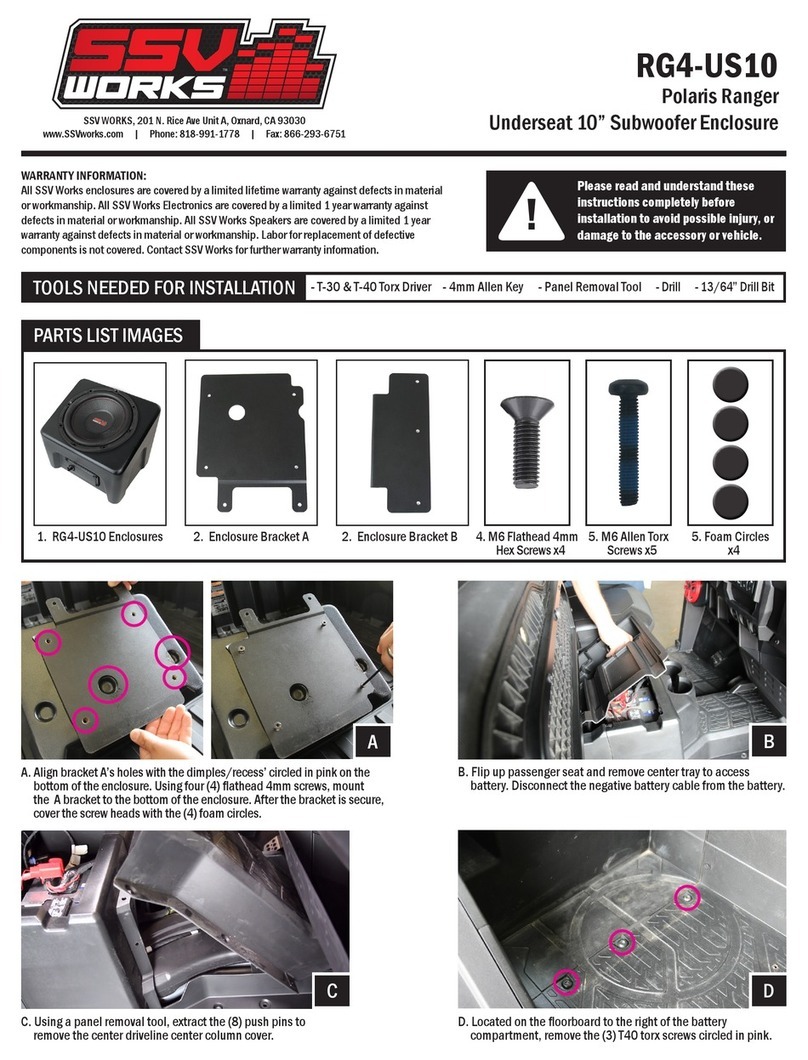
SSV Works RG4-US10 User manual

SSV Works

SSV Works RG4-US10 User manual

Popular Automobile Accessories manuals by other brands

Magneti Marelli AC161 Installation instruction

Magneti Marelli

Magneti Marelli AC161 Installation instruction

FDI uEZ GUI Start here

FDI

FDI uEZ GUI Start here

JCROffroad JT Install instructions

JCROffroad

JCROffroad JT Install instructions

Rostra VOXXElectronics 250-1930 owner's guide

Rostra

Rostra VOXXElectronics 250-1930 owner's guide

TOP VEHICLE TECH GR3FORD5 installation manual

TOP VEHICLE TECH

TOP VEHICLE TECH GR3FORD5 installation manual

Safe Fleet PRIME DESIGN AR-2000-BLK manual

Safe Fleet

Safe Fleet PRIME DESIGN AR-2000-BLK manual

Skoda Fabia Combi 5J Fitting instructions

Skoda

Skoda Fabia Combi 5J Fitting instructions

Camcar 40077 Al Mounting instructions

Camcar

Camcar 40077 Al Mounting instructions

Camcar 40089 AL Mounting instructions

Camcar

Camcar 40089 AL Mounting instructions

Impac Tradesman 2000 installation manual

Impac

Impac Tradesman 2000 installation manual

DVB OFFROAD BRSB-01 installation manual

DVB

DVB OFFROAD BRSB-01 installation manual

Safari Snorkel SS385HF installation guide

Safari Snorkel

Safari Snorkel SS385HF installation guide

ULTIMATE SPEED 279746 Assembly and Safety Advice

ULTIMATE SPEED

ULTIMATE SPEED 279746 Assembly and Safety Advice

ULTIMATE SPEED CARBON Assembly and Safety Advice

ULTIMATE SPEED

ULTIMATE SPEED CARBON Assembly and Safety Advice

Witter F174 Fitting instructions

Witter

Witter F174 Fitting instructions

WeatherTech No-Drill installation instructions

WeatherTech

WeatherTech No-Drill installation instructions

TAUBENREUTHER 1-336050 Installation instruction
TAUBENREUTHER

TAUBENREUTHER 1-336050 Installation instruction

travall TDG 1513 Fitting instructions

travall

travall TDG 1513 Fitting instructions
manuals.online logo
manuals.online logoBrands
  • About & Mission
  • Contact us
  • Privacy Policy
  • Terms and Conditions

Copyright 2025 Manuals.Online. All Rights Reserved.

JJL-DS10
2018+ Jeep Wrangler JL 4-door
10” subwoofer enclosure
SSV WORKS, 201 N. Rice Ave Unit A, Oxnard, CA 93030
www.SSVworks.com | Phone: 818-991-1778 | Fax: 866-293-6751
!
Please read and understand these
instructions completely before
installation to avoid possible injury, or
damage to the accessory or vehicle.
WARRANTY INFORMATION:
All SSV Works enclosures are covered by a limited lifetime warranty against defects in material
or workmanship. All SSV Works Electronics are covered by a limited 1 year warranty against
defects in material or workmanship. All Kicker Speakers are covered by a limited 1 year
warranty against defects in material or workmanship. All Kicker Ampliers are covered by a
limited 2 year warranty against defects in material or workmanship. Labor for replacement of
defective components is not covered. Contact SSV Works for further warranty information.
TOOLS NEEDED FOR INSTALLATION
PARTS LIST IMAGES
2. M6x1.0x16mm T30 torx
screw x8
7. Bracket “MB-2” 8. #7 - 19x1.25” screw x8
3. M6x1.0x25mm T30 torx
screw x4
4. M6x1.0x40mm T30 torx
screw x3
5. M6 washer x15
1. JJL-DS10 sub enclosure
6. Bracket “MB-1”
- 10mm & 18mm Deep Sockets & Ratchet - T-30 & T-50 Torx Driver - #2 Phillips Screwdriver
Disconnect the (-) negative battery cable on the Jeep using a 10mm wrench.
INSTALLATION NOTES
A. Connect your subwoofer to the JJL-DS10 speaker harness. Using the provided (8) #7 screws,
secure your subwoofer to the enclosure with a #2 phillips screwdriver. Do not over torque.
B. Place the JJL-DS10 grill on the enclosure. Fasten the (3)
M6x1.0x40mm T30 Torx screws and M6 washers at the pink
positions. Fasten the (4) M6x1.0x25mm T30 Torx screws and
M6 washers at the green positions.
D. Secure the MB-2 Bracket to the bottom of the JJL-DS10
enclosure with the provided (3) M6x1.0x16mm T30 torx screws
and M6 washers.
C. Align the MB-1 Bracket over the mounting points on the
backside of the JJL-DS10 enclosure. Position the MB-1 bracket
with consideration of installation on the JEEP JL with or without
the freedom top mounted to the vehicle.
Secure the MB-1 bracket to the JJL-DS10 with (4)
M6x1.0x16mm T30 torx screws and M6 washers.
E. Fold the driver rear seat down.
JJL-DS10
A2A1
B
D
C
E
JJL-DS10
F. Remove the (2) T50 torx screws from the driver rear windowsill. The (2)
factory screws will be re-used to fasten the MB-1 Bracket to the
windowsill and secure the JJL-DS10 to the vehicle.
H. Pull the seat belt forward and set the enclosure in place. “MB-1”
bracket will rest on the windowsill, “MB-2” bracket will go over the
rear seat mounting stud.
J. Re-fasten the (1) 18mm nut to the rear seat mounting stud
securing the Bracket “MB-2”.
G. Remove the (1) rear seat mounting nut with a 18mm socket. The
MB-2 bracket will be placed over this mounting stud that the (1) nut
was removed from.
I. Before fastening the enclosure into place, check bracket “MB-
1” position for any height adjustment that may be needed for
alignment with the factory mounting holes.
Re-fasten the (2) factory T50 screws through bracket “MB-1”
and into the windowsill.
For a hassle-free installation, we recommend having a second set of hands to help position the assembled sub enclosure into its position in the vehicle.
From the rear passenger door and the rear cargo area, lift the unit into place as a team.
I
H
J
JJL-DS10
© 2019 SSV Works, Oxnard, CA 93030 JJL-DS10 Rev. A 11-20-19
For proper sound, ensure the speaker polarity is correct connect the “+” to the “+” and the “-“to the “-“from the speaker wire to the amplier. If using
with an SSV Works complete system refer to the amplier wiring instructions for more detailed wiring information.
“+”
“+”
“
-
”
“
-
”
Amplier