manuals.online logo
Brands
  1. Home
  2. •
  3. Brands
  4. •
  5. SSV Works
  6. •
  7. Automobile Accessories
  8. •
  9. SSV Works SS-DM3 User manual

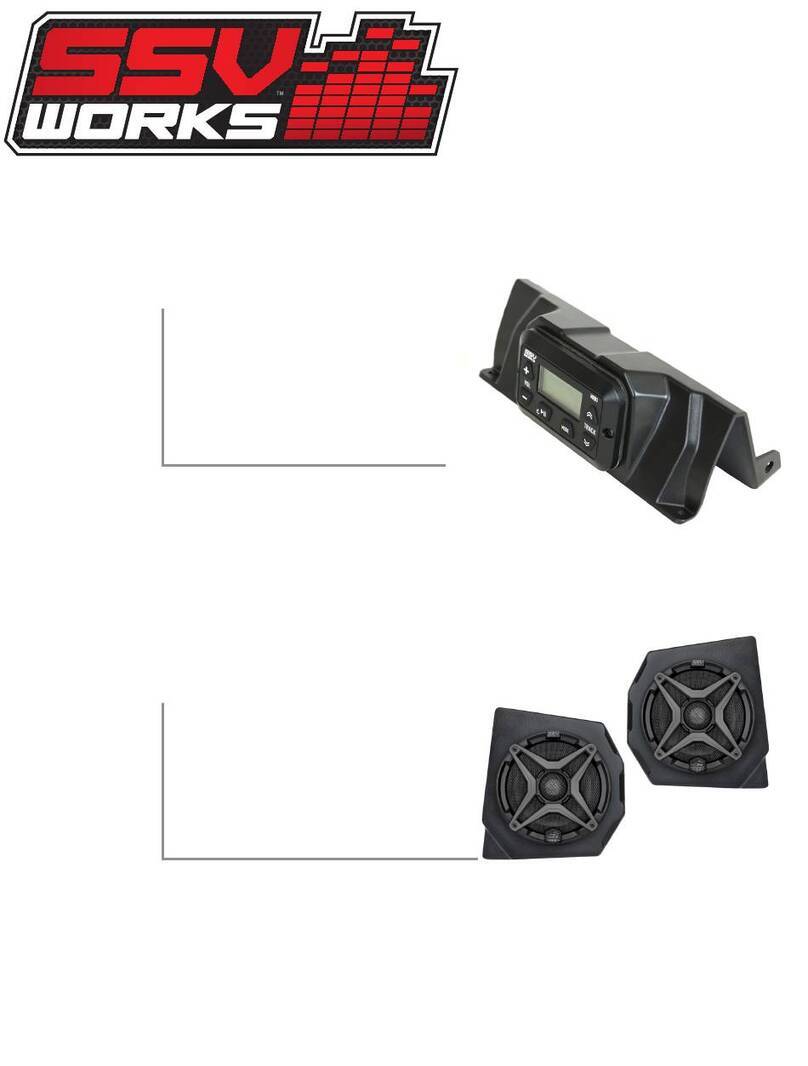
SSV Works SS-DM3 User manual

Other SSV Works Automobile Accessories manuals
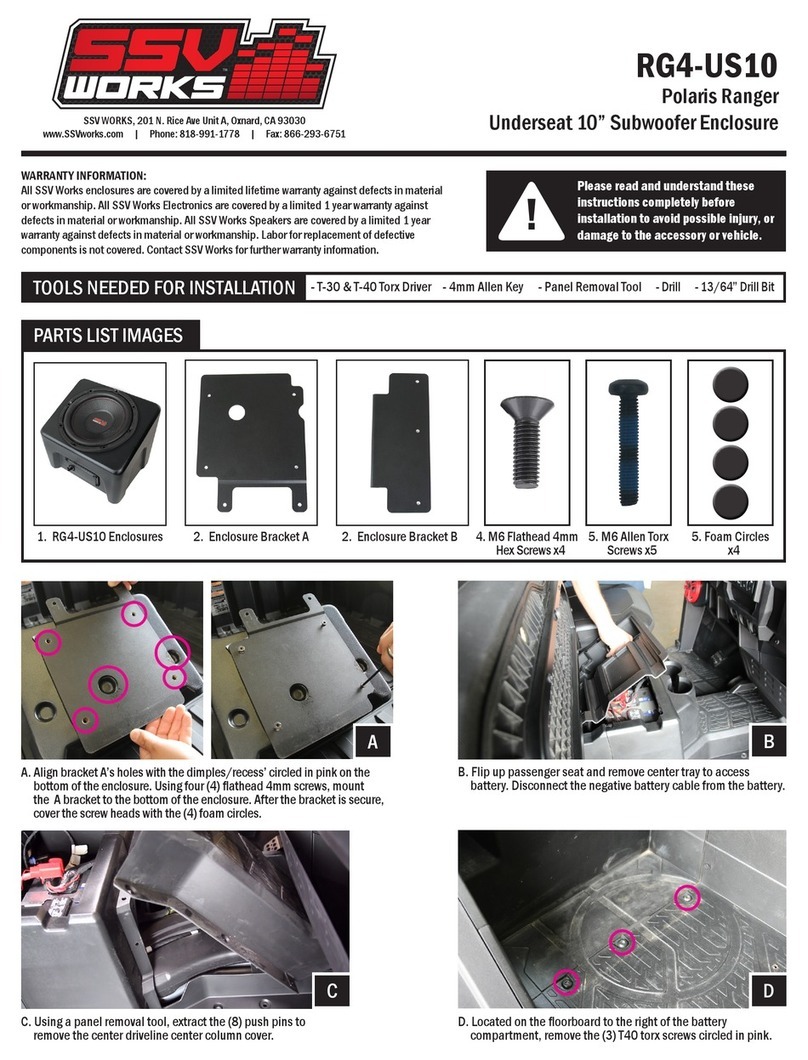
SSV Works RG4-US10 User manual

SSV Works

SSV Works RG4-US10 User manual

SSV Works JJL-DS10 User manual

SSV Works

SSV Works JJL-DS10 User manual
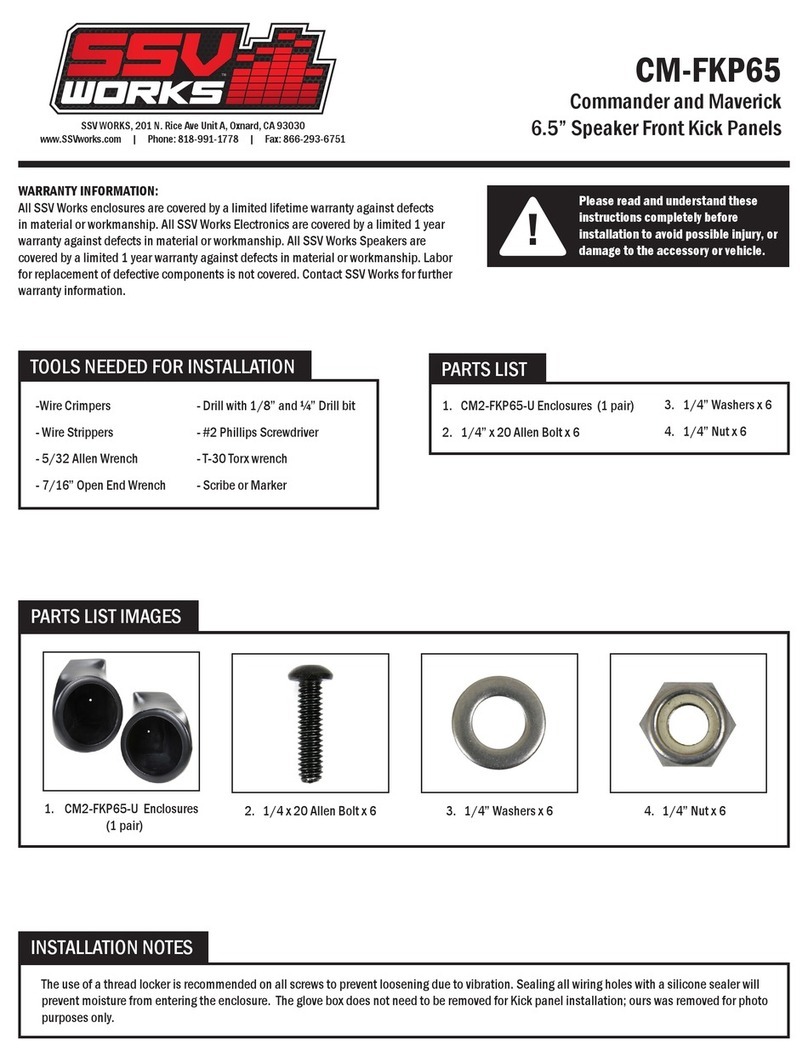
SSV Works CM-FKP65 User manual

SSV Works

SSV Works CM-FKP65 User manual

SSV Works MT-2A User manual

SSV Works

SSV Works MT-2A User manual

SSV Works TXF-OSP65 User manual

SSV Works

SSV Works TXF-OSP65 User manual
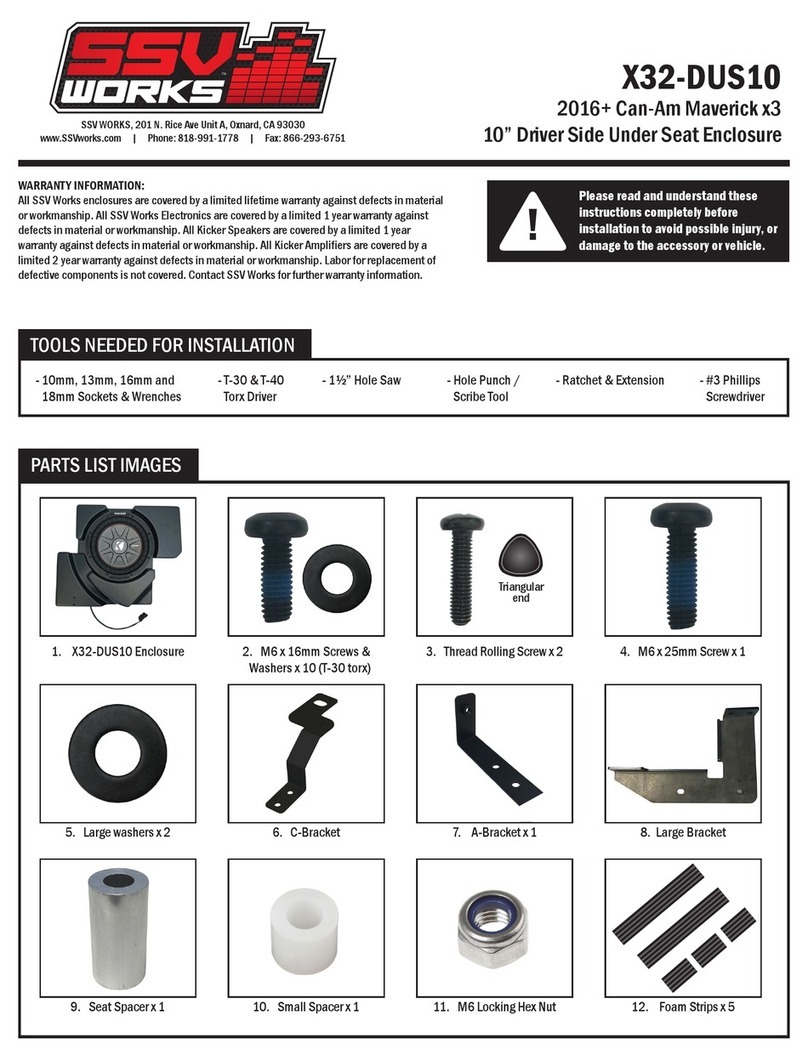
SSV Works X32-DUS10 User manual

SSV Works

SSV Works X32-DUS10 User manual

SSV Works WP-RZ304 User manual

SSV Works

SSV Works WP-RZ304 User manual

SSV Works WC-FKP65 User manual

SSV Works

SSV Works WC-FKP65 User manual
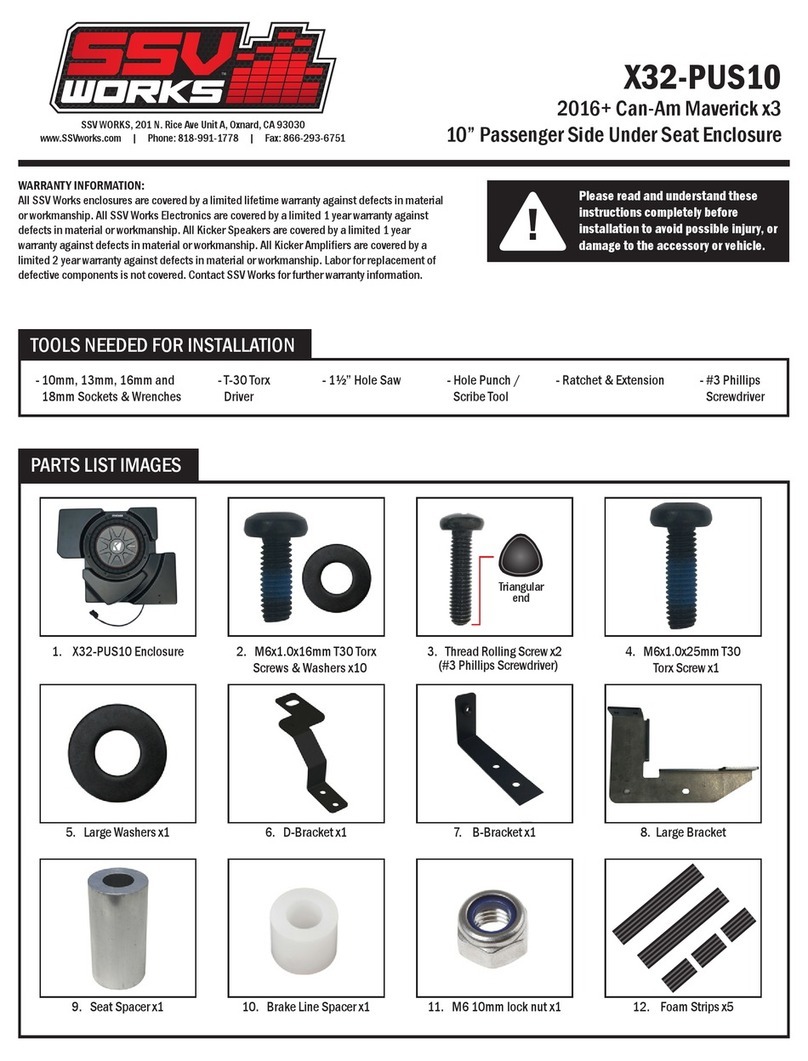
SSV Works X32-PUS10 User manual

SSV Works

SSV Works X32-PUS10 User manual

SSV Works WP3-RG34O4 User manual

SSV Works

SSV Works WP3-RG34O4 User manual

SSV Works PHASE 5 X3-5K User manual

SSV Works

SSV Works PHASE 5 X3-5K User manual

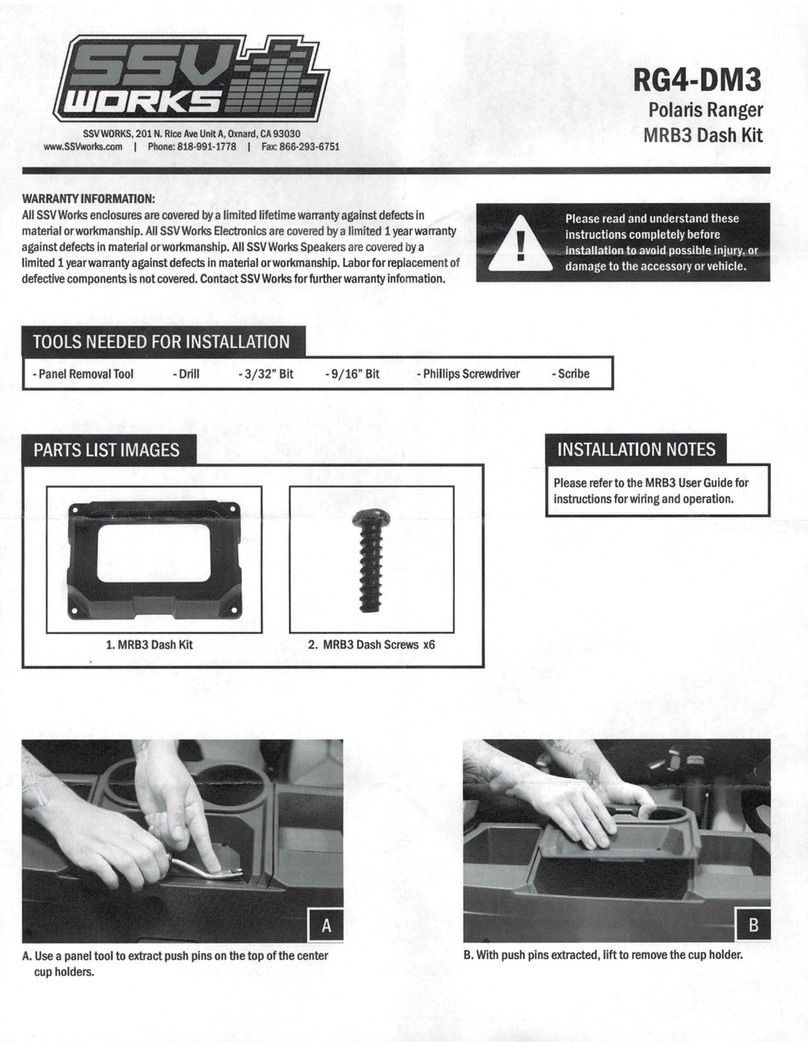
SSV Works RG4-DM3 User manual

SSV Works

SSV Works RG4-DM3 User manual

SSV Works DF-2A User manual

SSV Works

SSV Works DF-2A User manual

SSV Works F3-2A User manual

SSV Works

SSV Works F3-2A User manual

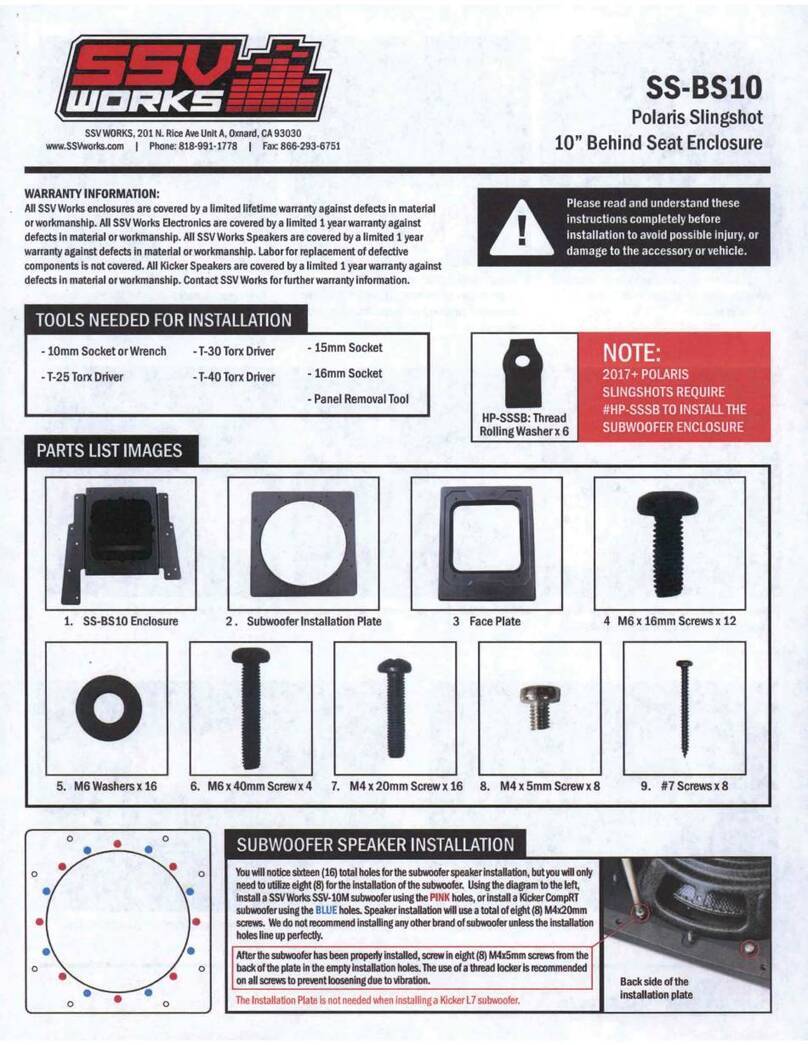
SSV Works SS-BS10 User manual

SSV Works

SSV Works SS-BS10 User manual

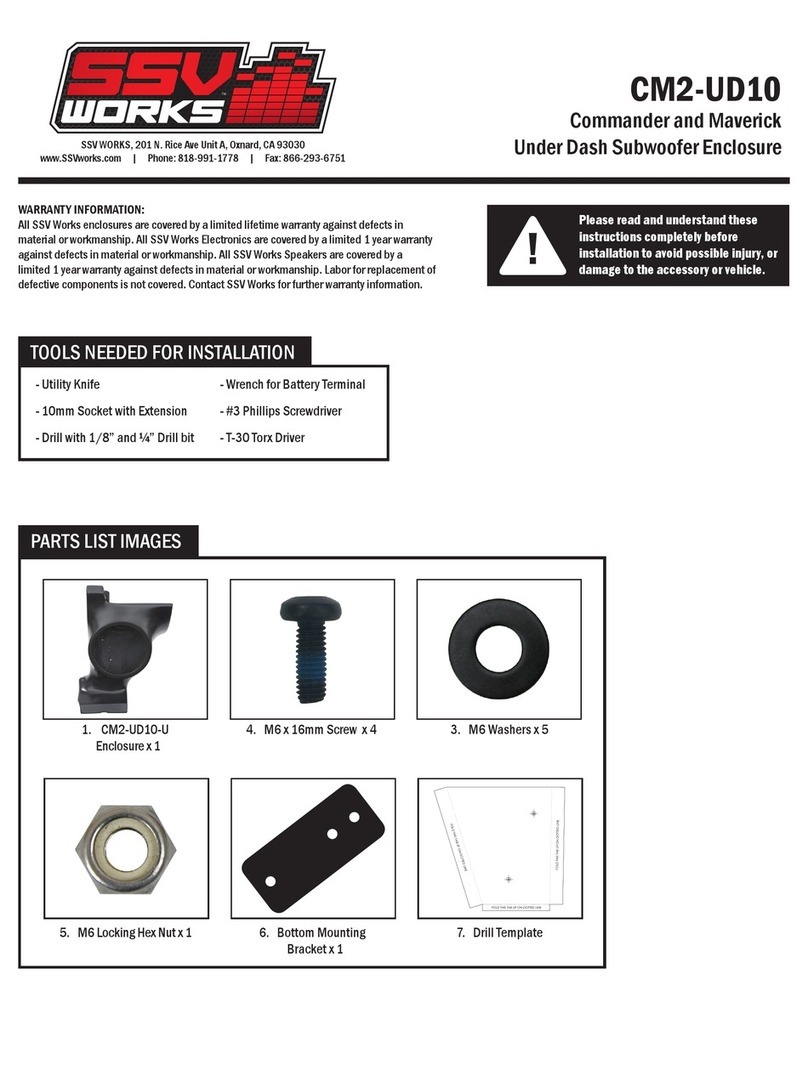
SSV Works CM2-UD10 User manual

SSV Works

SSV Works CM2-UD10 User manual

SSV Works DF-F65 User manual

SSV Works

SSV Works DF-F65 User manual

Popular Automobile Accessories manuals by other brands

Magneti Marelli AC161 Installation instruction

Magneti Marelli

Magneti Marelli AC161 Installation instruction

FDI uEZ GUI Start here

FDI

FDI uEZ GUI Start here

JCROffroad JT Install instructions

JCROffroad

JCROffroad JT Install instructions

Rostra VOXXElectronics 250-1930 owner's guide

Rostra

Rostra VOXXElectronics 250-1930 owner's guide

TOP VEHICLE TECH GR3FORD5 installation manual

TOP VEHICLE TECH

TOP VEHICLE TECH GR3FORD5 installation manual

Safe Fleet PRIME DESIGN AR-2000-BLK manual

Safe Fleet

Safe Fleet PRIME DESIGN AR-2000-BLK manual

Skoda Fabia Combi 5J Fitting instructions

Skoda

Skoda Fabia Combi 5J Fitting instructions

Camcar 40077 Al Mounting instructions

Camcar

Camcar 40077 Al Mounting instructions

Camcar 40089 AL Mounting instructions

Camcar

Camcar 40089 AL Mounting instructions

Impac Tradesman 2000 installation manual

Impac

Impac Tradesman 2000 installation manual

DVB OFFROAD BRSB-01 installation manual

DVB

DVB OFFROAD BRSB-01 installation manual

Safari Snorkel SS385HF installation guide

Safari Snorkel

Safari Snorkel SS385HF installation guide

ULTIMATE SPEED 279746 Assembly and Safety Advice

ULTIMATE SPEED

ULTIMATE SPEED 279746 Assembly and Safety Advice

ULTIMATE SPEED CARBON Assembly and Safety Advice

ULTIMATE SPEED

ULTIMATE SPEED CARBON Assembly and Safety Advice

Witter F174 Fitting instructions

Witter

Witter F174 Fitting instructions

WeatherTech No-Drill installation instructions

WeatherTech

WeatherTech No-Drill installation instructions

TAUBENREUTHER 1-336050 Installation instruction

TAUBENREUTHER

TAUBENREUTHER 1-336050 Installation instruction

travall TDG 1513 Fitting instructions

travall

travall TDG 1513 Fitting instructions

manuals.online logo
manuals.online logoBrands
  • About & Mission
  • Contact us
  • Privacy Policy
  • Terms and Conditions

Copyright 2025 Manuals.Online. All Rights Reserved.

SSVWORKS,
201
N.
Rice
Ave
Unit
A,
Oxnard,
CA
93030
www.SSVworks.com
I
Phone:
818-991-1778
I
Fax:
866-293-6751
WARRANTY
INFORMATION:
All
SSV
Works
enclosures
are
covered
by
alimited lifetime
warranty
against
defects
in
material
or
workmanship.
All
SSVWorks
Electronics
are
covered
by
alimited 1
year
warranty
against
defects
in
material
or
workmanship.
Labor
for
replacement
of
defective
components
is
not
covered.
All
SSV
Works
Speakers
are
covered
by
alimited 1
year
warranty
against
defects
in
material
or
workmanship.
Contact
SSVWorks
for
further
warranty
information.
SS-DM3
Polaris
Slingshot
Dash
Kit
for
MRB3
A
Please
read
and
understand
these
instructions
completely
before
installation
to
avoid
possible
injury,
or
damage
to
the
accessory
or
vehicle.
PARTS
LIST
-#2
Phillips
Screw
Driver
-
10mm
Socket
&
Rachet
1.
SS-DM3
Base
Plate
4.
M3
Hex
Nuts
x2
-T
40
Torx
Socket
-
5.5mm
Socket
&
Rachet
2.
Mounting
Brackets
5.
M3
HexWasherx2
3.
M3
Screw
x6
6.
Blank
Rocker
Switches
x4
PARTS
LIST
IMAGES
1.
SS-DM3
Base
Plate
2.
Mounting
Brackets
3.
M3Screwx6
0 0
4.
M3
Hex
Nuts
x2
5.
M3Washersx2
5.
Blank
Rocker
Switches
x4
For
instructions
regarding
the
MRB3
black
box,
refer
to
the
MRB3
manual.
A.
Using
the
T25
Torx,
remove
the
(3)
screws
holding
down
windshield.
Once
screws
have
been
removed,
lift
windshield
up
and
remove.
B.
To
remove
side
view
mirrors
,
use
8mm
hex
tool
to
extract
the
(2)
screws
on
each
side.
C.
Open
the
glovebox
door
and
release
the
tabs
that
are
located
at
the
back
of
the
compartment.
Lift
and
remove
the
glovebox
D.
From
underneath
the
two
outside
dash
trim
panels,
remove
(2)
T25
torx
screws.
After
screws
have
been
removed
use
hand
or
panel
removal
tool
to
unsnap
panels.
When
panels
have
been
removed
you
will
expose
(2)
push
clips
-
remove
them
as
well.
E.
Either
by
hand
or
with
a
panel
tool,
carefully
unsnap
both
center
dash
trim
panels.
Once
removed
you
will
expose
(2)
push
clips
that
will
need
to
be
removed.
F.
Use
a
T4O
Torx
driver
to
remove
the
(8)
T4O
screws
holding
the
dash
panel
G.
Remove
the
pocket
by
grabbing
the
top
of
the
pocket
and
pulling
towards
the
back
of
the
vehicle.
Lift
the
pocket
slightly
up
and
back
to
release
the
bottom
of
the
pocket
(H
1).
Remove
the
(2)
panel
clips
on
either
side
of
the
starter
switch
inside
the
dash
cavity
(H2).
H.
Once
the
screws
and
clips
have
been
removed,
carefully
lift
the
dash
panel
up
slightly
to
expose
any
connector
that
might
be
connected
to
dash
and
disconnect.
I.Lift
panel
up
and
remove
once
all
connectors
and
screws
have
been
removed.
L.
Remove
the
3M
stick
tape
backing
on
the
dash
kit
II
M.
Line
up
the
MRB3
dash
kit
and
lay
on
dash
panel.
Once
centered,
press
on
center
top
and
bottom
and
side
for
the
tape
to
adhere
to
dash
panel.
N.
Place
dash
panel
down
and
line
up
brackets
on
the
dash
kit
Line
up
the
holes
and
use
the
screws
provided
to
screw
brackets
into
place.
THIS
CONCLUDES
THE
INSTALLATION
PROCESS.
REPLACE
ALL
THE
FACTORY
PANELS.
■
QUESTIONS?
PLEASE
CONTACT
SSV
WORKS
AT
818-991-1778
OR
EMAIL
[email protected]