Rev date Template
number
Rev
Title
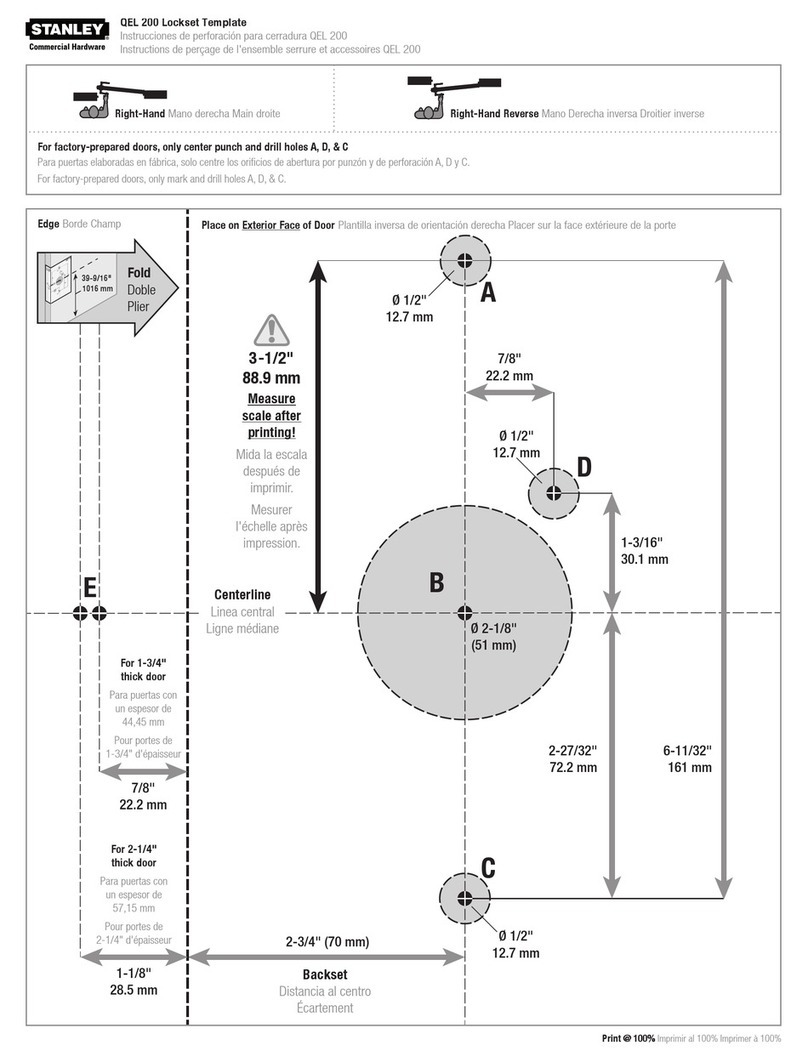
To ensure accurate door preparation, use only factory-printed templates. Do not use copies or facsimilies. T81625/Rev – 1929205 ER-7991-42 Dec 2006
BacksetSeries Trim style Door thickness
BEST ACCESS SYSTEMS
Installation Template for 45HM
IDH Max Mortise Locks
MS, PH, PM 12/2006 W28W28
W28W28
W28 ––
––
–
2 3 /4”45HM 1 3/4” – 3”
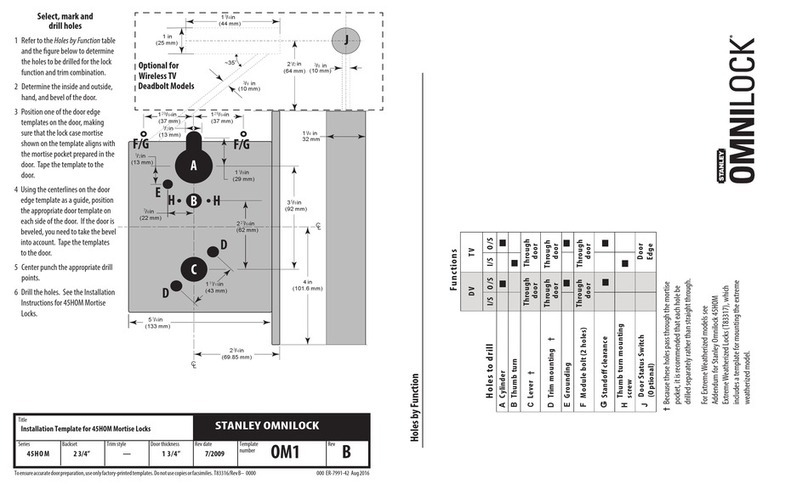
Select, mark, and
drill holes
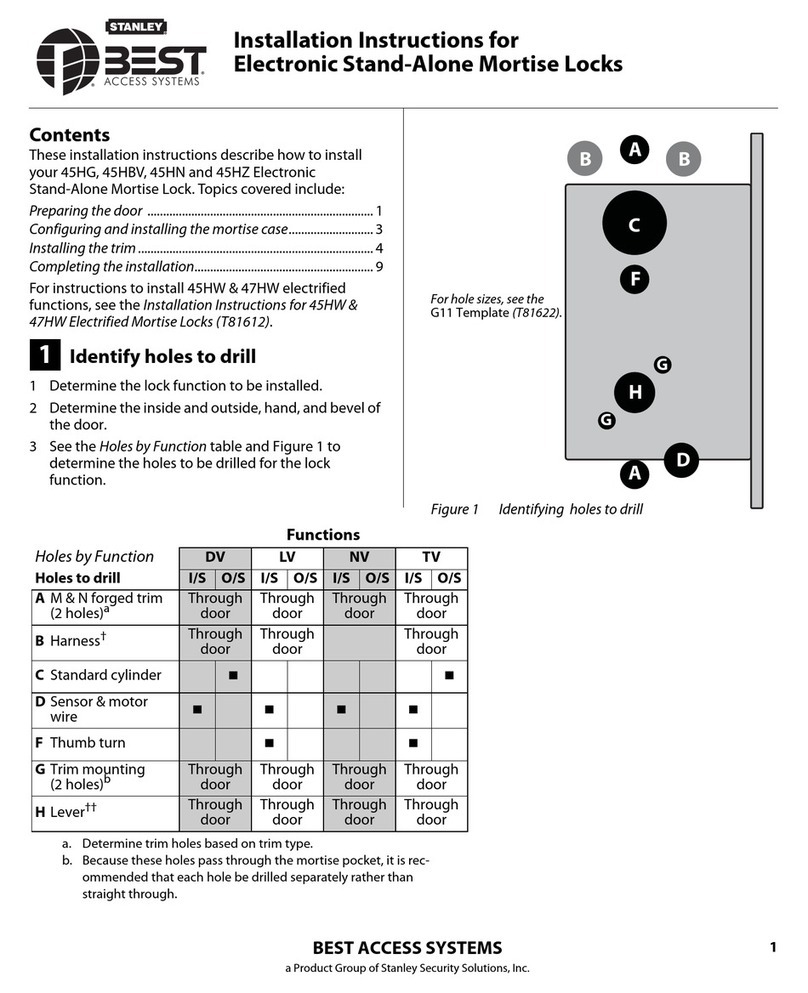
1 Refer to the Holes by Function
table and the figure below to
determine the holes to be
drilled for the lock function and
trim combination.
2 Determine the inside and
outside, hand, and bevel of the
door.
3 Position one of the door edge
templates on the door, making
sure that the lock case mortise
shown on the template aligns
with the mortise pocket
prepared in the door. Tape the
template to the door.
Note:For metal doors, see the
W29 Template (T81630).
4 Using the centerlines on the
door edge template as a guide,
position the appropriate door
template on each side of the
door. You need to take the bevel
into account. Tape the
templates to the door.
5 Center punch the appropriate
drill points.
6 Drill the holes. See the
Installation Instructions.
Holes by Function
A
B
C / D
G
G
H
A
Functions
DEL/DEU LEL/LEU NXEL/NXEU TDEL/TDEU
Holes to drill I/S O/S I/S O/S I/S O/S I/S O/S
AForged trim (2 holes) Through
door
Through
door
Through
door
Through
door
BHarness (1 hole only) Through
door
Through
door
Through
door
Through
door
CCylinder †
DSensor & solenoid wire †
FThumb turn †
GTrim mounting (2 holes) †Through
door
Through
door
Through
door
Through
door
HLever †Through
door
Through
door
Through
door
Through
door
†Because these holes pass through the mortise pocket, it is recommended that
each hole be drilled separately rather than straight through.
