manuals.online logo
Brands
  1. Home
  2. •
  3. Brands
  4. •
  5. Strata Furniture
  6. •
  7. Indoor Furnishing
  8. •
  9. Strata Furniture Mission Rim User manual

Strata Furniture Mission Rim User manual

M i s s i o n R i m
Parts in the Arm Box:
1A
Parts in the Body Box:
1B
S t r a t a F u r n i t u r e
Page 1 of 8
Assembly Instructions for all sizes.
MR 0901
Arm- inside viewArm- outside view Corbels x 4
Back Deck x 1 Seat Deck x 1
with the Feet attached Back Panel x 1
Stretcher x 1 Foot Connector Bar x 1 Advance Arms x 2
Hardware in this Box:
2A
Fit the Wooden Dowels into the Stretcher.
2B
M i s s i o n R i m
S t r a t a F u r n i t u r e
Page 2 of 8
Assembly Instructions for all sizes.
MR 0903
Long Allen Key
x 1
Locking Pins
x 4
Short Clevis Pins
x 2
Bungies x 2
Screw
x 4
Short Bolts (60mm) x 6
For the Advance Arms
and the Foot Connector Bar
Sleeve x 2
Long Bolts (80mm) x 8
For the Stretcher and Back Panel Short Bolts (50mm) x 4
For the Corbels Barrel Nuts
x 8
Wooden Dowel
x 4
Washers
x 8
Long Clevis Pins
x 2
Plastic Runner
x 2
Wooden
Dowels
End of Stretcher
Assemble the Back Panel between the Arms.
3A
Fit the Back Panel, with Barrel Nut holes on the inside,
to the inside edges of the Arms, as shown in the drawing.
The Wooden Dowels help line up the Back Panel with the Arms.
Bolt the parts together with four long Bolts (80mm) and
Barrel Nuts. It is helpful to keep the frame squared.
Be patient, it can be tricky to start the bolts in the nuts -
A screw driver will help you line up the Barrel Nut with the Bolt.
Drive the Bolts in until they just catch the Nuts.
M i s s i o n R i m
S t r a t a F u r n i t u r e
Page 3 of 8
Assembly Instructions for all sizes.
MR 0901
Use 2 People!
Please Note:
80mm
Bolt
Arm
Barrel Nut
Wooden
Dowels
Barrel Nut
80mm
Bolt
Barrel Nut
Back Panel
80mm
Bolt
Wooden
Dowels
Barrel NutWooden
Dowels
Wooden
Dowels
60mm Bolt
Sleeve
Washer
Washer
Advance
Arm
Wood Block
The slotted end of the Advance Arm attaches
to the little wood block at the back of the Arm.
Slip a washer and Sleeve over the Bolt, and
pass it through the slot. Add another washer
and fix it to the Arm. Tighten the Bolt.
Be sure that the Advance Arm moves freely.
Rotate the Advance Arm so that is pointing up.
Fit the Stretcher, with the Barrel Nut holes on the inside,
to the inside edge of the Arms.
Bolt the parts together with four long Bolts (80mm) and Barrel Nuts.
Drive the Bolts in until they just catch the Nuts.
Assemble the Stretcher between the Arms.
4A M i s s i o n R i m
S t r a t a F u r n i t u r e
Page 4 of 8
Assembly Instructions for all sizes.
Attach the Advance Arms to the Arms
4B
Leave the
Advance Arm
pointing up.
MR 0901
80mm
Bolts
Barrel Nuts
Wooden
Dowels
Back Panel
Stretcher
Barrel Nuts 80mm
Bolts
Assemble the Bungies under the Seat Deck.
5A
Join the Seat and Back Decks together.
5B
Lay the Seat Deck sticker-side down.
Screw the Bungees
to the side of the two
inner rails, using the
pre-drilled holes.
Lay both Decks out flat on the floor
with the stickers facing upwards.
The Seat Deck fits inside the
Back Deck as shown. Slip the
Long Clevis Pin through the
small end of the Plastic Runner,
through the hole in the Back Deck and
the corresponding hole in the Seat Deck.
Secure with a Washer and Locking Pin.
M i s s i o n R i m
S t r a t a F u r n i t u r e
Page 5 of 8
Assembly Instructions for all sizes.
MR 0901
BungieScrew
Inner Rail
Screw
Inner
Rail
BungieScrew
Screw
Sticker
- facing the floor
Seat Deck
Long Clevis Pin
Sticker
- facing upwards
Plastic
Runner
Long Clevis Pin
Plastic
Runner
Back Deck
Seat Deck
Sticker
- facing upwards
Sticker
Sticker
Lock the Clevis
Pin with a washer
and Locking Pin
Fit the Seat and Back Decks to the Frame.
6A
Insert the decks into the partially completed frame.
This is where a helper may be useful.
When the guides are in the grooves in the Arms,
slide the assembly to the back of the frame.
Tighten all Stretcher and Back Panel Bolts.
Use 2 People!
Please Note:
All joints must
be left loose.
M i s s i o n R i m
S t r a t a F u r n i t u r e
Page 6 of 8
Assembly Instructions for all sizes.
All joints must
be left loose.
All joints must
be left loose.
Connect the Advance Arms
to the Back Deck.
6B
Carefully pass a Short Clevis Pin
through the Arm into the Hole in the
Back Deck. Align with the hole in the
Advance Arm, and join them together.
Secure with a
Washer and
Locking Pin.
MR 0901
Advance Arm Clevis Pin
Attach the Connector Bar to the Legs.
7A
M i s s i o n R i m
S t r a t a F u r n i t u r e
Page 7 of 8
Assembly Instructions for all sizes.
Pull the Seat Deck out to the front of the frame and flip it up.
The feet should be pointing downwards.
Work the Foot Connector Bar under the Bungees, and line up
the holes between the Connector Bar and the Legs. Make sure
the recess for the head of the Bolt is facing outwards.
Use four short Bolts (60mm) and bolt it in place.
MR 0903
60mm
Bolts
60mm Bolts
Foot Connector Bar
Bungie
Foot
Foot
To convert into couch position:
Attach the Corbels to the Arms.
8A
M i s s i o n R i m
S t r a t a F u r n i t u r e
Page 8 of 8
Assembly Instructions for all sizes.
Note:
Never lift the frame by the arm caps -
Always lift from the bottom of the arms.
To convert into bed position:
MR 0903
Secure with a short Bolt (50mm) from the inside
of the Arm at the bottom. Tighten until the
Corbel is snug.
Fit the dowel at the top of the Corbel into the hole
on the underside of the Arm,and then fit the other
dowel into the side of the Arm.
Remove any pillows and other obstructions.
Lift up the seat deck into a vertical position.
Resting seat deck on your hip,
push the foot connector down all
the way so that the foot connector
touches the side rail -
It is Very Important that the feet are
in proper position - see diagram.
With one hand lightly push the seat
deck down and with other hand pull
on the back at the back of the mattress.
Push the seat deck in all the way.
•
To convert into couch position:
Lift up the seat deck into a vertical position.
Resting seat deck on your hip, rotate the foot connector
towards you until the feet are fully extended.
Set the frame down gently.
Operating Instructions:
To convert into bed position:Operating Instructions:
•
•
•
•
DO NOT FORCE - the frame should operate easily.
•
•
•
Correct Foot position
50mm Bolt Corbel
Arm

Other Strata Furniture Indoor Furnishing manuals
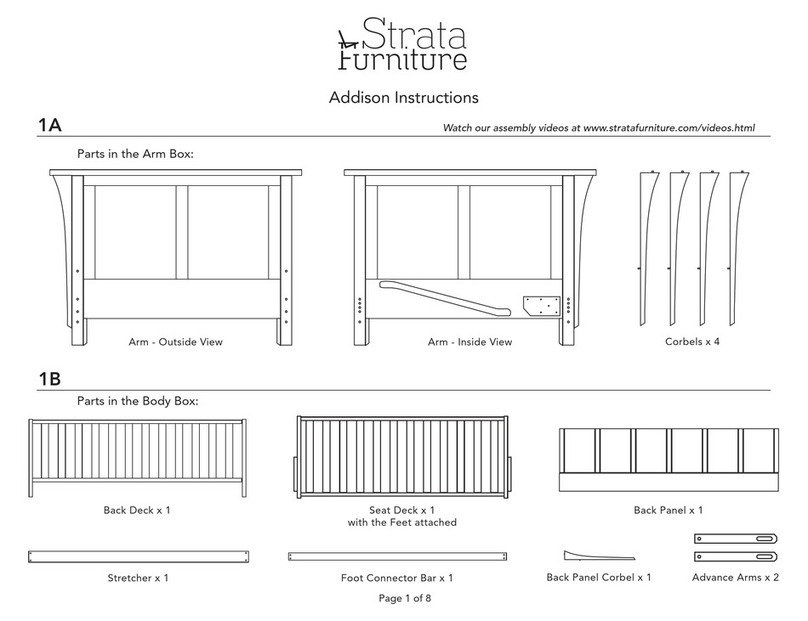
Strata Furniture Addison User manual

Strata Furniture

Strata Furniture Addison User manual

Strata Furniture Antero Bed Full User manual

Strata Furniture

Strata Furniture Antero Bed Full User manual

Strata Furniture Pagoda Arms User manual
Strata Furniture

Strata Furniture Pagoda Arms User manual

Strata Furniture 18220 User manual

Strata Furniture

Strata Furniture 18220 User manual
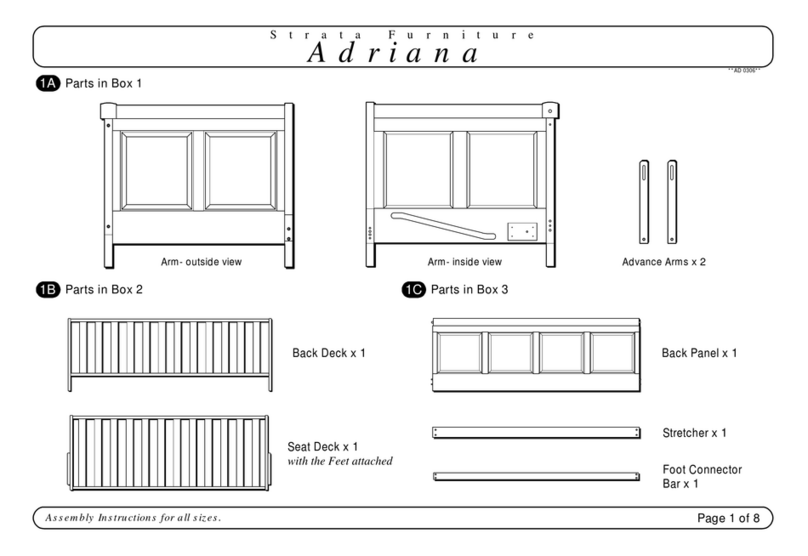
Strata Furniture Adriana User manual

Strata Furniture

Strata Furniture Adriana User manual
Strata Furniture Arial Arms User manual
Strata Furniture

Strata Furniture Arial Arms User manual

Strata Furniture Tozi Arms User manual
Strata Furniture

Strata Furniture Tozi Arms User manual

Strata Furniture Addison User manual

Strata Furniture

Strata Furniture Addison User manual
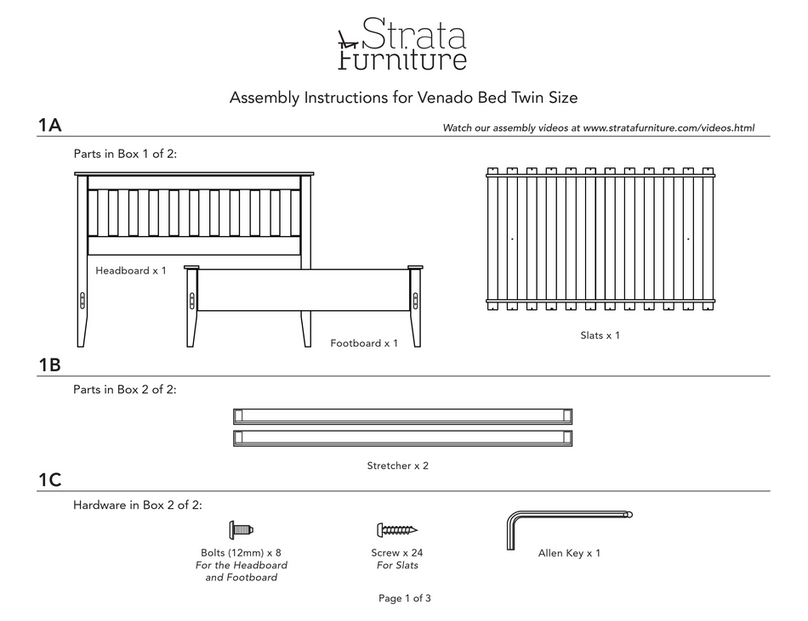
Strata Furniture Venado User manual

Strata Furniture

Strata Furniture Venado User manual
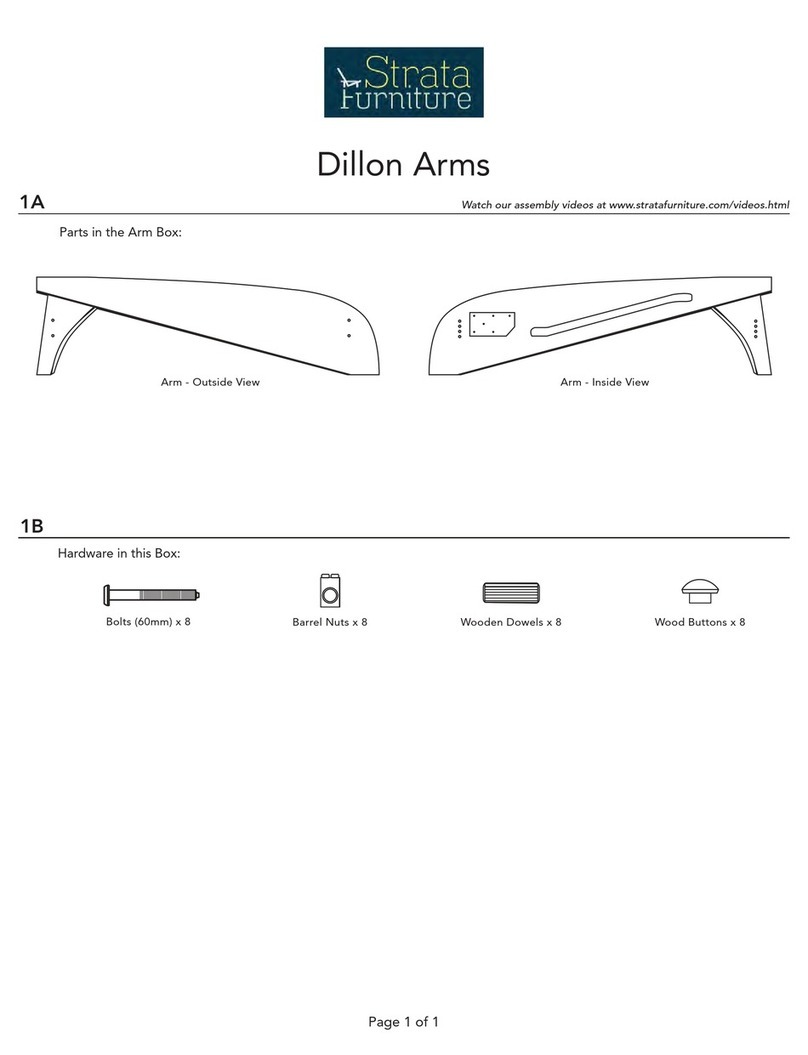
Strata Furniture Dillon Arms User manual

Strata Furniture

Strata Furniture Dillon Arms User manual

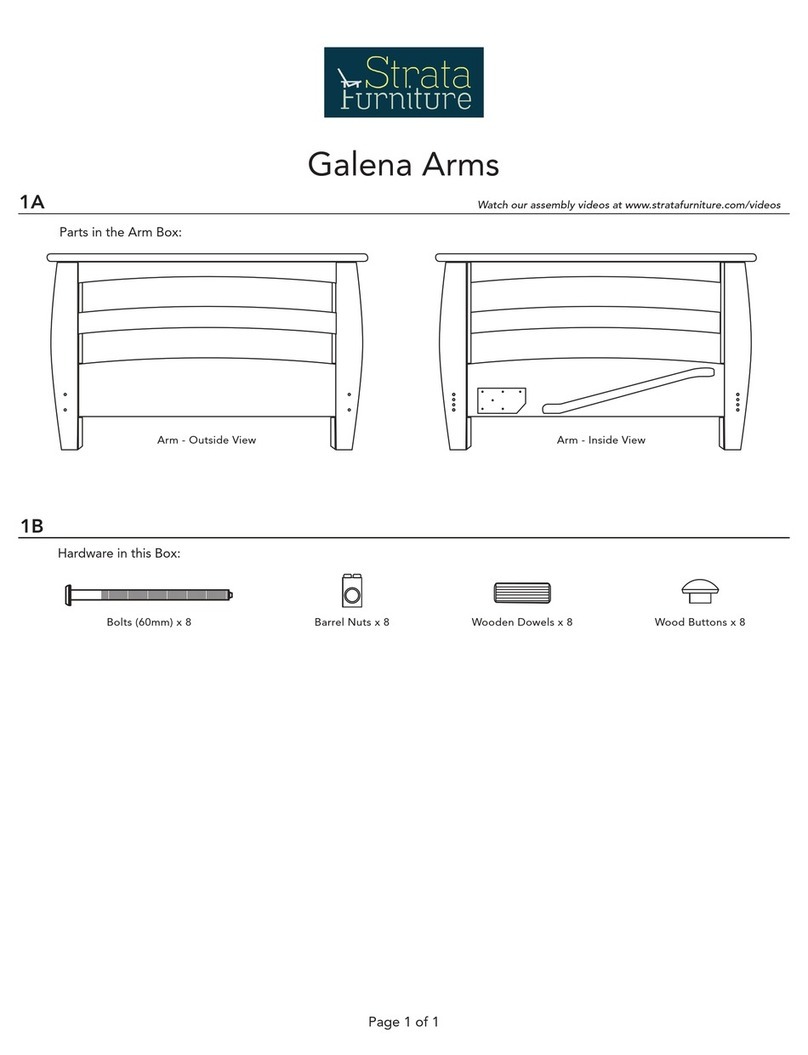
Strata Furniture Galena Arms User manual

Strata Furniture

Strata Furniture Galena Arms User manual

Strata Furniture Canby Arms User manual

Strata Furniture

Strata Furniture Canby Arms User manual

Strata Furniture Adriana User manual

Strata Furniture

Strata Furniture Adriana User manual

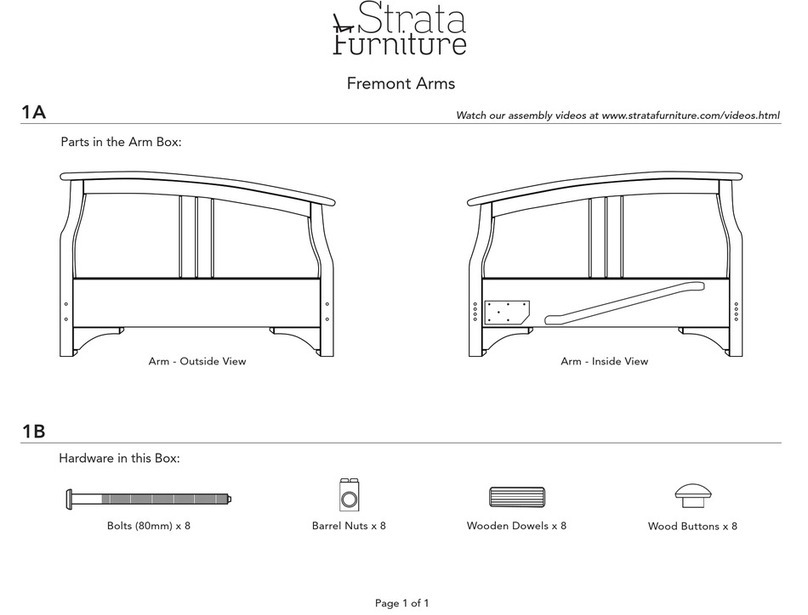
Strata Furniture Fremont User manual

Strata Furniture

Strata Furniture Fremont User manual

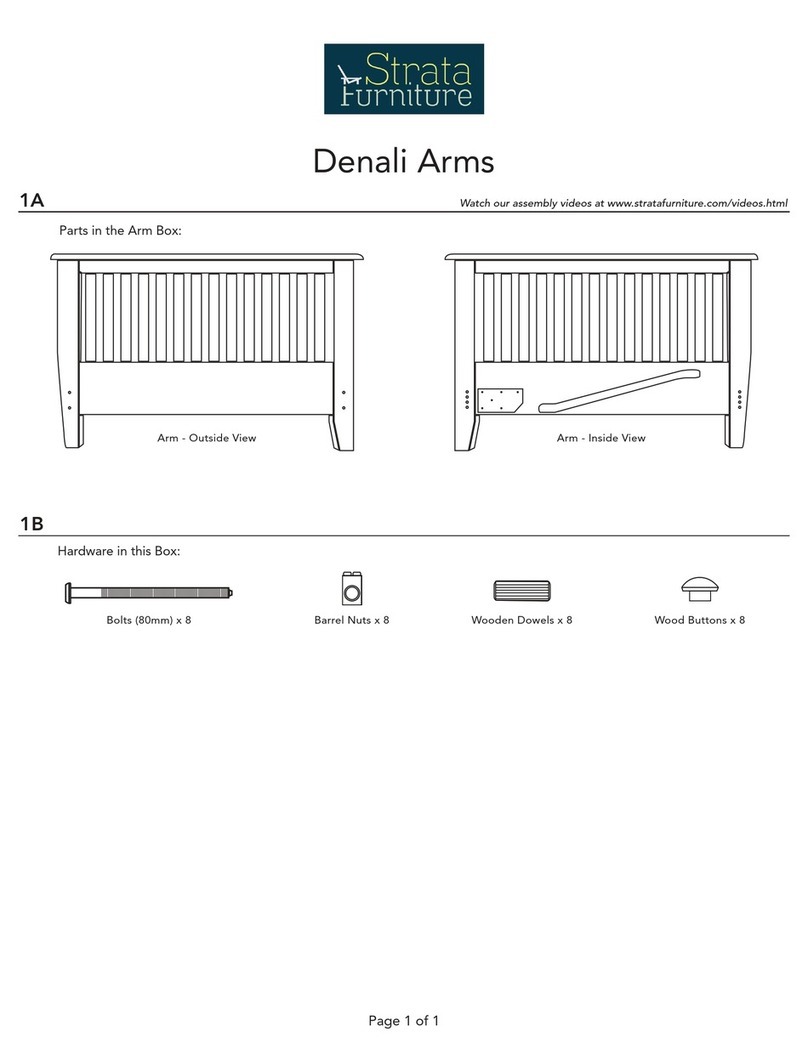
Strata Furniture Denali Arms User manual

Strata Furniture

Strata Furniture Denali Arms User manual

Popular Indoor Furnishing manuals by other brands
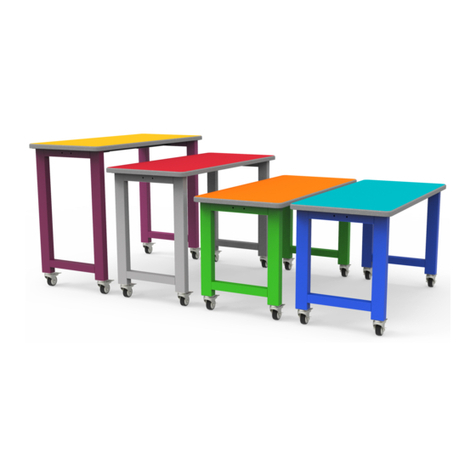
WB Mfg EPIC Laminate Top Assembly instructions
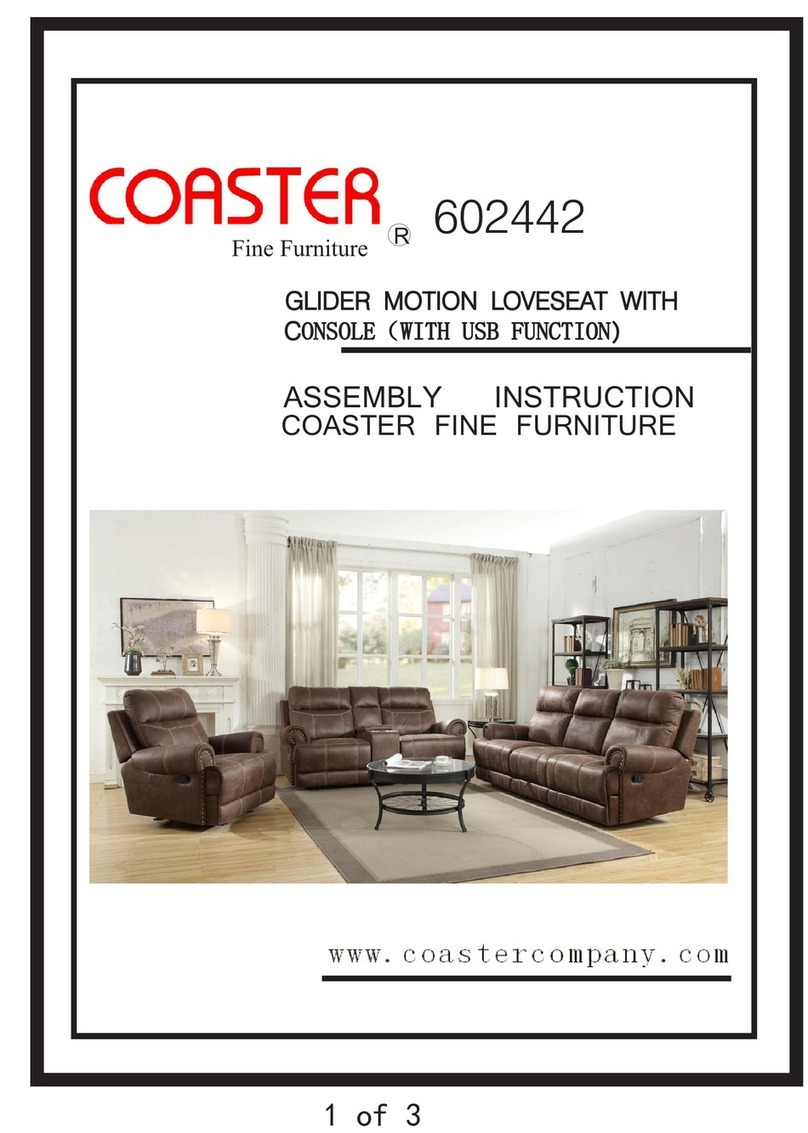
WB Mfg

WB Mfg EPIC Laminate Top Assembly instructions

Coaster GLIDER MOTION LOVESEAT 602442 Assembly instruction
Coaster

Coaster GLIDER MOTION LOVESEAT 602442 Assembly instruction

Sunnydaze Decor GSI-274 Assembly instructions

Sunnydaze Decor

Sunnydaze Decor GSI-274 Assembly instructions

Sister Bay Bristol MBRI-DT42 Assembly instructions

Sister Bay

Sister Bay Bristol MBRI-DT42 Assembly instructions

Twin-Star International 26MM2490 Assembly instruction
Twin-Star International

Twin-Star International 26MM2490 Assembly instruction

Restoration Hardware Fleur-De-Lys Arch Assembly instructions

Restoration Hardware

Restoration Hardware Fleur-De-Lys Arch Assembly instructions

Init NT-C3002 Assembly instructions

Init

Init NT-C3002 Assembly instructions

battistella PROMETEO 2016 Instruction and maintenance

battistella

battistella PROMETEO 2016 Instruction and maintenance

ofichairs Dortmund quick start guide

ofichairs

ofichairs Dortmund quick start guide

Sanus Systems NFCDII manual

Sanus Systems

Sanus Systems NFCDII manual
Alinea Manual F-L/R - ALN-LTM-2L2S-M Series Assembly And Instructions
Alinea

Alinea Manual F-L/R - ALN-LTM-2L2S-M Series Assembly And Instructions

Riverside Furniture Allegro 44728 Assembly instructions

Riverside Furniture

Riverside Furniture Allegro 44728 Assembly instructions

pottery barn kids BLYTHE CARRIAGE BED TWIN manual

pottery barn kids

pottery barn kids BLYTHE CARRIAGE BED TWIN manual

Broyhill A601000501 Assembly instructions

Broyhill

Broyhill A601000501 Assembly instructions
DRAWER June 230491/WAJUNE7BS01.179 manual

DRAWER

DRAWER June 230491/WAJUNE7BS01.179 manual

Bircher CareMat Original instructions

Bircher

Bircher CareMat Original instructions

KMART 42917106 Assembly instructions

KMART

KMART 42917106 Assembly instructions

Runfine RFBW01014 Operator's manual

Runfine

Runfine RFBW01014 Operator's manual

manuals.online logo
manuals.online logoBrands
  • About & Mission
  • Contact us
  • Privacy Policy
  • Terms and Conditions

Copyright 2025 Manuals.Online. All Rights Reserved.