how to set your controller into exclusion).
2. Short press the “inclusion/exclusion” button, or press and hold down “ALL ON/OFF” button for over 3
seconds, the wall controller will be set to exclusion mode, and waiting to be excluded, then LED indicator turns
on and shows 3 short blinks and 1 long blink to indicate successful exclusion.
Once the wall controller quits “exclusion mode”, the LED indicator will turns off. There are 3 methods for the
wall controller to quit “exclusion mode”:
1. Automatically quits after successful exclusion.
2. Quits after 25 seconds timeout.
3. Press and hold down “ALL ON/OFF” button for over 3 seconds, or short press the “inclusion/exclusion”
button to quit.
Method 2: Factory reset the wall controller will force the wall controller to be excluded from a network. (please
refer to the part “Factory Reset” of this manual)
Note: Factory reset is not recommended for exclusion, please use this procedure only if the primary
controller/gateway is missing or otherwise inoperable.
How to check whether the wall controller already included to a network
Operate any button to check if there is indication from the LED indicator, and no LED indication means the wall
controller does not belong to any network.
If the wall controller already belongs to a network, follow the exclusion process before including it in your
network. Otherwise inclusion of this device will fail.
Factory Reset
Press and hold down “inclusion/exclusion” button for over 8 seconds, LED indicator blinks slowly to indicate
successful factory reset, release “inclusion/exclusion” button, the wall controller will restart automatically.
Association
Z-Wave devices control other Z-Wave devices. The relationship between one device controlling another device
is called association. In order to control a different device, the controlling device needs to maintain a list of
devices that will receive controlling commands. These lists are called association groups and they are always
related to certain events (e.g. button pressed). In case the event happens all devices stored in the respective
association group will receive a common wireless command.
Association Groups:
Each group supports maximum 12 nodes for association, the same device can be associated with multiple
groups on the wall controller simultaneously, to ensure better control experience, the wall controller shall
remove the associated devices that are not under working status from association groups in time.
Group
Identifier Group Name Max Nodes Description
1.Send “Command Class Device Reset Locally” to
associated devices of this group to report factory
reset information when factory reset the wall
controller.
2.Double click a group number of the wall controller
to send command to associated devices of this
group using “Command Class Central Scene”.
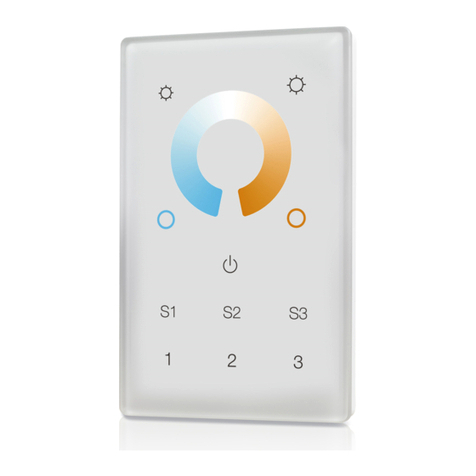
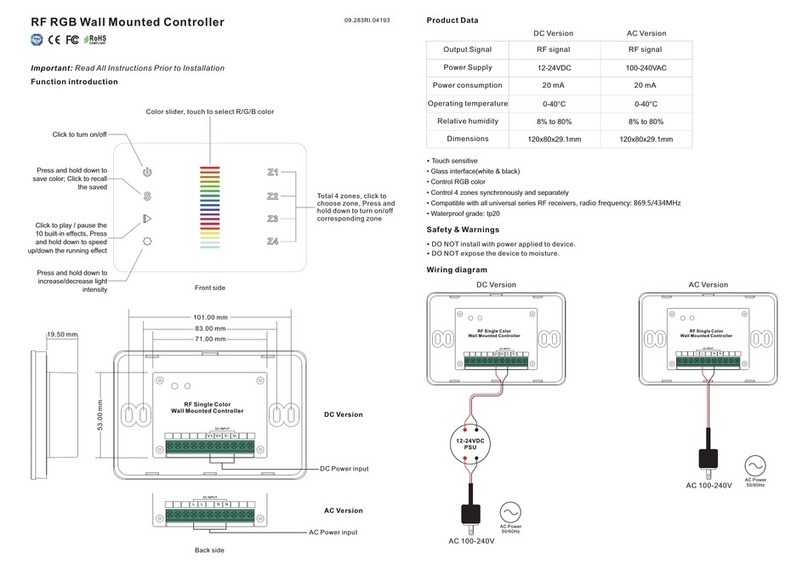
Press button "1" to activate group.
1.Press and hold down button "1" to switch the
associated devices with a Basic Set commands.
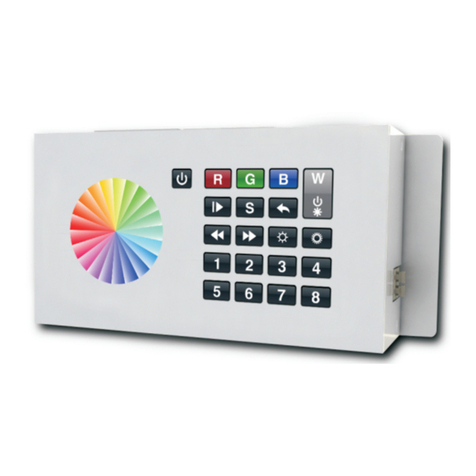
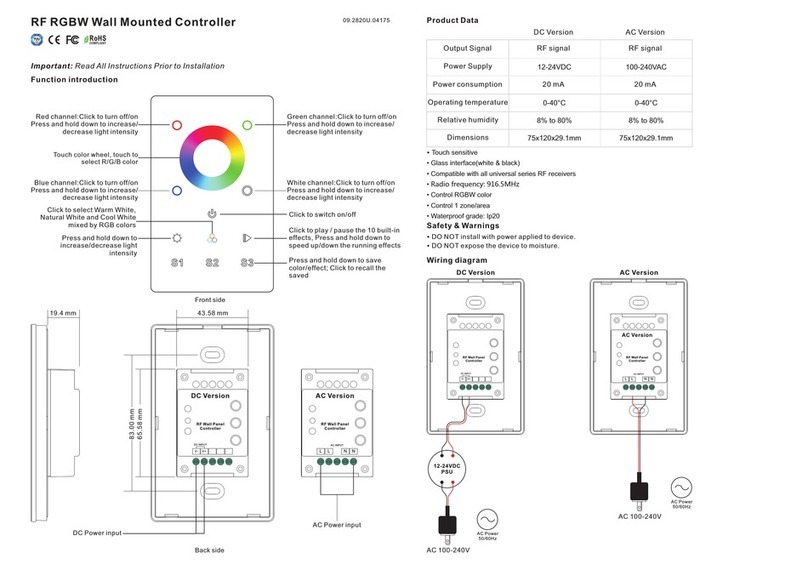
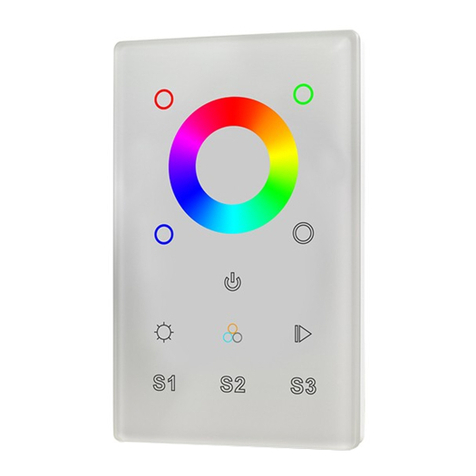
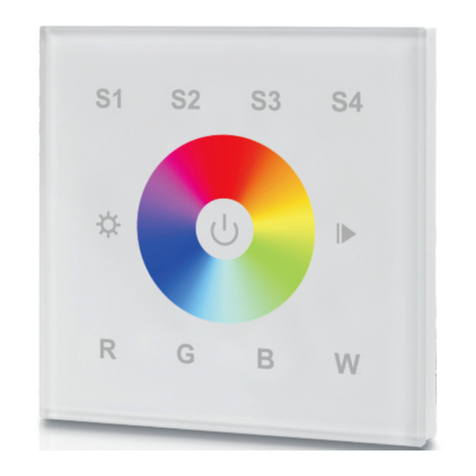
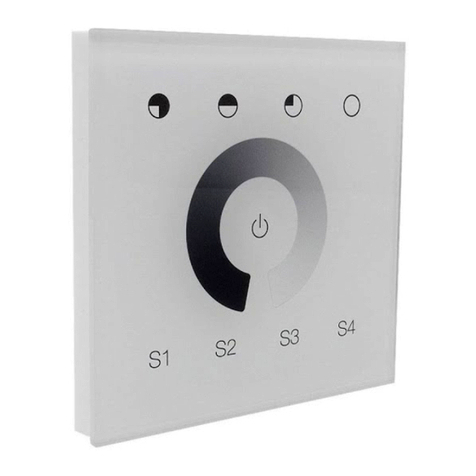
2.Press PWM1-PWM4 buttons, direct control of
associated devices using Color Switch Set
commands.
3.Press and hold down PWM1-PWM4 buttons, direct
control of associated devices using Color Switch
Start Level Change commands.
4.Short touch or slide touch the “Color Wheel”,
direct control of associated devices using Color
Switch Set commands.
1
2
Lifeline
Launch 1
1
12
Press button "4" to activate group.
1.Press and hold down button "4" to switch the
associated devices with a Basic Set commands.
2.Press PWM1-PWM4 buttons, direct control of
associated devices using Color Switch Set
commands.
3.Press and hold down PWM1-PWM4 buttons, direct
control of associated devices using Color Switch
Start Level Change commands.
4.Short touch or slide touch the “Color Wheel”,
direct control of associated devices using Color
Switch Set commands.
5.Press and hold down brightness button, direct
control of associated devices using Multilevel
Switch Start Level Change commands.
5Launch 4 12
Press button "2" to activate group.
1.Press and hold down button "2" to switch the
associated devices with a Basic Set commands.
2.Press PWM1-PWM4 buttons, direct control of
associated devices using Color Switch Set
commands.
3.Press and hold down PWM1-PWM4 buttons, direct
control of associated devices using Color Switch
Start Level Change commands.
4.Short touch or slide touch the “Color Wheel”,
direct control of associated devices using Color
Switch Set commands.
5.Press and hold down brightness button, direct
control of associated devices using Multilevel
Switch Start Level Change commands.
6.Short press "play/pause" button,direct control of
associated devices using Scene Activation Set,
Scene ID = 255.
7.Press and hold down "play/pause" button, direct
control of associated devices using Scene Conf Set,
Scene ID = 255.
3Launch 2 12
Press button "3" to activate group.
1.Press and hold down button "3" to switch the
associated devices with a Basic Set commands.
2.Press PWM1-PWM4 buttons, direct control of
associated devices using Color Switch Set
commands.
3.Press and hold down PWM1-PWM4 buttons, direct
control of associated devices using Color Switch
Start Level Change commands.
4.Short touch or slide touch the “Color Wheel”,
direct control of associated devices using Color
Switch Set commands.
5.Press and hold down brightness button, direct
control of associated devices using Multilevel
Switch Start Level Change commands.
6.Short press "play/pause" button,direct control of
associated devices using Scene Activation Set,
Scene ID = 255.
7.Press and hold down "play/pause" button, direct
control of associated devices using Scene Conf Set,
Scene ID = 255.
4Launch 3 12
5.Press and hold down brightness button, direct
control of associated devices using Multilevel
Switch Start Level Change commands.
6.Short press "play/pause" button,direct control of
associated devices using Scene Activation Set,
Scene ID = 255.
7.Press and hold down "play/pause" button, direct
control of associated devices using Scene Conf Set,
Scene ID = 255.
2Launch 1 12
