manuals.online logo
Brands
  1. Home
  2. •
  3. Brands
  4. •
  5. Swann
  6. •
  7. Security System
  8. •
  9. Swann DIY Security Kit User manual

Swann DIY Security Kit User manual

Other Swann Security System manuals
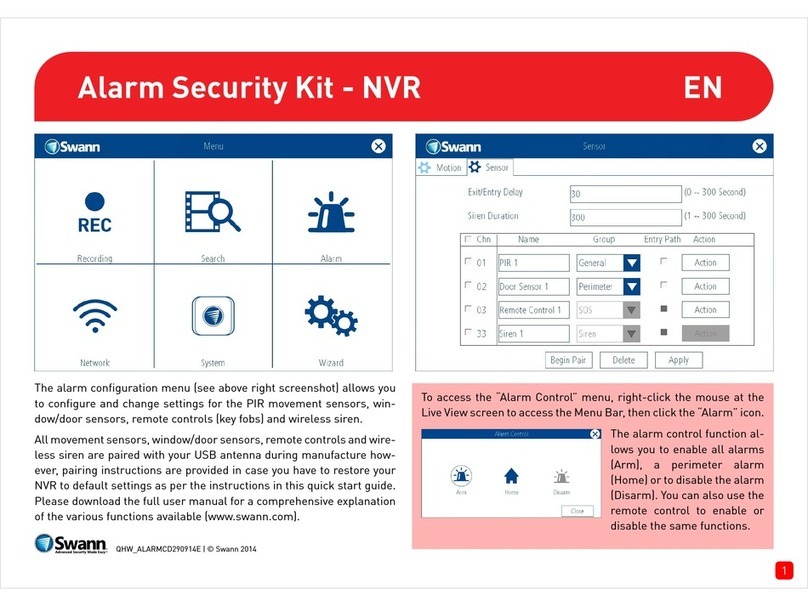
Swann USB 2.0 DVR Guardian SW241-UD4 User manual

Swann

Swann USB 2.0 DVR Guardian SW241-UD4 User manual

Swann SWIFI-ISIREN User manual

Swann

Swann SWIFI-ISIREN User manual

Swann PLATINUM HD User manual

Swann

Swann PLATINUM HD User manual

Swann SW-P-MC2 User manual

Swann

Swann SW-P-MC2 User manual

Swann SW244-LMP Quick start guide

Swann

Swann SW244-LMP Quick start guide

Swann PRO-580 User manual

Swann

Swann PRO-580 User manual

Swann SW276-ASL User manual

Swann

Swann SW276-ASL User manual

Swann DVR Guardian SW244-UDC User manual

Swann

Swann DVR Guardian SW244-UDC User manual

Swann 4 CCTV Cameras Security Monitoring System User manual

Swann

Swann 4 CCTV Cameras Security Monitoring System User manual

Swann SW244-SKI User manual

Swann

Swann SW244-SKI User manual

Swann Automobile Alarm Quick start guide

Swann

Swann Automobile Alarm Quick start guide

Swann DVR8-4200 User manual

Swann

Swann DVR8-4200 User manual

Swann DVR4-5500 User manual

Swann

Swann DVR4-5500 User manual

Swann SSH-KIT03 User manual

Swann

Swann SSH-KIT03 User manual

Swann MICROCAM II SW-P-MC2A User manual

Swann

Swann MICROCAM II SW-P-MC2A User manual

Swann DEFEND & DETER SWA43-D12C16 User manual

Swann

Swann DEFEND & DETER SWA43-D12C16 User manual

Swann SecuraView User manual

Swann

Swann SecuraView User manual
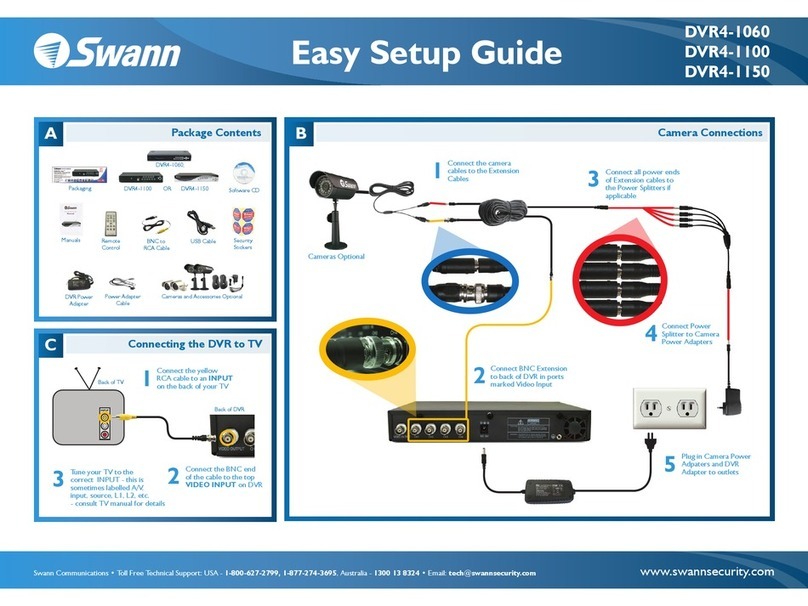
Swann HD Pro-Series User manual

Swann

Swann HD Pro-Series User manual

Swann NVW-600CMB User manual

Swann

Swann NVW-600CMB User manual

Swann GuardianEye User manual

Swann

Swann GuardianEye User manual

Swann Advanced SWDVK-825508TB User manual
Swann

Swann Advanced SWDVK-825508TB User manual

Swann 2K Series User manual

Swann

Swann 2K Series User manual

Swann ADW-340 User manual

Swann

Swann ADW-340 User manual

Swann DVR8-1425 User manual

Swann

Swann DVR8-1425 User manual
Popular Security System manuals by other brands

Polon-Alfa 4000 Installation and maintenance manual

Polon-Alfa

Polon-Alfa 4000 Installation and maintenance manual

Nexcom NViS 14162 Series user manual

Nexcom

Nexcom NViS 14162 Series user manual

Eminent EM8670 Quick install

Eminent

Eminent EM8670 Quick install

urmet domus alpha 1060 INSTALLATION AND USE BOOKLET

urmet domus

urmet domus alpha 1060 INSTALLATION AND USE BOOKLET

SmartPool YardGuard YG03 manual

SmartPool

SmartPool YardGuard YG03 manual

DSC PC5964 Mounting instructions

DSC

DSC PC5964 Mounting instructions

Secure USAB-1 operating instructions

Secure

Secure USAB-1 operating instructions

B&B 480 SERIES Operation & maintenance manual

B&B

B&B 480 SERIES Operation & maintenance manual

ADEMCO VISTA-20P Series Installation and setup guide

ADEMCO

ADEMCO VISTA-20P Series Installation and setup guide

Inner Range Concept 2000 user manual

Inner Range

Inner Range Concept 2000 user manual

Johnson Controls PENN Connected PC10 Install and Commissioning Guide

Johnson Controls

Johnson Controls PENN Connected PC10 Install and Commissioning Guide

Aeotec Siren Gen5 quick start guide

Aeotec

Aeotec Siren Gen5 quick start guide

Ecolink Siren+Chime user manual

Ecolink

Ecolink Siren+Chime user manual

EDM Solution 6+6 Wireless-AE installation manual

EDM

EDM Solution 6+6 Wireless-AE installation manual

Siren LED GSM operating manual

Siren

Siren LED GSM operating manual

Detection Systems 7090i Installation and programming manual

Detection Systems

Detection Systems 7090i Installation and programming manual

FRIEDLAND MA10 Installation and operating instructions

FRIEDLAND

FRIEDLAND MA10 Installation and operating instructions

Se-Kure Controls MicroMini SK-4841 instructions
Se-Kure Controls

Se-Kure Controls MicroMini SK-4841 instructions
manuals.online logo
manuals.online logoBrands
  • About & Mission
  • Contact us
  • Privacy Policy
  • Terms and Conditions

Copyright 2025 Manuals.Online. All Rights Reserved.

Real & Imitation Camera Monitoring System
USER’S GUIDE
S E C U R I T Y
www.swann.com.au
Swann Technical Support
All Countries Email: [email protected]
AUSTRALIA
1300 13 8324 (Mon-Fri, 9am-6pm Aus EST)
0418 146 434 (Mon-Fri, 6pm-9pm Aus EST)
Melbourne Metro: 03 8412 4610
(Mon-Fri, 9am-5.30pm Aus EST)
UNITED STATES
877-274-3695 (Sun-Thurs, 2pm-10.30pm PST)
USA Exchange & Returns
562-777-2551 (Mon-Fri, 9am-4pm PST)
Security Kit
Real & Imitation Camera Monitoring System
11
3
Package Contents
1. Swann Security Monitor
2. Monitor DC Power Adaptor (design will vary according to country)
3. 2 Imitation Security Cameras
4. 2 Real Security Cameras with 18M(60ft) A/V & Power cable attached
5. This Instruction Sheet
2
61
4
Information regarding Swann Products can be
found at
www.swann.com.au
Any Questions?
Need Help or Assistance?
Email: [email protected]
Or see reverse
Having Troubles?
DO NOT RETURN TO
STORE
How the Imitation and Real Security Cameras Work
The Real Camera will allow you to view your customers or someone at the front door, while the Imitation
Security Camera gives people the impression that you have more working cameras than you really do. With
its realistic camera casing and camera cable, it looks like a real surveillance camera. You can easily mount the
imitation security camera indoors or outdoors to deter possible thieves and intruders. Your real camera can
be mounted in the areas you most want to observe to provide the highest level of security.
Your security cameras come with a wall mounting plate, camera cable, camera stand ( connected to the wall
mounting plate), three 1-inch (25.4mm) screws, and the three drywall anchors.
Mounting the camera on your wall or ceiling
1. Using the wall mounting plate as a template, use a pencil to mark the position of the three screw
holes on the mounting location.
2. Drill three 1-inch (25.4mm) holes in the marked positions.
3. If necessary, insert the three supplied drywall anchors into the screw holes.
4. Insert a 1-inch (25.4mm) screw through each of the three screw holes in the wall mounting plate
and into the mounting surface, then tighten the screws.
5. Insert the bolt at the top of the camera stand into the nut in the bottom of the imitation security
camera, then use a pair of pliers to firmly tighten it.
6. Turn the camera stand’s knob to tighten the swivel on the camera stand.
7. Connect the camera cable’s F connector to the plug on the back of the imitation security camera.
8. Push the end of the cable through the base (Imitation Camera) or through a hole in the wall or ceiling
Make sure you maintain the same method of securing the cable as the Real camera to ensure the
Imitation cameras are indistinguishable from the Real camera.
Camera Cable
Drywall Anchor
Knob
Camera Stand
1-Inch (25.4mm) Screws
Wall Mounting Plate
25
While the Swann Security Monitor is designed for use with the Real security cameras provided,
you can still connect almost any device capable of displaying video to the monitor.
Monitor Features
1. Input Channel Selector
2. Auto Switch mode selector
3. Channel switch timer knob
4. Volume knob
5. Power button
A. 2 x 9Volt DC Power output for cameras
B. 12 ~ 13.5Volt
. Video
E. Audio
F. Video
G. Vertical Hold knob
H. Brightness knob
I. Contrast knob
J. Video, Left and Right Audio Output RCA Sockets
DC Power In Socket
C. Audio In RCA Female Socket (Channel 1)
D In RCA Female Socket (Channel 1)
In RCA Female Socket (Channel 2)
Front View
Rear View
1
A
2 4 5
I
3
J
B D G
FC H
E
To connect the Real camera to the Monitor
1. Connect the Yellow plug at the end of each camera cable to either of the Video In sockets
on the back of the Monitor.
2. Connect the Red plug on the end of each camera cable to the Audio In sockets of the
corresponding channel to the video socket on the back of the Monitor.
3.Connect the Black DC plug at the end of the camera cable to either of the DC 9V out
sockets on the back of the Monitor.
4. Plug the DC Pllug on the end of the Monitor Power Adaptor into the DC in socket on the
back of the Monitor, then plug the Power Adaptor into a mains power socket on your wall.
Please Note: Please ensure that you only use the DC power supply that is supplied with
your Monitoring Kit. Use of any unauthorised power supplies may void your warranty.
43
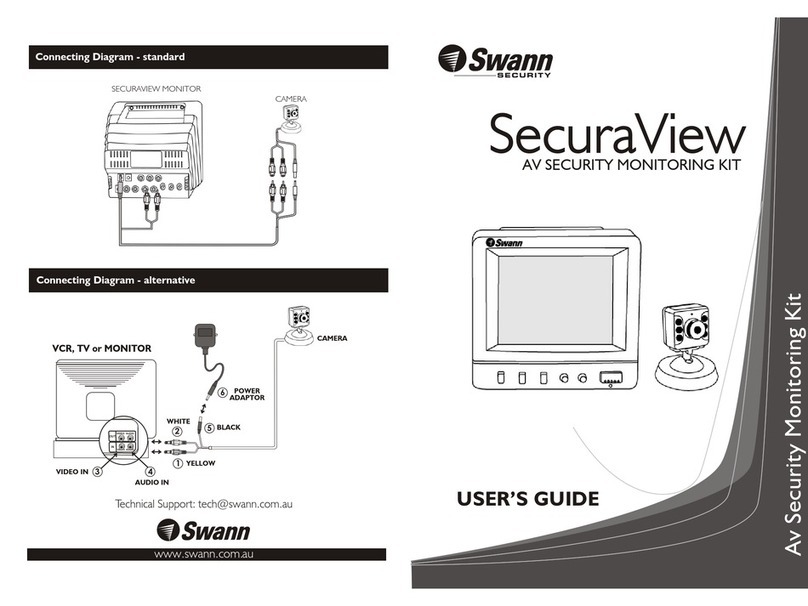
Connecting Diagram - standard
2d CAMER
nA
Swann Security Monitor CAMERA
Monitor DC
Power Supply
Connecting the Cameras to the Monitor