manuals.online logo
Brands
  1. Home
  2. •
  3. Brands
  4. •
  5. Takex
  6. •
  7. Accessories
  8. •
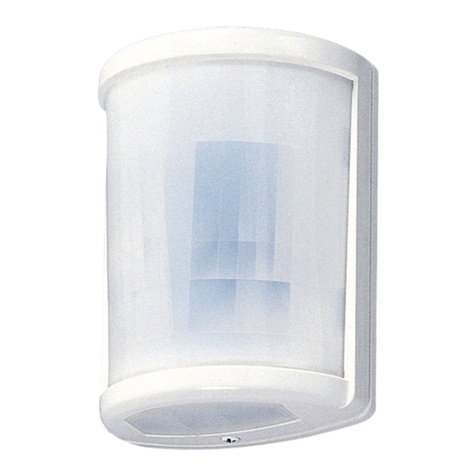
  9. Takex PA-15WE User manual

Takex PA-15WE User manual

Loosen
Tighten
180°
variable
Mounting
Hole
83.5
Hole for
Vinyl Tie
N・O N・C
COM.
Blue
Black
Red Yellow
White
Dry contact
relay output
1c
30V, 0.5A
Power
10.5V-30V DC
(non-polarity)
Mounting Base
Grip Bolt
Mounting Box
Ball Lock
Sensitivity
Volume
(Set at factory)
Operation LED
Mounting Base
1PARTS DESCRIPTION
2WIRING
3INSTALLATION
4ANGLE ADJUSTMENT
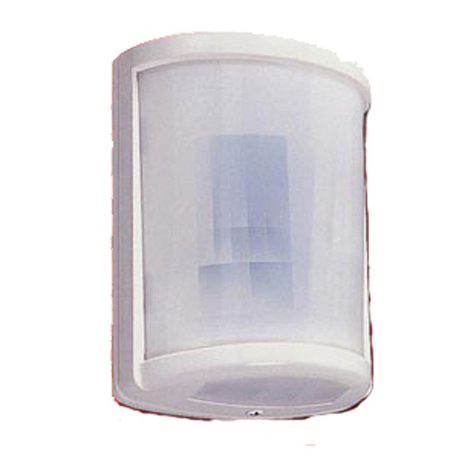
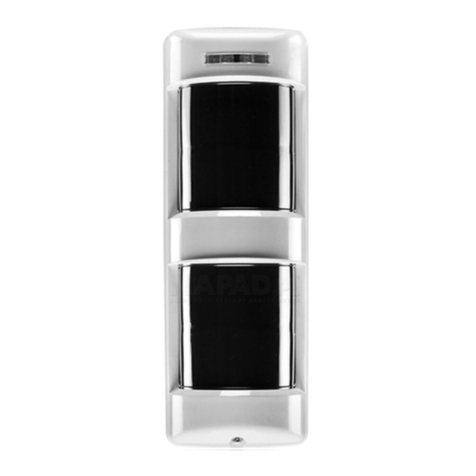
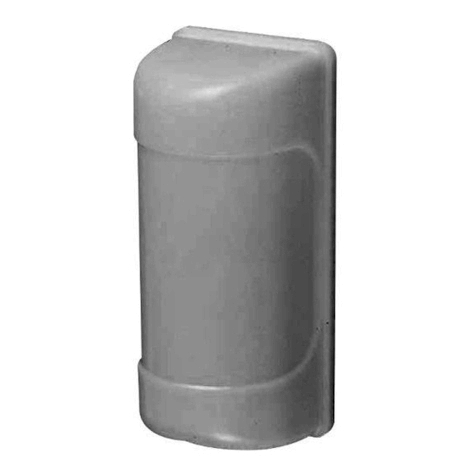
PASSIVE INFRARED SENSOR
PA-15WE (Wide angle, 15m)
PA- 30NE (Long range, 30m)
InstructionManual
Thank you for purchasing this TAKEX passive infrared sensor.
This sensor will provide long and dependable service when properly installed.
Please read this Instruction Manual carefully for correct and effective use.
Please note : This sensor is designed to detect passing objects and to initiate a signal ; it is not a burglary-preventing device.
TAKEX is not responsible for damage or losses caused by accident, theft, Acts of God (including lightning),
abuse, misuse, abnormal usage, faulty installation or improper maintenance.
DO'S AND DON'T'S
・Install the sensor in such a direction that people are
more likely to cross the detection zones.
・Do not install in a site which is directly by an air
conditioning exhaust vent.
・Avoid direct sun light shining on the window of the
sensor.
・Do not install in a site which is subject to electrical
noise.
・Install sensor with its sensitivity volume downward.
HOW TO INSTALL
Install Mounting Box.
Break knockouts
(mounting holes) from
inside with a screw
driver, etc.
Tighten screws
provided.
Refer to 4. ANGLE ADJUSTMENT
and adjust the angle of the sensor.
Plug unused screw holes on
Mounting Base with push rivets
provided.
Attach Sensor Unit to
Mounting box with
screws provided.
You can install the
sensor to standard
single gang electrical
box (pitch : 83.5 or
66.7mm) available in
the market.
Refer to 2. WIRING
and connect wires.
Tie up wires inside the
box with a vinyl tie
provided.
(1)
(2)
(3)
(4)
(5)
Wire through the lower wire lead access on
Mounting Box to prevent water leakage.
NOTE :
・Loosen the Grip bolt and ball lock
before adjusting to the required
angle.
After angle adjustment, tighten
them.
・Do not fail to set Sensor Unit to a
lower angle than horizontal.
2.62”
3.29”
83.5
66.7
180°
movable
180°
movable
Balllock
Gripbolt
90°
movable
Thedirectionofrotationoftheleftandrightgripboltsisthesame.
Pleasedonotrotateeachintheoppositedirection.
Please refer to the direction of rotation described on the body
sticker.
Accessories
Tapping screw
φ6×30 (4 pcs.)
Tapping screw
φ4×8 (1 pc.)
Combining band
(1 pc.)
Instruction manual
●PA-15WE (Wide angle)
●PA-30NE (Long range)
15m
1.5m
15m
10m
5m
15m10m
10m 15m 25m5m0
0
20m 30m
5m
(VARIABLE RANGE)
Height
2.5m
Height
2.5m
3m
3°
6.8°
40°
90°
(VARIABLE RANGE)
90°
10m 15m 25m5m 20m 30m
Symptom Passibe Cause
●No power supply,
broken wire or
incorrect voltage.
●Window shielded by an
opaque substance.
●Sensitivity adjustment
too low.
Completely
inactive
(Operation
LED doesn't
lights.)
Frequent
alarm
(Operation
LED lights
too often.)
Control panel
fails to work
although
LED lights.
●Incorrect power supply.
●Something moving in
protected area or rapid
temperature variations.
●Large electrical noise
source such as power
machine nearby or
wiring too close to that
of the PIR.
●Poor contact, broken
wire or defective
insulation of signal line.
●Damaged alarm contact.
●Correct power supply or
replace the broken wire.
●Remove the shielding
substance.
●Turn sensitivity up and
re-check operation.
●Correct power supply.
●Remove the cause.
●Turn the sensitivity
down.
●Relocate the device.
●Change the path of
wiring.
●Check wiring with a
tester.
●Check alarm contact
operation with a tester.
Remedy
TROUBLESHOOTING
5
7
6
ADJUSTMENT 8EXTERNAL DIMENSIONS
9COVERAGE
SPECIFICATIONS
Note :
TAKEX, passive infrared sensor is designed to detect infrared energy
variation caused by the presence of a human body.
Therefore note that similar variation in conditions in the protected area, due
to other reasons, may cause the sensor to create an alarm as it is unable to
distinguish between the sources.
When the sensor is used outdoors, moving objects with heat source (wind,
fallen leaves, small animals) may cause the sensor to create an alarm.
AVOID USING THE SENSOR FOR FULL-SCALE SECURITY PURPOSE.
Analyze possible problems according to the following table.
If normal operation can not be restored by these procedures,
contact either the dealer from whom you bought the unit or
TAKEX.
Check operation after installation is completed.
It is usually unnecessary to adjust sensitivity which has
been set at the factory. Adjust sensitivity to low if small
animals activate the sensor.
Allow approx. 1 minute to warm up after power is
supplied.
After 1 minute, operate a walk test in the protected
area to check if the alarm is activated.
(Operation LED (red) lights when an alarm is
initiated.)
Passive infrared sensor
Model
Detection system
Sensitive zone
Coverage
Output signal
Operation LED
Supply voltage
Current consumption
Ambient temperature range
Mounting position
Connection
Weight
Appearance
PA-15WE  PA-30NE
Passive infrared
24 (12 pairs)  2 (1 pair)
Wide angle
(Max. 50°(15m))
Dry contact relay 1C
Reset : approx. 2 sec.
Contact capacity : 30V, 0.5A (resistant load)
Red LED (Lights when sensor detects)
10.5V DC to 30V DC (non polarity)
25mA or less
-2°F to 122°F (-20°C to +50°C)
Indoor / Outdoor (Rain-proof)
Lead wire
17.5oz (500g)
Sensor : resin (white)
Mounting portion : resin (dark gray)
Long range
(Max. 100°(30m))
(1) Operation Check
(2) Sensitivity adjustment (sensitivity volume)
1.
2.
Limited Warranty :
TAKEX products are warranted to be free from defects in material and
workmanship for 12 months from original date of shipment. Our warranty does not
cover damage or failure caused by Acts of God (including inductive surge by
lightning), abuse, misuse, abnormal usage, faulty installation, improper
maintenance or any repairs other than those provided by TAKEX. All implied
warranties with respect to TAKEX, including implied warranties for
merchantability and implied warranties for fitness, are limited in duration to 12
months from original date of shipment. During the Warranty Period, TAKEX will
repair or replace, at its sole option, free of charge, any defective parts returned
prepaid. Please provide the model number of the products, original date of shipment
and nature of difficulty being experienced. There will be charges rendered for
product repairs made after our Warranty period has expired.
No.04-541
B9015
Wirelead
φ3.29
(φ83.5)
4.17
(106)
Solid
angle
SensitivityVolume
4.06
(103)
3.35
(85)
8.31
(211)
2.63
(66.7)
3.29
(83.5)
45°
90°
15.83MAX
(402)
2.83
(φ72)
4.41
(φ112)
MountingBox MoutingBase
4-φ0.24
(φ6)
4-φ0.16
(φ4)
1.61
(41)
1.42
(36)
180°
Variable
In Japan
Takex America Inc.Takenaka Engineering Co., Ltd.
https : // www. takex-eng. co. jp /
Takex America Inc.
https : // www. takex. com
Takex Europe Ltd.
https : // www. takex. com
In the U.S. In the U.K.
In Australia
Aviary Court, Wade Road,
Basingstoke, Hampshire. RG24 8PE, U.K.
Tel : (+44) 01256-475555
Fax : (+44) 01256-466268
4/15 Howleys Road, Notting Hill,
VIC, 3168
Tel : +61 (03) 9544-2477
Fax : +61 (03) 9543-2342
https : // www. takex. com
83-1, Gojo-Dori, Sotokan Nishi-iru, Higashino,
Yamashina-ku, Kyoto 607-8156, Japan
Tel : 81-75-501-6651
Fax : 81-75-593-3816
151, San Zeno WAY
Sunnyvale, CA 94086, USA
Tel : 408-747-0100
Fax : 408-734-1100
This manual suits for next models

1

Other Takex Accessories manuals

Takex PA-4810E User manual

Takex

Takex PA-4810E User manual

Takex MW-50L User manual

Takex

Takex MW-50L User manual

Takex PA-480S User manual

Takex

Takex PA-480S User manual

Takex TX-124R User manual

Takex

Takex TX-124R User manual

Takex F71R User manual

Takex

Takex F71R User manual

Takex PS-520E User manual

Takex

Takex PS-520E User manual

Takex MS-12TE User manual

Takex

Takex MS-12TE User manual

Takex PIR-T40NAM User manual

Takex

Takex PIR-T40NAM User manual

Takex PR-11BE User manual

Takex

Takex PR-11BE User manual

Takex FS-1000E User manual

Takex

Takex FS-1000E User manual

Takex PR-5B User manual

Takex

Takex PR-5B User manual

Takex TX-114TR User manual

Takex

Takex TX-114TR User manual

Takex PR-11BE User manual

Takex

Takex PR-11BE User manual

Takex PXB-100ATC User manual

Takex

Takex PXB-100ATC User manual

Takex MS-100E User manual

Takex

Takex MS-100E User manual

Takex PXB-50HF-KH User manual

Takex

Takex PXB-50HF-KH User manual

Takex F85R User manual

Takex

Takex F85R User manual

Takex PR-30BE User manual

Takex

Takex PR-30BE User manual

Takex PA-6612E User manual

Takex

Takex PA-6612E User manual

Takex PXB-50F User manual

Takex

Takex PXB-50F User manual

Takex MW-100AL Manual

Takex

Takex MW-100AL Manual

Takex PIR-T40NAM(W) User manual

Takex

Takex PIR-T40NAM(W) User manual

Takex PB-IN-50HFA User manual

Takex

Takex PB-IN-50HFA User manual

Takex PB- 50FA User manual

Takex

Takex PB- 50FA User manual

Popular Accessories manuals by other brands

GRAUPNER Fatshark Attitude V2 manual

GRAUPNER

GRAUPNER Fatshark Attitude V2 manual

Reimo TAVIRA AIR 390 installation instructions

Reimo

Reimo TAVIRA AIR 390 installation instructions

Matsing MS-MBA-4.2-H2-L2 instruction manual

Matsing

Matsing MS-MBA-4.2-H2-L2 instruction manual

PCB Piezotronics 116B Installation and operating manual

PCB Piezotronics

PCB Piezotronics 116B Installation and operating manual

Emos P5726 manual

Emos

Emos P5726 manual

W4RT Electronics ONE BOARD FILTER OBF-817 Installation

W4RT Electronics

W4RT Electronics ONE BOARD FILTER OBF-817 Installation

Maxcess FIFE DSE-41 operating instructions

Maxcess

Maxcess FIFE DSE-41 operating instructions

LEGRAND 0 672 25 manual

LEGRAND

LEGRAND 0 672 25 manual

Restube Sports instruction manual

Restube

Restube Sports instruction manual

Blue Guard BG-HW user manual

Blue Guard

Blue Guard BG-HW user manual

Thermo Scientific 3950 Operating and maintenance manual

Thermo Scientific

Thermo Scientific 3950 Operating and maintenance manual

Sanitas SHD 80 Instructions for use

Sanitas

Sanitas SHD 80 Instructions for use

WallSenzr LDS-700 Series installation instructions

WallSenzr

WallSenzr LDS-700 Series installation instructions

PRIMAVERA Simply Silent Important information

PRIMAVERA

PRIMAVERA Simply Silent Important information

Gram K3-F quick start guide

Gram

Gram K3-F quick start guide

ibis Single InteliSocket IS-301 quick start guide

ibis

ibis Single InteliSocket IS-301 quick start guide

PCB Piezotronics M119C12 Installation and operating manual

PCB Piezotronics

PCB Piezotronics M119C12 Installation and operating manual

PHOENIX MANUFACTURING Aerocool Pro Series owner's guide

PHOENIX MANUFACTURING

PHOENIX MANUFACTURING Aerocool Pro Series owner's guide

manuals.online logo
manuals.online logoBrands
  • About & Mission
  • Contact us
  • Privacy Policy
  • Terms and Conditions

Copyright 2025 Manuals.Online. All Rights Reserved.