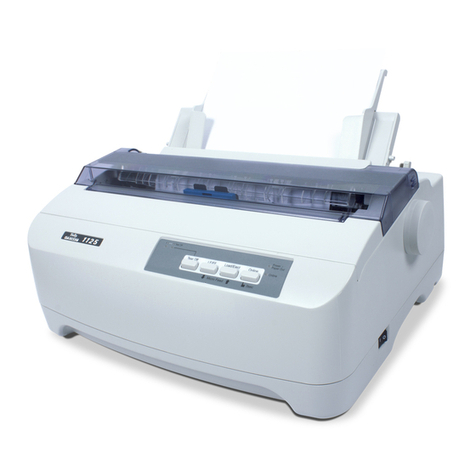
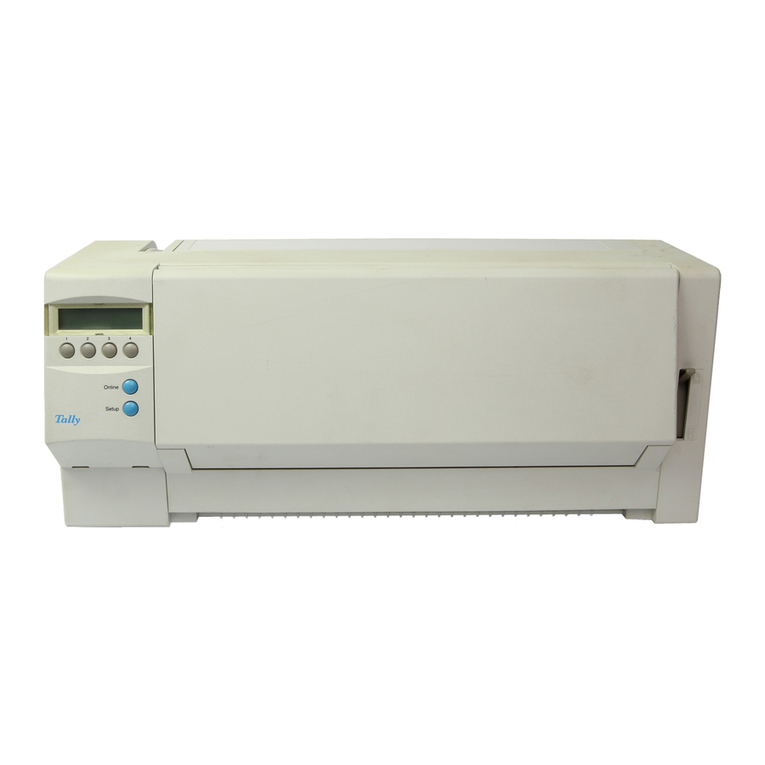
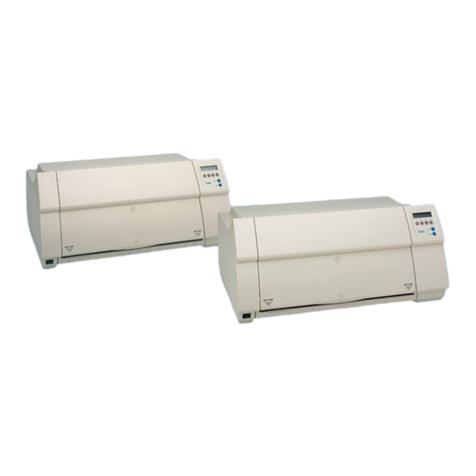
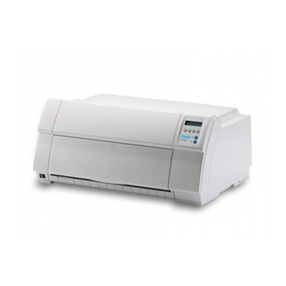
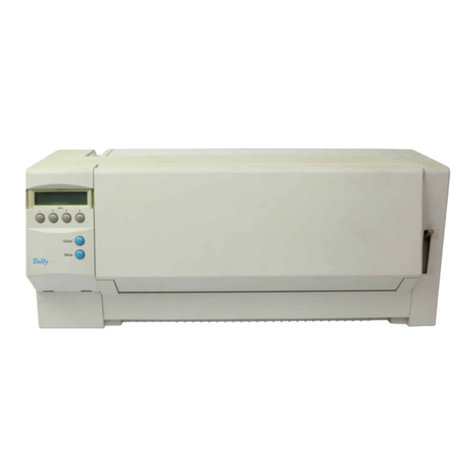
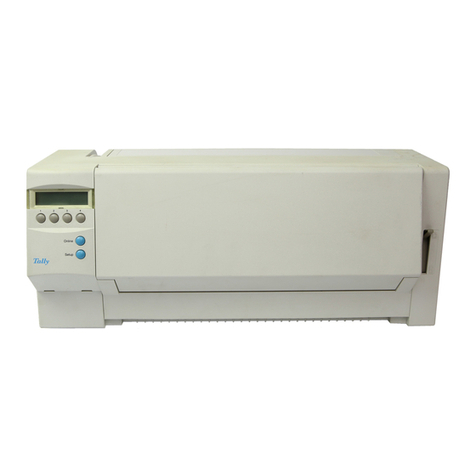
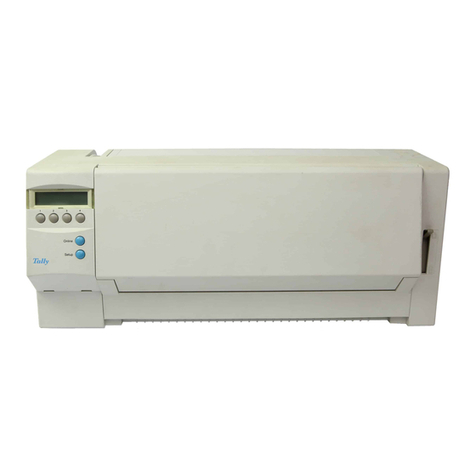
Tally T2265 SprintPro User manual

Reference manual Matrix printer
®
T2280
SprintPro
T2265
SprintPro
PRINT
MANUAL

Table of contents
Printer at a glance 1
Installation 4
Unpacking the printer 4
Placing your printer 5
Connecting the printer 7
Switching on the printer 9
The control panel 10
The LC display 11
Online mode 12
Offline mode 13
Setup mode 14
Messages in the LC display 15
Key functions when turning on the printer 16
Changing the ribbon cassette (black ribbon) 17
Changing the ribbon cassette (multicolour version) 25
Reference manual Table of contents

Paper handling 33
Changing the paper type 33
Loading paper 35
Fanfold paper 35
Single sheets 38
Paper transport 41
Moving the paper to the tear position 42
Settings 44
Setting the tear position 44
Setting the first printing line (TOF) 46
Setting the print head gap 49
Selecting character density and font 51
2T model 53
Introduction 53
Rear tractor paper path 54
Loading paper into the rear tractor 55
Paper guiding bracket 58
Selecting the rear tractor 59
Reference manual Table of contents

The Menu 61
Programming via the control panel 61
Calling up the menu 62
Enabling access to menu mode 62
Menu configurations 63
Menu handling 66
Save settings 66
Selecting the LC display language 67
Terminating Setup mode 69
Menu structure 70
Menu description table 71
Functions and Adjustments 85
Test functions87
Printer self-test (Rolling ASCII) 88
Exiting Rolling ASCII test mode 90
Interface test (Hex-Dump) 91
Printout in Hex-Dump 91
Terminating Hex-Dump 93
Reference manual Table of contents

Mechanical adjustments to the printer 94
Automatic paper motion sensor (PMS function) 95
Setting the Form length (Formlen function) 97
Automatic Gap Adjustment (AGA function) 99
Paper handling (Paphand function) 100
Increasing the printhead gap (Head up) 101
Paper width (Pagewid) 102
Left-hand area (Leftzon) 103
Right-hand area (Rightzo) 104
Physical left margin (Physlm) 105
Bidirectional parallel interface (CX-bid) 106
Line wrap (Wrap) 107
Beep at paper end (Sound) 108
Deactivate single sheet feeder (Single) 109
Settings for paper with dark back (Pap.back) 110
Setting for printing copy paper (HvyForm) 111
Loading optional firmware or character generator 112
Loading the operating system for the first time 113
Troubleshooting 113
Reference manual Table of contents

Troubleshooting 114
Problems with the print quality 119
Error messages via the display 121
Additional display messages 124
Care and maintenance 125
Replacing the fuse 126
Cleaning the housing 127
Cleaning the interior 127
Platen 128
Ribbon 129
Upper friction 129
Carriage shafts 129
Emulations 130
General 130
Escape sequences 130
What are escape sequences? 131
How are escape sequences used? 133
List of available control codes 136
Reference manual Table of contents

Barcode 158
List of available barcodes 158
US Postnet-Barcode 160
LC printing 161
List of additional control codes 162
Configuring the printer for your computer 164
Character sets 166
General information 166
MTPL standard character set167
MTPL international substitution characters 168
OCRA character set 169
OCRB character set 170
Available character sets and fonts 171
Interfaces 179
Parallel interface 180
Serial interface V.24/RS232C 182
Physical printer port in Ethernet with TCP/IP191
Reference manual Table of contents

Specifications 192
Printer specifications 192
Interface specifications 197
Paper specifications 198
Options and Accessories 201
Options 201
Accessories 204
Index
Reference manual Table of contents

Printer at a glance
Top cover
Soundproofing cover Control panel
Power switch
Front cover
View from the front
Bottom cover
Rückansicht
View from the rear
Power cord connector
Interface connectors
Reference manual Printer at a glance
1

Printer in tractor mode
Tractors
Printer in single-sheet mode
Paper guide
Rear cover
Paper support
Single sheet feeder
Reference manual Printer at a glance
2

* Not available on some models
Tractor 1
Tractor 2
Tractor 3
Paperway
Fanfold paper mode
Tractor 2: Option, modular
Tractor 3: Only for 2T model, integrated
Single sheet
Single sheet mode*
Reference manual Printer at a glance
3

Installation
➤Unpacking the printer
Place your printer on a solid surface.
Make sure that the “Up” symbols point in the correct
direction.
Open the packaging, take out the accessory cas-
sette and unpack it. Pull the printer out of the
cardboard box towards you and remove the remain-
ing packaging material.
Check the printer for any visible transport damage
and completeness. Apart from this CD-ROM (➁),
the Operator’s Manual (➀), the power cable (➂) and
the ribbon (➃) must be included.
If you find any transport damage or if any acces-
sories are missing, please contact your dealer.
➀
➁
➂
➃
Reference manual Installation
4

➤Placing your printer
Place the printer on a solid, flat, surface, ensuring
that the printer is positioned in such a way that it can
not topple, and that there is easy access to the con-
trol panel and paper input devices. Also ensure that
there is sufficient space for the printed output.
If you expect that frequent forward and reverse
feeds will occur, you should place the printer as
shown in the figure, if possible.
When selecting the printer location, observe the following additional in-
structions:
Never place the printer in the vicinity of inflammable gas or
explosive substances.
The power supply cable may be damaged
if the paper edges constantly chafe the in-
sulating sheath. The user must always
ensure that there is sufficient distance
between the power supply cable and the
paper.
STOP
STOP
Reference manual Installation
5

Do not expose the printer to direct sunlight. If you cannot avoid placing the
printer near a window, protect it from the sunlight with a curtain.
When connecting the computer with the printer, make sure not to exceed the
permitted cable length (see Specifications).
Ensure sufficient distance between the printer and any heating radiators.
Avoid exposing the printer to extreme temperature or air humidity fluctua-
tions. Protect the printer from dust.
It is recommended to install the printer in a place which is acoustically isola-
ted from the workplace because of the noise it may produce.
12
0
10
0
-10
20
30
40
50
60
70
80
90
C
Reference manual Installation
6

➤Connecting the printer
Make sure that the printer is set to the correct volt-
age (e.g. 230 V in Europe, 120 V in the U.S.A.). To
do this, check the plate above the power inlet at the
rear of the printer.
If the setting is incorrect, set the coloured switch at
the rear of the printer to the correct position, using a
pointed object (e.g. screwdriver, ball pen or
tweezers).
120V
Make sure that the printer is switched off
before setting the correct voltage; other-
wise severe damage may be caused.
Never switch on the printer if the voltage
setting is incorrect, since this may cause
severe damage to the printer.
STOP
Reference manual Installation
7

Make sure that the printer and the computer are
switched off and connect the data cable between the
printer and the computer.
Connect the power cable to the power inlet of the
printer. Connect the power cable plug to a mains
socket.
Reference manual Installation
8

➤Switching on the printer
The power switch for switching on the printer is
located at the bottom left at the front of the printer
when viewed from the front.
Reference manual Installation
9

The control panel
The control panel keys are used for controlling your work with the printer.
The control panel is located on the front left side of your printer and con-
sists of a two-line LC display and six keys.
The functions of the keys depend on the printer’s current mode (status).
There are four basic modes.
The Online mode is the printer’s normal operating mode. Data from your
computer can be received and printed.
IntheOfflinemodethelinkbetweenprinterandcomputerisinterrupted,i.e.
no data can be received and printed.
In the Setup mode you can either select the printer menu or carry out the
so-called quick-switch function. The quick-switch option was included so
that you can change the most important parameters (adjustments, charac-
ter density, font, paper path, adjustments i.e. head gap) directly without
having to enter them via the menu. The character density and font
parameters can also be set permanently in the printer menu mode.
In the Menu mode further printer settings (line spacing, size of the interface
buffer etc.) can be altered and saved permanently.
Reference manual The control panel
10

➤The LC display The LC display tells you all the important printer settings and informs you
which functions are currently assigned to which keys.
The upper line informs you that the printer is either in online or offline
mode (in the example below the printer is in the Online mode), and the
selected paperpath (below: Trac1 = tractor mode).
The second line informs you which functions are currently assigned to
which keys. The word or symbol directly above a key tells you the cur-
rent function of the key. In our example the right key is assigned with the
Tear function. If you were to press this key the loaded fanfold paper
would be advanced to the tear position.
Example:
Online Trac1
Tear Online
Setup
21 34
Printer status Paper path
Key functions
Reference manual The control panel
11

➤Online mode After switching on, the printer is automatically set to online mode. Only in
this mode can it receive data from the computer.
Tear key (4): Activates the tear function when fanfold paper is loaded
(see Moving the paper to the tear position).
If Load is displayed above this key, no paper is loaded in the printer;
press the key to feed paper to the printing position.
Setup key: Sets the printer to setup mode.
Online key: Sets the printer to offline mode.
Online Tractor1
Tear
Online
Setup
21 34
Reference manual The control panel
12
Other manuals for T2265 SprintPro
2
This manual suits for next models
1
Table of contents
Other Tally Printer manuals

Tally
Tally T6218 Configuration guide

Tally
Tally XPRESS T9412i Installation instructions

Tally
Tally T9412 User manual

Tally
Tally T2033S User manual

Tally
Tally T9114 Installation guide

Tally
Tally T7070 User manual

Tally
Tally T2030 User manual

Tally
Tally T2024/24 User manual

Tally
Tally T2265 SprintPro User manual
Tally
Tally T8106 User manual