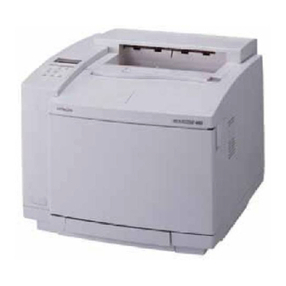
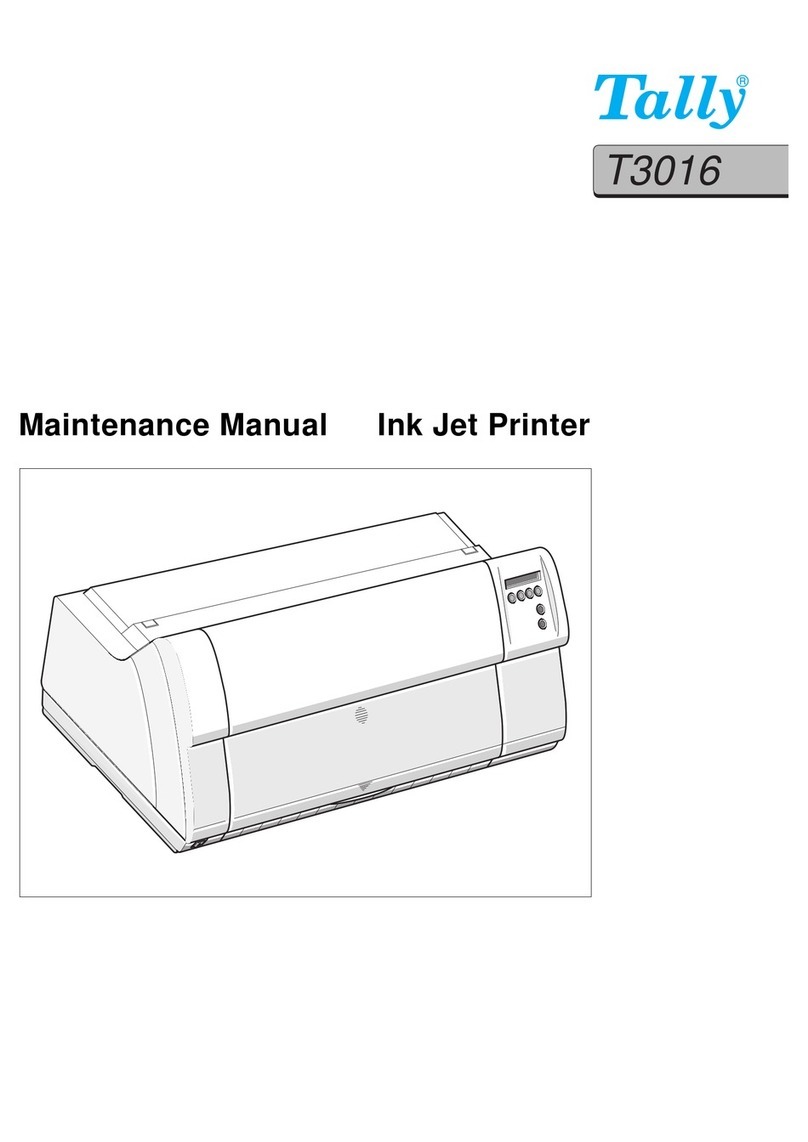
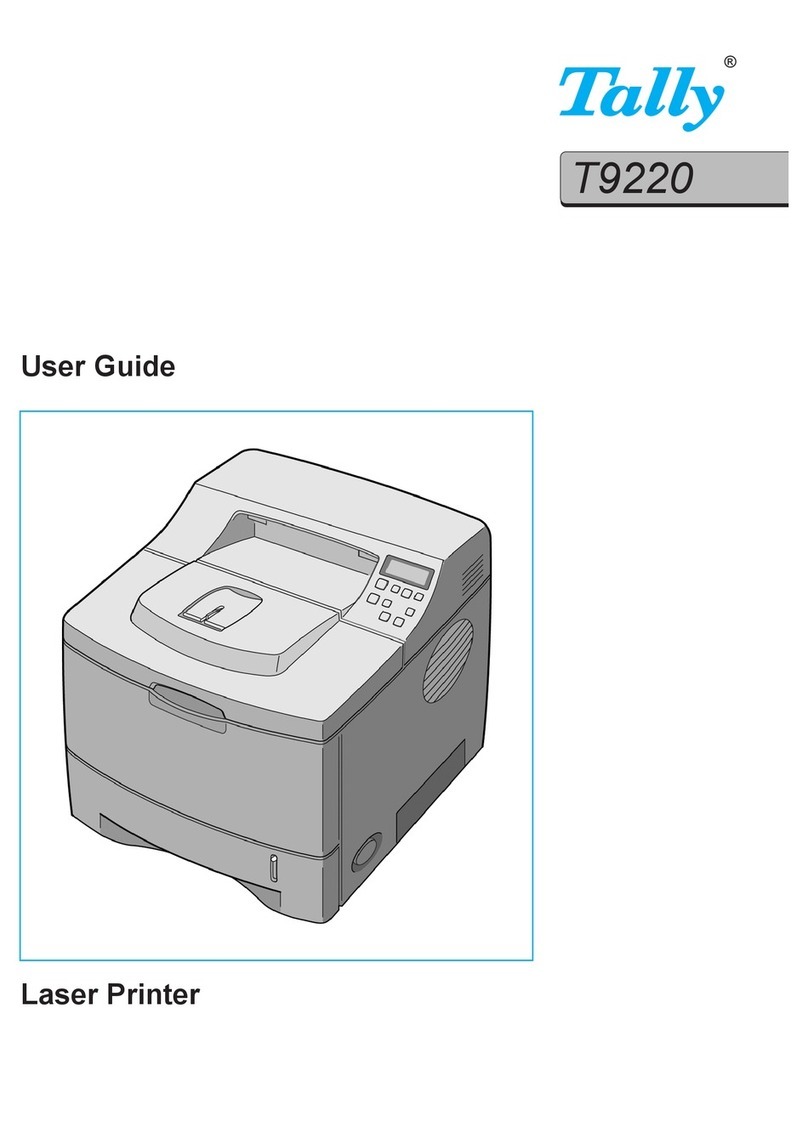
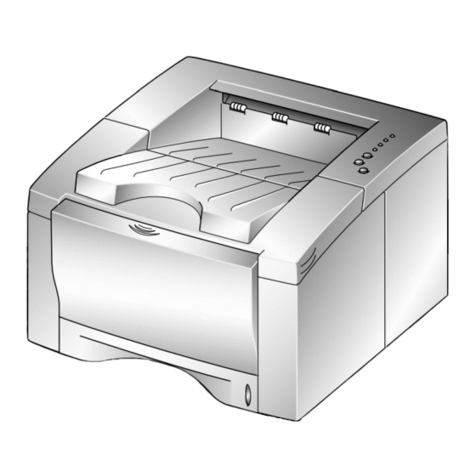
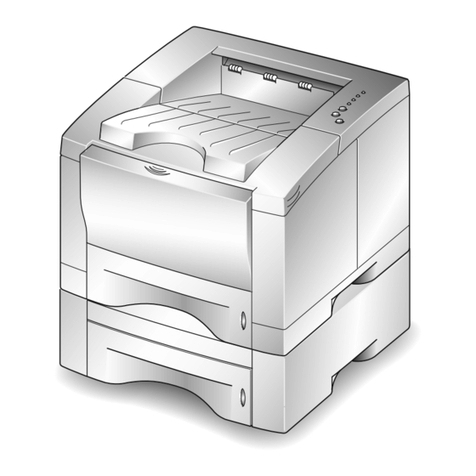
Tally T8024 User manual

User guide
T8024
Color Laser Printer

TrueType font, AppleTalk, MacOS, Macintosh and EtherTalk are trademarks of Apple Computer, Inc.,
registered in the U.S. and other countries.
NetWare is a registered trademark of Novell, Inc., in the United States and other countries.
Microsoft, MS-DOS, Windows, and Windows NT are either registered trademarks or trademarks of
Microsoft Corporation in the United States and/or other countries.
This software is based in part on the work of the Independent JPEG Group.
This product incorporates RSA®BSAFE™Crypto-C from RSA Security Inc. RSA is a registered
trademark of RSA Security Inc. BSAFE is a registered trademark of RSA Security Inc. in the United States
and/or other countries. RSA Security Inc. All rights reserved.
All product/brand names are trademarks or registered trademarks of the respective holders.
Important
This manual is copyrighted with all rights reserved. Under the copyright laws, this manual may not
be copied or modified in whole or part, without the written consent of Tally.
Parts of this manual are subject to change without prior notice.
We welcome any comments on ambiguities, errors, omissions, or missing pages.
Never attempt any procedure on the machine that is not specifically described in this manual.
Unauthorized operation can cause faults or accidents. Tally is not liable for any problems resulting
from unauthorized operation of the equipment.

i
Thank you for choosing the T8024.
This is a guide on operating the T8024 and the important points to note. To understand the
features fully and to use the machine correctly and effectively, please read this guide before
using it.
Keep this guide handy for use as a quick reference on using the machine.
This guide is written for users who are familiar with the personal computers, operating
systems, and software compatible with this printer. For operational procedures and
information regarding these items, refer to the documentation provided with the various
hardware and software that you are using.
It may be a legal offence to print currency notes, certificates of stocks and securities, or any other
documents of similar nature, regardless of whether they will be used.
This equipment conforms to the guidelines of the Japan Business Machine Makers Association on the
harmonic effects by copiers and other reproduction devices. These guidelines conform to the guides on
the harmonic suppressors of electronic appliances and general-purpose machines.
In this manual, safety instructions are preceded by the symbol . Always read and follow the
instructions before performing the required procedures.
This equipment is certified as a Class 1 laser product under IEC60825. This means that the machine
does not emit hazardous laser radiation. Since radiation emitted inside the machine is completely
confined within the protective housings and external covers, the laser beam cannot escape from the
machine during any phase of user operation.
As a member of the International Energy Star Program, Tally confirms this product satisfies
the requirements for International Energy Star Program standards.
Preface

ii
For situations like this, please read on...
The Error indicator is on or blinking.
P. 152
P. 160
An error message appears on the operation panel.
Cannot switch on the
printer. The printer does not
print.
Print quality is not good.
P. 139
P. 132
Problem!
P. 133
If you are unable to
rectify problems
with the
recommended
remedies, contact
your service
technician or
dealer.
Menu
Ready Error
Eject
Set
Cancel
Power saver
Back
Front Door Release Button

iii
I want to stop printing:
Toner cartridge
Drum cartridge
Transfer roller
P. 182
P. 186
P. 191
P. 76
I want to know how to set paper and print:
Envelopes
Custom-size paper
P. 80 P. 82
P. 85
P. 90
P. 88
P. 172 P. 178
P. 179
P. 173
P. 175
Two-sided printing
on specialty paper
Transparencies
Two-sided
printing
A paper jam message
appears on the control
panel:
I want to replace
consumables:
Check Tray
Feed Jam Open Cover B
Duplex Jam
Check Tray
Feed Jam
Check Tray
Feed Jam
Open Cover A & B
Fuser Jam
Open Cover A
Regi. Jam

iv
Adjusting colors
Economizing
Print on both sides
of the paper
PrintingWith Various Functions
P. 117
Help
Managing the printer
P. 194
P. 199
Using the printer efficiently!
You can do the following with your printer:
Help keywords are used in Windows.For information about the contents of
Help and how to use it, refer to "3.4 Using Online Help".
Printing multiple pages on a
single page
Keyword:
2 sided Print
Keyword:
Multi-Up
Setting the power
saver mode
Setting different image
quality levels to suit
your needs
Adjusting tones and
image quality
Help
Printing a stamp such as the
word ''Confidential'' as a
background to the main
printed text
Keyword: Printing a Watermark
Printing on paper inserted
between transparency
sheets
(Transparency Separators)
Keyword:
Transparency
Separators
Printing a single document
several times on the same
page (Image Repeat)
Keyword:
Using Image Repeat to Print a Job
Printing with banner sheets to separate print jobs
Keyword:
Placing Banner Sheets
Between Jobs
Ms A Mr B Ms C
Managing the printer
from a computer
Printer operational settings
Managing job logs
Printing reports
You can do the following with your
Adjusting colors
Economizing
Print on both sides
of the paper
P. 117
Help
Using the printer efficiently!
You can do the following with your printer:
Help keywords are used in Windows.For information about the contents of
Help and how to use it, refer to "3.4 Using Online Help".
Printing multiple pages on a
single page
Keyword:
2 sided Print
Keyword:
Multi-Up
Setting the power
saver mode
Setting different image
quality levels to suit
your needs
Adjusting tones and
image quality

v
PrintingWithVarious Functions
Managing the printer
P. 194
P. 199
Help
Printing a stamp such as the
word ''Confidential'' as a
background to the main
printed text
Keyword: Printing a Watermark
Printing on paper inserted
between transparency
sheets
(Transparency Separators)
Keyword:
Transparency
Separators
Printing a single document
several times on the same
page (Image Repeat)
Keyword:
Using Image Repeat to Print a Job
Printing with banner sheets to separate print jobs
Keyword:
Placing Banner Sheets
Between Jobs
Ms A Mr B Ms C
Managing the printer
from a computer
Printer operational settings
Managing job logs
Printing reports

vi
Table of Contents
◆Preface
◆For situations like this, please read on...
◆You can do the following with your printer:
◆Type of Manuals
◆Using This Guide
Organization
Conventions
◆Safety Notes
◆The Objective of the International Energy Star Program
Chapter 1 Printer System Settings
1.1 Adjusting Color Registration............................................................................................2
1.2 Configuring the Printer.....................................................................................................5
1.2.1 Compatible Systems.........................................................................................5
1.2.2 Printer Configuration Flow...............................................................................10
1.2.3 Setting the IP Address....................................................................................12
1.2.4 Setting the Protocols.......................................................................................16
1.2.5 Checking Settings...........................................................................................19
Chapter 2 Installing the Printer Driver
2.1 After Setting up the Printer ............................................................................................22
2.1.1 The PCL6 Printer Drivers................................................................................22
2.1.2 Using the TCP/IP Direct Print Utility................................................................24
2.2 Installing the Printer Driver ............................................................................................25
2.2 (Windows 95/Windows 98/Windows Me).......................................................................25
2.3 Configuring the TCP/IP Direct Print Utility.....................................................................32
2.3.1 Installing the TCP/IP Direct Print Utility...........................................................32
2.3.2 Setting the Port ...............................................................................................35
2.4 Installing the Printer Driver ............................................................................................39
2.5 Setting Up the USB Port................................................................................................51

Table of Contents
vii
Chapter 3 Basic Printer Operation
3 Printer Part Names and Functions.................................................................................62
3.1 Switching On/Off the Power...........................................................................................66
3.1.1 Switching On the Power..................................................................................66
3.1.2 Switching Off the Power..................................................................................67
3.2 Printing From a Computer..............................................................................................68
3.3 Using Online Help..........................................................................................................72
3.4 Canceling Printing..........................................................................................................76
3.4.1 Canceling Printing From the Computer...........................................................76
3.4.2 Canceling Printing at the Control Panel ..........................................................77
3.5 Changing the Configuration for Options.........................................................................78
3.6 Printing on Envelopes, Transparencies, and Custom-size (Long) Paper.......................80
3.6.1 Printing on Envelopes .....................................................................................80
3.6.2 Printing on Transparencies..............................................................................82
3.6.3 Printing Custom-size (Long) Paper.................................................................85
3.7 Two-sided Printing .........................................................................................................88
3.7.1 Two-sided Printing...........................................................................................89
3.7.2 Two-sided Printing on Specialty Paper............................................................90
Chapter 4 Loading Paper and Usable Paper Types
4.1 Suitable and Unsuitable Paper Types............................................................................94
4.1.1 Suitable Paper Types ......................................................................................94
4.1.2 Unsuitable Paper types ...................................................................................98
4.1.3 Storing Paper ..................................................................................................99
4.2 Loading Paper..............................................................................................................100
4.2.1 Loading Paper in the Paper Tray...................................................................100
4.2.2 Loading Paper in the Multi Purpose Tray ......................................................104
4.2.3 Loading Transparency Sheets in the Multi Purpose Tray..............................106
4.2.4 Loading Postcards in the Multi Purpose Tray................................................107
4.2.5 Loading Envelopes in the Multi Purpose Tray ...............................................108

Table of Contents
viii
Chapter 5 Control Panel
5.1 Control Panel Part Names and Functions ...................................................................110
5.1.1 LED Indicators...............................................................................................110
5.1.2 Display ..........................................................................................................111
5.1.3 Buttons..........................................................................................................112
5.2 Basic Menu Operation.................................................................................................113
5.2.1 Configuration of Basic Menu and Basic Operations......................................113
5.2.2 What to Do if You Make a Mistake ................................................................115
5.2.3 Example Operation .......................................................................................116
5.3 List of Menu Items .......................................................................................................117
5.3.1 System..........................................................................................................117
5.3.2 Maintenance..................................................................................................121
5.3.3 Parallel ..........................................................................................................123
5.3.4 Report/List.....................................................................................................123
5.3.5 Network.........................................................................................................124
Chapter 6 Troubleshooting
6.1 Type of Problems.........................................................................................................130
6.1.1 Problem List..................................................................................................130
6.2 No Power.....................................................................................................................132
6.3 The Printer Does not Print...........................................................................................133
6.3.1 Indicators are Illuminated, Blinking or Off .....................................................133
6.3.2 Cannot Print in Windows...............................................................................136
6.4 Print Quality is Not Good.............................................................................................139
6.4.1 Blank or Completely Black Pages are Output...............................................139
6.4.2 Faded or Dirty Printouts, White Areas (Drop-outs), Creases, Blurs..............140
6.4.3 Unsatisfactory Printing..................................................................................145
6.5 Paper Does not Feed Properly ....................................................................................146
6.6 Other Problems............................................................................................................148
6.6.1 Network Problems.........................................................................................148
6.6.2 Other Problems.............................................................................................150
6.7 When an Error Message Appears on the Control Panel..............................................152
6.8 The Error Indicator is On or Blinking............................................................................160
6.8.1 The Error Indicator is On...............................................................................160
6.8.2 The Error Indicator is Blinking.......................................................................160
6.9 Forcing the Printer to Print Remaining Data (When Printing is Halted).......................161
6.10 Cleaning the Density Sensor.......................................................................................163
6.11 If the Multi Purpose Tray Comes Loose.......................................................................166
Table of Contents
ix
Chapter 7 Clearing Paper Jams
7.1 Paper Jams..................................................................................................................170
7.2 Paper Jams in Multi Purpose Tray ...............................................................................172
7.3 Paper Jams in the Paper Tray......................................................................................173
7.4 Paper Jams between the Drum Cartridge and Fuser Cartridge ..................................175
7.5 Paper Jams in the Duplexer.........................................................................................178
7.6 Paper Jams in the Tray Module (1 or 2 cassettes).......................................................179
Chapter 8 Daily Care
8.1 Replacing the Toner Cartridges...................................................................................182
8.1.1 Toner Cartridge Handling Precautions..........................................................182
8.1.2 Replacing Toner Cartridges ..........................................................................183
8.2 Replacing the Drum Cartridge.....................................................................................186
8.2.1 Drum Cartridge Handling Precautions ..........................................................186
8.2.2 Replacing the Drum Cartridge ......................................................................187
8.3 Replacing the transfer roller.........................................................................................191
8.3.1 Transfer Roller Cartridge Handling Precautions............................................191
8.3.2 Replacing the Transfer Roller........................................................................192
8.4 Printing Reports and Lists ...........................................................................................194
8.4.1 Confirming Printer Configuration and Network Settings................................195
8.4.2 Checking the Print Log..................................................................................197
8.5 Confirming Printer Status from Your Computer ...........................................................199
8.5.1 Checking Status and Remaining Amounts of Consumables with a Web Browser
199
8.5.2 Checking Status From the Desktop...............................................................203
8.6 Cleaning the Printer.....................................................................................................204
8.7 Moving the Printer........................................................................................................205
8.8 Storing the Printer........................................................................................................209

Table of Contents
x
Appendix
A Introduction to Options and Consumables...................................................................212
A.1 Options and Installation.................................................................................212
A.2 Consumables................................................................................................219
B Control Panel Menu List ..............................................................................................220
C Specifications ..............................................................................................................224
C.1 Printer Specifications ....................................................................................224
C.2 Network Specifications..................................................................................226
C.3 Printable Area ...............................................................................................227
D Life Span of Consumables...........................................................................................228
E Obtaining Product Information.....................................................................................229
F Precautions and Limitations ........................................................................................230
G Glossary ......................................................................................................................232
Index

xi
The following literature is provided on the T8024 CD. The manuals are is supplied in PDF
format, therefore, you need Adobe®Acrobat®ReaderTM. If necessary, you can install
Adobe Acrobat Reader from the T8024 CD.
Quick Start Guide
This section describes the items in the printer package.
Read this section when setting up the printer.
User Guide (this book)
This manual describes the printer operation from a user point of view. The
loading of drivers and connection to often already configured network
connections is covered. Operation of the control panel, handling of consumables,
simple fault finding and installation of options is also covered.
Network User Guide
This manual can be accessed by selecting next from the screen above. It gives
details of how to configure and connect the printer to various PC based systems.
See the Postscript User Guide for details of installation of the optional PDL
emulation , Postscript level 3, onto Macintosh computers.
Type of Manuals

xii
Other Manuals
Other Manuals are available for the Postscript Option and the High capacity
Feeder.
These manuals can be seen by selecting next from the screen above.
Using This Guide

xiii
Organization
The present guide is divided into the following nine chapters. A brief outline of
each chapter is given below.
Chapter 1 Printer System Settings
Describes the color registration procedures, system requirements, and network
settings needed to use the printer.
Chapter 2 Installing the Printer Driver
Describes the procedure for installing software necessary to use the printer (the
printer driver) on your computer.
Chapter 3 Basic Printer Operation
Describes the basic functions of the printer and how to use them.
Chapter 4 Loading Paper and Usable Paper Types
Describes the loading methods of the various types of paper compatible with the
printer.
Chapter 5 Control Panel
Describes the operation of the control panel and functions that you can set from
it.
Chapter 6 Troubleshooting
Describes error messages and their meanings, as well as what to do in case an
error message appears.
Also describes common problems that occur during printing and their remedies.
Read this chapter to determine the nature of the problem and the best method of
dealing with it.
Chapter 7 Clearing Paper Jams
This chapter explains procedures to deal with paper jams.
Chapter 8 Daily Care
Describes the consumables used by the printer, handling precautions, and
replacement procedures.
Also, this chapter describes the cleaning procedures required for continued
normal operation, printer storage requirements when it is not in use over a long
period, and procedures for transporting the printer.

xiv
Appendix
The following information is presented in the appendix.
●Introduction to Options and Consumables
●Control Panel Menu List
●Specifications
●Life Span of Consumables
●Obtaining Product Information
●Precautions and Limitations
●Glossary
Conventions
1. In this guide, "computer" refers to personal computer, Macintosh, workstation,
and host device.
2. The following icons are used in this guide.
Indicates important information which you should read.
Indicates additional information about operations or features.
Indicates reference sources.
"": indicates reference to a chapter or section.
3. The following conventions are used in this guide.
Bold:Indicates selections and all kinds of buttons.
Example: Click Next.
Safety Notes

xv
Safety Precautions
To ensure safe operation of your printer, make sure you read this section thoroughly
before use.
This section describes the conventions used in the manual.
Warnings alert you to operations that could cause death or
serious injury to yourself.
Cautions alert you to opera-
tions that could cause bodily
injury or material damage.
This symbol alerts you to pro-
cedures that require close attention. Make sure
you read and follow the instructions carefully.
This symbol alerts you to prohibited proce-
dures. Make sure you read the instructions care-
fully.
This symbol alerts you to procedures that should be performed. Make sure you
perform the procedure after reading the instructions carefully.
Do not place the printer in a hot, humid, dusty, or poorly ventilated environment.
Prolonged exposure to these adverse conditions can cause fire or electric shocks.
Do not place the printer near heaters or near volatile, flammable, or combustible
materials, such as curtains, that may catch fire.
Place the printer on a level and sturdy surface that can withstand a heavy weight.
If tilted, the printer may fall and cause injuries.
Installing and Relocating Your Printer
Heated
surface Flammable Electric
shock Pinched
fingers
Prohibited No fire Do not
strip down Do not
touch
Instructions Unplug Ground/
Earth

xvi
The printer weighs 34.9 kg (77 lbs) fully assembled, therefore make sure that at
least two people carry it.
To lift the printer, face the front and back of the printer and, with both hands, grip
the recessed areas at the bottom left and right. Never try to lift the printer by grip-
ping any other areas. Lifting the printer by gripping other areas can cause the
printer to fall, resulting in injury.
When lifting the printer, get a firm footing and bend your knees to avoid possible
injuries to your back.
The machine has ventilation holes on the left, right, and rear sides. Ensure that the
machine is installed with a minimum clearance of 150 mm from the right side, 100
mm from the left side, and 200 mm from the rear side. A poorly ventilated machine
can cause excessive internal heat and fire. The accompanying diagram shows the
minimum clearances required for normal operation, consumables replacement,
and maintenance to ensure your machine operates at peak performance.
When moving the printer, be sure to unplug the power cord from the outlet. If the
printer is moved with the power cord connected, it can cause damage to the cord,
which could result in fire or electric shocks.
Recess
If you hold the printer by the front door,
left or right sides, there is a danger of
the printer falling.
100mm 200mm
150mm
600mm

xvii
When moving the printer, do not tilt it more than 10 degrees. If tilted excessively,
the printer may fall over and cause injuries.
After installing the tray module, lock down the brakes on the casters at the front of
the tray module. Failure to lock down the brakes can cause the printer to move
unexpectedly, resulting in injury.
■Operate the printer in a location that meets the following conditions:
Ambient temperature range of 10 to 32°C, relative humidity of 15 to 85% (no con-
densation)
If operating the printer with an ambient temperature of 32°C, the relative humidity
should not exceed 65%. If the relative humidity reaches 85%, the ambient temper-
ature should not exceed 28°C.
Do not place the printer in a room where there are sudden fluctuations in tempera-
ture, and do not move the printer from a cold place to a warm humid place. If you do,
condensation may occur within the printer and print quality deteriorate.
■Do not place the printer in direct sunlight, as this may damage the printer.
■When installing the printer, do not place it on an uneven surface where it could be
tilt more than 5 degrees in any direction in order to prevent trays or consumables
from falling out.
■Do not place the printer directly next to an air conditioner or heater, as this affects
the temperature inside the printer and can cause damage.
Other Precautions

xviii
Three power specifications are listed below. The specifications that apply to your
printer depend on its configuration. Connect the power plug only to a properly
rated power outlet. Otherwise, it can cause fire or electric shocks. If in doubt, con-
tact your dealer.
• Rated voltage: 100 V
Rated frequency: 50/60 Hz
• Rated voltage: 110-127 V
Rated frequency: 60 Hz
• Rated voltage: 220-240 V
Rated frequency: 50/60 Hz
Ensure that the plug connection is clean. In a damp environment, a contaminated
connector can draw a sufficient amount of current that can generate heat and
eventually cause fire over an extended period of time.
Always use the power cord provided with your printer. When an extension power
cord is required, always use a properly rated cord.
Do not attempt to modify, pull, bend, chafe, or otherwise damage the power cord.
Do not place a heavy object on the cord. A damaged cord can cause fire or electric
shocks.
Never touch a power cord with wet hands. This constitutes an electric shock haz-
ard.
Stop operation immediately if your printer emits smoke, excessive heat, unusual
noise or smell, or if water is spilt onto the printer. These conditions can cause fire.
Immediately turn off and unplug the printer, and contact your dealer.
Precautions for Power and Earth Connections
Table of contents
Other Tally Printer manuals

Tally
Tally T9014 User manual

Tally
Tally t2145 User manual

Tally
Tally T6215 User manual

Tally
Tally T2150 User manual

Tally
Tally XPRESS T9412i Installation instructions

Tally
Tally T2033S User manual

Tally
Tally T9114 Installation guide

Tally
Tally DT-230 User manual

Tally
Tally T9112 User manual

Tally
Tally T8106 User manual

Tally
Tally T 2060 User manual

Tally
Tally T2040 User manual

Tally
Tally T9412 User manual

Tally
Tally T2150 SprintPro User manual

Tally
Tally T2240 User manual

Tally
Tally Xpress T8016 User manual

Tally
Tally T2040 User manual

Tally
Tally T2265 SprintPro User manual

Tally
Tally T6215 User manual

Tally
Tally T6090 User manual