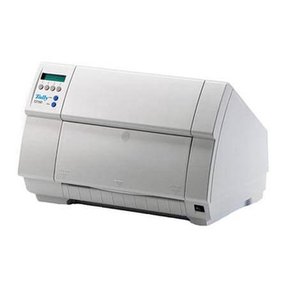
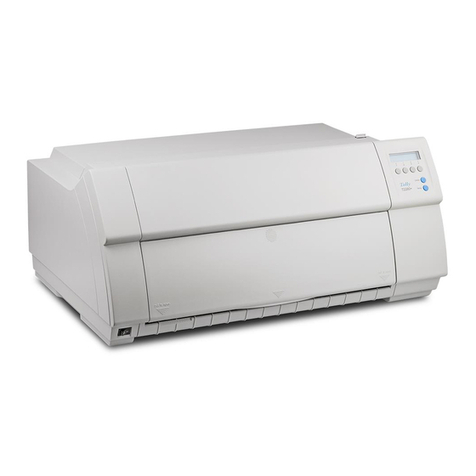
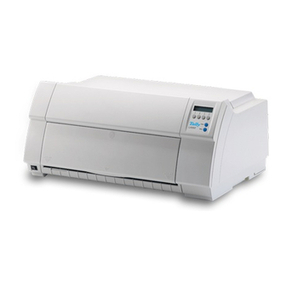
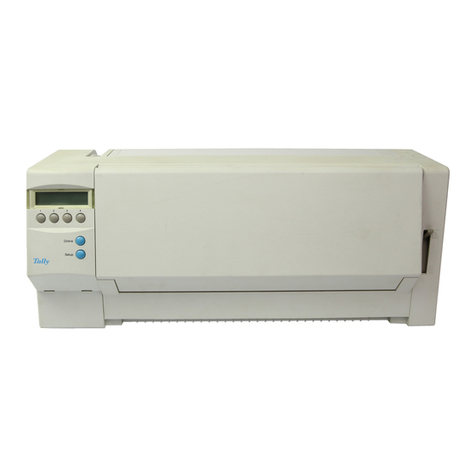
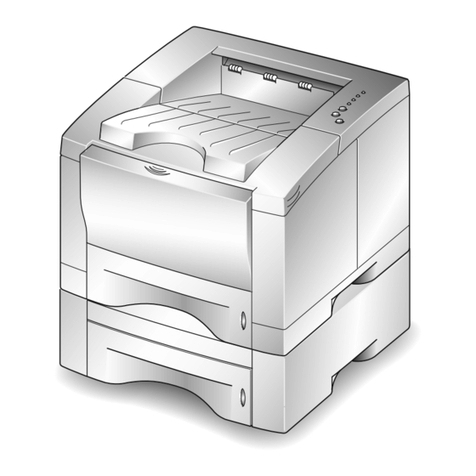
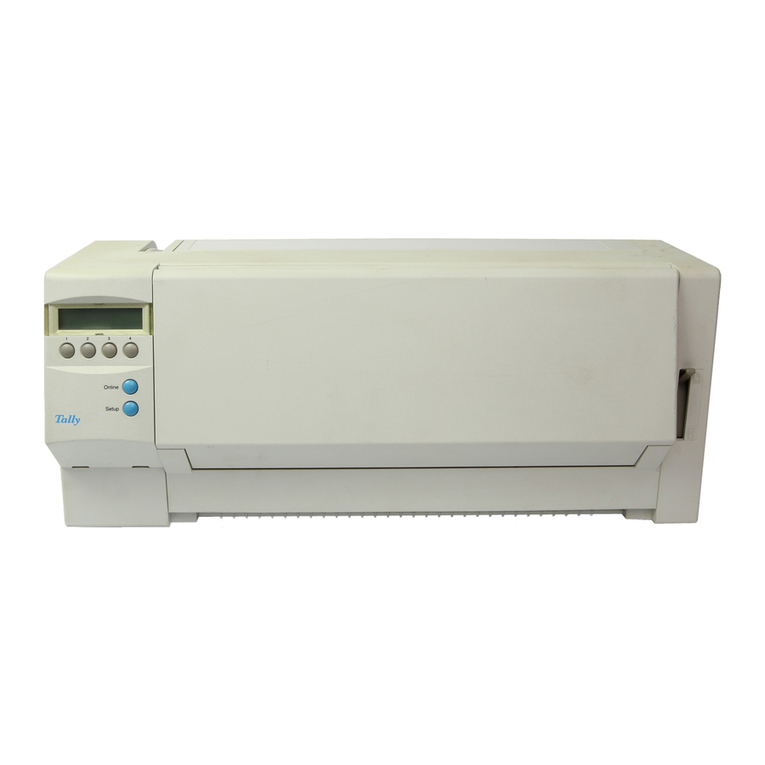
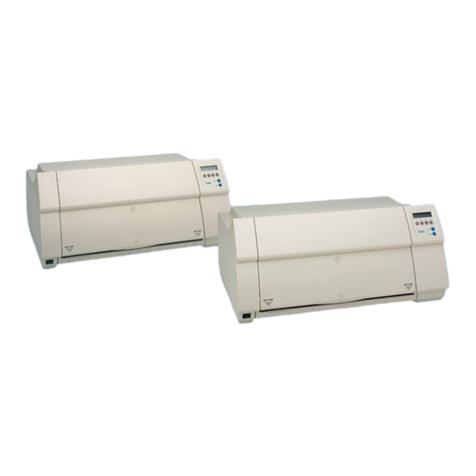
Tally T 2045 User manual

T2055
T2070
T2045
T2060
Operator’s Manual
Bedienungsanleitung
Manuel d’utilisation
Istruzioni per l’operatore
Instrucciones para el uso
Face Down
Seitenrichtige Ablage
Récepteur papier
face en dessous
Vassolo carta – parte
stampante verso il basso
Depósito de papie – cara
impresa hacia abajo

Important Information
This equipment generates and uses radio frequency energy and if
not installed and used properly, that is, in strict accordance with the
manufacturer’s instructions, may cause interference in radio and
television reception. It has been type tested and found to comply
with the limits for a class B computing device in accordance with
the specification in subpart J of part 15 of FCC rules, which are de-
signed to provide reasonable protection against such interference
in a residential installation. However, there is no guarantee that in-
terference will notoccur in a particular installation. Ifthis equipment
does cause interference to radio or televisionreception, which can
be determined by turning the equipment off and on, the user is en-
couraged to try to correct the interference by one or more of the
following measures:
■Reorient the receiving antenna,
■Relocate the peripheral away from the receiver,
■Move the peripheral away from the receiver,
■Plug the peripheral into a different outlet, so that peripheral
and receiver are on different branch cicuits.
If necessary, the user should consult the dealer or an experienced
radio/televisiontechnicianforadditionalsuggestions.Theusermay
find the following booklet prepared by the Federal Communications
Commission helpful:
“How to Identify and Resolve Radio-TV Interference Problems”.
This booklet is available from the U.S. Government Printing Office,
Washington, DC 20402,
Stock No. 004.000.00345.4.
Warning: To comply with FCC regulations on electromagnetic in-
terferencefora class Bcomputingdevice,theprintercable mustbe
shielded. To assure compliance with FCC regulations for a compu-
ting device use a shielded interface cable with a metal shell con-
nector. The use of cables not properly shielded may result in
violating FCC regulations.
This digital apparatus does not exceed the class B limits for radio
noise emissions from digital apparatus as set out in the radio inter-
ference regulationsof the canadian departmentofcommunications.
This unit complies with DOC standard C108.8-M 1983
Attention: Le présent appareil numérique n’émet pas de bruits ra-
dioélectriques dépassant les limites applicables aux appareils nu-
mériques de classeB prescrites dans leréglementsur le brouillage
radioélectrique édicté par le ministère des communications du
Canada.
This device fulfils the European standards requirements by complying with the Directive of the
Commission dated May 3, 1989 (89/336/EEC) relating to electro-magnetic compability and the
Directive dated February 19, 1973 (73/23/EEC) relating to low-voltage electrical equipment.
ConformitywiththeabovementionedDirectives isindicatedbytheCEsymbolattachedtothedevice.
Note: Conformity may be affected by:
■using interface cables not complying with the specifications
■non-observance of important instructions in the user manual
■installing components not approved for this device by the manufacturer
■unauthorized manipulation
Dieses Gerät erfüllt die Anforderungen der Europäischen Normen durch Einhaltung der Richtlinie
des Rates vom 3. Mai 1989 (89/336/EWG) bezüglich der Elektromagnetischen Verträglichkeit
sowie die Richtlinie vom 19. Februar 1973 (73/23/EWG) bezüglich Elektrischer Betriebsmittel mit
Niederspannungen.
DieKonformitätzu denobenangeführten Richtlinien istdurch dasam GerätangebrachteCE-Zeichengekennzeichnet.
Hinweis: Die Konformität kann beeinflußt werden durch:
■Benutzung von nicht spezifizierten Schnittstellenkabeln
■Nichtbeachtung wichtiger Hinweise der Bedienungsanleitung
■Ersetzen von Bauteilen, die nicht vom Hersteller für dieses Gerät freigegeben wurden
■Eingriffe durch Unbefugte
Cet appareil remplit aux exigences des normes européennes en respectant la directive du Conseil
du 3mai 1989(89/336/CE) relativeà lacompatibilitéélectromagnétiqueetla dircetivedu 19 février
1973 (73/23/CE) en matière du matériel à basse tension. La conformité aux directives mention-
nées ci-dessus est repérée par la marque de conformité de la Conmunauté Européenne (CE).
Remarque: La conformité peut être influencée par:
■l’utilisation de câbles d’interface non spécifiés
■le non-respect de consignes importantes du manuel d’utilisation
■le remplacement de composants qui n’ont pas été homologués pour cet appareil par le constructeur
■l’intervention de personnes non autorisées
Questo apparechio soddisfa le richieste delle norme europee rispettando ladirettiva del consiglio del
3 Maggio 1989 (89/336/CEE) relativa alla compatibilità elettromagnetica nonché la direttiva del 19
Febbraio 1973 (73/23/CEE) relativa a mezzi di produzione elettrici a bassa tensione. La conformità
alle direttive sopra citate è contrassegnata con il simbolo CE applicato sull’apparecchio.
Nota: La conformità può essere influenzata tramite:
■Utilizzo di cavi interfaccia non specificati
■Inosservanza di importanti indicazioni delle instruzioni per l’uso
■Sostituzione di componenti per i quali non è stato di benestare dal produttore per questo apparecchio
■Interventi tramite persone non autorizzate
Este equipo corresponde a lo exigido en las normas europeas a base del cumplimiento de la
directriz de Consejo del 3 de mayo de 1989 (89/336/CEE) en lo que se refiere a la compatibilidad
electromagnética así como de la directriz de 19 de febrero de 1973 (73/23/CEE) en lo que se
refiere a los materiales eléctricos con bajas tensiones.
Paraseñalizar laconformidad conlas directricesantes mencionadas, elequipo estádotado delamarcaCE.
Indicación: La conformidad puede estar influida por:
■la utilización de cables de interface no especificados
■la inobservancia de indicaciones importantes contenidas en le manual de sevicio
■la sustitución por componentes, que no han sido homologados por el fabricante para el equipo en cuestión
■intervenciones de personas no autorizadas
WARNING For continued protection against risk of fire, replace only with same type and rating of fuse. Only trained and qualified personnel may open covers or remove parts that
are not explicitly shown and described in the Operator’s Manual as being accessible to the operator.
WARNUNG Aus Brandschutzgründen nur Sicherungen desselben Typs und derselben Auslegung verwenden. Das Entfernen oder Öffnen von Abdeckungen und Teilen darf nur
durchgeschultesFachpersonal vorgenommenwerden.Ausgenommen hiervonsind nursolcheAbdeckungenundTeile,derenEntfernenbzw.Öffneninder Bedienungs-
anleitung ausdrücklich gekennzeichnet und beschrieben sind.
ATTENTION Pourne pascompromettre laprotection contreles risquesd’incendie, remplacerparun fusiblede mêmetype etdemêmes caractèristiques nominales. Seulun personnel
qualifiéet forméest habilitéà démonterles sous-ensembles dela machinequine sontpasformellementi ndiqués dansle ManuelUtilisateurmeme s’ils sontaccessibles
par l’opérateur.
ATTENZIONE Per evitare il pericolo di incendio, utilizzare esclusivamente fusibili dello stesso tipo e della stessa portala. Solo personale qualificato puo’accedere a parti che non siano
esplicitamente descritte nel manuale dell’operatore come accessibill all’operatore.
ATTENCION Por razones de protección contra incendios, sólo utilice fusibles del mismo tipo y diseno. El desmontaje o la aberturade cubiertas y piezas debe efectuarse solamente
por personal formado, excepto las cubiertas y piezas, el desmontaje o abertura de las cuales se permite y describe explicitamente en las instrucciones de uso.
Face Down Option
Operator’s Manual
ENGLISCH

Explanation of the symbols in this manual:
If your printer has an operating panel
with 9buttons:
RRead in particular the paragraphs with the symbol
If your printer has an operating panel
with 6buttons:
RRead in particular the paragraphs with the symbol
Paragraphs marked with both symbols at once apply to both printer versions.
↓
↑↓
↑
↓
↑↓
↑

Introduction The face down option is an additional module which can be used in con-
nection with the automatic sheet feeder as well as with the manual paper
insertion at the front of the printer.
It offers the advantage that sorting of a multiple page document is not
necessary, as the printed sheets are deposited in the correct order from
the bottom to the top.
The paper capacity of the face down option amounts to approx. 150
single sheets.
It can be activated and deactivated simply by tilting it.
General view Paper guide
Switching lever
Locking lever
Paper depot
ENGLISCH
Introduction
1

Unpacking the face
down option Remove the contents from the packing.
Remove the packing material and styrofoam safety blocks.
➀Transportation unit ➁Paper depot ➂Cover
(necessary for
some models)
Please check that the contents of the packing are complete and have not
been damaged during transportation.
If a unit is missing or damaged please notify your dealer immediately.
1
2 3
Unpacking the face down option
2

Installing the face
down option
Remove the protection cap on the printer housing first.
For reasons of design, this cap is not present on certain models.
Loosen the cover on the printer housing by means of a small screwdriver
or another pointed tool (scissors, etc.) and pull off the cap in an upward
direction.
Keep the cover in a save place. For safety reasons the cover should be
re-installed, when the face down option is not used.
Caution: Danger of catching long hair or necklaces, etc. during opera-
tion.
↓
↑↓
↑
↓
↑↓
↑
ENGLISCH
Installing the face down option
3

Insure that the deviation plate is tilted forward and locked befor the trans-
porting unit of the face down option is placed on the printer housing.
First remove the back cover from your printer by tilting it at a 45 degree
angle and then pulling up (A).
Then remove the front cover (B). To do this also tilt the cover at a 45 de-
gree angle. First pull the right side of the cover a little bit up. Then apply
a little pressure and pull the left side towards the right.
↓
↑↓
↑
AB
wrong right
Installing the face down option
4

Now place the cover supplied on the printer. This cover replaces the
front cover previously removed and serves as a support for the feed
mechanism.
Holding the cover at a 45 degree angle place it on the printer as shown
in the diagram.
First place the recess on the left side of the cover in the mounting pin on
the printer (➀). Then insert the holder on the right side (➁) into the pin
on the printer and turn the cover down.
Starting on the next page the description is again valid for all models !
↓
↑↓
↑
➁
➀
ENGLISCH
Installing the face down option
5

Tilt the transporting unit backward and place it on the top cover.
Lock the transporting unit to the top cover of the printer.
Place the paper depot into the notches of the face down option and tilt
the paper depot to the front (depot rests on the front part of the printer
housing).
↓
↑↓
↑↓
↑↓
↑
Installing the face down option
6

Removing the face
down option
The face down option can only be removed, when the paper guide is
tilted downward (position: FACE DOWN).
Before removing the transportation unit, the paper depot must be re-
moved first.
Press the two front levers to the outside and lift off the face down option.
The top cover can only be opened, when the face down option is not
installed.
Re-installing
the Cover If you no longer want to use the face down option then you should re-
install the cover.
To do so follow the steps below:
Remove the front cover supplied: see page 5
follow directions in the
reverse order
Install the front and back covers: see page 4, diagram Aand B
follow directions in the
reverse order
↓
↑↓
↑
ENGLISCH
Removing the face down option
7

Operating the face
down option No settings or adjustments are necessary for operation the face down
option.
The face down option can be switched on and off at any time, just by
pressing the two top levers to the outside and tilting the paper guide
upward.
The paper capacity of the face down option amounts to approx. 150
sheets.
In the figure below the face down option is switched off (FACE UP).
The sheets are transported to the top.
(Paper capacity approx. 80 sheets)
In the figure below the face down option is switched on (FACE DOWN).
The printed sheets are sorted in the correct order.
(Paper capacity approx. 150 sheets)
Operating the face down option
8

Seitenrichtige Ablage
Bedienungsanleitung
DEUTSCH

Erklärung der Symbole in dieser Anleitung:
Wenn Ihr Drucker ein Bedienfeld
mit 9Druckknöpfen besitzt:
RLesen Sie besonders die Abschnitte mit dem Symbol
Wenn Ihr Drucker ein Bedienfeld
mit 6Druckknöpfen besitzt:
RLesen Sie besonders die Abschnitte mit dem Symbol
Abschnitte mit beiden Symbolen gleichzeitig gelten für beide Drucker-
versionen.
↓
↑↓
↑
↓
↑↓
↑

Einleitung Die seitenrichtige Ablage ist ein Zusatzmodul, das sowohl mit automati-
schem Einzelblatteinzug, als auch mit manueller Papierzufuhr von vorne,
verwendet werden kann.
Sie bietet Ihnen den Vorteil, daß ein Sortieren bei mehrseitigen Dokumen-
ten entfällt, weil die bedruckten Blätter von unten nach oben in der richti-
gen Reihenfolge abgelegt werden.
Die Aufnahmekapazität der seitenrichtigen Ablage beträgt ca. 150 Einzel-
blätter.
Sie kann im montierten Zustand durch einfaches Schwenken zu- und ab-
geschaltet werden.
Gesamtübersicht Papierführung
Umschalthebel
Verriegelungshebel
Papierablage
DEUTSCH
Einleitung
1

Auspacken der sei-
tenrichtigen Ablage Entnehmen Sie den Inhalt der Verpackung.
Entfernen Sie Verpackungsmaterialien und die Transportsicherung.
➀Fördermechanik ➁Papierablage ➂Abdeckung
Überprüfen Sie bitte den Verpackungsinhalt auf Vollständigkeit und auf
Transportschäden.
Sollte ein Teil fehlen oder beschädigt sein, benachrichtigen Sie bitte
Ihren Händler.
1
2 3
Auspacken der seitenrichtigen Ablage
2

Aufsetzen der seiten-
richtigen Ablage
Entfernen Sie zuerst die Abdeckkappe am Druckergehäuse.
Konstruktionsbedingt ist diese Abdeckkappe bei manchen Modellen
nicht vorhanden!
Hebeln Sie mit Hilfe eines kleinen Schraubendrehers oder eines anderen
spitzen Gegenstandes (Schere, etc.) die Abdeckung aus dem Druckerge-
häuse und ziehen Sie die Kappe nach oben ab.
Bewahren Sie diese Abdeckkappe gut auf. Sie sollte aus Sicherheits-
gründen wieder montiert werden, falls die "Seitenrichtige Papierablage"
nicht benötigt wird.
Vorsicht: Es bestehtEinzugsgefahrvon langenHaarenundKetten,etc.
während des Betriebs!
↓
↑↓
↑
↓
↑↓
↑
DEUTSCH
Aufsetzen der seitenrichtigen Ablage
3

Achten Sie darauf, daß das Umlenkprofil nach vorne gekippt und verrie-
gelt ist, bevor Sie die Fördermechanik der Einzelblattablage auf das
Druckergehäuse setzen.
Entfernen Sie an Ihrem Drucker den hinteren Deckel, indem Sie ihn in
einem 45-Grad-Winkel nach oben stellen und dann abheben (A).
Anschließend entfernen Sie den vorderen Deckel (B). Stellen Sie hierzu
den Deckel ebenfalls in einem 45-Grad-Winkel nach oben. Ziehen Sie
dann den Deckel erst an seiner rechten Seite ein wenig nach oben.
Anschließend können Sie ihn auch an seiner linken Seite durch leichten
Druck nach rechts herausziehen.
falsch richtig
↓
↑↓
↑
AB
Aufsetzen der seitenrichtigen Ablage
4

Setzen Sie nun die mitgelieferte Abdeckung in Ihren Drucker ein.
Diese Abdeckung ersetzt den zuvor abgenommenen vorderen Deckel und
dient zur Auflage der Fördermechanik.
Stellen Sie die mitgelieferte Abdeckung in einem 45-Grad-Winkel von
oben auf den Drucker, wie unten im Bild gezeigt.
Führen Sie dann zuerst die Lochaussparung an der linken Seite der Ab-
deckung in den Halterungszapfen am Drucker (➀). Danach können Sie
die Halterung auch an ihrer rechten Seite (➁) in den Zapfen am Drucker
eindrücken und anschließend nach unten klappen.
Ab der nächsten Seite ist die Beschreibung wieder für alle Drucker-
modelle gültig!
↓
↑↓
↑
➁
➀
DEUTSCH
Aufsetzen der seitenrichtigen Ablage
5

Kippen Sie die Fördermechanik nach hinten an und setzen Sie sie auf
die obere Abdeckung des Druckers.
Verriegeln Sie die Fördermechanik an der oberen Abdeckung des
Druckers.
Hängen Sie die Papierablage in die Aussparung der seitenrichtigen Ein-
zelblattablage ein und schwenken Sie die Ablage nach vorne (Ablage
liegt auf dem vorderen Teil des Druckergehäuses).
↓
↑↓
↑↓
↑↓
↑
Aufsetzen der seitenrichtigen Ablage
6
This manual suits for next models
3
Table of contents
Languages:
Other Tally Printer manuals

Tally
Tally T9312 User manual

Tally
Tally T6215 User manual

Tally
Tally T2033S User manual

Tally
Tally T9412 User manual

Tally
Tally DT-230 User manual

Tally
Tally T2140 User manual

Tally
Tally T2150 User manual

Tally
Tally T 2060 User manual

Tally
Tally Tally Colour Laser T8006e User manual

Tally
Tally T6090 User manual
Popular Printer manuals by other brands

Fuji Xerox
Fuji Xerox DocuCentre-IV C3373 Quick reference guide

Epson
Epson TM-L90 series Start here

ZHUHAI HONOR TECHNOLOGY
ZHUHAI HONOR TECHNOLOGY XPOS-I100 user guide

Brother
Brother HL- SERIES Technical reference guide

Dascom
Dascom DP-520 Quick setup instructions

Panasonic
Panasonic KX-PX20M - Photo Printer - 20 Sheets quick guide