manuals.online logo
Brands
  1. Home
  2. •
  3. Brands
  4. •
  5. Target
  6. •
  7. Indoor Furnishing
  8. •
  9. Target warwick 249-10-0090 User manual

Target warwick 249-10-0090 User manual

>> assembly instructions
warwick
long & low media stand
style # FKWWLLMDBR (fawn brown)
dpci # 249-10-0090
TCIN # 79582394
style # FKWWLLMDBK (jet black)
dpci # 249-10-6116
TCIN # 79582396
style # FKWWLLMDWH (oxford white)
dpci # 249-10-6083
TCIN # 79582395
style # FKWWLLMDNT (natural)
dpci # 249-10-0096
TCIN # 80888059
© 2020 Target. The Bullseye Design is a trademark of Target Brands, Inc. All rights reserved.
2
Congratulations on your latest Target purchase.
Now what? Don’t start sweating over this box of parts. This will be easy. We did the hard work for you.
All you need to do is follow our simple instructions and you’ll be on your way to transforming your
room in no time. Good luck—though we’re condent you won’t need it.
tools needed
before you begin
1. Check for damaged or missing parts. Call 1-855-MYTGTHOME (855-698-4846) to order missing supplies.
2. Use the carton as a working surface to prevent product damage during assembly.
3. Read through and review assembly steps.
4. Gather all tools prior to assembly.
3
2
4
5
6
7-16
17
19
QUESTIONS? Just call 1-855-MYTGTHOME (855-698-4846) for parts and service. For faster service, have the style number and dpci number ready when calling.
table of contents
introduction
hardware
parts list
how to use the cam lock system
assembly
how do adjust door alignment
how to adjust the door hinges
4
(H1) x 16 (H2) x 16 (H3) x 16 (H4) x 16 (H5) x 2
(H10) x 1(H9) x 1(H8) x 1(H7) x 23(H6) x 4
(H11) x 1 (H12) x 2 (H13) x 4 (H14) x 16
hardware
wooden dowel cam bolt cam shelf support pull
pull bolt short pan head screw wall anchor wall screw wall strap
long pan head screw washer hinge at head screw
5
exploded diagram
ITEM DESCRIPTION QUANTITY
1 top panel 1
2 left side panel 1
3 right side panel 1
4 bottom panel 1
5 back panel 1
6 partition 2
7 center adjustable shelf 2
8 side adjustable shelf 2
9 door 2
10 center foot 2
6
1. 2. 3.
4. 5.4. 5.
how to use the cam lock system
Screw cam bolt into panel
Rotate cam(s) clockwise 180° to
lock panels together
Panels should be tight against each
other and connection should be rigid
Push cam into panel - arrow feature
on cam top points to panel edge
Align cam bolt(s) with cam(s)
and insert all the way into
cross-bored hole(s)
7
(H1) x 4 (H2) x 4 (H3) x 4
wooden dowel cam bolt cam
nished edge
1.1. Carefully tap small wooden dowels into place in bottom panel. Leave 1/2” of the dowels sticking out.
1.2. Screw-In cam bolts must be screwed down ush in bottom panel.
1.3. Refer to page 6 for instructions on how to use the cam lock system.
1.4. Do not over tighten bolts.
step 1: attach partitions to bottom panel
8
(H1) x 4 (H2) x 4 (H3) x 4
wooden dowel cam bolt cam
nished edge
nished edge
2.1. Screw-In cam bolts must be screwed down ush in top panel.
2.2. Carefully tap small wooden dowels into place in top panel. Leave 1/2” of the dowels sticking out.
2.3. Refer to page 6 for instructions on how to use the cam lock system.
2.4. Do not over tighten bolts.
step 2: attach top panel
9
(H1) x 4 (H2) x 4 (H3) x 4
wooden dowel cam bolt cam
3.1. Screw-In cam bolts must be screwed down ush in left side panel.
3.2. Carefully tap small wooden dowels into place in left side panel. Leave 1/2” of the dowels sticking out.
3.3. Refer to page 6 for instructions on how to use the cam lock system.
3.4. Do not over tighten bolts.
step 3: attach left side panel
10
(H1) x 4 (H2) x 4 (H3) x 4
wooden dowel cam bolt cam
4.1. Screw-In cam bolts must be screwed down ush in right side panel.
4.2. Carefully tap small wooden dowels into place in right side panel. Leave 1/2” of the dowels sticking out.
4.3. Refer to page 6 for instructions on how to use the cam lock system.
4.4. Do not over tighten bolts.
step 4: attach right side panel
11
(H7) x 23
**FAILURE TO FOLLOW ALL DIRECTIONS ON THIS PAGE MAY RESULT IN UNEVEN DOOR ALIGNMENT**
short pan head
screw
5.1. Make sure the pan head screws go through the pilot holes in the back panel to assemble properly to the case. Do not over tighten the screws.
5.2. Align center feet with pre-drilled holes to attach to bottom panel.
step 5: attach back panel and center foot
Begin by installing all of the screws along one
edge of the back panel. Next, using a square
or tape measure, make sure that the cabinet is
square. (If using a tape measure, the distance
from one corner, diagonally to the other corner
should be the same in both directions.) If not,
apply gentle pressure to the diagonally opposite
corners to shift case into alignment. Re-measure
to ensure equal distances. Install the remaining
screws, starting with the corners.
hole for anti-tip
12
(H4) x 16
6.1. Insert shelf supports into desired hole. Di󰀨erent holes accommodate di󰀨erent shelf heights.
6.2. Angle shelf to t between the rails and set on top of shelf supports.
shelf support
step 6: install adjustable shelves
13
(H13) x 4 (H14) x 8
hinge at head screw
step 7: attach hinges to doors
7.1. Align screws with pre-drilled holes to attach hinges to doors. Do not over tighten screws.
14
(H14) x 8
8.1. Align screws with pre-drilled holes to attach doors to cabinet. Do not over tighten screws.
step 8: attach doors to cabinet
at head screw
15
(H5) x 2 (H6 ) x 4
pull pull bolt
step 9: attach door pulls
9.1. Align bolts with pre-drilled holes to attach pulls to doors. Do not over tighten bolts.
16
(H11) x 1 (H10) x 1 (H8) x 1 (H9) x 1 (H12) x 2
(H9)
(H8)
(H12)
(H10)
(H12)
(H11)
step 10: install anti-tip kit
wall anchor wall screw washerwall straplong pan
head screw
Position against wall
Mark position of strap hole on wall
Drill 1/4” hole
Tap in wall anchor
Fasten anti-tip strap with wall screw
provided
17
how to adjust door alignment
Tips for proper door alignment:
-Adjustable levelers will reduce minor door mis-alignments
caused by an uneven oor.
-Use a level to determine if the cabinet top is level. If not, start
with the levelers retracted and adjust them as needed.To
retract the levelers turn them counterclockwise. To extend
the levelers turn them clockwise.
-If door mis-alignment persists, refer back to page 11 for
additional information. If the cabinet is not square you will
need to repeat this step.
adjustable leg levelers
18
25 lbs. per shelf
holds at panel TVs
up to 69” or 110 lbs.
1. WARNING - Death or serious injury may occur when children climb on
audio and/or video equipment furniture. A remote control or toys placed
on the furnishing may encourage a child to climb on the furnishing and
as a result the furnishing may tip over on to the child.
2. WARNING - Relocating audio and/or video equipment to furniture
not specically designed to support audio and/or video equipment may
result in death or serious injury due to the furnishing collapsing or over
turning onto a child.
3. This unit has been designed for the weight shown. Exceeding this
recom-mended weight could result in excessive “sagging” of the top.
Extreme overloading can cause failure of the top and possible injury.
4. Furniture Care Instructions: Dust with a clean, lint-free cloth. Use a
spray furniture polish as needed
QUESTIONS? Just call 1-855-MYTGTHOME (855-698-4846) for parts and service. For faster service, have the style number and DPCI number ready when calling.
19
Height Adjustment is achieved by loosening the two screws
indicated by the arrows. Once all plates are
loosened, the door can be repositioned vertically. The screws
are then tightened when the door is in the desired position.
Depth Adjustment is achieved by loosening the center screw
indicated by the arrow. Once loosened, the door
can then be positioned away from the cabinet up to 2.8mm.
The screw is then tightened when the door is in the desired
position.
Lateral Adjustment is achieved by rotating the screw
indicated by the arrow. By rotating the screw
clockwise, the overlay will be reduced and if rotated
counterclockwise, the overlay will be increased.
SALICE 600 Series Adjustment Instructions
Series 600 Mini Hinge
-1.5+5
+2.8L=0.7
+2
-2
20
Quality That Lasts A Lifetime
The maker of this product has extended his craftsmanship to
include Salice hinges and/or other Salice products.
Having undergone severe usage tests and met industry standards
worldwide, our products confirm our commitment to pleasing the
most discriminating customer - you.
THE
LIFETIME GUARANTEE AND LIMITED WARRANTY*
Salice America, Inc., warrants that all hinges and/or Salice products contained in
this product, (but not the product itself) against defects in material and workman-
ship for as long as the original consumer purchaser owns the products. Salice
will send the original consumer purchaser a new Salice hinge to replace any
defective Salice hinge subject to this warranty without charge. The warranty is a
warranty of replacement only. Salice specifically does not warrant removal of the
defective hinge nor installation of a new hinge. This warranty does not cover
hinges which have been incorrectly installed, exposed to excessive loads or
abused.
To obtain a replacement, you should, within 30 days of discovery of the defect,
remove the defective hinge and mail it postage prepaid to:
SALICE AMERICA Inc.
2123 CROWN CENTRE DRIVE
USA - CHARLOTTE NC 28227
Enclose a brief letter explaining the defect with a copy of your proof of purchase.
Allow approximately four (4) weeks for delivery of the replacement.
ALLWARRANTIES IMPLIED BY STATE LAW, INCLUDING THE IMPLIED WARRANTIES OF MERCHANTABILITYAND FITNESS FOR
A PARTICULAR PURPOSE, ARE EXPRESSLY LIMITED AS SET FORTHABOVE. However, some states do not allow limitations on
how long an implied warranty lasts, so the above limitation may not apply to you. WITH THE EXCEPTION OF ANY WARRANTIES
IMPLIED BY STATE LAWAS HEREBY LIMITED, THE FOREGOING EXPRESS LIMITED WARRANTY IS EXCLUSIVE AND IN LIEU
OF ANY OTHER WARRANTIES OF SALICE WITH RESPECT TO THE REPAIR OR REPLACEMENT OF ANY PROPS OR PARTS.
IN NO EVENT SHALL SALICE BE LIABLE FOR CONSEQUENTIAL OR INCIDENTAL DAMAGES RESULTING FROM THE USE,
INSTALLATION, PERFORMANCE OR FAILURE OF ITS PRODUCT. However, some states do not allow the exclusion of limitation of
incidental or consequential damages, so the above exclusion may not apply to you. This limited warranty gives you specific legal rights
and you may also have other rights which vary from state to state.

This manual suits for next models

3

Other Target Indoor Furnishing manuals
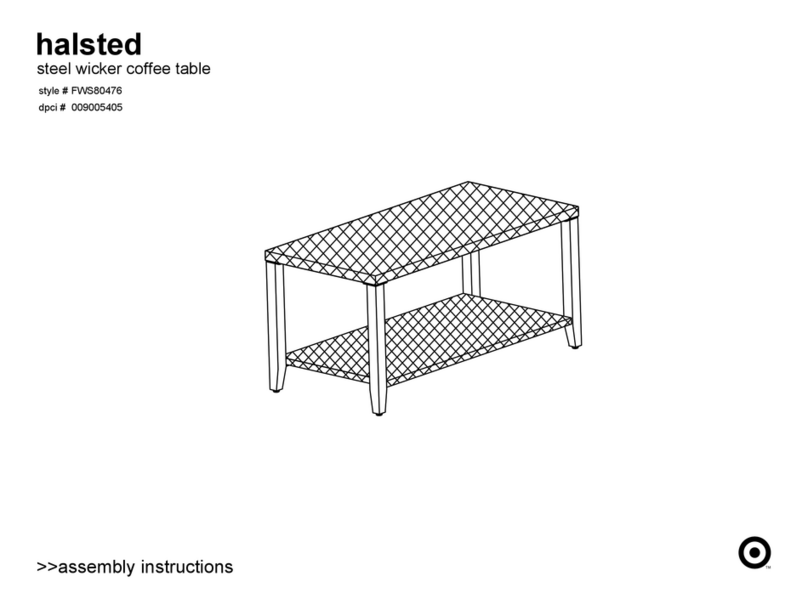
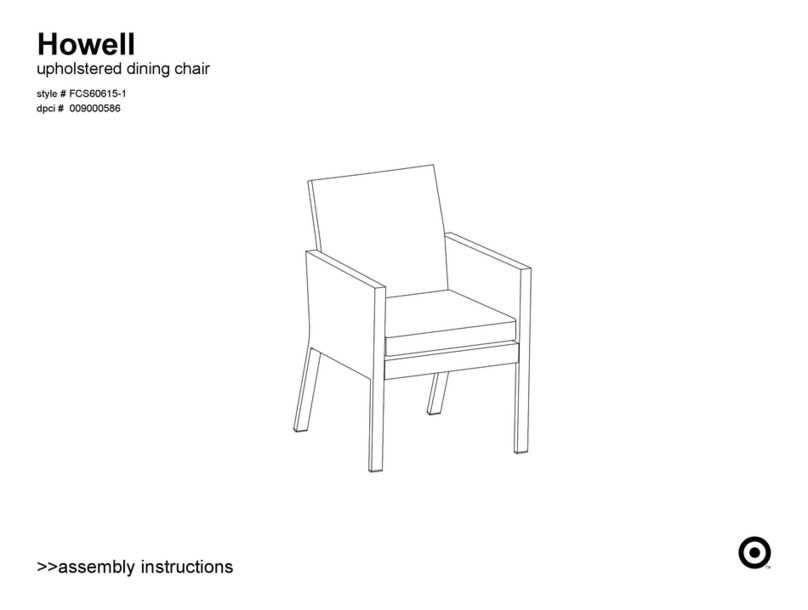
Target Howell FTS61266 User manual

Target

Target Howell FTS61266 User manual

Target Halsted FRS80712GST3 User manual

Target

Target Halsted FRS80712GST3 User manual

Target Howell FCS01153A User manual

Target

Target Howell FCS01153A User manual

Target Mulberry FRS60721-2 User manual

Target

Target Mulberry FRS60721-2 User manual

Target BALI 2 SEATER User manual

Target

Target BALI 2 SEATER User manual

Target Fairglen TGFGCDSKWH User manual

Target

Target Fairglen TGFGCDSKWH User manual

Target Windham User manual

Target

Target Windham User manual

Target warwick FKWWLBCBBR User manual

Target

Target warwick FKWWLBCBBR User manual

Target DSDTRDSKBK User manual

Target

Target DSDTRDSKBK User manual

Target Berkshire FWS80633 User manual

Target

Target Berkshire FWS80633 User manual

Target Siebert 4 shelf bookcase User manual

Target

Target Siebert 4 shelf bookcase User manual

Target 4PC GALENA COUNTER HEIGHT SET 64414WHT User manual

Target

Target 4PC GALENA COUNTER HEIGHT SET 64414WHT User manual

Target Halsted FRS80921 User manual

Target

Target Halsted FRS80921 User manual

Target CAHRZLBKES User manual

Target

Target CAHRZLBKES User manual

Target Modern Milan FRS50145ST User manual

Target

Target Modern Milan FRS50145ST User manual

Target Windham Accent cabinet WNCBSHGY User manual

Target

Target Windham Accent cabinet WNCBSHGY User manual

Target fairfax TGCRCNTB01 User manual

Target

Target fairfax TGCRCNTB01 User manual

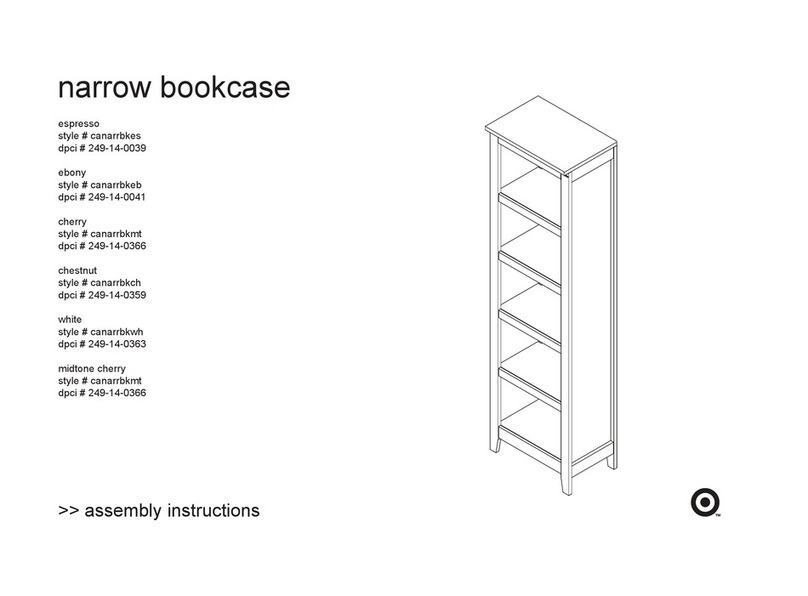
Target 249-14-0039 User manual

Target

Target 249-14-0039 User manual

Target Paulo TGELSDTBWH User manual

Target

Target Paulo TGELSDTBWH User manual

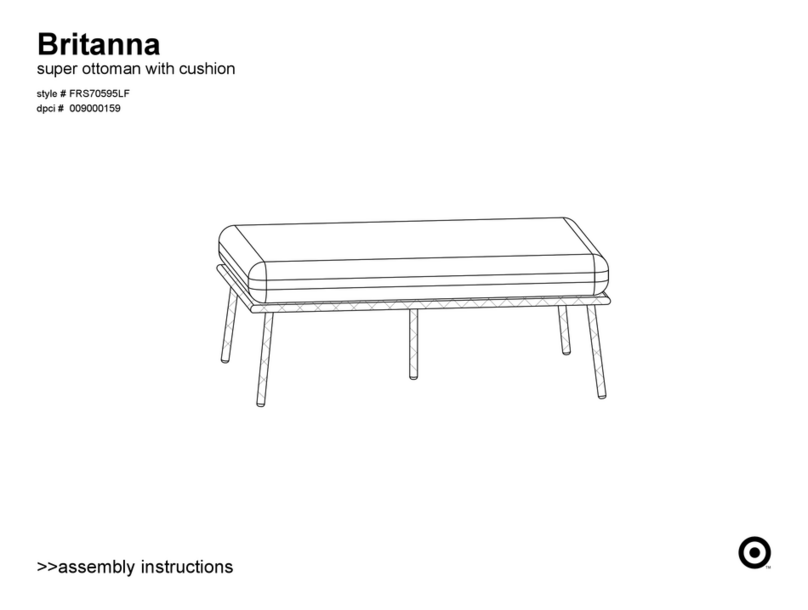
Target Britanna FRS70595LF User manual

Target

Target Britanna FRS70595LF User manual

Target Warwick side table FKWWSDTBBR User manual

Target

Target Warwick side table FKWWSDTBBR User manual

Target windham WNMEDIASBK User manual

Target

Target windham WNMEDIASBK User manual

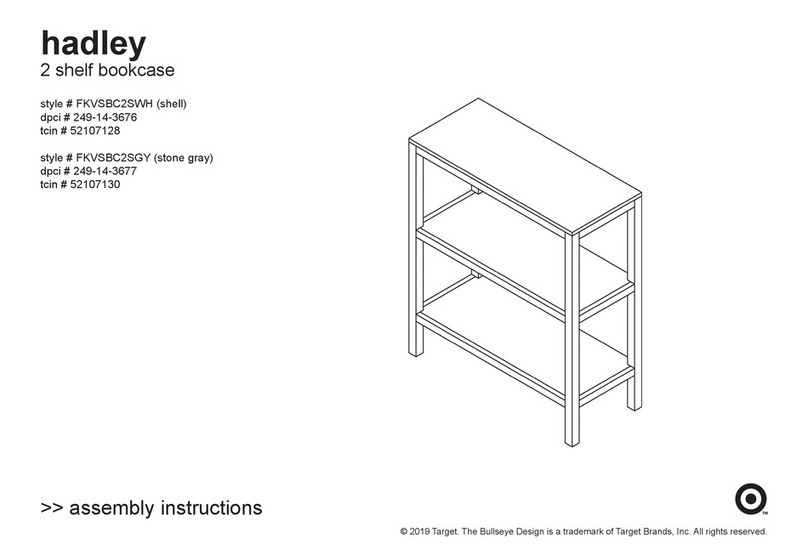
Target hadley FKVSBC2SWH User manual

Target

Target hadley FKVSBC2SWH User manual

Target Windham WNBUFFETBL User manual

Target

Target Windham WNBUFFETBL User manual

Popular Indoor Furnishing manuals by other brands

HOMCOM 801-300V00 manual

HOMCOM

HOMCOM 801-300V00 manual

Linon 90368WAL-01-KD manual

Linon

Linon 90368WAL-01-KD manual

i5 Industries KAI CT120 quick start guide

i5 Industries

i5 Industries KAI CT120 quick start guide

Philips 373720 operating instructions

Philips

Philips 373720 operating instructions

Next C29826 Assembly instructions

Next

Next C29826 Assembly instructions

Glorious RECORD RACK ADVANCED 330 Assembly instructions

Glorious

Glorious RECORD RACK ADVANCED 330 Assembly instructions

Monarch Specialties I 3035 Assembly instructions

Monarch Specialties

Monarch Specialties I 3035 Assembly instructions

IKEA BERTIL CHAIR instructions

IKEA

IKEA BERTIL CHAIR instructions

Delta Children babyGap Legacy 3 Drawer Dresser manual

Delta Children

Delta Children babyGap Legacy 3 Drawer Dresser manual

Parisot Industrie LEGEND 2382BI2P manual

Parisot Industrie

Parisot Industrie LEGEND 2382BI2P manual

EFG V29A80 Assembly instruction

EFG

EFG V29A80 Assembly instruction

IKEA MALKOLM manual

IKEA

IKEA MALKOLM manual

Vinsetto 924-009 manual

Vinsetto

Vinsetto 924-009 manual

CB2 ASH Assembly instructions

CB2

CB2 ASH Assembly instructions

Furinno Boyate FNAJ-11033 Assembly instruction

Furinno

Furinno Boyate FNAJ-11033 Assembly instruction

Zanzini 06000201 Assembly instructions

Zanzini

Zanzini 06000201 Assembly instructions

Broyhill BOBBINA IC 1001 Assembly instruction

Broyhill

Broyhill BOBBINA IC 1001 Assembly instruction

ADA Trendline Bett ELSA 45289345 Assembly instructions

ADA Trendline

ADA Trendline Bett ELSA 45289345 Assembly instructions

manuals.online logo
manuals.online logoBrands
  • About & Mission
  • Contact us
  • Privacy Policy
  • Terms and Conditions

Copyright 2025 Manuals.Online. All Rights Reserved.