manuals.online logo
Brands
  1. Home
  2. •
  3. Brands
  4. •
  5. Target
  6. •
  7. Indoor Furnishing
  8. •
  9. Target Windham WNTLCBDWWH User manual

Target Windham WNTLCBDWWH User manual

>>
© 2019 Target. The Bullseye Design is a trademark of Target Brands, Inc. All rights reserved.
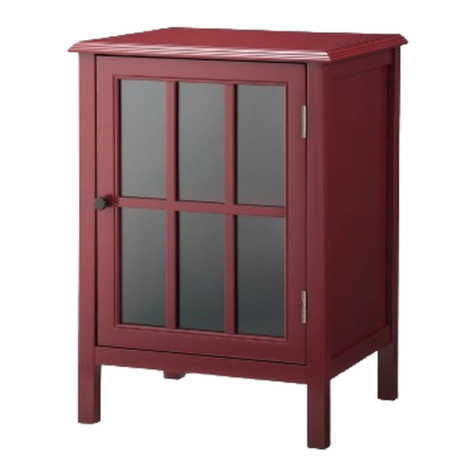
windham
tall cabinet
assembly instructions
style # WNTLCBDWWH (shell)
dpci # 249-16-1287
tcin # 16508090
style # WNTLCBDWBL (teal)
dpci # 249-16-1286
tcin # 16508091
style # WNTLCBDWGY (gray)
dpci # 249-16-1285
tcin # 16508092
style # WNTLCBDWBK (black)
dpci # 249-16-1283
tcin # 16508094
style # WNTLCBDWRD (red)
dpci # 249-16-0957
tcin # 16508095
2
Congratulations on your latest Target purchase.
Now what? Don’t start sweating over this box of parts. This will be easy. We did the hard work for you.
All you need to do is follow our simple instructions and you’ll be on your way to transforming your
room in no time. Good luck—though we’re condent you won’t need it.
before you begin
1. Check for damaged or missing parts. Call 1-855-MYTGTHOME (855-698-4846) to order missing supplies.
2. Use the carton as a working surface to prevent product damage during assembly.
3. Read through and review assembly steps.
4. Gather all tools prior to assembly.
tools needed
3
table of contents
introduction 2
hardware 4
parts list 5
how to use the cam lock system 6
assembly 7-16
how to adjust door alignment 17
QUESTIONS? Just call 1-855-MYTGTHOME (855-698-4846) for parts and service. For faster service, have the style number and dpci number ready when calling.
4
hardware
(H1) x 14
wooden dowel
(H2) x 9
cam bolt
(H3) x 9
cam
(H4) x 39
pan head screw
(H5) x 12
at head screw
(H6) x 8
shelf support
(H7) x 4
knob
(H8) x 4
knob bolt
(H9) x 4
1-1/4” bolt
(H10) x 4
lock washer
(H11) x 4
washer
(H12) x 1
allen wrench
(H13) x 5
1” at head screw
(H14) x 2
magnet
(H15) x 1
18mm truss head
screw
(H16) x 1
wall strap
(H17) x 2
5/8” washer
(H18) x 1
wall anchor
(H19) x 1
38mm wall screw
5
exploded diagram
ITEM DESCRIPTION QUANTITY
A top panel 1
B left side rail 1
C right side rail 1
D bottom panel 1
E lower panel 1
F back panel 1
G adjustable shelf 2
H door 2
I drawer face 1
J left drawer side 1
K right drawer side 1
L drawer back 1
M drawer bottom 1
N support rail 1
how to use the cam lock system
1.
Screw cam bolt into panel
2.
Align cam bolt(s) with cam(s)
and insert all the way into
cross-bored hole(s)
3.
Push cam into panel - arrow feature
on cam top points to panel edge
4.
Rotate cam(s) clockwise 180° to
lock panels together
5.
Panels should be tight against each
other and connection should be rigid
6
1. 2. 3.
4. 5.
7
(H4)
step 1: prepare lower panel then attach lower/bottom panels to right side rail
(H4) x 2
pan head screw
(H14) x 1
magnet
(H1) x 4
wooden dowel
(H2) x 4
cam bolt
(H3) x 4
cam
1.1. Carefully tap small wooden dowels into place. Leave 1/2” of the dowels sticking out.
1.2. Screw-In cam bolts must be screwed down ush.
1.3. Refer to page 6 for instructions on how to use the cam lock system.
1.4. Do not over tighten screws or bolts.
8
step 2: attach left side rail
(H1) x 4
wooden dowel
(H2) x 4
cam bolt
(H3) x 4
cam
2.1. Carefully tap small wooden dowels into place. Leave 1/2” of the dowels sticking out.
2.2. Screw-In cam bolts must be screwed down ush.
2.3. Refer to page 6 for instructions on how to use the cam lock system.
2.4. Do not over tighten bolts.
step 3: prepare top panel then attach
(H1) x 4
wooden dowel
(H4) x 2
pan head screw
(H14) x 1
magnet
(H9) x 4
1-1/4” bolt
(H10) x 4
lock washer
(H11) x 4
washer
(H12) x 1
allen wrench
3.1. Carefully tap small wooden dowels into place. Leave 1/2” of the dowels sticking out.
3.2. Align screws with pre-drilled holes.
3.3. Align bolts with pre-drilled holes.
3.4. Do not over tighten screws or bolts.
9
(H4)
(H9)
Carefully tap small wooden dowels into place. Leave 1/2” of the dowels sticking out.
10
hole for anti-tip
step 4: attach back panel
**FAILURE TO FOLLOW ALL DIRECTIONS ON THIS PAGE MAY RESULT IN UNEVEN DOOR ALIGNMENT**
Begin by installing all of the screws along one
edge of the back panel. Next, using a square
or tape measure, make sure that the cabinet is
square. (If using a tape measure, the distance
from one corner, diagonally to the other corner
should be the same in both directions.) If not,
apply gentle pressure to the diagonally opposite
corners to shift case into alignment. Re-measure
to ensure equal distances. Install the remaining
screws, starting with the corners.
(H4) x 35
pan head screw
4.1. Make sure the screws go through the pre-drilled holes properly.
4.2. Do not over tighten screws.
hole for anti-tip
11
step 5: attach knobs to doors
(H7) x 2
knob
(H8) x 2
knob bolt
5.1. Align bolts with pre-drilled holes.
5.2. Do not over tighten bolts.
step 6: attach doors
(H5) x 12
at head screw
6.1. Align screws with pre-drilled holes.
6.2. Do not over tighten screws.
12
13
step 7: install adjustable shelves
(H6) x 8
shelf support
7.1. Insert shelf supports into desired hole. Different holes accommodate different shelf heights.
7.2. Angle shelf to t between the rails and set on top of shelf supports.
14
step 8: assemble drawer starting with drawer sides / nish assembly with back panel
(H1) x 2
wooden dowel
(H2) x 1
cam bolt
(H3) x 1
cam
(H13) x 5
1” at head screw
8.1. Carefully tap small wooden dowels into place. Leave 1/2” of the dowels sticking out.
8.2. Screw-In cam bolts must be screwed down ush.
8.3. Refer to page 6 for instructions on how to use the cam lock system.
8.4. Do not over tighten bolts.
8.5. Do not over tighten screws.
15
step 9: install drawer
(H7) x 2
knob
(H8) x 2
knob bolt
9.1. Align bolts with pre-drilled holes.
9.2. Do not over tighten bolts.
9.3. Readjust leg levelers as needed.
step 10: install anti-tip kit
(H15) x 1
18mm truss head
screw
(H16) x 1
wall strap
(H17) x 2
5/8” washer
(H18) x 1
wall anchor
(H19) x 1
38mm wall
screw
Position against wall
Mark position of strap hole on
wall
Drill 1/4’’ hole
Tap in wall anchor
Fasten anti-tip strap
with at-head screw provided
(H18)
(H19) (H17)
16
(H16)
(H15)
(H17)
Position against wall
Mark position of strap hole on
wall
Drill 1/4’’ hole
Tap in wall anchor
Fasten anti-tip strap
with at-head screw provided
17
adjustable leg levelers
how to adjust door alignment
Tips for proper door alignment:
-Adjustable levelers will reduce minor door mis-alignments
caused by an uneven oor.
-Use a level to determine if the cabinet top is level. If not, start
with the levelers retracted and adjust them as needed. To
retract the levelers turn them counterclockwise. To extend
the levelers turn them clockwise.
-If door mis-alignment persists, refer back to page 10
for additional information. If the cabinet is not square you will
need to repeat this step.
WARNING
Serious or fatal crushing injuries can occur
from furniture tip-over. To help prevent
tip-over:
• Install tip-over restraint provided.
• Place heaviest items
in
the lowest drawers.
• Do not set TV's or other heavy objects
on
top
of
this product, unless the product is
specifically designed to accommodate them.
• Never allow children to climb or hang
on
drawers,
doors, or shelves.
• Never open more than one drawer at a time.
(OR)
• Do not defeat or remove the drawer interlock
system .
Use of tip-over restraints may only reduce,
but not eliminate, the risk of tip-over.
This is a permanent label. Do not remove.
1. This unit has been designed for the weight shown. Exceeding this recommended weight could result in
excessive “sagging” of the top. Extreme overloading can cause failure of the top and possible injury.
2. Furniture Care Instructions: Dust with a clean, lint-free cloth. Use a spray furniture polish as needed.
18
60 lbs.
40 lbs. per shelf
40 lbs. per drawer
QUESTIONS? Just call 1-855-MYTGTHOME (855-698-4846) for parts and service. For faster service, have the style number and DPCI number ready when calling.
This unit has been designed for the weight shown. Exceeding this recommended weight could result in
excessive “sagging” of the top. Extreme overloading can cause failure of the top and possible injury.
© 2019 Target. The Bullseye Design is a trademark of Target Brands, Inc. All rights reserved.

This manual suits for next models

4

Other Target Indoor Furnishing manuals
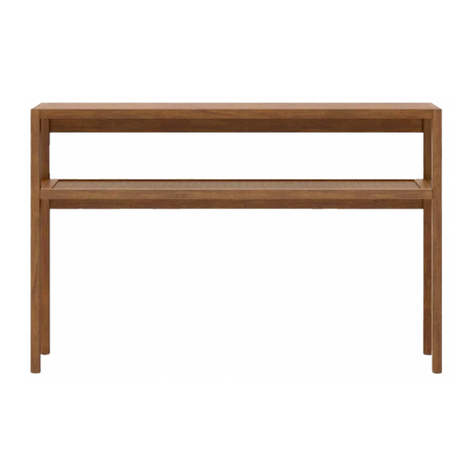
Target Berkshire FRS81033A User manual

Target

Target Berkshire FRS81033A User manual

Target Windham WNBUFFETBL User manual

Target

Target Windham WNBUFFETBL User manual

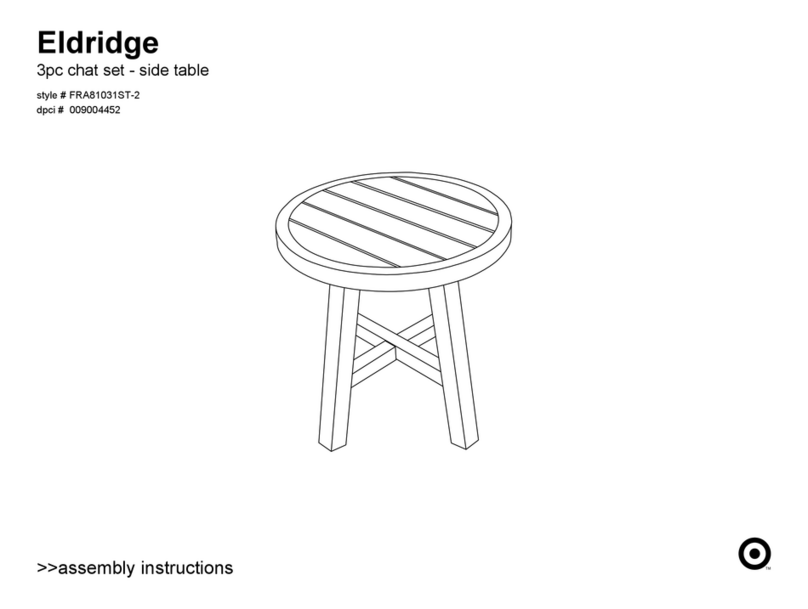
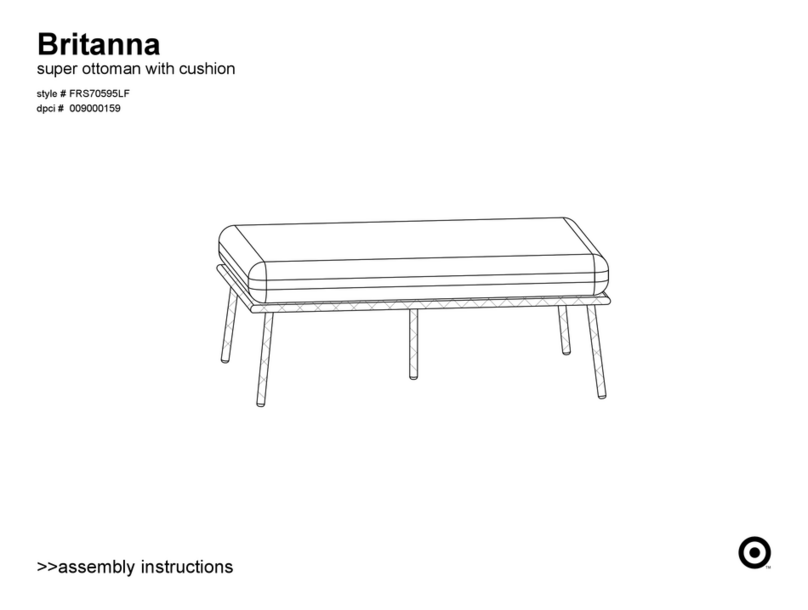
Target Eldridge FRA81031ST-2 User manual
Target

Target Eldridge FRA81031ST-2 User manual

Target Hadley FKVS1DCBGY User manual

Target

Target Hadley FKVS1DCBGY User manual

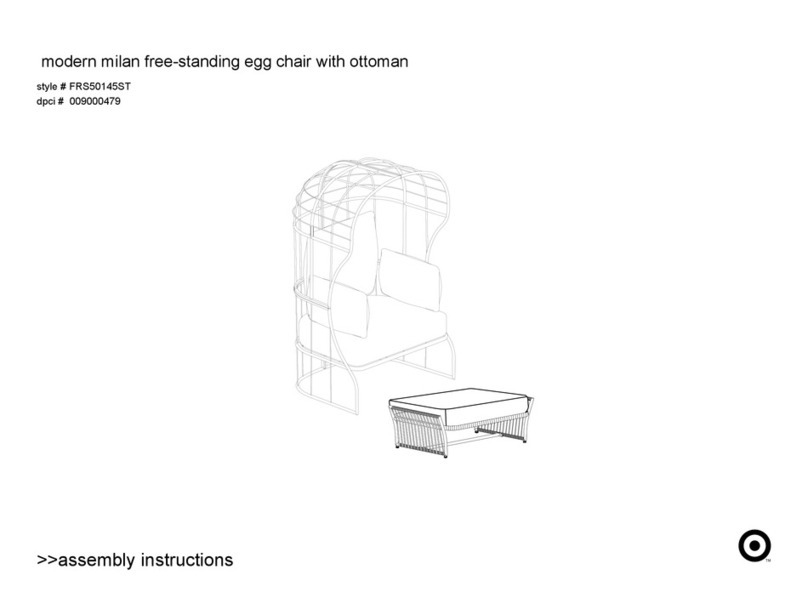
Target Modern Milan FRS50145ST User manual
Target

Target Modern Milan FRS50145ST User manual

Target room essentials 249-05-0297 User manual

Target

Target room essentials 249-05-0297 User manual

Target hadley FKVSCB2DWH User manual

Target

Target hadley FKVSCB2DWH User manual

Target VENUS BISTRO TABLE User manual

Target

Target VENUS BISTRO TABLE User manual

Target Bullseye Design 249-01-5337 User manual

Target

Target Bullseye Design 249-01-5337 User manual

Target AKIRA User manual

Target

Target AKIRA User manual

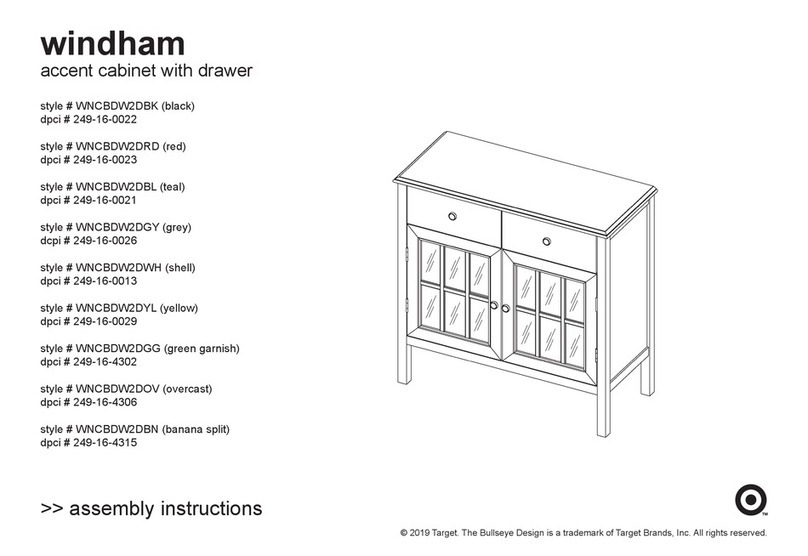
Target Windham User manual

Target

Target Windham User manual

Target Windham Accent cabinet WNCBSHGY User manual

Target

Target Windham Accent cabinet WNCBSHGY User manual

Target DSESTDSKWH User manual

Target

Target DSESTDSKWH User manual

Target CAPRI 1800 User manual

Target

Target CAPRI 1800 User manual

Target DSDTRDSKBK User manual

Target

Target DSDTRDSKBK User manual

Target MYKONOS User manual

Target

Target MYKONOS User manual

Target Siebert 4 shelf bookcase User manual

Target

Target Siebert 4 shelf bookcase User manual

Target Southport FTS70837A User manual

Target

Target Southport FTS70837A User manual

Target wiley TGZLMEDXWH User manual

Target

Target wiley TGZLMEDXWH User manual

Target TGT-CU8-002 User manual

Target

Target TGT-CU8-002 User manual

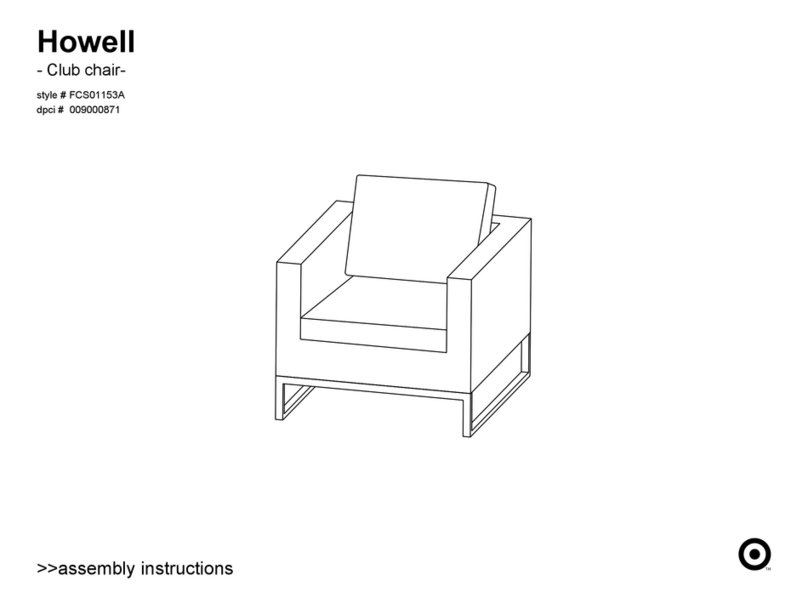
Target Howell FTS61267 User manual

Target

Target Howell FTS61267 User manual

Target PROJECT 62 TGTD54-1 User manual

Target

Target PROJECT 62 TGTD54-1 User manual

Target Brookline MOR02 User manual

Target

Target Brookline MOR02 User manual

Target Threshold 25" Roll Back Tufted Counter stool User manual

Target

Target Threshold 25" Roll Back Tufted Counter stool User manual

Popular Indoor Furnishing manuals by other brands

Wholesale Interiors MARIANA BUNK BED Assembly instructions

Wholesale Interiors

Wholesale Interiors MARIANA BUNK BED Assembly instructions

Urban Barn Macklin Assembly instructions

Urban Barn

Urban Barn Macklin Assembly instructions

Habitat ALTO-TA-SS15-A Assembly instructions

Habitat

Habitat ALTO-TA-SS15-A Assembly instructions

Riverside Furniture Sierra Assembly instructions

Riverside Furniture

Riverside Furniture Sierra Assembly instructions

Artopex e-Motion user guide

Artopex

Artopex e-Motion user guide

Trinity EcoStorage THA-3328 owner's manual

Trinity

Trinity EcoStorage THA-3328 owner's manual

Worden Folio installation manual

Worden

Worden Folio installation manual

OMT-Veyhl OV1018 user guide

OMT-Veyhl

OMT-Veyhl OV1018 user guide

decortie RAMDA manual

decortie

decortie RAMDA manual

Eurotech LAU1 Assembly instructions

Eurotech

Eurotech LAU1 Assembly instructions

WASAGUN DD005 Assembly instructions

WASAGUN

WASAGUN DD005 Assembly instructions

SHANGRI-LA ROBIN SLROBI6CDWA user guide

SHANGRI-LA

SHANGRI-LA ROBIN SLROBI6CDWA user guide

Platinum Health FirstClass Assembly and operation manual

Platinum Health

Platinum Health FirstClass Assembly and operation manual

Bensons for Beds Hip Hop HUBHIP005 Assembly instructions

Bensons for Beds

Bensons for Beds Hip Hop HUBHIP005 Assembly instructions

Galipette 405 manual

Galipette

Galipette 405 manual

Bedz King BK551 manual

Bedz King

Bedz King BK551 manual

simplehuman sensor mirror round instructions

simplehuman

simplehuman sensor mirror round instructions

Crosley CF3028 manual

Crosley

Crosley CF3028 manual

manuals.online logo
manuals.online logoBrands
  • About & Mission
  • Contact us
  • Privacy Policy
  • Terms and Conditions

Copyright 2025 Manuals.Online. All Rights Reserved.