manuals.online logo
Brands
  1. Home
  2. •
  3. Brands
  4. •
  5. Target
  6. •
  7. Indoor Furnishing
  8. •
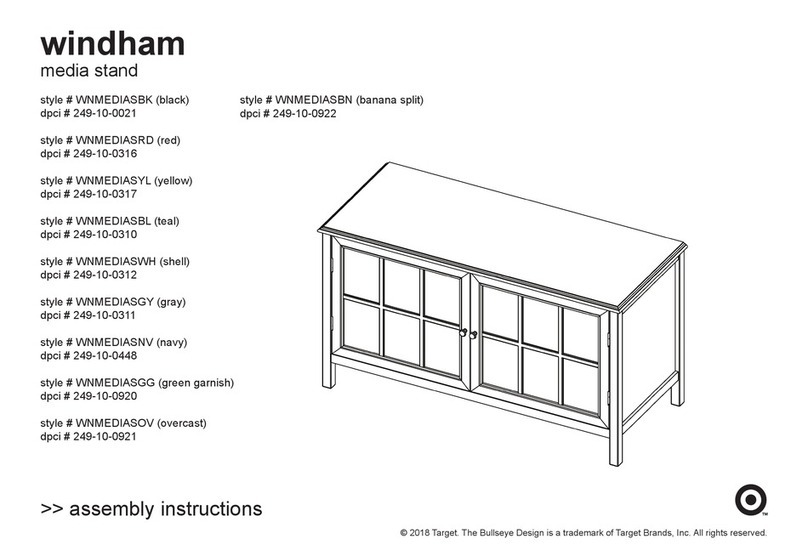
  9. Target Windham User manual

Target Windham User manual

© 2019 Target. The Bullseye Design is a trademark of Target Brands, Inc. All rights reserved.
>>
windham
kitchen island
assembly instructions
style # WNKTNILDBL (teal)
dpci # 249-04-2290
tcin # 50760400
style # WNKTNILDGY (gray)
dpci # 249-04-2291
tcin # 50760401
style # WNKTNILDRD (red)
dpci # 249-04-2292
tcin # 50760403
style # WNKTNILDBK (black)
dpci # 249-04-2293
tcin # 50760405
style # WNKTNILDWH (shell)
dpci # 249-04-2294
tcin # 50760407
style # WNKTNILDOV (overcast)
dpci # 249-04-4741
tcin # 53321673
Congratulations on your latest Target purchase.
Now what? Don’t start sweating over this box of parts. This will be easy. We did the hard work for you.
All you need to do is follow our simple instructions and you’ll be on your way to transforming your
room in no time. Good luck—though we’re condent you won’t need it.
before you begin
1. Check for damaged or missing parts. Call 1-855-MYTGTHOME (855-698-4846) to order missing supplies.
2. Use the carton as a working surface to prevent product damage during assembly.
3. Read through and review assembly steps.
4. Gather all tools prior to assembly.
tools needed
2
3
table of contents
introduction 2
hardware 4
parts list 5
how to use the cam lock system 6
assembly 7-19
how to adjust door alignment 20
QUESTIONS? Just call 1-855-MYTGTHOME (855-698-4846) for parts and service. For faster service, have the style number and dpci number ready when calling.
4
hardware
(H1) x 36
wooden dowel
(H2) x 35
cam bolt
(H3) x 34
cam
(H4) x 2
pan head screw
(H5) x 9
1” at head screw
(H6) x 10
at head screw
(H7) x 4
bolt
(H8) x 3
hook
(H9) x 1
small cam
(H10) x 1
magnet
(H11) x 4
shelf support
(H12) x 1
allen wrench
(H13) x 3
small wooden dowel
(H14) x 3
knob
(H15) x 3
knob bolt
(H16) x 4
7/8” at head screw
(H17) x 1
locking caster
(H18) x 1
caster
exploded diagram
ITEM DESCRIPTION QUANTITY
1 top panel 1
2 left side frame 1
3 right side frame 1
4 bottom panel 1
5 upper back panel 1
6 lower back panel 1
7xed panel 1
8 towel arm 2
9 towel bar 1
10 partition panel 1
11 slat panel 1
12 left drawer side 1
13 right drawer side 1
14 drawer face 1
15 adjustable shelf 1
16 door 1
17 drawer back 1
18 drawer bottom 1
19 drawer support 1
20 support beam 1
5
how to use the cam lock system
1.
Screw cam bolt into panel
2.
Align cam bolt(s) with cam(s)
and insert all the way into
cross-bored hole(s)
3.
Push cam into panel - arrow feature
on cam top points to panel edge
4.
Rotate cam(s) clockwise 180° to
lock panels together
5.
Panels should be tight against each
other and connection should be rigid
6
1. 2. 3.
4. 5.
7
step 1: attach lower back panel, partition panel and slat panel
(H1) x 4
wooden dowel
(H2) x 4
cam bolt
(H3) x 4
cam
1.1. Carefully tap small wooden dowels into place. Leave 1/2” of the dowels sticking out.
1.2. Screw-In cam bolts must be screwed down ush.
1.3. Refer to page 6 for instructions on how to use the cam lock system.
8
step 2: attach bottom panel
(H1) x 4
wooden dowel
(H2) x 4
cam bolt
(H3) x 4
cam
2.1. Carefully tap small wooden dowels into place. Leave 1/2” of the dowels sticking out.
2.2. Screw-In cam bolts must be screwed down ush.
2.3. Refer to page 6 for instructions on how to use the cam lock system.
step 3: attach xed panel
(H1) x 2
wooden dowel
(H2) x 2
cam bolt
(H3) x 2
cam
(H10) x 1
magnet
(H4) x 2
pan head screw
3.1. Carefully tap small wooden dowels into place. Leave 1/2” of the dowels sticking out.
3.2. Screw-In cam bolts must be screwed down ush.
3.3. Refer to page 6 for instructions on how to use the cam lock system.
3.4. Do not over tighten screws.
9
nished edge
pan head screw
10
step 4: attach upper back panel
(H1) x 2
wooden dowel
(H2) x 2
cam bolt
(H3) x 2
cam
4.1. Carefully tap small wooden dowels into place. Leave 1/2” of the dowels sticking out.
4.2. Screw-In cam bolts must be screwed down ush.
4.3. Refer to page 6 for instructions on how to use the cam lock system.
step 5: prepare left side frame
(H8) x 3
hook
(H6) x 6
at head screw
(H17)
x 1
locking caster
(H18)
x 1
caster
5.1. Align screws with pre-drilled holes.
5.2. Do not over tighten screws.
5.3. Gently press casters into place.
11
H17
H18
(H6) x 6
at head screw
(H17)
x 1
locking caster
(H18)
x 1
caster
step 6: attach left side frame
(H1) x 7
wooden dowel
(H2) x 8
cam bolt
(H3) x 8
cam
6.1. Carefully tap small wooden dowels into place. Leave 1/2” of the dowels sticking out.
6.2. Screw-In cam bolts must be screwed down ush.
6.3. Refer to page 6 for instructions on how to use the cam lock system.
6.4. Gently press casters into place, a hammer may be used to tap the casters into place.
12
Carefully tap small wooden dowels into place. Leave 1/2” of the dowels sticking out.
13
step 7: prepare right side frame
(H2) x 8
cam bolt
(H7) x 4
bolt
(H12) x 1
allen wrench
7.1. Carefully tap small wooden dowels into place. Leave 1/2” of the dowels sticking out.
7.2. Screw-In cam bolts must be screwed down ush.
7.3. Refer to page 6 for instructions on how to use the cam lock system.
7.4. Do not over tighten bolts.
14
step 8: attach right side frame
(H1) x 7
wooden dowel
(H3) x 8
cam
8.1. Carefully tap small wooden dowels into place. Leave 1/2” of the dowels sticking out.
8.2. Refer to page 6 for instructions on how to use the cam lock system.
step 9: attach top panel
(H1) x 6
wooden dowel
(H2) x 6
cam bolt
(H3) x 6
cam
(H13) x 3
small wooden
dowel
(H16) x 4
7/8” at head
screw
9.1. Carefully tap small wooden dowels into place. Leave 1/2” of the dowels sticking out.
9.2. Screw-In cam bolts must be screwed down ush.
9.3. Refer to page 6 for instructions on how to use the cam lock system.
9.4. Align screws with pre-drilled holes.
9.5. Do not over tighten screws.
15
H13
H1
16
step 10: attach door and knob
(H14) x 1
knob
(H15) x 1
knob bolt
(H6) x 4
small at
head screw
10.1. Align bolts with pre-drilled holes.
10.2. Align screws with pre-drilled holes.
10.3. Do not over tighten bolts.
10.4. Do not over tighten screws.
step 11: install adjustable shelf
(H11) x 4
shelf support
11.1. Insert shelf supports into desired hole. Different holes accommodate different shelf heights.
11.2. Angle shelf to t between the rails and set on top of shelf supports.
17
Insert shelf supports into desired hole. Different holes accommodate different shelf heights.
18
step 12: attach drawer face, left/right sides, support, bottom and back
(H1) x 4
wooden dowel
(H2) x 1
cam bolt
(H9) x 1
small cam
(H5) x 9
1” at head screw
12.1. Carefully tap small wooden dowels into place. Leave 1/2” of the dowels sticking out.
12.2. Screw-In cam bolts must be screwed down ush.
12.3. Refer to page 6 for instructions on how to use the cam lock system.
12.4. Do not over tighten bolts or screws.
step 13: attach knobs and install drawer
(H14) x 2
knob
(H15) x 2
knob bolt
13.1. Align bolt with pre-drilled hole.
13.2.
Do not over tighten bolt.
19
how to adjust door alignment
adjustable leg levelers
Tips for proper door alignment:
-Adjustable levelers will reduce minor door mis-alignments
caused by an uneven oor.
-Use a level to determine if the cabinet top is level. If not, start
with the levelers retracted and adjust them as needed.To
retract the levelers turn them counterclockwise. To extend
the levelers turn them clockwise.

Other manuals for Windham

3

Other Target Indoor Furnishing manuals
Target Brookline MOR02 User manual

Target

Target Brookline MOR02 User manual

Target Halsted FTS81068C User manual

Target

Target Halsted FTS81068C User manual

Target 249-14-0040 User manual

Target

Target 249-14-0040 User manual

Target Windham Desk WNDESKXXBK User manual

Target

Target Windham Desk WNDESKXXBK User manual

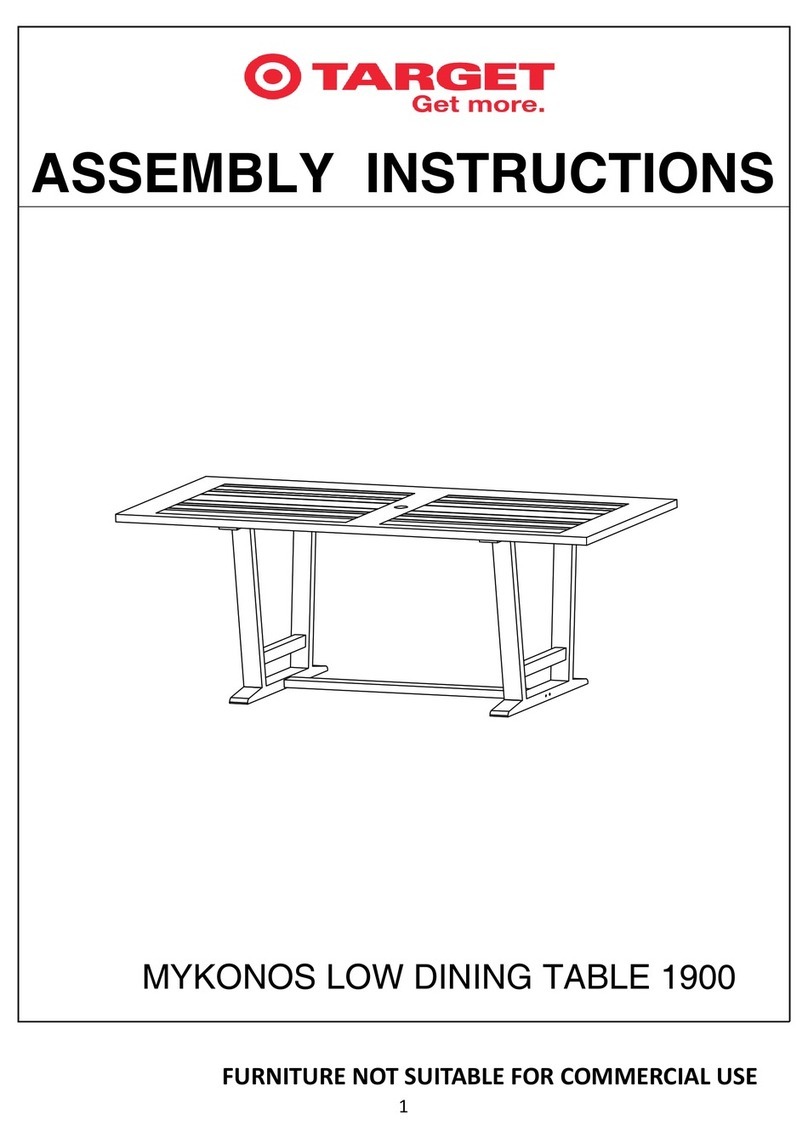
Target MYKONOS 1800 User manual

Target

Target MYKONOS 1800 User manual

Target 249-05-5826 User manual

Target

Target 249-05-5826 User manual

Target BK2SHLFXEB User manual

Target

Target BK2SHLFXEB User manual

Target Eldridge FRA81031ST-2 User manual

Target

Target Eldridge FRA81031ST-2 User manual

Target Terrace Installation guide

Target

Target Terrace Installation guide

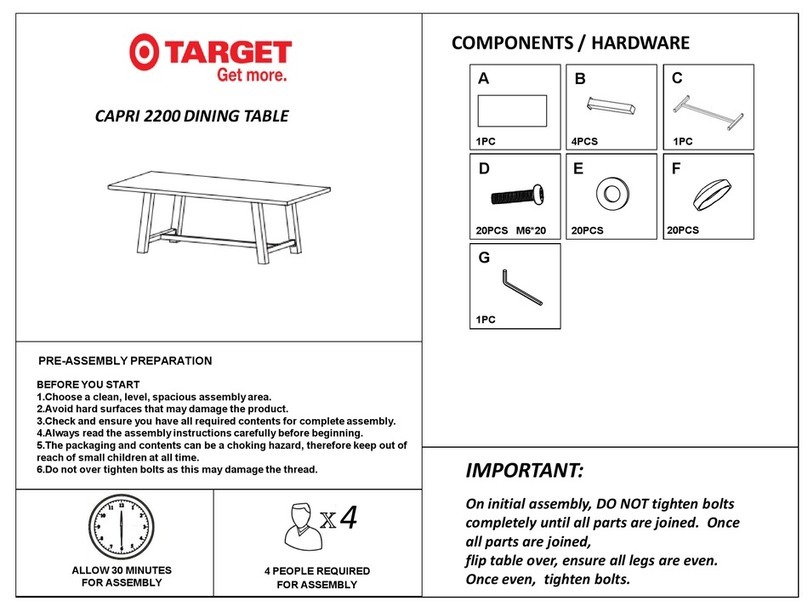
Target CAPRI 2200 User manual

Target

Target CAPRI 2200 User manual

Target CAPRI User manual

Target

Target CAPRI User manual

Target 6-Cube User manual

Target

Target 6-Cube User manual

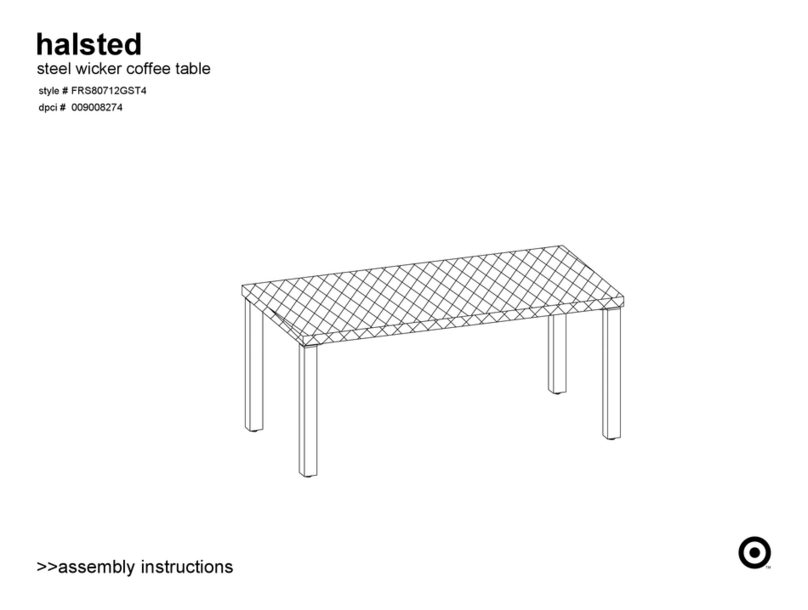
Target Halsted FRS80712GST4 User manual

Target

Target Halsted FRS80712GST4 User manual

Target VENUS BISTRO TABLE User manual

Target

Target VENUS BISTRO TABLE User manual

Target TGLNBKCSES User manual

Target

Target TGLNBKCSES User manual

Target fairfax TGCRCNTB01 User manual

Target

Target fairfax TGCRCNTB01 User manual

Target paulo User manual

Target

Target paulo User manual

Target DARIO COFFEE TABLE User manual

Target

Target DARIO COFFEE TABLE User manual
Target carson CACNTBWDEB User manual

Target

Target carson CACNTBWDEB User manual

Target Warwick side table FKWWSDTBBR User manual

Target

Target Warwick side table FKWWSDTBBR User manual

Target Bullseye SH LPB100PAL1 User manual

Target

Target Bullseye SH LPB100PAL1 User manual

Target DSMFDESKES User manual

Target

Target DSMFDESKES User manual

Target room essentials 249-05-0297 User manual

Target

Target room essentials 249-05-0297 User manual

Target DSDTRDSKBK User manual

Target

Target DSDTRDSKBK User manual

Popular Indoor Furnishing manuals by other brands

modway MOD-7079 Assembly instructions

modway

modway MOD-7079 Assembly instructions

Oregon Scientific WA328 user manual

Oregon Scientific

Oregon Scientific WA328 user manual

Next 207392 Assembly instructions

Next

Next 207392 Assembly instructions

PATIOJOY HW70812-2 manual

PATIOJOY

PATIOJOY HW70812-2 manual

Flash Furniture YK-1077-BEIGE-K-GG Assembly instructions

Flash Furniture

Flash Furniture YK-1077-BEIGE-K-GG Assembly instructions

Santalucia Mobili HOMY Night Series manual

Santalucia Mobili

Santalucia Mobili HOMY Night Series manual

Anthro Elevate Adjusta Series Assembly instructions

Anthro

Anthro Elevate Adjusta Series Assembly instructions

Home Decorators Collection M61267T4-IV Assembly instructions

Home Decorators Collection

Home Decorators Collection M61267T4-IV Assembly instructions

Homelegance 1525K-1EK Assembly instruction

Homelegance

Homelegance 1525K-1EK Assembly instruction

Sam K Steel II Assembly instructions

Sam

Sam K Steel II Assembly instructions

Ironwood Glacier G42SA quick start guide

Ironwood

Ironwood Glacier G42SA quick start guide

fantastic furniture Ashford Bedside 2 Drawer manual

fantastic furniture

fantastic furniture Ashford Bedside 2 Drawer manual

Core Products Boston BT215 Assembly instructions

Core Products

Core Products Boston BT215 Assembly instructions

AutoFull AF055 quick start guide

AutoFull

AutoFull AF055 quick start guide

Ashland SOFA Assembly instructions

Ashland

Ashland SOFA Assembly instructions

LINEA BRASIL Balcao com Painel Chicago Assembly instructions

LINEA BRASIL

LINEA BRASIL Balcao com Painel Chicago Assembly instructions

BLACK RED WHITE KENTAKI S320-TOL Assembly

BLACK RED WHITE

BLACK RED WHITE KENTAKI S320-TOL Assembly

Cooper Lighting IRIS 931 Specification sheet

Cooper Lighting

Cooper Lighting IRIS 931 Specification sheet

manuals.online logo
manuals.online logoBrands
  • About & Mission
  • Contact us
  • Privacy Policy
  • Terms and Conditions

Copyright 2025 Manuals.Online. All Rights Reserved.