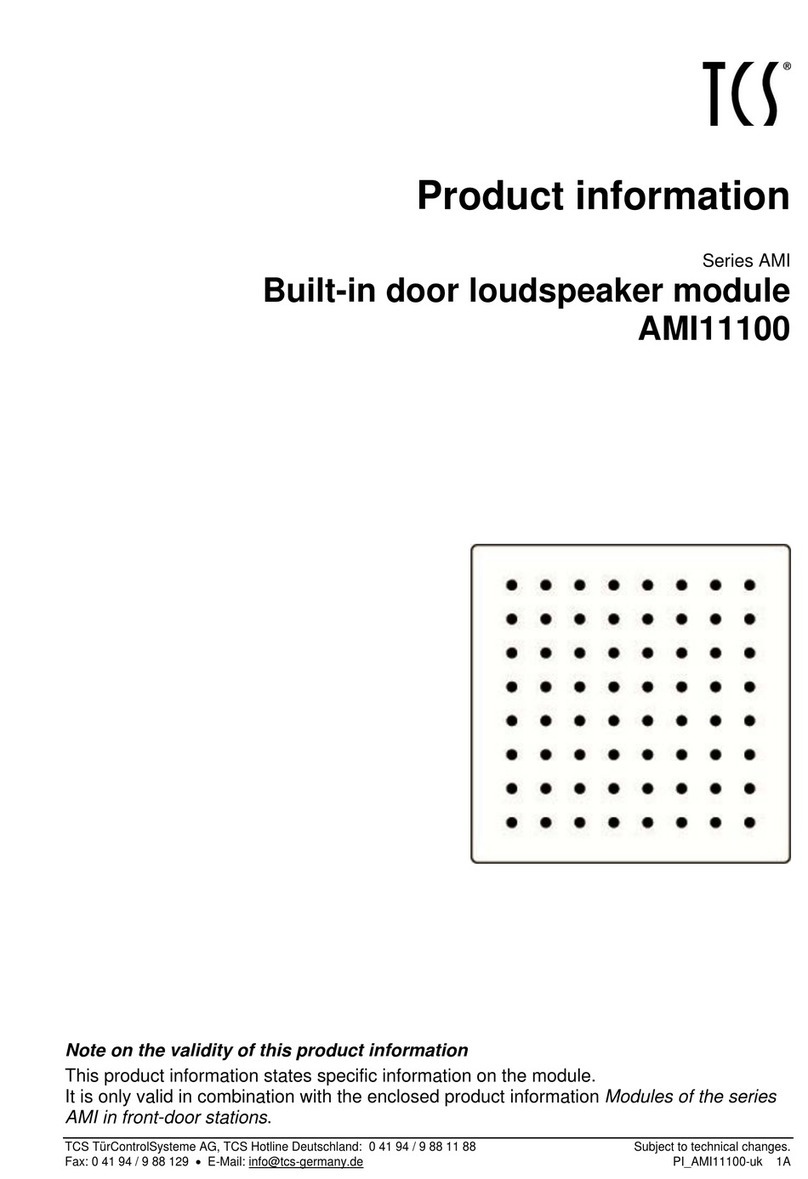
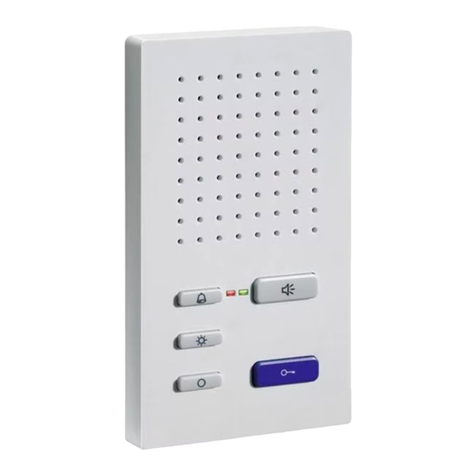
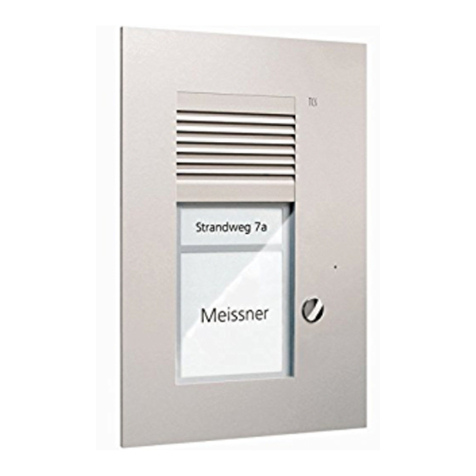
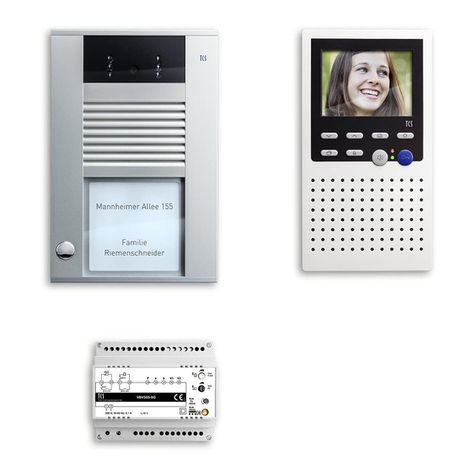
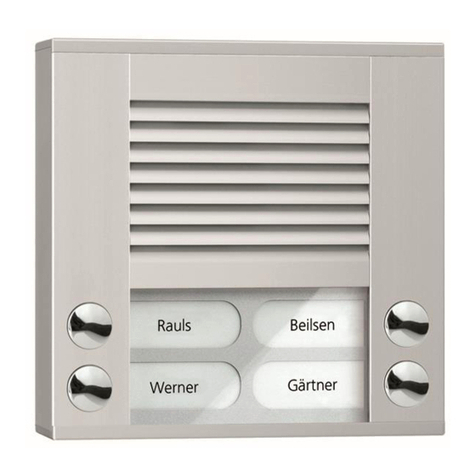
TCS AMI1090 Series User manual

www.tcsag.de PI_AMI1090x-uk 1A
Product information
Series AMI
Bell button module
AMI1090x
AMI10901 1 button
AMI10902 2 buttons
AMI10903 3 buttons
AMI10904 4 buttons
Note on the validity of this product information
This product information states specific information on the modules.
It is only valid in combination with the enclosed product information Modules of the series
AMI in front-door stations.

2 01/2013
www.tcsag.de PI_AMI1090x-uk 1A
Table of contents
Note on the validity of this product information.................................................................1
Scope of delivery...............................................................................................................3
Intended use.......................................................................................................................3
Short description...............................................................................................................3
Technical data....................................................................................................................3
Overview.............................................................................................................................4
Connect the lines...............................................................................................................4
Connect the module within the front-door station.............................................................4
…in connection with a built-in door loudspeaker module AMI11100.............................4
…in connection with a display module AMI1010x.........................................................5
Configuration .....................................................................................................................5
Pre-settings ex works.......................................................................................................5
Configuration options .......................................................................................................5
Programme bell buttons....................................................................................................6
Basic principle..................................................................................................................6
Manual programming of a bell button...............................................................................6
Notes:...........................................................................................................................6
Programming a second indoor station to a bell button .....................................................7
Delete the programming...................................................................................................9
Label the nameplate ........................................................................................................10
Open and close the module –the win:clipTM system ..................................................10
Accessory.........................................................................................................................11
Service..............................................................................................................................12
01/2013 3
www.tcsag.de PI_AMI1090x-uk 1A
Scope of delivery
1 x bell button module AMI1090x
3 x spacer foil 0.5 mm
1 x connection cable with 4 pins
4 x mounting nut M4
1 x win:clipTM key
1 x nameplate foil
product information bell button module AMI1090x
product information Modules of the series AMI in front-door stations
Intended use
The bell button modules AMI1090x are modules for the front-door stations of the series
AMI.
They are suitable to carry name tags and as push button (e.g. to trigger door calls).
They can be used only in combination with a display module AMI1010x, a built-in door
loudspeaker module AMI11100 or a codelock module AMI11200 (TCS:BUS® connection
necessary)!
Short description
bell button modules in the variations with 1 to 4 buttons
connection via the connection cable with 4 pins of the built-in door loudspeaker module
or at the display module
further connection for the outgoing connection to the next module
white LED backlight
indication of programming modes and device errors by different blink modes
per bell button, the functions light, 2 x door call or control function can be programmed
nameplate glass can be opened with the win:clipTM system and be removed forwards
Technical data
supply voltage
+24 V ± 8 % (power supply and control unit)
housing
nameplate
aluminium, anodised
acrylic glass
H x W x D
105 x 105 x 20 mm
weight
185 g
acceptable ambient temperature
−25 °C to +55 °C
input current standby
I(a) = 0.3 mA, I(P) = 4.5 mA
3-wire technique necessary!

4 01/2013
www.tcsag.de PI_AMI1090x-uk 1A
Overview
1 opening for win:clipTMkey
2 nameplate glass
with backlight
3 bell button
4connections
built-in door loudspeaker-
module AMI11100 or a
module with connection
cable with 4 pins (e.g. code-
lock module AMI11200)
Connect the lines
Connect the module within the front-door station
After the installation in the front panel, the modules themselves have to be wired.
The bell button module can be connected to a built-in door loudspeaker module AMI11100
or to a module with connection cable with 4 pins.
…in connection with a built-in door loudspeaker module AMI11100
Built-in door loudspeaker module
Remove the cover of the service open-
ing and the terminal cover.
Guide the cable upwards from the ter-
minals and push it slightly under the
module housing. Plug the connection
cable with 4 pins on the service socket
in the service opening.
Close the service opening and the
terminal cover.
Note on commissioning:
The AS addresses of the bell button modules and
the built-in door loudspeaker module resp. the
display module must be identical to establish a
connection:
Set all AS addresses to the same value and
block the addresses.
1
2
3
4
a b R P

01/2013 5
www.tcsag.de PI_AMI1090x-uk 1A
…in connection with a display module AMI1010x
Configuration
Factory settings
button assignment
switchting lights
AS address
0
backlight
ON
programming lock
OFF
Configuration options
manual
TCSK-01
configoTM
as of 1.7.1
delete a bell button ( = assign a bell button with light
switch function)
x
x
x
assign a bell button with door call to serial number 1
x
x
x
assign a bell button with door call to serial number 2
x
x
x
adjust the allocated AS address
-
x
x
set and reset the programming lock
-
x
x
send a control function
-
-
x

6 01/2013
www.tcsag.de PI_AMI1090x-uk 1A
Programme bell buttons
Basic principle
All devices at the TCS:BUS®have a unique serial number.
When programming a bell button, the serial number is allocated to an indoor station and
is stored in the EEPROM of the front-door station. Per bell button 1 or 2 indoor stations
(serial numbers) can be allocated and called.
If no serial number is allocated to a bell button (delivery state: deleted), lights can be
switched by pressing this button.
Manual programming of a bell button
Ensure that the indoor station at the TCS:BUS®is connected and the mains voltage is
switched on (the LED at the power supply and control unit is on).
Notes:
!
Before an already programmed bell button can be programmed anew, the program-
ming has to be deleted.
The AS addresses of the bell button modules and of the built-in door loudspeaker
module resp. display module must be identical to establish a connection:
Adjust the AS addresses to the same value and block the addresses.
The AS addresses of the bell button module AMI1090x can only be adjusted with the
configuration software configoTM or the Service Device TCSK-01.
Protocol digit when setting via TCSK-01: *76 # SNr. # AS #.
Legend
press button shortly
negative acknowledge-
ment (name plate blinks
fast 5x)
press button until
positive acknowledgement
(name plate is on shortly,
then blinks again)
release button
Progsperr tone
ring tone
repeat
period (e.g. 6 sec)
◄6s►
continue
1
Initiate Switch off the programming mode of the system
power supply and control unit
Shortly press the
RUN/PROG button LED blinks
Nameplate of the bell button module blinks.
Programming mode of the system is switched on.

01/2013 7
www.tcsag.de PI_AMI1090x-uk 1A
2a
Via voice connection
oder
Establish voice connection to
the front-door station
Shortly press the button,
positive acknowledgement
... a ring tone sounds at the front-door
and indoor station 1)
2b
alternatively: via floor push button (indoor station is not available)
+
Shortly press the floor push
button two times, every time
a ring tone sounds
Shortly press the button,
positive acknowledgement
... a ring tone sounds at the front-door
station and at the indoor station 1)
Repeat the steps until all bell buttons are programmed.
3
End
Power supply and control unit
or
Shortly press the:
RUN/PROG push button LED is on
Nameplate of the bell button module ON (or OFF).
Programming mode of the system is switched off
1) If there is no response, the programming lock of the bell button module is activated. The programming
lock can only be deactivated with a Service Device TCSK-01 or the configuration software configoTM.
Programming a second indoor station to a bell button
If two indoor stations are to be called by pressing one bell button, the serial number of the
second indoor station can be allocated additionally to this bell button.
Note:
A repeated programming of an already programmed bell button changes only the second
serial number.

8 01/2013
www.tcsag.de PI_AMI1090x-uk 1A
1
Initiate Switch on the programming mode of the system
Power supply and control unit
Shortly press the
RUN/PROG push button LED blinks
Namenplate of the bell button module blinks.
Programming mode of the system is switched on
2a
Via voice connection
er
◄6s►
Establish voice connec-
tion to the front-door
station
Press button until the
negative acknowledgement
and positive acknowledgement
... and a ring tone at
the front-door and
indoor station sound1)
Release
2b
alternatively: Via floor push button (indoor station is not available)
+
◄6s►
Press the floor push but-
ton two times, every time
a ring tone sounds
Press the button until a
negative acknowledgement
and positive acknowledgement
... and a ring tone at
the front-door and
indoor station sound 1)
Release
Repeat the steps until all bell buttons are programmed
3
End
Power supply and control unit
oder
Shortly press the
RUN/PROG push button LED is on
Namenplate of the bell button module ON (or OFF).
Programming mode of the system is switched off.
1) If there sounds a Progsperr tone instead, a programming lock at the front-door station is activated. The
programming lock can only be deactivated with a Service Device TCSK-01 or the configuration software
configoTM.

01/2013 9
www.tcsag.de PI_AMI1090x-uk 1A
Delete the programming
Before an already programmed bell button can be programmed anew, the programming
must be deleted.
1
Initiate Switch on the programming mode of the system
Shortly press the
RUN/PROG push button LED blinks
Namenplate of the bell button module blinks.
Programming mode of the system is switched on
2
Delete a button
◄6s►
Press the button until a negative
and positive acknowledgement tone sounds 1)
Release
3
End
oder
Shortly press the
RUN/PROG push button LED is on
Nameplate of the bell button module ON (or OFF).
Programming mode of the system is switched off.
1) If there sounds an Progsperr tone instead, the programming lock of the front-door station is activated. The
programming lock can only be deactivated with the Service Device TCSK-01 or the configuration software
configoTM.

10 01/2013
www.tcsag.de PI_AMI1090x-uk 1A
Label the nameplate
Please find the templates AMI1090x under
www.tcs-ami.de > Downloads > Beschriftungsvorlagen.
1. Enter the required names in the template.
2. Print the nameplate with a laser printer on the special
foil (included in the delivery) and cut it to size.
3. Push the cutted tag from the side into the pocket of the
nameplate glass.
* You can order the foil directly at TCS:
Polyester foil which can be labeled for nameplates DIN A4.
Open and close the module –the win:clipTM system
The device is equipped with the win:clipTM system, thus opening and closing can be real-
ised without any screws.
Open the module
1. Push the enclosed win:clipTM key into the small ope-
ning.
Press the key into the opening until stop and keep it
in this position.
2. Push the nameplate glass slighty upwards until it
jumps out.
3. Remove the glass.
4. Remove the win:clipTM key.
Close the module
1. Push the enclosed win:clipTM key into the small ope-
ning.
Press the key into the opening until stop and keep it
in this position.
2. Push the nameplate glass from above under the
front panel.
3. Press the nameplate glass onto the device and push
it slightly downwards until it snaps in.
4. Remove the win:clipTM key.

01/2013 11
www.tcsag.de PI_AMI1090x-uk 1A
Accessory
Short text
Article number
Maintenance package
FBI1210-0
Laser film foil matt, A5 format
0031123

12 01/2013
www.tcsag.de PI_AMI1090x-uk 1A
Service
Send your questions and inquiries to
Headquarters
TCS TürControlSysteme AG, Geschwister-Scholl-Str. 7, D-39307 Genthin
Phone: +49 (0) 39 33 / 87 99 10, Fax: +49 (0) 39 33 / 87 99 11, Mail: info@tcsag.de, www.tcsag.de
This manual suits for next models
4
Table of contents
Other TCS Intercom System manuals