manuals.online logo
Brands
  1. Home
  2. •
  3. Brands
  4. •
  5. Teknion
  6. •
  7. Indoor Furnishing
  8. •
  9. Teknion marketplace Series Operating and maintenance instructions

Teknion marketplace Series Operating and maintenance instructions

marketplace
INDEX
By Section
Product Name
Product
Code
Guide
No.
Last
Updated
End Gable UMCE 001 Jul 2015
Truss UMCT
Travers UMCV
BODY
End Worksurface UMWE 002a Jul 2015
In-Line Worksurface UMWI
Modesty Panel UMWM 002b Jul 2015
End Worksurface Single Sided UMWN 002c Jun 2017
In-Line Worksurface Signle Sided UMWL
Auxiliary Worksurface UMWA 003 Jul 2015
Privacy Angles UMSP 004 Jul 2015
Insert - Accessory Rail UMSI
Center - Mount Screen UMSC 005a Jul 2015
Casual - Center Mount Screen UMSM 005b Jul 2015
Lateral Screen UMSL 005c Dec 2017
Canopy UMQC 006 Jul 2015
Canopy Light UMQL 007 Jul 2015
Base Feed UMQB 008 Jul 2015
Power/Communications Box - UMQP 009a Jul 2015
Truss Mounted
Recessed Power/Communication Box UMQR
Power/Communications Box - UMQT 009b Jul 2015
Table Mounted
Wire Tray UMQW 010 Jul 2015
CHASSIS
*Click on the desired Installation Guide to jump to the Guide
page.
January 2018 PAGE 1 OF 1
Part and Product Identification
Section:
Description: Page No:
Date:
Rev. No: 1
July 2015 1 of 10
MP_001
marketplace
End Gable Exploded View (UMCE)
- Plastic Corner Cap
(B02-0237) x4
- Gable End Trim
(A23-1658) x4
- Gable Top Trim
(A23-1648) x2
- Fast Access Door
(A15-7058) x2
- 1/4 - 20 x 15mm
Murakoshi Screw
(E01-0635) x8
- Gable Inner Cover
(C05-2840L/R) x4
- Gable Outer Cover
(C05-2836) x2
- 5/16 - 18 x 3/4" Hex Bolt
(E03-0125) x8
- 5/16 - 18, Hex Nut
(E03-0462) x8
- Retainer Cup
(A18-0099) x20
- 5/16 - 18 x 1" Socket Screw
(E01-0675) x20
- Bottom Trim Cap
(B02-0236) x4
- 5/16 - 18 x 1" SBHC
(E01-0651) x8
- End Gable Frame
Sub-Assembly
(N01-1824) x2
A
B
C
D
E
F
G
H
I
J
K- Support Glide Assembly
(N09-1583) x4
D
A
C
G
K
H
J
F
B
Part and Product Identification
Section:
Description: Page No:
Date:
Rev. No: 0
July 2015 2 of 10
MP_001
marketplace
- Gable End Trim
(A23-1658) x4
- Gable Top Trim
(A23-1904) x2
- Access Door
(A15-7058) x2
- 1/4 - 20 x 15mm
Murakoshi Screw
(E01-0635) x8
- Gable Inner Cover
(C05-3327L) x1
- Gable Inner Filler
(N09-1820R) x1
- 5/16 - 18 x 3/4" Hex Bolt
(E03-0125) x6
- 5/16 - 18, Hex Nut
(E03-0462) x6
- Retainer Cup
(A18-0099) x18
- 5/16 - 18 x 1" Socket Screw
(E01-0654) x18
- Bottom Trim Cap
(B02-0236) x4
- 5/16 - 18 x 1" SBHC
(E01-0651) x8
- End Gable Frame
(N01-2033) x2
- Support Glide Assembly
(N09-1583) x4
- Gable Outer Cover
(C05-3326) x2
- Ledger Cover
(A15-7579) x2
Single Sided End Gable Exploded View (UMCE38)
- Plastic Corner Cap
(B02-0237) x4
Part and Product Identification
Section:
Description: Page No:
Date:
Rev. No: 0
July 2015 3 of 10
MP_001
marketplace
- Half Spacer
(A18-0111) x6
- Traverse
(N09-1488) x2
- 3/8-16" U Bolt
(A18-0102) x2
- 3/8-16" U Bolt Cap
(E03-0432) x4
- 3" Truss Spacer
(A18-0100) x3
- M10x1.5x16mm Hex Bolt, Zinc
(E03-0461) x6
- Washer, Zinc
(E03-0469) x6
- Truss Taper Pin
(A18-0119) x12
- 0.330" Washer
(E03-0453) x12
- 5/16" Lock Nut with Insert
(E03-0454) x12
- Truss Space Wedge
(A15-7249) x2
Only used for 20' No leg Option
- Intermediate Support Assembly
(N09-1512) x1
Only used for 20' or greater
Truss Taper Pin Kit
(N09-1619)
- Carl Magnusson Label
(E08-0056)
Truss and Traverse Exploded View (UMCT, UMCV)
- Truss
(N09-1602) x2
L
M
N
O
Q
R
T
U
V
P
S
L
S
M
Q
Part and Product Identification
Section:
Description: Page No:
Date:
Rev. No: 0
July 2015 4 of 10
MP_001
marketplace
Single Sided Truss and Traverse Exploded View (UMCT, UMCV)
- Truss
(N09-1602) Quantity Varies
- Half Spacer
(A18-0111) x6
- Single Sided Traverse
(N09-1796) x2
- 3/8-16" U Bolt
(A18-0102) x2
- 3/8-16" U Bolt Cap
(E03-0432) x4
- 3" Truss Spacer
(A18-0100) x3
- M10x1.5x16mm Hex Bolt, Zinc
(E03-0461) x6
- 3/8" Washer, Zinc, Type CC
(E03-2047) x6
- Truss Taper Pin
(A18-0119) x12
- 0.330" Washer
(E03-0453) x12
-5/16" Lock Nut with Insert
(E03-0454) x12
- Truss Space Wedge
(A15-7249) x2
Only used for 20' No leg Option
- Single Sided
Support Assembly
(N09-1811) x1
Truss Taper Pin Kit
(N09-1619)
Section:
Description: Page No:
Date:
INSTALL SUPPORT GLIDER
INSTALL BOTTOM TRIM CAPS
INSTALL HEX BOLTS
MP_001
5 of 10
July 2015
marketplace
STEP 2: Install Bottom Trim Cap at both ends. Adjust Trim Cap for centering and use Trim
for guide.
STEP 1: Install Support Glider at both ends of the End Gable Frame.
STEP 3: Slide in Hex Bolts into Top and End Trims.
K
B
J
Detail View Side View
E
D
C
Section:
Description: Page No:
Date:
INSTALL GABLE END TRIMS INSTALL PLASTIC CORNER CAP
INSTALL HALF SPACERS FASTEN HALF SPACERS
MP_001
6 of 10
July 2015
marketplace
STEP 4: Once Hex Bolts are in place, install Gable End Trims and secure with the Hex Nut
provided.
STEP 5: Install Plastic Corner Cap onto Top Trim. Then fasten assembly onto End Gable
Frame with the Hex Nuts provided. Hand tighten only and adjust when installing Covers.
STEP 7: Use Truss Taper Pin Kit to secure Half Spacer in place.STEP 6: Install Half Spacer into Truss. Make sure the bigger opening is facing into the outer
side of the Truss.
NOTE: Only install Half Spacer into the Outer part of the Truss that meets the Gable.
E
C
E
D
A
Detail View
L
M
Underside View
P
Section:
Description: Page No:
Date:
TRUSS NO LEG INSTALLATION 20" NO LEG TRUSS INSTALLATION
20" WITH LEG TRUSS INSTALLATION SECURE TRUSS SPACER/LEG
MP_001
7 of 10
July 2015
marketplace
STEP 8a: Install Truss Spacer into Truss Assembly. STEP 8b: Install Truss Spacer and Truss Spacer Wedge into Truss Assembly.
STEP 9: Use Taper Pin Kit to secure the Truss Spacer onto Truss.STEP 8c: Install Mid-Span Support Assembly into Truss Assembly.
S
S
T
U
Section:
Description: Page No:
Date:
FASTEN TRUSSES POSITION & LEVEL ASSEMBLY
MP_001
8 of 10
July 2015
marketplace
STEP 11: Position and level the Truss and Gable Assembly.STEP 10: Use Screws and Washers provided to fasten Trusses onto End Gables.
1-3/4"
Approx.
Default
O
N
Right Truss
Left Truss
Section:
Description: Page No:
Date:
ATTACH TRAVERSE CHANNELS SECURE TRAVERSE CHANNELS
MP_001
9 of 10
July 2015
marketplace
STEP 13: Use U-Bolt provided to fasten Traverse onto Truss. Hand tighten for further
adjustments.
STEP 12: Place Traverse in right location as shown.
5'-0" 5'-0" 5'-0"
or 6'-0" or 6'-0" or 6'-0"
Plan View
Q R
Section:
Description: Page No:
Date:
FASTEN GABLE INNER COVER INSTALL ACCESS COVER
FASTEN OUTER COVERS INSTALL LABEL
MP_001
10 of 10
July 2015
marketplace
STEP 14: Use Screws provided to fasten Gable Inner Cover to Gable Frame. STEP 15: Install Access Cover onto Gable Inner Cover.
STEP 17: Install Carl Magnusson Label onto Traverse.STEP 16: Use Screws provided to fasten Gable Outer Cover onto Gable Frame.
I
Detail View Underside View
F
V
I
H
Part and Product Identification
For Customer Support please contact
[email protected]
Section:
Description: Page No:
Date:
Rev. No: 1
July 2015 1 of 2
MP_002a
marketplace
UMWE, UMWI
A - End Worksurface
(UMWE) x4
B - In-Line Worksurface
(UMWI) Qty. varies
with table width
C - Ledge Cover
(A15-7207) x2
Shipped with
(UMCE)
D - 0.0656" Flat Washer
(E03-0433)
- 5/8" Steel Hex Nut
(E03-0431)
- Leveling Jack Screw
(A18-0097)
Quantity Varies
with table width
Double Sided Application Shown
A
C
B
Section:
Description: Page No:
Date:
INSTALL LEVELING JACK SCREWS LEDGE COVER
FASTENING WORKSURFACE
MP_002a
2 of 2
July 2015
marketplace
STEP 1: Place Worksurface up side down. Relocate Hat Channel if required. Insert 4 Leveling
Jack Screws into Hat Channel Weldement.
NOTE: Leveling Jack Screws are shipped with UMCE and UMCV.
STEP 2: Lay Leger Cover on the top of End Gables, both sides.
STEP 3: Fasten Worksurface (1) onto Traverse and End Gable. Make sure the Inner Jack
Screws go through the Ledger Cover. Hand tighten only for further adjustments.
Fasten the remaining Worksurfaces into place in sequence shown above. Tighten Traverse
Channel U-Bolts once Worksurfaces are in place. Level.
NOTE: For no gap installation of Worksurfaces 30" and 36" wide, repositioning of Hat
Channel is required. For additional information see Application Guidelines.
A
Chat Channel D
Leave loose for leveling
adjustment.
D
C
D
3 2
1
Worksurface – Single-Sided – End (UMWN),
Worksurface – Single-Sided – In-Line (UMWL) Part and Product Identification
A - Worksurface -
Single-Sided - End
(UMWN) x2
For Customer Support please contact
[email protected]
Section:
Description: Page No:
Date:
Rev. No: 0
END AND IN-LINE (SINGLE) WORKSURFACE INSTALLATION
BODY
Jun 2017 1 of 2
MP_002c
marketplace
Installation Guides
B - Worksurface -
Single-Sided - In-Line
(UMWL) Qty. varies
with table width
B
A
C - 0.0656" Flat Washer
(E03-0433) Qty. varies
with table width
D - 5/8" Steel Hex Nut
(E03-0431) Qty. varies
with table width
E - Leveling Jack
Screw (A18-0097)
Qty. varies with table
width
STEP 2: Fasten Worksurface onto Traverse and End Gable. Hand tighten only for further
adjustment
STEP 1: Place Worksurface upside down. Insert 4 Leveling Jack Screws into Hat Channel
Weldement.
marketplace
Installation Guides
Section:
Description: Page No:
Date:
INSTALL LEVELING JACK SCREWS FASTENING WORKSURFACES
MP_002c
2 of 2
Jun 2017
END AND IN-LINE (SINGLE) WORKSURFACE INSTALLATION
BODY
Leave loose
for leveling
adjustment.
B
A
E
D
C
C

Other Teknion Indoor Furnishing manuals

Teknion Dossier ZJRP Operating and maintenance instructions

Teknion

Teknion Dossier ZJRP Operating and maintenance instructions

Teknion hiSpace User manual

Teknion

Teknion hiSpace User manual

Teknion Casegoods BC MHRB User manual

Teknion

Teknion Casegoods BC MHRB User manual
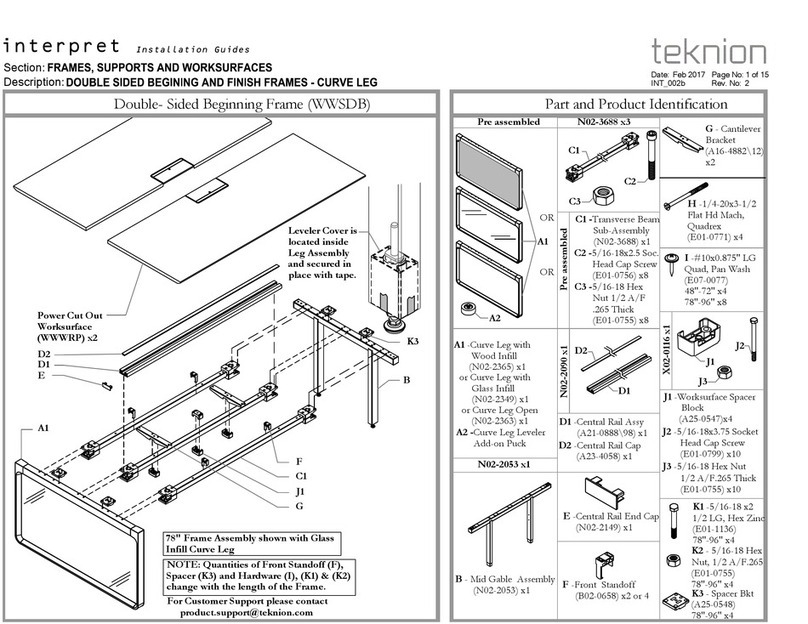
Teknion Interpret Operating and maintenance instructions
Teknion

Teknion Interpret Operating and maintenance instructions

Teknion Dossier Operating and maintenance instructions

Teknion

Teknion Dossier Operating and maintenance instructions

Teknion PUNT Stockholm Storage Operating and maintenance instructions

Teknion

Teknion PUNT Stockholm Storage Operating and maintenance instructions
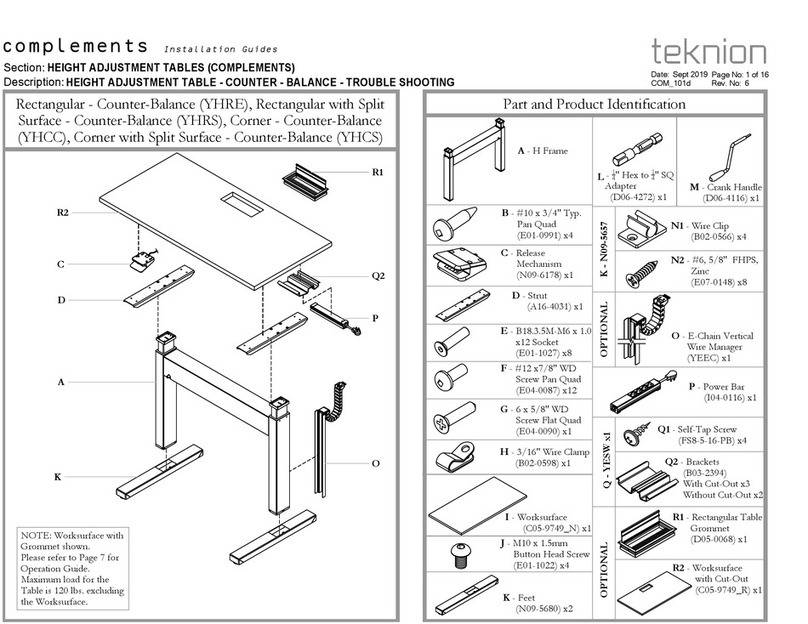
Teknion YHRE Operating and maintenance instructions

Teknion

Teknion YHRE Operating and maintenance instructions
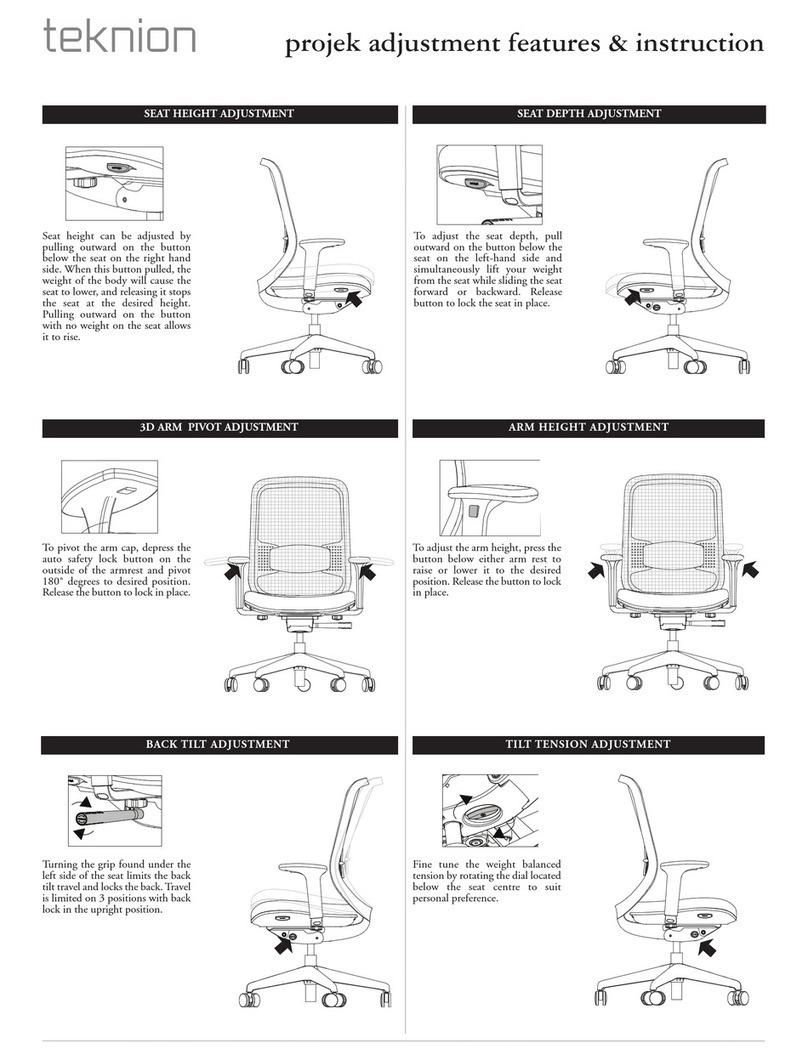
Teknion Projek Owner's manual

Teknion

Teknion Projek Owner's manual
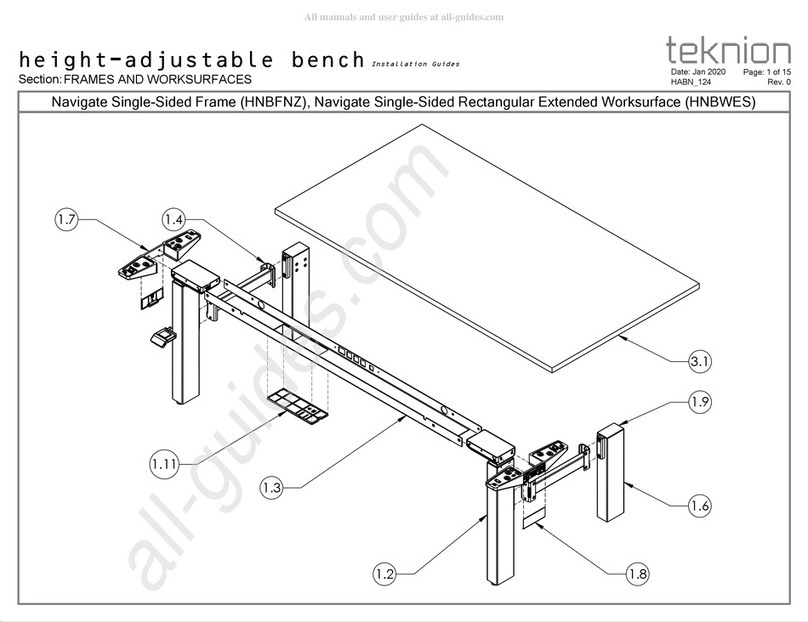
Teknion Navigate Single-Sided Frame HNBFNZ User manual
Teknion

Teknion Navigate Single-Sided Frame HNBFNZ User manual

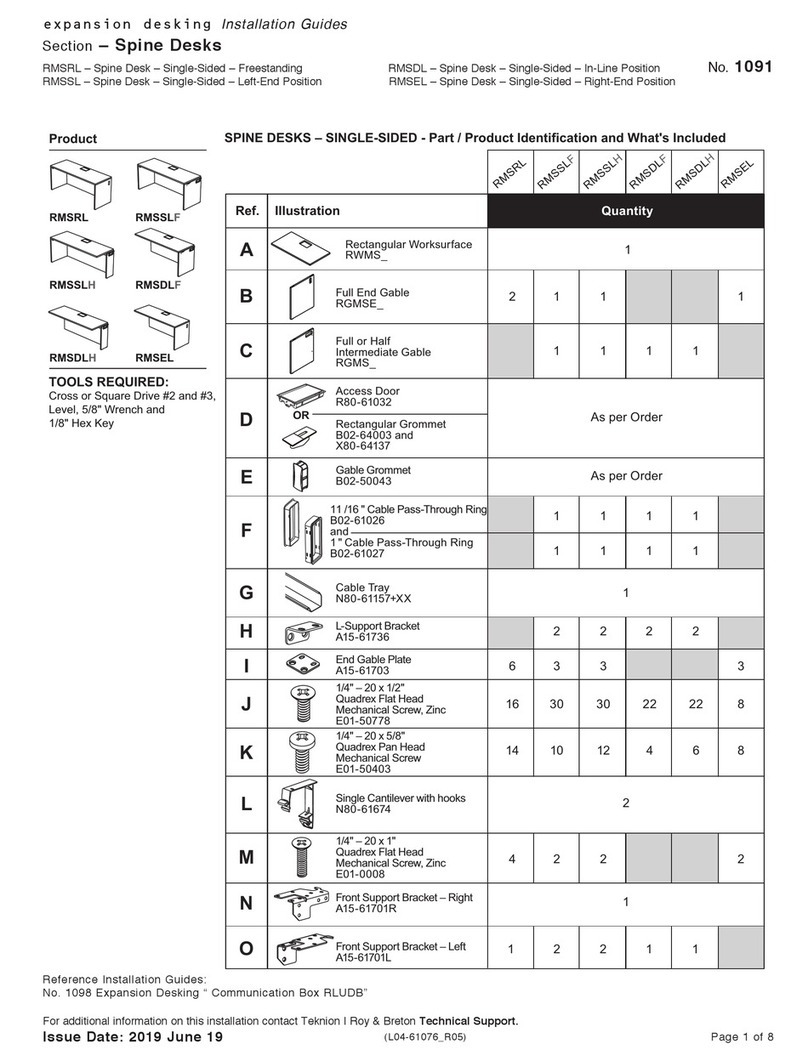
Teknion RMSRL Operating and maintenance instructions
Teknion

Teknion RMSRL Operating and maintenance instructions

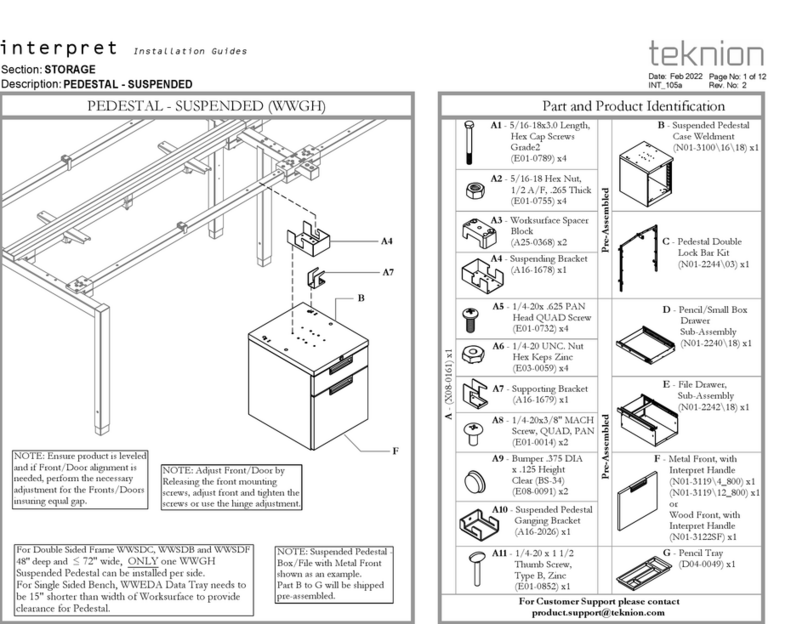
Teknion Interpret Operating and maintenance instructions

Teknion

Teknion Interpret Operating and maintenance instructions
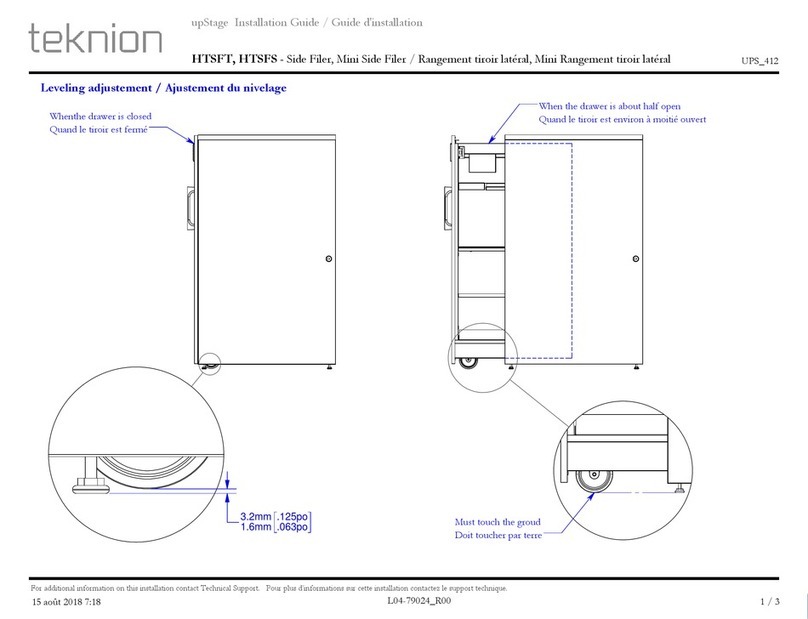
Teknion HTSFT User manual

Teknion

Teknion HTSFT User manual

Teknion JNSESH User manual

Teknion

Teknion JNSESH User manual
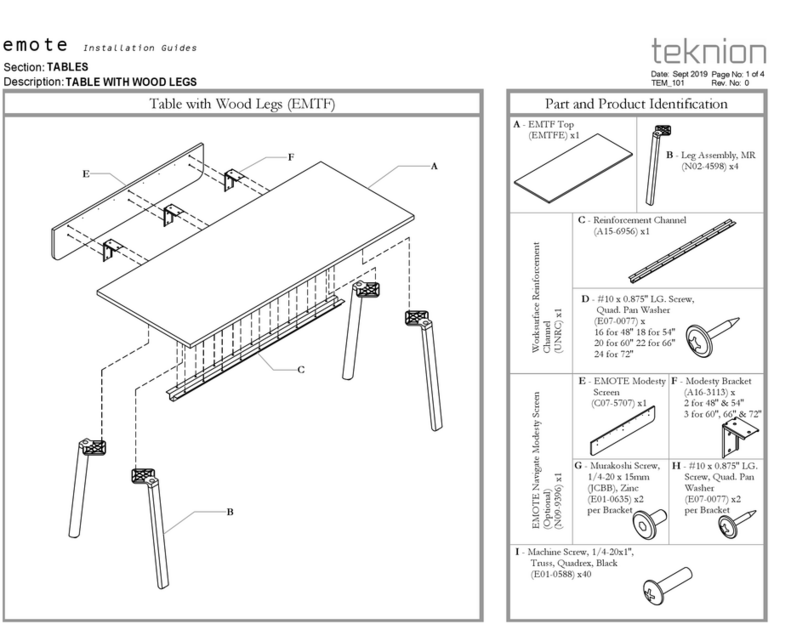
Teknion Emote User manual

Teknion

Teknion Emote User manual

Teknion Amicus Owner's manual

Teknion

Teknion Amicus Owner's manual
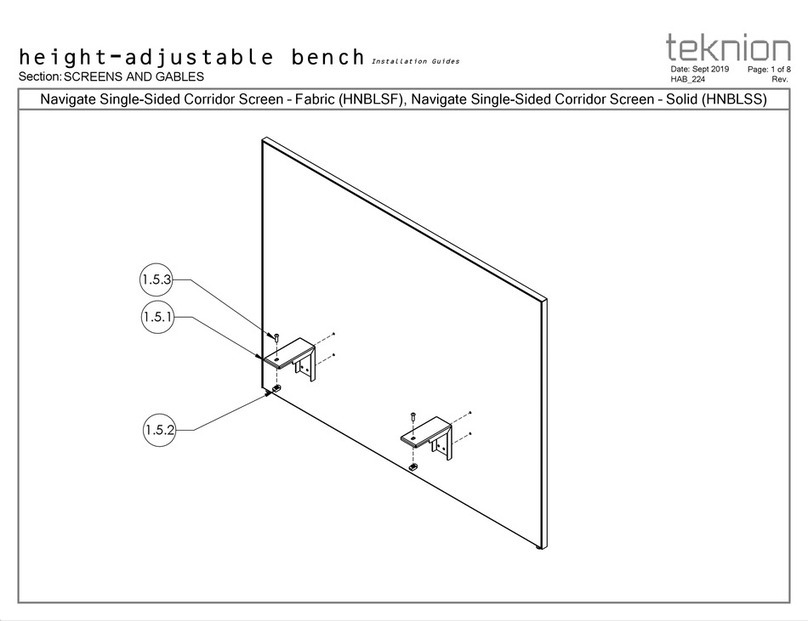
Teknion HNBLSF Operating and maintenance instructions
Teknion

Teknion HNBLSF Operating and maintenance instructions

Teknion Complements Operating and maintenance instructions

Teknion

Teknion Complements Operating and maintenance instructions
Teknion Dossier ZJSF Operating and maintenance instructions

Teknion

Teknion Dossier ZJSF Operating and maintenance instructions
Teknion Marini Owner's manual

Teknion

Teknion Marini Owner's manual

Teknion Livello User manual

Teknion

Teknion Livello User manual

Teknion Height-adjustable bench Operating and maintenance instructions

Teknion

Teknion Height-adjustable bench Operating and maintenance instructions

Teknion Beginning Work Table User manual

Teknion

Teknion Beginning Work Table User manual

Teknion HABCDG Series Operating and maintenance instructions

Teknion

Teknion HABCDG Series Operating and maintenance instructions

Teknion RKXD Operating and maintenance instructions

Teknion

Teknion RKXD Operating and maintenance instructions

Popular Indoor Furnishing manuals by other brands
Baumax HVNK341 Assembling Instruction

Baumax

Baumax HVNK341 Assembling Instruction

LDI SAFCO Value Mate 7173 Assembly instructions

LDI

LDI SAFCO Value Mate 7173 Assembly instructions

Liberty Furniture 652-B200124 Assembly instruction

Liberty Furniture

Liberty Furniture 652-B200124 Assembly instruction

SHANGRI-LA LYTTON SLLYT5PDSGA user guide

SHANGRI-LA

SHANGRI-LA LYTTON SLLYT5PDSGA user guide

ADIROffice ADI501-06 Series user guide

ADIROffice

ADIROffice ADI501-06 Series user guide

VonHaus 3009007 instruction manual

VonHaus

VonHaus 3009007 instruction manual

Argos Napoli 600/6266 Assembly instructions

Argos

Argos Napoli 600/6266 Assembly instructions

Kvik PT531 manual

Kvik

Kvik PT531 manual

Whittier Wood Furniture 2089AUF Assembly instructions

Whittier Wood Furniture

Whittier Wood Furniture 2089AUF Assembly instructions

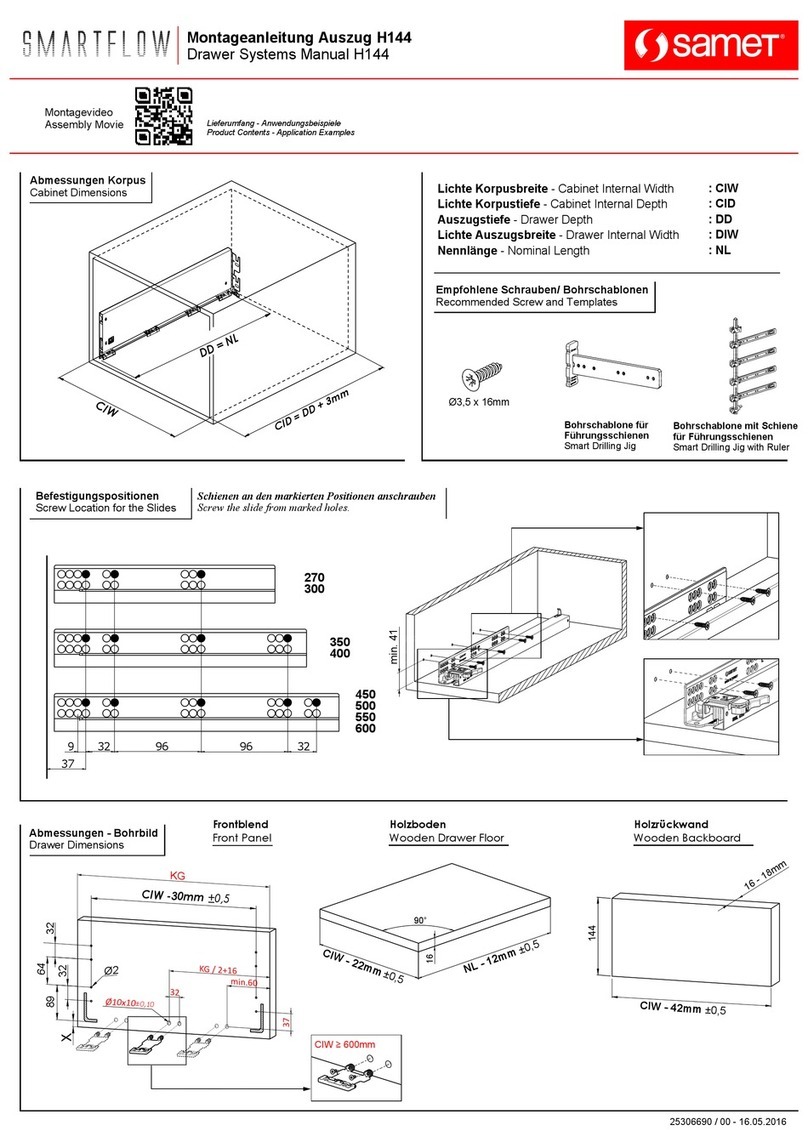
samet SMARTFLOW H144 manual

samet

samet SMARTFLOW H144 manual

TAKT T16 Cross Building instructions

TAKT

TAKT T16 Cross Building instructions

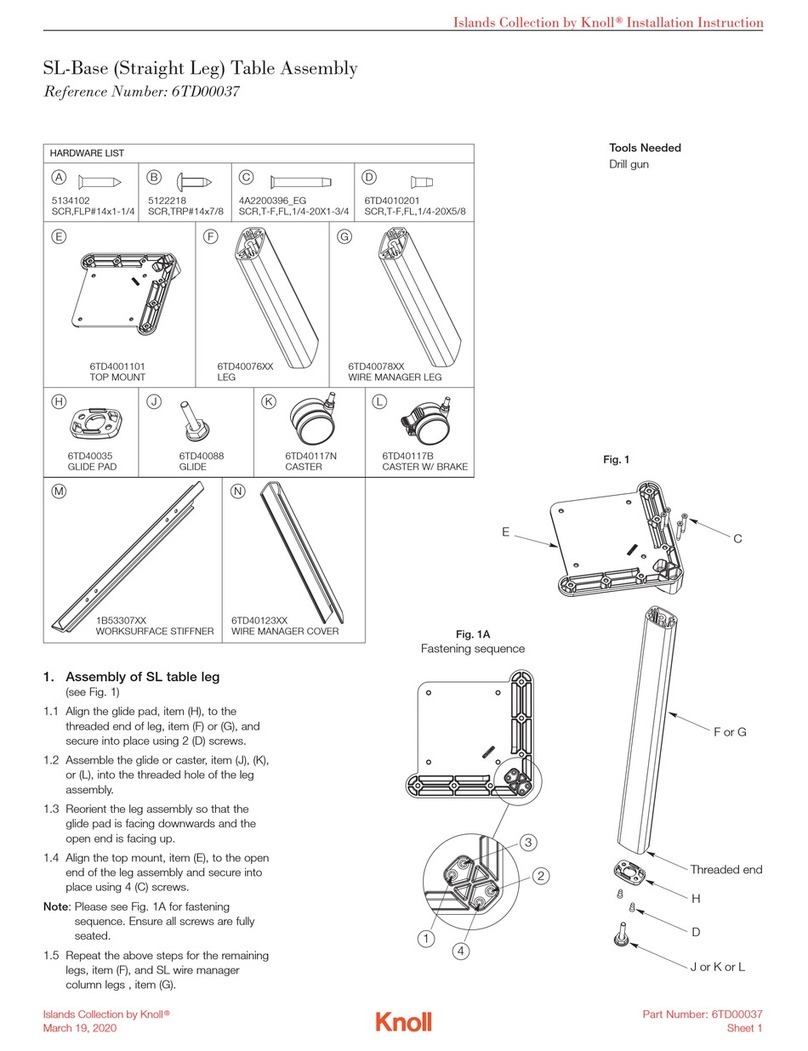
Knoll SL-Base Assembly

Knoll

Knoll SL-Base Assembly

Coaster 102722GRY Assembly instructions
Coaster

Coaster 102722GRY Assembly instructions

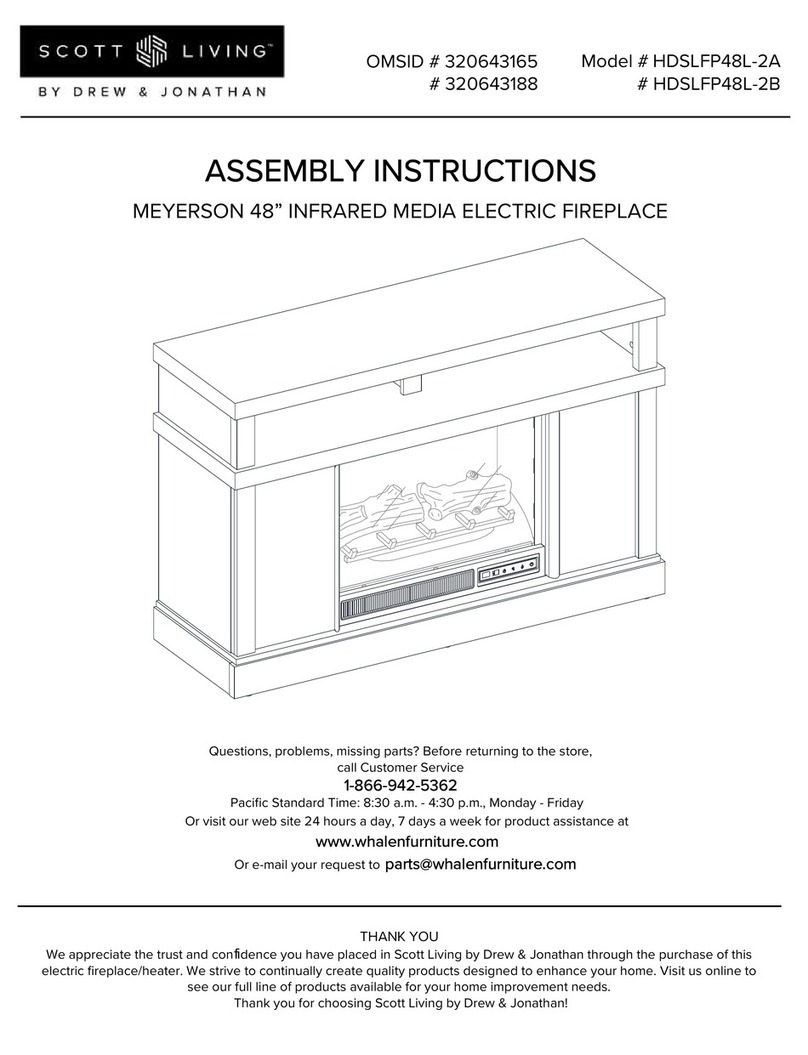
drew & jonathan SCOTT LIVING MEYERSON HDSLFP48L-2A Assembly instructions

drew & jonathan

drew & jonathan SCOTT LIVING MEYERSON HDSLFP48L-2A Assembly instructions

Seconique Furniture STOCKHOLM 100-103-057 Assembly instructions

Seconique Furniture

Seconique Furniture STOCKHOLM 100-103-057 Assembly instructions

Takara Belmont Majolica Porto operating instructions
Takara Belmont

Takara Belmont Majolica Porto operating instructions

Mocka Inca Six Drawer Assembly instructions
Mocka

Mocka Inca Six Drawer Assembly instructions

Venjakob 6555 Assembly instructions

Venjakob

Venjakob 6555 Assembly instructions

manuals.online logo
manuals.online logoBrands
  • About & Mission
  • Contact us
  • Privacy Policy
  • Terms and Conditions
Copyright 2025 Manuals.Online. All Rights Reserved.