Telstra VVX500 User manual

Telstra VVX 500 Phone Guide | July 2014 Page 1
Telstra VVX500 Phone Guide
If you are required to initially configure you
IP phone you will be advised of the
Username and Password. This information
only needs to be entered once via the
QSetup soft key.
Tap the QSetup soft key
Tap the Server User field
Enter the Server User credentials (obtain
this information from Telstra.
This number will be your phone number)
Tap the Server Password field
Tap the Mode soft key and tap 123 (to
select numbers)
Enter the Server password (obtain this
information from Telstra)
Tap Save Config to Save the Config
You will now need to manually reboot the
phone
Press the Home button
Tap Settings
Tap Basic, swipe your finger up the screen
and
Tap Restart Phone
Tap the Yes soft key (to confirm)
Note 1: Restarting the phone may take a few
15 minutes
Note 2: If your phone has been preconfigured
the QSetup soft key will not be visible
Note 3: This is only required for phones that are
on DMS (Device Management System)
platform.
Your phone has a touch-sensitive screen.
To access features or obtain information,
tap the menu items, soft keys (the keys
along the bottom of the touch screen) and
field that display on the touch screen
To access further screens, swipe the
screen (move your finger across the
screen), either left or right to display further
screens.
Your VVX 500 Media phone supports a
Polycom USB camera
To enter the Home View main menu, press
To return to the Line View, press
To select a menu item, tap the menu icon
To select a soft key, tap the soft key
To select an option in a list, tap the option
To scroll through menu items listed on more
than one screen, touch the screen and drag
your finger in the required direction (Up, Down,
Left or Right)
OR
Swipe the screen, by moving your finger across
the screen in right to left or left to right motion
to display further screen options
To return to previous screen, tap Back
Slot on the back of your
phone for Polycom USB
camera

Telstra VVX 500 Phone Guide | July 2014 Page 2
Telstra VVX500 Phone Guide
During a call, press the to adjust the
call volume
While the phone is idle, to adjust the Ringer
volume, press the volume buttons.
If you press and hold the page indicator,
Home View expands to display additional icons
To hide the additional icons, press and hold
Alternatively, you can Swipe the screen to
display additional cons
New Call –Tap New Call to display
Dialler
From the Dialler, you can enter a number or
URL and place a call
From the Dialler, you can access the Directory,
Recent Calls and Favorites
Messages –Tap Messages to access
your Voicemail Messages
Directories –Tap Directories to view all
the contacts in your Local Contact Directory
From your Directory, you can add and search
for contacts, as well as quickly access the
DialPad, Recent Calls and Favorites
Allows you to enable/disable your call
forward always, no answer or busy settings.
Allows you to enable/disable Do Not
Disturb. Calls cannot be received when
enabled.
Settings –Tap Settings to access
features and settings to customise your phone
Applications –Tap Applications to view
custom applications configured by your CGA
Line View is your phones default display.
Line View displays all your phone lines,
your favourites and soft keys.
If your phone is idle you can;
Tap a phone line to access the Dialer
If your phone has calls, the phone line
indicates the number of calls you have, and
if they are active or held
An active call displays a green bar
A held call displays as a Held call
This view displays the name and number of
the person you are talking with and the
duration of the call
From Active view you can, Hold, End Call,
Transfer or set up a Conference
Swipe the screen to take you back to Line View
Phone line
Favourites
Soft keys

Telstra VVX 500 Phone Guide | July 2014 Page 3
Telstra VVX500 Phone Guide
Lift the handset and enter the required
number by using the phone keypad
Enter a number
Tap the Dial icon
OR
With the handset on-hook, tap the New
Call icon or New Call soft key, enter the
phone number by using the phone keypad
Lift the handset OR
Tap the Answer soft key
OR
If you share a line with another phone, you
can answer calls as described above, or
you can wait for someone else to answer
the call. If you answer the call and place it
on hold, anyone who shares your line can
resume the held call.
Hang up the handset OR
Tap the End Call soft key
If the Call Waiting feature has been turned
on, while engaged in a call:
Call Waiting tone indicates another call to
your line.
Tap the Answer soft key to switch to and
answer the incoming call.
The initial call is automatically placed on
hold.
By tapping the screen you can toggle
between the active and held calls.
Tap the Resume soft key to resume your
conversation.
You cannot receive additional calls while
both lines are engaged.
Tap the Hold soft key
To return to the call
Tap the Resume soft key
To make another call while the original
caller is on hold
Tap the New Call soft key, enter the
required number
If multiple calls are on hold
Tap the call on hold to select it
Tap the Resume soft key, or press the
Hold button
To join all three parties onto an impromptu
conference call
With 2 calls in progress (1 call on hold and
1 call active)
Tap More
Tap Join
While Mute is activated, you can hear all
other parties, however they cannot hear
you.
During a call press the mute button
(The mute button is illuminated in red)
To turn off mute, press the mute button
again
Blind Transfer enables you to transfer a call
to another party without announcing the call
prior to transfer.
During a Call tap the Transfer soft key
Tap the Blind soft key
Enter the transfer destination number
Your call will be transferred automatically.
Consult Transfer enables you to transfer a
call to another party with consultation.
During a Call press the Transfer soft key
Enter the transfer destination number
When the party answers, announce the call
Press the Transfer soft key again to
complete the transfer.
If the party refuses the call (prior to
completing the transfer)
Press the Cancel soft key to be returned to
the original caller.

Telstra VVX 500 Phone Guide | July 2014 Page 4
Telstra VVX500 Phone Guide
There are 3 Call forward options which can
be set from your handset using either soft
keys or Feature Access Codes; Call
Forward Always, Call Forward No Answer,
Call Forward Busy.
To forward all your calls to another number.
Tap the Forward soft key
Tap Always
Enter the required number to which to
forward your calls
Tap the Enable soft key
An arrow is displayed on the phone
screen next to your phone number.
Tap the Forward soft key
Tap Always
Tap Disable
To forward your calls to another number if
not answered after a specified number of
rings
Tap the Forward soft key
Tap No Answer
Enter the required number to which to
forward your calls
Tap the screen to select the Forward After
Rings field and enter the required number
of rings (20 rings is the default)
Tap the Enable soft key
Tap the Forward soft key
Tap Call Forward No Answer
Tap Disable
To forward your calls to another number if
you are engaged on a call
Tap the Forward soft key
Tap Busy
Enter the required number to which to
forward your calls
Tap the Enable soft key
Tap the Forward soft key
Tap Busy
Tap Disable
Call Forwarding is not available on Shared
Lines
When you enable Do Not Disturb (DND),
you prevent your phone from ringing and
send all incoming calls directly to voicemail.
All calls received while DND is enabled, will
be displayed in your Recent Calls list
From Line View
Press the Do Not Disturb soft key
The Do Not Disturb icon displays on
screen when enabled.
Or
From Home View
Select the DND icon
From Line View
Press DND soft key, and DND is disabled.
Or
From Home View
Select the DND icon
The Do Not Disturb Service has been
turned off.
While engaged in one call:
Tap the Confrnc soft key
Enter the required number or extension of
the second party
When the call connects
Tap the Confrnc soft key
All parties are connected in a three-way
call.
To end the conference

Telstra VVX 500 Phone Guide | July 2014 Page 5
Telstra VVX500 Phone Guide
Tap the End Call soft key
Note: If either of the other two hangs up, your
call with the remaining party stays intact. If you
hang up, the other two parties will be
disconnected
Note: There can be a maximum of 3 parties on
a conference call, unless you have the
Executive service pack which has the N-Way
feature which enables a total of 8 parties on a
Conference call.
If the Call Waiting feature has been turned
on, while engaged in a call:
Call Waiting tone indicates another call to
your line.
Tap the Answer soft key to switch to and
answer the incoming call.
The initial call is automatically placed on
hold.
By tapping the screen you can toggle
between calls, tap the call that is on hold
Tap the Resume soft key to resume your
conversation.
If you do not want to answer the second
incoming call:
Tap the Reject icon (call will go directly to
Voice Mail)
OR
Tap Ignore soft key (this will re-direct call
to Voice Mail after a nominated amount of
rings)
OR
Tap Forward, then enter a number you
wish to forward the incoming call to, then
tap forward (incoming call will be
forwarded to nominated number)
You cannot receive additional calls while
both lines are engaged.
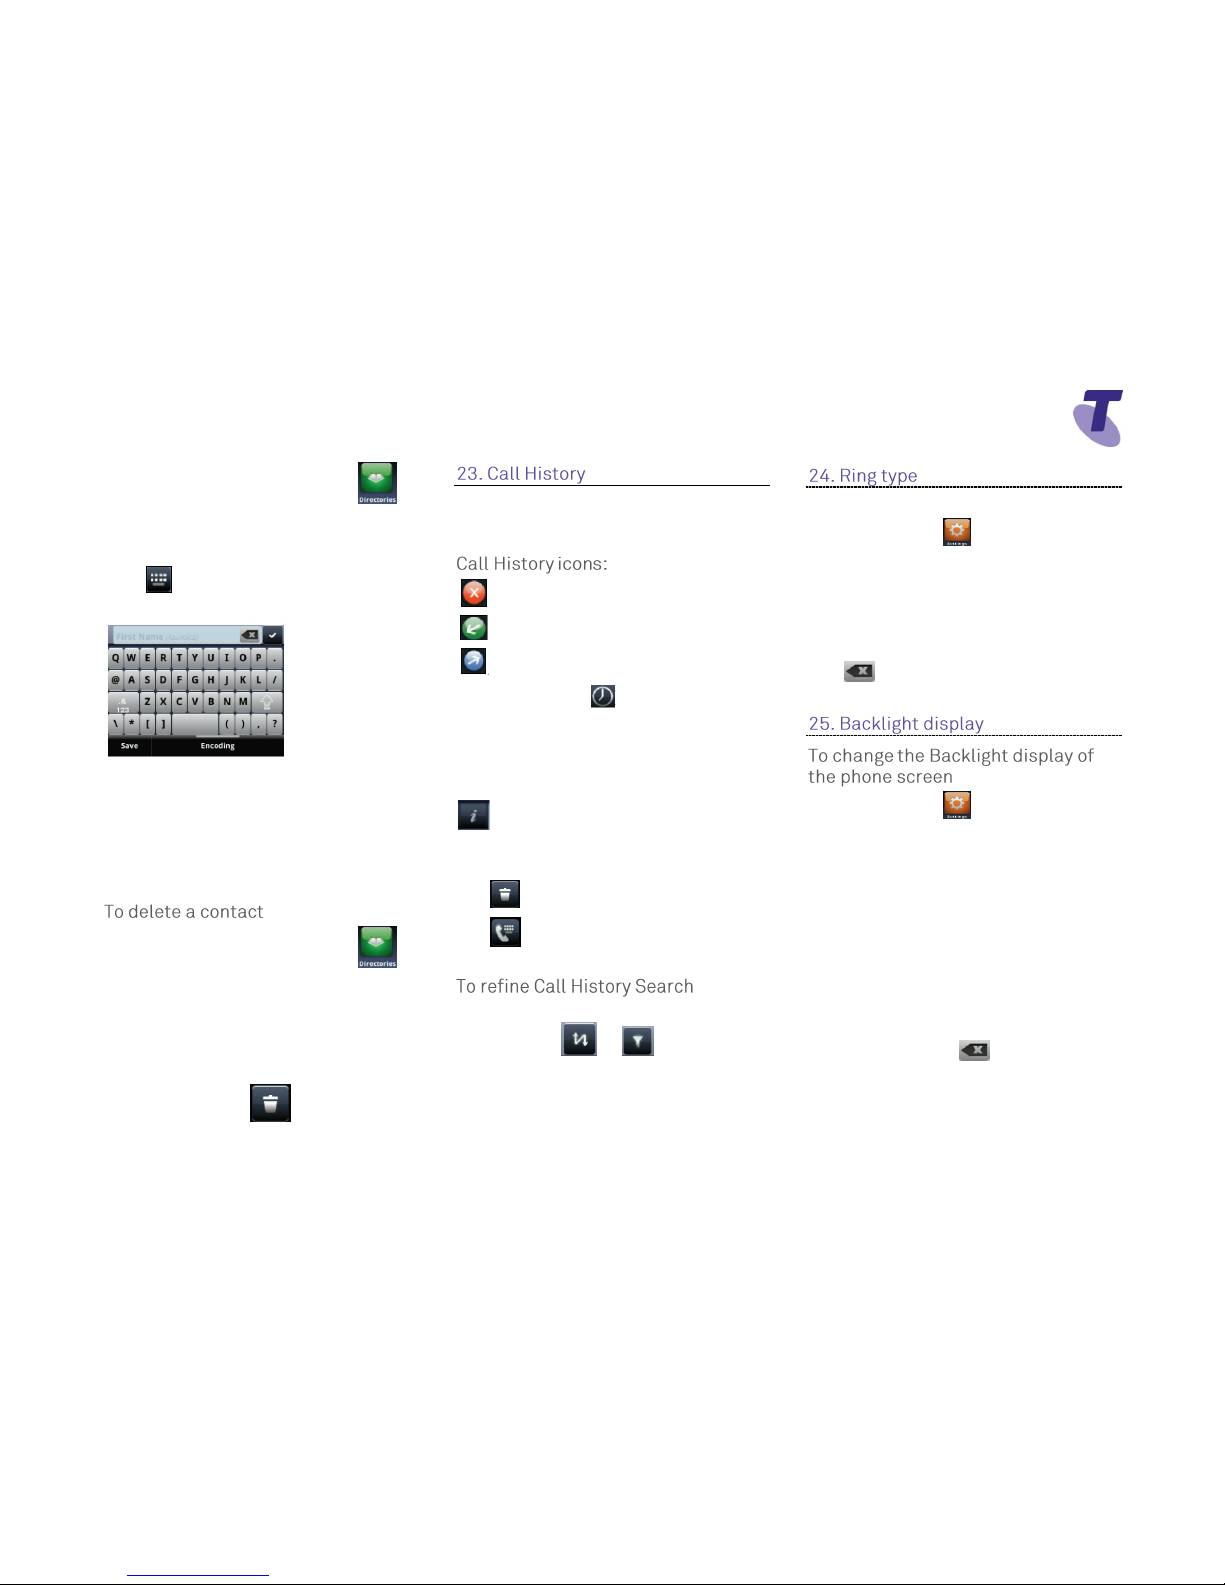
To add or edit a contact:
To add a contact
From Home View, tap Directories icon
Tap
Enter Contact details (in all required fields)
Tap Save soft key
From Home View, tap Directories icon
Tap the Search soft key
Use the key pad and search soft key to
find required contact (i.e. to access the
letter b, press the number 2 twice)
Click on contact
Tap Edit icon to access details for
editing
Tap Save soft key
From Home View, tap Directories
icon
Tap the Search soft key
Use the key pad and Search soft key to
find required contact
Favourites are contacts in your contact
directory that you call most often. A
maximum of 9,999 can be added
Tap a contact to display options
Tap Add To Favorites
Tap Yes to select the default index number
displayed, or tap Edit Index to select your
own
OR
From your recent calls list, tap next to
a call record
From the Call Detail screen, tap Add
To Favorites
Tap Yes to select the default index number
displayed, or tap Edit Index to select your
own
Use the onscreen Keyboard to quickly
update field information:

Telstra VVX 500 Phone Guide | July 2014 Page 6
Telstra VVX500 Phone Guide
From Home View, tap Directories
icon
Tap the +icon
Tap to display keyboard
Tap the characters you want to enter for the
first name
Tap the
Tap the Contact field and enter the required
numbers
Tap the Save soft key
From Home View, tap Directories
icon
Tap the Search soft key
Use the key pad and search soft key to
find required contact (i.e. to access the
letter b, press the number 2 twice)
Select Delete icon
Tap Yes to confirm deletion
Your phone maintains lists of Missed,
Received and Placed calls. Each list can
hold up to 100 entries
Missed Calls
Received Calls
Placed Calls
Tap History icon in active call view
will show call history starting from most
recent call
Select the Recent soft key
From recent call list, tap the information
icon next to a call record to display
further options:
Tap Dial to call the person
Tap to delete the call from the list
Tap to edit the phone number before
you dial the person
With the list on the screen
Tap the either or search icons
Tap required search field (Missed,
Received or Placed calls)
To change your ring type:
Tap Settings icon
Tap Basic
Tap Ring Type
Tap a ring type option
Tap the Play soft key to listen to the tune
Tap Backspace icon to return to the
idle screen
Tap Settings icon
Tap Basic
Tap Backlight Intensity
Tap Backlight On Intensity and choose
either High, Medium or Low
Tap Backlight Idle Intensity and choose
either High, Medium or Low
Tap Maximum Intensity
Tap the Up or Down soft key to adjust the
intensity
Tap the Backspace soft key to return
to the previous screen

Telstra VVX 500 Phone Guide | July 2014 Page 7
Telstra VVX500 Phone Guide
You can connect an Analogue and/or a
USB headset to your phone.
If headset is connected, glows.
If you use a headset, you can set up your
phone so that all calls use Headset. If you
use a headset that supports electronic
hookswitch (EHS), you can press the
hookswitch button to place, answer and
end calls. In addition you may be able to
Mute calls and control volume from your
headset
You set up your phone so that all incoming
and outgoing calls use your headset. At any
time you can switch to handset or speaker
mode
Tap Settings icon
Tap Basic
Tap Preferences
Tap Headset
Tap Headset memory
Tap Enabled soft key
Press
To access Headset memory mode, press
headset key twice.
The headset button will flash when enabled
If your phone is unable to perform certain
tasks, a warning icon will display in
the status bar. The warning icon lets you
know that your phone has one or more
issues that you should know about. Contact
your customer Group Administrator to
advise them of this issue.
From Line view tap the icon to
access voicemail
OR
From the Home view tap the Messages
icon and tap Message Centre
OR
Dial the Voice Portal number (ask your
Group Administrator what this is)
Enter a passcode, when prompted; after
your initial login you will need to change
your passcode.
It is essential your passcode be changed
for security reasons. It is important to keep
your new passcode private.
Record your name when prompted
Press the hash key (#)
Follow the prompts to save the recording,
or re-record your name
Tap the Messages icon,or dial the
Voice Portal extension.
Enter your passcode followed by the hash
key (#).
Press 1.
Press 1 again.
Tap the Messages icon or dial the
Voice Portal extension.
Press the star key (*) during the greeting.
Enter your mailbox ID (your extension).
Enter your passcode followed by the hash
key (#).
Dial the Voice Portal phone number.
Enter your mailbox ID (your extension)
followed by the hash key (#).
Enter your passcode followed by the hash
key (#).

Telstra VVX 500 Phone Guide | July 2014 Page 8
Telstra VVX500 Phone Guide
1... Access your Voice Mailbox
2... Change your CommPilot Express
profile†
3... Record your name
4... Change your Call Forwarding options
8... Change your passcode
9... Exit the Voice Portal
#... Repeat this menu
†... Only available if assigned.
Tap the Messages icon
Enter your passcode and press #
Press 1to access your voice mailbox
Press 2to change your Mailbox Busy
greeting
1... Record your Name
2... Change your conference Greeting
*... Go back to previous menu
#... Repeat menu
Change your mailbox No Answer greeting
Tap the Messages icon
Enter your passcode and press #
Press 1to access your voice mailbox
Press 3to change your Mailbox No Answer
greeting
1... Record new No Answer Greeting
2... Play current Greeting
3... Revert to system default Greeting
*... Return to Voice Messaging main menu
#... Repeat menu
Your phone may indicate you have
Voicemail messages by the following:
A message counter in the Home View
A message icon in the status bar
If you have more than one message, the
icon will display a counter indicating the
number of messages
A message icon also scrolls under the Date
and Time display
On the Status Bar, tap (this will direct
you to your voicemail, where you will follow
the prompts to retrieve your messages
OR
From Home View page tap
Tap Message Centre (this will direct you to
your voicemail, where you will follow the
prompts to retrieve your messages
1... Listen to your messages
2... Change your mailbox Busy greeting
3... Change your mailbox No Answer
greeting
5... Compose and send a new message
7... Delete all messages
8. Modify the message deposit settings for
your mailbox.
*... Go to the CommPilot Voice Portal
#... Repeat this menu

Telstra VVX 500 Phone Guide | July 2014 Page 9
Telstra VVX500 Phone Guide
New messages flagged as urgent are
played first.
The message envelope for each message
is played first (time and date, sender if
known), followed by the message itself.
Use your keypad as follows to browse your
messages (you can interrupt the message
or envelope to perform any function):
1
2
3
4
5
6
7
ERASE
8
CALL
BACK
9
MORE
OPTIONS
*
BACK TO
MAILBOX
0
#
#... Save this message
7... Erase this message
2... Repeat this message
4... Return to previous message
5... Play the message envelope
6... Go to the next message
8... Call back the caller
9... Hear additional options
*... Go back to the previous menu
Other manuals for VVX500
2
Other Telstra IP Phone manuals