manuals.online logo
Brands
  1. Home
  2. •
  3. Brands
  4. •
  5. Tennsco
  6. •
  7. Indoor Furnishing
  8. •
  9. Tennsco Z-Line Steel Shelf Unit Instruction Manual

Tennsco Z-Line Steel Shelf Unit Instruction Manual

PK-1890719
ASSEMBLY INSTRUCTIONS & PARTS MANUAL
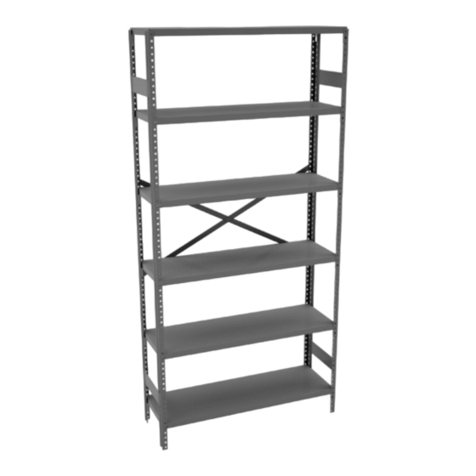
Z-Line Steel Shelf Unit
RETAIN INSTRUCTIONS FOR FUTURE REFERENCERETAIN INSTRUCTIONS FOR FUTURE REFERENCE
Tennsco LLC., Dickson, TN 37056-1888 • (866) 446-8686
GENERAL SAFETY INFORMATIONGENERAL SAFETY INFORMATION
Some parts may have sharp edges. CARE must be taken when handling various pieces to avoid injury.
For safety, wear a pair of work gloves when assembling or performing any maintenance on units.
LIMITED WARRANTYLIMITED WARRANTY
Tennsco warrants goods purchased hereunder to be free of defects in materials and workmanship for a period of one (1) year from the date of shipment, hereunder. This warranty shall not apply in
the event goods are damaged as a result of misuse, abuse, neglect, accident, improper application, modication or repair by persons not authorized by Seller, where goods are damaged during
shipment, or where the date stamps on the goods have been defaced, modied or removed. UNLESS CONSIDERED UNENFORCEABLE OR UNLAWFUL UNDER APPLICABLE LAW:
a. ALL IMPLIED WARRANTIES, INCLUDING BUT NOT LIMITED TO WARRANTIES OR MERCHANTABILITY AND FITNESS FOR A PARTICULAR PURPOSE ARE HEREBY EXCLUDED:
b. BUYERS REMEDY, IF ANY, FOR ANY DEFECTIVE GOODS SHALL BE LIMITED TO A REFUND BY SELLER OR REPLACEMENT OF THE GOODS AT SELLER’S OPTION, AND SHALL IN NO
EVENT INCLUDE DAMAGES OF ANY KIND, WHETHER INCIDENTAL, CONSEQUENTIAL OR OTHERWISE.
NO GOODS ACCEPTED FOR RETURN WITHOUT PRIOR APPROVAL. Seller shall have the right to inspect any goods claimed to be defective at Buyers place of business or require Buyer to return the
goods to Seller for inspection on Seller’s premises. Transportation charges covering returned goods will be borne by Seller only if such goods are proven to be defective, are covered by this warranty
and are returned within the warranty period stated above.
LOAD CAPACITIESLOAD CAPACITIES
PER SHELF LEVEL*PER SHELF LEVEL*
36w x 12d
36w x 18d
36w x 24d
36w x 36d
42w x 12d
42w x 18d
42w x 24d
42w x 36d
48w x 12d
48w x 18d
48w x 24d
48w x 36d
750 lbs.
750 lbs.
700 lbs.
600 lbs.
600 lbs.
600 lbs.
550 lbs.
550 lbs.
500 lbs.
500 lbs.
450 lbs.
450 lbs.
UNIT SIZEUNIT SIZE WT. CAPACITYWT. CAPACITY
*Load capacities based on evenly distributed loads
Total unit capacity not to exceed 8,000 lbs.
ASSEMBLY OF STEEL SHELVING
Tools Needed: A rubber mallet for seating the shelf supports into the uprights.
Two people are recommended for assembly. Approximate assembly time: 20-30 minutes per section.
5. Finish installing the remaining left-to-right shelf supports
and front-to-back shelf supports around the top of the unit.
1. The reference numbers used throughout this sheet refer to
the illustration on the back cover. This is to help you to
identify the various parts as they are mentioned.
2. Create a unit end by connecting two uprights (Ref. No. 1
or 2) with one of the front-to-back shelf supports (Ref.No.
3) by inserting the shelf support rivets into the bottom
two keyhole slots of each upright using a rubber mallet to
seat the upright securely in the keyhole slots.
NOTE: Be sure that the narrow
end of the keyhole slots are
pointing downward, and the flat
edge of the shelf support is
facing up.
3. Assemble another unit end by repeating the directions in step 2.
Be sure the shelf support rivets are seated in the bottom of
the slots. If you are creating a starter unit and adder units then
you will need to replace the EUR upright post on one end with
ZTP upright posts.
4. Connect two of the left-to-right shelf supports
(Ref. No. 4) between the two assemblies, one
on each side with angled corners facing
toward each other. Be sure to use
the two keyhole slots
nearest the oor, as
in step 1.
NOTE: As in step one,
make sure the flat
edge of the shelf
supports are facing
upwards. If this has
been done correctly,
there would now be
a flat surface around
all four edges on which to
lay the bottom steel shelf.
If any edges have an upward facing angled edge, the
support has been inserted upside down.
NOTE: Be sure that the support
rivets are seated in the bottom
of the slots of the uprights securly.
6. After building the framework, place a steel shelf (Ref. No. 5) on
the lower level and on the top level of the VDRS supports. These
shelves will lay directly on the at ledge of the support.
7. Next attach the ZSC-1 shelf clips (Ref. No. 6) to the EUR post
as shown. Make sure that all four clips are on the same level
on each of the uprights for the shelves to be level. Be sure to
drive the clips down until they are seated rmly then install the
shelf on top of the four clips, with the shelf sliding into the slot
in the clip.
8. If you were assembling a stater unit, your unit is now ready
for use and will look similar to the drawing below.
9. If you are assembling an adder unit it will not look like
the drawing above. The adder unit will share front and back
supports with the starter unit on the side that the starter unit is
connected using an intermediate “T” post. To attach an adder
unit to a starter unit you will attach the VDRS supports to
the ZTP post and construct the adder unit the same way that you
did the starter unit.


Shelf ClipShelf Clip
(Ref No. 6)(Ref No. 6)

Tennsco makes every effort to ensure that all units ship complete with all parts and arrive undamaged.Tennsco makes every effort to ensure that all units ship complete with all parts and arrive undamaged.
However, should your unit contain missing or damaged parts, please contact your purchase location.However, should your unit contain missing or damaged parts, please contact your purchase location.
49B18949B189


Front to Back SupportFront to Back Support
(Ref No. 3)(Ref No. 3)
Intermediate PostIntermediate Post
(Ref No. 2)(Ref No. 2)
Standard Angle PostStandard Angle Post
(Ref No. 1)(Ref No. 1)
Left to RightLeft to Right
SupportSupport
(Ref No. 4)(Ref No. 4)
Box FormedBox Formed
Steel ShelfSteel Shelf
(Ref No. 5)(Ref No. 5)
REF.REF.
NO. DESCRIPTIONNO. DESCRIPTION PART NUMBERSPART NUMBERS
QTY.QTY.
4
--
4
4
5
12
EUR-84
ZTP-84
VDRS-ww16
VDRS-ww16
ZMS-wwdd
ZSC-1
Standard Angle Post
Intermediate “T” Post
Front to Back Support
Left to Right Support
Box Formed Steel Shelf
Shelf Clip
1
2
3
4
5
6
REPLACEMENT PARTSREPLACEMENT PARTS
--
2
4
4
5
12
STARTERSTARTER
UNITUNIT
ADDERADDER
UNITUNIT

Other Tennsco Indoor Furnishing manuals
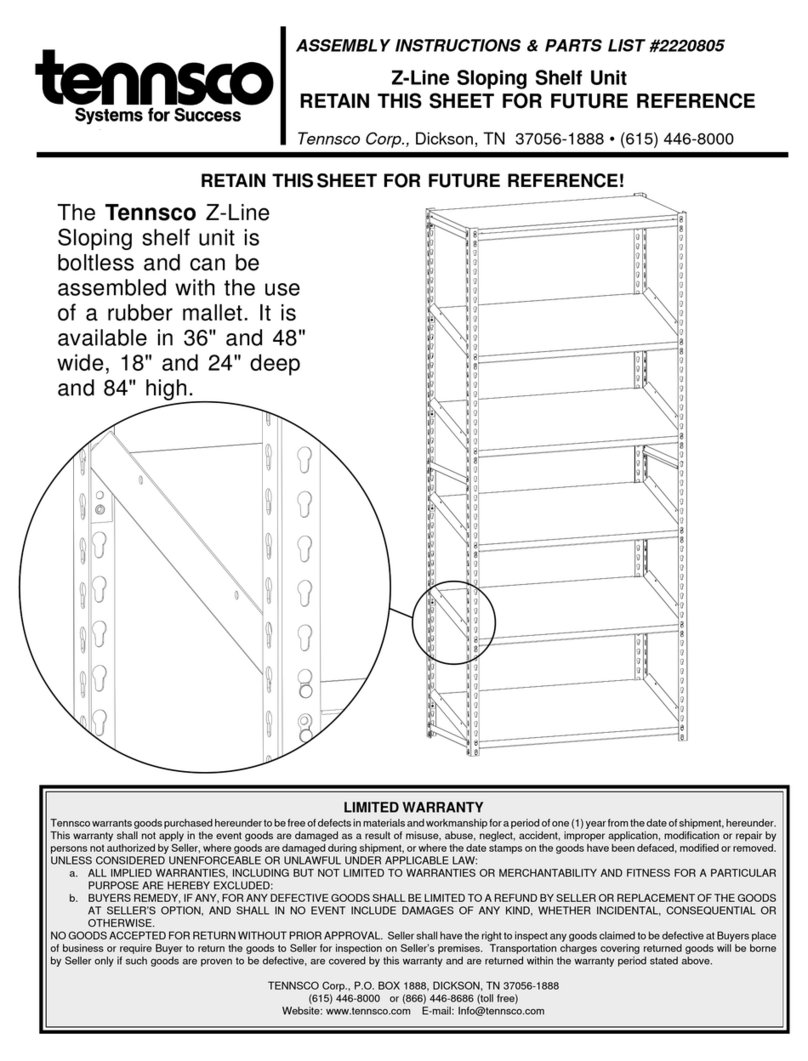
Tennsco Imperial Shelving 3630 Instruction Manual

Tennsco

Tennsco Imperial Shelving 3630 Instruction Manual

Tennsco WBHC-1516-MGY Instruction Manual

Tennsco

Tennsco WBHC-1516-MGY Instruction Manual

Tennsco SINGLE TIER Instruction Manual

Tennsco

Tennsco SINGLE TIER Instruction Manual

Tennsco Imperial Shelving User manual

Tennsco

Tennsco Imperial Shelving User manual

Tennsco 2476 Series Instruction Manual

Tennsco

Tennsco 2476 Series Instruction Manual

Tennsco DWR-6618 Instruction Manual

Tennsco

Tennsco DWR-6618 Instruction Manual

Tennsco FB-12 Instruction Manual

Tennsco

Tennsco FB-12 Instruction Manual

Tennsco J1878A-N-W Instruction Manual

Tennsco

Tennsco J1878A-N-W Instruction Manual

Tennsco 4218 Instruction Manual

Tennsco

Tennsco 4218 Instruction Manual

Tennsco FB-12 Instruction Manual

Tennsco

Tennsco FB-12 Instruction Manual

Tennsco 1436 Instruction Manual

Tennsco

Tennsco 1436 Instruction Manual

Tennsco STK-151872-1 Instruction Manual

Tennsco

Tennsco STK-151872-1 Instruction Manual

Tennsco J1878C-N Instruction Manual

Tennsco

Tennsco J1878C-N Instruction Manual

Tennsco ZL7 Series Instruction Manual

Tennsco

Tennsco ZL7 Series Instruction Manual

Tennsco RGL-1236S Instruction Manual

Tennsco

Tennsco RGL-1236S Instruction Manual

Tennsco 1472 Instruction Manual

Tennsco

Tennsco 1472 Instruction Manual

Tennsco B-3000 Instruction Manual

Tennsco

Tennsco B-3000 Instruction Manual

Tennsco B-8400 User manual

Tennsco

Tennsco B-8400 User manual

Tennsco 1470RH Instruction Manual

Tennsco

Tennsco 1470RH Instruction Manual

Tennsco EB-12 Instruction Manual

Tennsco

Tennsco EB-12 Instruction Manual

Tennsco 1420 Instruction Manual

Tennsco

Tennsco 1420 Instruction Manual
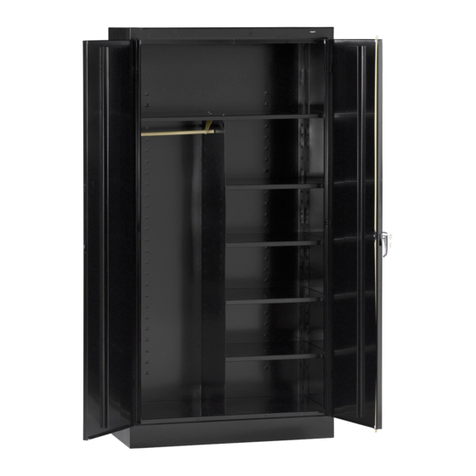
Tennsco 1842 Instruction Manual

Tennsco

Tennsco 1842 Instruction Manual

Tennsco 1870 Instruction Manual

Tennsco

Tennsco 1870 Instruction Manual

Tennsco EB-12 Instruction Manual

Tennsco

Tennsco EB-12 Instruction Manual

Popular Indoor Furnishing manuals by other brands

Crosley Furniture CF501018 quick start guide

Crosley Furniture

Crosley Furniture CF501018 quick start guide

Peka PLENO LIBELL manual

Peka

Peka PLENO LIBELL manual

VersaTables AT 48" Assemble Instruction

VersaTables

VersaTables AT 48" Assemble Instruction

Space Seating 3680 operating instructions

Space Seating

Space Seating 3680 operating instructions

Children's Products Simmons Kids SlumberTime 310210-499 Assembly instructions

Children's Products

Children's Products Simmons Kids SlumberTime 310210-499 Assembly instructions

Crate&Barrel Warren manual

Crate&Barrel

Crate&Barrel Warren manual

Maintal Barry EB SH51 Assembly instructions

Maintal

Maintal Barry EB SH51 Assembly instructions

Emmezeta SUMMER Assembling instructions

Emmezeta

Emmezeta SUMMER Assembling instructions

Gami 160 Assembly instructions

Gami

Gami 160 Assembly instructions

CORONA 2 DOOR 1 DRAWER WARDROBE Assembly instructions

CORONA

CORONA 2 DOOR 1 DRAWER WARDROBE Assembly instructions

Living Earth Crafts ZG Dream Lounger user manual

Living Earth Crafts

Living Earth Crafts ZG Dream Lounger user manual

Alpine Peacock BVK608A owner's manual

Alpine

Alpine Peacock BVK608A owner's manual

Next MALVERN DOVE 669363 Assembly instructions

Next

Next MALVERN DOVE 669363 Assembly instructions

Polini kids Marvel 1005 manual

Polini kids

Polini kids Marvel 1005 manual

modway EEI-2803 Assembly instructions

modway

modway EEI-2803 Assembly instructions

Dormiente CLIA 1 Assembly instruction

Dormiente

Dormiente CLIA 1 Assembly instruction

Kesseböhmer DISPENSA VVS Series Mounting instructions

Kesseböhmer

Kesseböhmer DISPENSA VVS Series Mounting instructions

IKEA KULLEN manual

IKEA

IKEA KULLEN manual

manuals.online logo
manuals.online logoBrands
  • About & Mission
  • Contact us
  • Privacy Policy
  • Terms and Conditions

Copyright 2025 Manuals.Online. All Rights Reserved.