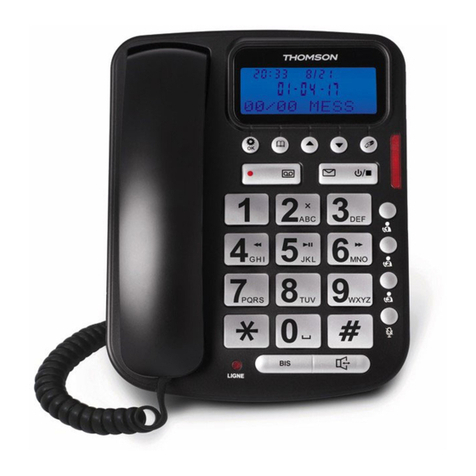
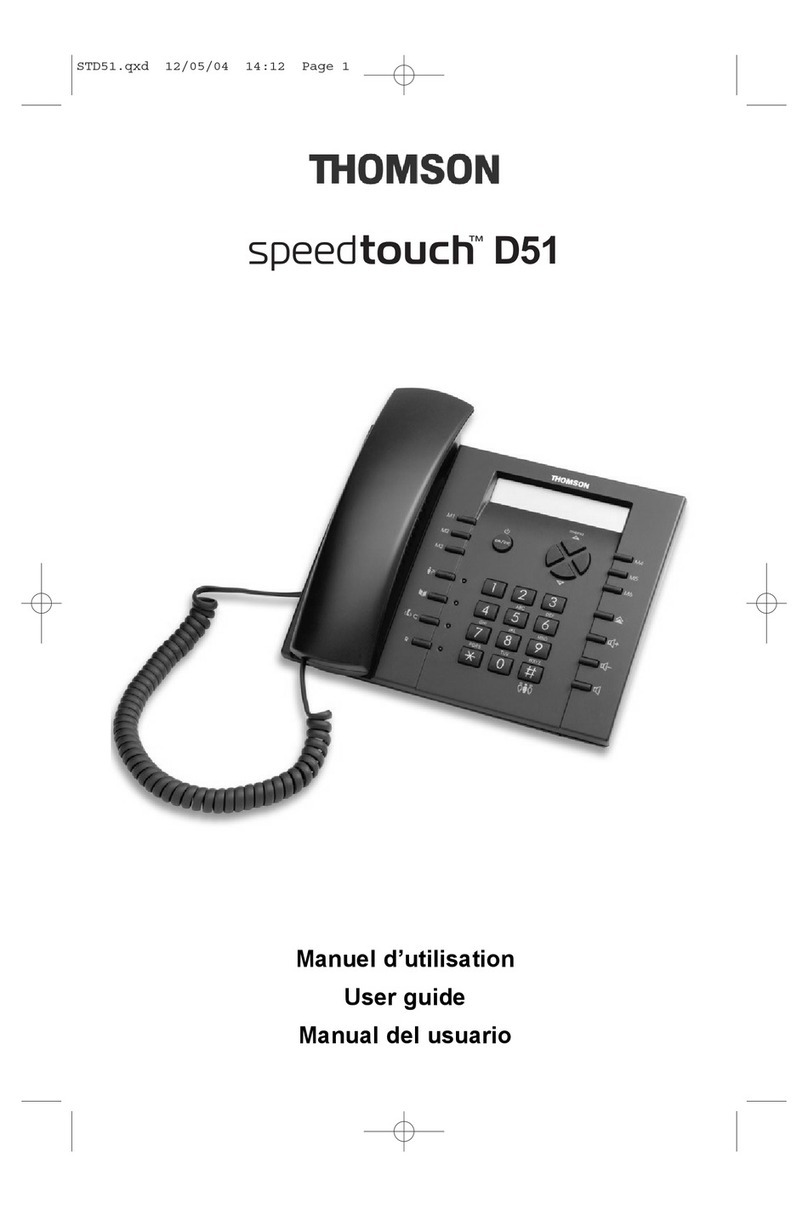
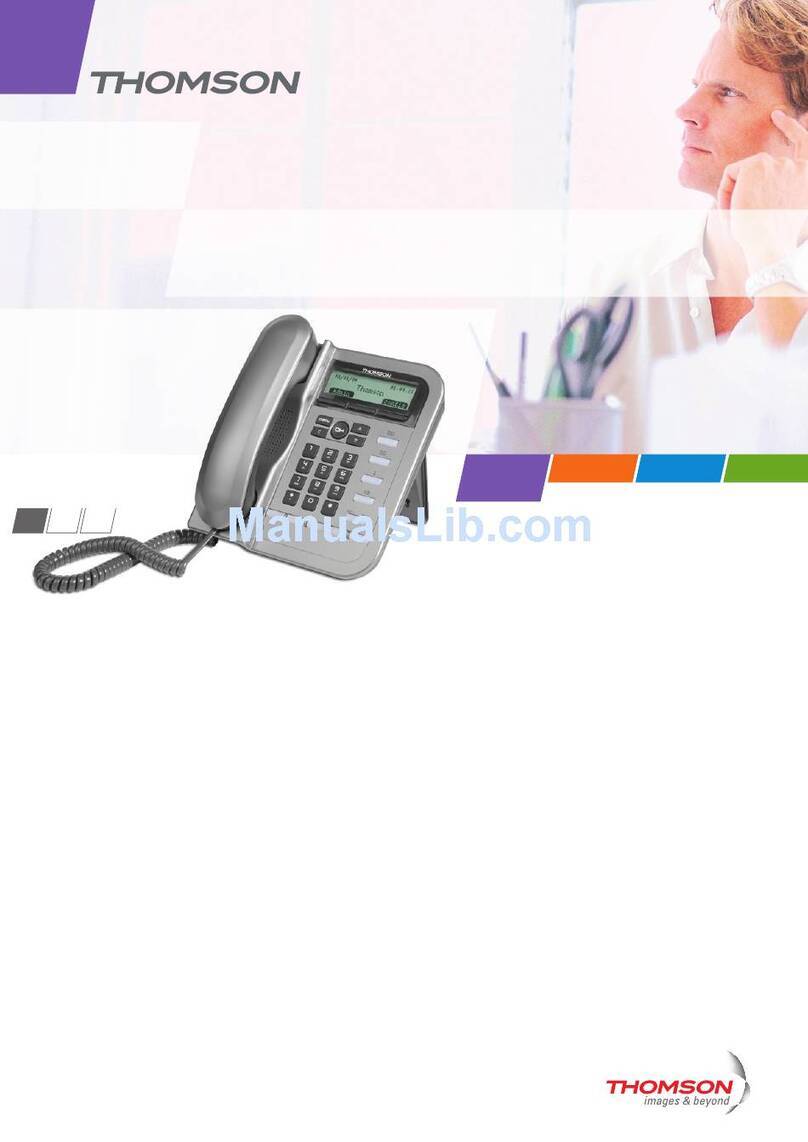
THOMSON SPEEDTOUCH D51 User manual

User guide
D51
STD51_AU_Ed01.pdf 29/12/04 12:00 Page 1

1. INSTALLATION . . . . . . . . . . . . . . . . . . . . . . . . . . . . . . . . . . . . . . . . . . . . 4
1.1 Precautions . . . . . . . . . . . . . . . . . . . . . . . . . . . . . . . . . . . . . . . . . . . . . . . 4
1.2 Connecting the telephone . . . . . . . . . . . . . . . . . . . . . . . . . . . . . . . . . . . . . 4
1.3 Installing the telephone . . . . . . . . . . . . . . . . . . . . . . . . . . . . . . . . . . . . . . 5
1.4 Getting to grips with your telephone . . . . . . . . . . . . . . . . . . . . . . . . . . . . . 6
2. CONFIGURING THE BASE'S LINES . . . . . . . . . . . . . . . . . . . . . . . . . . . . 7
2.1 Line priority . . . . . . . . . . . . . . . . . . . . . . . . . . . . . . . . . . . . . . . . . . . . . . . 7
2.2 Choosing the ringing group . . . . . . . . . . . . . . . . . . . . . . . . . . . . . . . . . . . 7
2.3 Ringing priority . . . . . . . . . . . . . . . . . . . . . . . . . . . . . . . . . . . . . . . . . . . . . 8
3. USING THE TELEPHONE . . . . . . . . . . . . . . . . . . . . . . . . . . . . . . . . . . . . 9
3.1 Making a call . . . . . . . . . . . . . . . . . . . . . . . . . . . . . . . . . . . . . . . . . . . . . . 9
3.2 Making an internal call . . . . . . . . . . . . . . . . . . . . . . . . . . . . . . . . . . . . . . . 9
3.3 Receiving a call . . . . . . . . . . . . . . . . . . . . . . . . . . . . . . . . . . . . . . . . . . . . 9
3.4 Displaying the duration of the call . . . . . . . . . . . . . . . . . . . . . . . . . . . . . . 10
3.5 Transferring a call . . . . . . . . . . . . . . . . . . . . . . . . . . . . . . . . . . . . . . . . . . 10
3.6 Redialling one of the last numbers called (bis) . . . . . . . . . . . . . . . . . . . . . 10
3.7 Mute (cuts off the micro) / put on hold function . . . . . . . . . . . . . . . . . . . . . 10
3.8 Calling from the log of calls (list of the last 50 calls received) . . . . . . . . . . 11
3.9 Shuttling between an external and internal call . . . . . . . . . . . . . . . . . . . . . 11
3.10 3-way conference (2 internal correspondents and 1 external) . . . . . . . . . . 12
3.11 Managing 2 simultaneous external calls on the same telephone . . . . . . . . 12
3.12 Activating / deactivating hands-free mode during a call . . . . . . . . . . . . . . . 13
3.13 Locking the keyboard . . . . . . . . . . . . . . . . . . . . . . . . . . . . . . . . . . . . . . . . 13
4. YOUR PHONE BOOK . . . . . . . . . . . . . . . . . . . . . . . . . . . . . . . . . . . . . . . 14
4.1 Programming the 6 direct memories . . . . . . . . . . . . . . . . . . . . . . . . . . . . . 14
4.2 Creating a contact page . . . . . . . . . . . . . . . . . . . . . . . . . . . . . . . . . . . . . . 14
4.3 Using the phone book to make a call . . . . . . . . . . . . . . . . . . . . . . . . . . . . 15
4.4 Modifying a contact page . . . . . . . . . . . . . . . . . . . . . . . . . . . . . . . . . . . . . 16
4.5 Deleting a contact page . . . . . . . . . . . . . . . . . . . . . . . . . . . . . . . . . . . . . . 16
5. CUSTOMISING YOUR TELEPHONE . . . . . . . . . . . . . . . . . . . . . . . . . . . . 17
5.1 Adjusting the keytones . . . . . . . . . . . . . . . . . . . . . . . . . . . . . . . . . . . . . . . 17
5.2 Choosing a melody and adjusting the volume . . . . . . . . . . . . . . . . . . . . . . 17
5.3 Emergency number . . . . . . . . . . . . . . . . . . . . . . . . . . . . . . . . . . . . . . . . . 18
5.4 Naming a telephone . . . . . . . . . . . . . . . . . . . . . . . . . . . . . . . . . . . . . . . . . 18
5.5 Selecting the display language . . . . . . . . . . . . . . . . . . . . . . . . . . . . . . . . . 18
5.6 Changing the telephone's PIN number . . . . . . . . . . . . . . . . . . . . . . . . . . . 18
5.7 Returning to default settings . . . . . . . . . . . . . . . . . . . . . . . . . . . . . . . . . . . 19
5.8 Adjusting the automatic line seizure . . . . . . . . . . . . . . . . . . . . . . . . . . . . . 19
6. ASSOCIATING / DISASSOCIATING A TELEPHONE WITH THE BASE . 20
6.1 Associating an extra telephone with the base . . . . . . . . . . . . . . . . . . . . . . 20
6.2 Removing (disassociating) a telephone . . . . . . . . . . . . . . . . . . . . . . . . . . . 21
7. BASE SETTING . . . . . . . . . . . . . . . . . . . . . . . . . . . . . . . . . . . . . . . . . . . 22
7.1 Dialling method . . . . . . . . . . . . . . . . . . . . . . . . . . . . . . . . . . . . . . . . . . . . 22
7.2 Call barring . . . . . . . . . . . . . . . . . . . . . . . . . . . . . . . . . . . . . . . . . . . . . . . 22
7.3 Setting the flashing time . . . . . . . . . . . . . . . . . . . . . . . . . . . . . . . . . . . . . . 22
7.4 Setting the pause time . . . . . . . . . . . . . . . . . . . . . . . . . . . . . . . . . . . . . . . 23
8. TECHNICAL SPECIFICATIONS . . . . . . . . . . . . . . . . . . . . . . . . . . . . . . . . 23
9. TROUBLESHOOTING . . . . . . . . . . . . . . . . . . . . . . . . . . . . . . . . . . . . . . . 24
10. WARRANTY . . . . . . . . . . . . . . . . . . . . . . . . . . . . . . . . . . . . . . . . . . . . . . 25
11. ENVIRONMENT . . . . . . . . . . . . . . . . . . . . . . . . . . . . . . . . . . . . . . . . . . . . 26
12. SAFETY . . . . . . . . . . . . . . . . . . . . . . . . . . . . . . . . . . . . . . . . . . . . . . . . . 26
2
STD51_AU_Ed01.pdf 29/12/04 12:00 Page 2

3
The package contains the following items:
- docking station,
- an electrical power supply unit for the docking station,
- a battery unit,
- the user guide.
Please read this guide carefully to get to know the main features of the
.
D51
English
STD51_AU_Ed01.pdf 29/12/04 12:00 Page 3
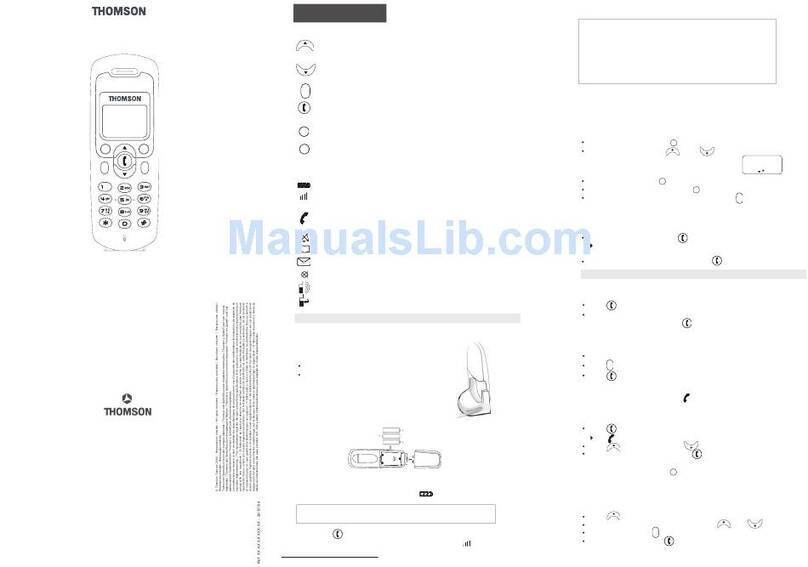
Display and associated icons
Battery charge level: flashes when charging
Hands-free activated
Battery full
Line seized when handset picked up
3-way
conference key
Confirm/Intercom key/On/Off
Direct
memories
Return/delete/
put on hold key
Log of
calls key
Phone book
Recall key
Menu key/
Select key
Direct memories
Recall last
numbers dialled
Increase/decrease
hands-free volume
key
Hands-free key
Telephone keys

4
1. INSTALLATION
1.1 PRECAUTIONS
The quality of communication depends on the location and environment of the
base.
Your telephone must be kept away from sources of excessi-
ve heat (radiators, direct sunlight, etc.) and protected against vibrations and
dust. Never allow your telephone to come into contact with water or other
liquids or with aerosols.
To reduce the risk of interference and optimise reception, take particular care
to keep it away from the immediate vicinity of windows, large metal objects,
reinforced concrete, televisions, music centres, halogen lamps or heating devi-
ces, fluorescent lighting, burglar alarms, microwave ovens, computers, etc.
To clean your telephone, use a lightly moistened antistatic cloth.
Informative note: your telephone is a DECT™* standard
certified item of equipment. It is meant for transmitting and receiving telephone
calls and for connection to the public switched telephone network.
1.2 CONNECTING THE TELEPHONE
Connect the handset to the telephone.
D51
D51
* DECT is a trade mark registered by the ETSI.
STD51_AU_Ed01.pdf 29/12/04 12:00 Page 4

lConnect the power supply cable as indicated at the rear of the base.
lPlug the mains adaptor into a 230 V / 50 Hz electric socket.
1.3 INSTALLING THE TELEPHONE
Charge up the battery unit for the first time
Insert the battery unit in the compartment at the rear of the telephone.
Before using for the first time, we recommend that you leave the telephone to
charge up for 24 hours in order to optimise the performance and longevity of
the battery unit.
The icon flashes during charging.
Seize the line by picking up the handset.
After charging up the battery unit, you can disconnect the mains adaptor.
!Only use rechargeable batteries with exactly the same specifica-
tions as those supplied with the product.
Using non-rechargeable or non-conforming batteries (see the
"Safety" chapter) can damage the product and presents a health
hazard.
Failure to comply with this recommendation will invalidate the
manufacturer's warranty.
The batteries could split or leak if incorrectly inserted, opened or
exposed to heat.
Never dispose of batteries in a fire: risk of explosion.
5
STD51_AU_Ed01.pdf 29/12/04 12:00 Page 5

1.4 GETTING TO GRIPS WITH YOUR TELEPHONE
1.4.1 Navigating through the menus
It's easy to adjust and customise your DECT cordless telephone using the
scrolling menu.
lTo access the menu: press the key.
lPress the and keys to find your way to the option you want to
select. The options succeed each other in a loop.
lTo validate an option, press .
lTo return to the previous menu, press .
lTo quit the menu and return to the idle screen, press and hold the
key.
Note: When an option is proposed, the current setting is displayed first.
1.4.2 Telephone On/Off
In idle mode:
lTo switch off the telephone (mains adaptor disconnected), press and hold
for at least 2 seconds.
lThe display goes out. You can no longer call. The telephone will not ring if
you receive calls.
lTo switch on the telephone, press the key (hold it down).
6
STD51_AU_Ed01.pdf 29/12/04 12:00 Page 6

2. CONFIGURING THE BASE'S LINES
(supplied with pack)
You can configure the base's lines according to your requirements.
2.1 LINE PRIORITY
You have the following options for managing the outgoing calls for each tele-
phone:
- Alternative (Line 1 or Line 2): default setting
- Line 1 First: line 1 takes priority and if this line is busy, line 2 will be used
- Line 2 First: line 2 takes priority and if this line is busy, line 1 will be used
- Line 1 Only (line 1): line 1 authorized and no access to line 2
- Line 2 Only (line 2): line 2 authorized and no access to line 1
- No Ext (internal calls only)
This line priority has no effects on the reception of incoming calls.
lPress to enter the menu.
lSelect "BS Setting" and press to confirm.
lEnter the "MASTER PIN:" 1590 (by default) and press to confirm.
lSelect "Select Line" and press to confirm.
l
Use the and keys to choose the telephone you want from the
list and press to confirm (HS1 = telephone 1).
lChoose the line priority from the 6 options given above and press to
confirm.
2.2 CHOOSING THE RINGING GROUP
Each telephone may receive a call on line 1 and/or line 2.
For example, you may decide that
telephone
s 1, 3 and 5 will be associated
with line 1 and ring on line 1 and that
telephone
s 2 and 4 will be associated
with line 2 and ring on line 2.
lPress to enter the menu.
lSelect "BS Setting" and press to confirm.
lEnter the "MASTER PIN:" 1590 (by default) and press to confirm.
D150
7
STD51_AU_Ed01.pdf 29/12/04 12:00 Page 7

lSelect "Ring Group" and press to confirm.
lUse the and keys to choose one of the lines and press to
confirm.
lChoose the
telephone
s you want using the keyboard and press to
confirm.
The
telephone
s which are not available will be indicated by an "X".
2.3 RINGING PRIORITY
You can choose the handset that will ring first when an incoming call is recei-
ved. You can also set the number of rings on the priority
telephone
s before the
others ring.
lPress to enter the menu.
lSelect "BS Setting" and press to confirm.
lEnter the "MASTER PIN:" 1590 (by default) and press to confirm.
lSelect "Ring Prior" and press to confirm.
lSelect "Line 1" or "Line 2" and press to confirm.
lUse the and keys to choose the
number of the
telephone
that should ring
first and press to confirm.
lNow use the and keys to choo-
se the number of rings on the priority
tele-
phone
before the other handsets ring and
press to confirm.
lTo cancel the ringing priority for a telephone, select "off" with the and
keys and press to confirm.
Ring Cnt : 4
HS No. : 2
HS No. : 2
8
STD51_AU_Ed01.pdf 29/12/04 12:00 Page 8

3. USING THE TELEPHONE
3.1 MAKING A CALL
Before you make a call, you can see on the screen if lines 1 and 2 are busy.
Direct dialling
lPick up the handset.
lDial the number to be called.
lTo hang up after finishing a call, place the handset on the base.
Pre-dialling
With the pre-dialling feature you can enter and modify a number before making
the call.
lDial a number of up to 25 digits.
lPress to correct an input error.
lPick up the handset to make the call and hang up at the end of the conver-
sation.
Note: You can insert a pause with a long press on .
3.2 MAKING AN INTERNAL CALL
If you have registered more than one
telephone
, you can make internal calls.
lPress .
lDial the number of the handset you want to
call.
"You will call your internal correspondent.
3.3 RECEIVING A CALL
!If you subscribe to your network operator's service, the screen of
your telephone can display the caller's number.
To pick up the call:
lPick up the handset.
lPress to increase the volume or to decrease it (9 volume
levels).
lTo hang up after finishing a call, place the handset on the base.
1
9
STD51_AU_Ed01.pdf 29/12/04 12:00 Page 9

3.4 DISPLAYING THE DURATION OF THE CALL
During a call, its duration is displayed on the screen about 3 seconds after the
line has been seized.
3.5 TRANSFERRING A CALL
During a call, you can transfer it to another
telephone
:
lPress and dial the number of the handset to which you want to transfer
the call.
lWhen your internal correspondent picks up the phone, press to trans-
fer the call.
lIf your internal correspondent does not pick up the phone, press .
3.6 REDIALLING ONE OF THE LAST NUMBERS CALLED (BIS)
The last 3 numbers dialled on your DECT cordless telephone are recorded in
the redial list.
To redial a number:
lPress .
lScroll through the names and numbers using the key.
lTo make the call, pick up the handset or press when the number you
want is displayed.
3.7 MUTE (CUTS OFF THE MICRO) / PUT ON HOLD FUNCTION
You can put a correspondent on hold so that he/she does not hear a private
discussion.
lPress briefly during the call.
"The handset's microphone is then disabled. The correspondent can then
no longer hear you and you can talk internally in complete confidentiality.
lPress again to reactivate the microphone.
10
STD51_AU_Ed01.pdf 29/12/04 12:00 Page 10

3.8 CALLING FROM THE LOG OF CALLS (LIST OF THE LAST
50 CALLS RECEIVED)
lPress .
or
lPress to enter the menu.
lSelect "Caller ID" and press to confirm.
lUse the and keys to navigate through the list.
lWhen you get to the one you want, press to make the call.
The last 50 incoming calls only appear in the log of calls if they were received
via the analogue network and on condition that you have subscribed to the
"Calling line identification presentation" service.
Deleting the list of calls from the log
lPress to enter the menu.
lSelect "HS Setting" and press to confirm.
lSelect "Erase CID" and press to confirm.
"The screen displays:
lConfirm with .
"The log's list of calls is empty.
lTo undelete it, press .
3.9 SHUTTLING BETWEEN AN EXTERNAL AND INTERNAL CALL
lPress to put the external call on hold.
lNow dial the number of the internal handset you want to call.
lTo pick up the external call again, press .
Sure ?
11
STD51_AU_Ed01.pdf 29/12/04 12:00 Page 11

3.10 3 WAY CONFERENCE (2 INTERNAL CORRESPONDENTS AND
1 EXTERNAL CORRESPONDENT)
You can talk to an internal correspondent and an external correspondent at the
same time.
When you are on-line with an external correspondent:
lPress .
lDial the number of the internal handset you want. The external correspon-
dent is put on hold.
lWhen the internal correspondent pick up the phone, press and hold .
"The 3-way conference has been set up.
lIf one of the internal correspondents hangs up, the internal correspondent
who is still on-line must press twice to resume the call with the external
correspondent.
3.11 MANAGING 2 SIMULTANEOUS EXTERNAL CALLS ON THE SAME
TELEPHONE
You can manage 2 external calls simultaneously on the same
telephone
.
You are on-line with an external correspondent and you receive a second
external call (you hear a beep in the earpiece). To take the second call:
lPut the first caller on hold by pressing .
lHang up to release the line.
lWhen the telephone rings, pick it up to take the second call.
You have two options:
l
You can continue your conversation with the second caller and hang up at the
end of your conversation. When the telephone rings, pick it up to resume your
conversation with the first caller.
lAlternatively, you can put the second call on hold in order to resume your
conversation with the first caller by pressing . Hang up to release the
line.
When the telephone rings, pick it up. When your conversation has ended,
hang up. The telephone will ring; pick it up in order to speak to the second
caller who you had put on hold.
12
STD51_AU_Ed01.pdf 29/12/04 12:00 Page 12

13
3.12 ACTIVATING / DEACTIVATING HANDS-FREE MODE DURING A
CALL
To talk on the phone while doing something else, or share a conversation with
someone next to you:
lPress .
"The icon appears on the display.
To adjust the hands-free volume:
lPress or .
To deactivate hands-free mode:
lPress .
3.13 LOCKING THE KEYBOARD
You can lock your telephone's keyboard.
lPress to enter the menu.
lSelect "Key lock" and press to confirm.
"The screen displays "Locked".
lTo unlock, press
"The screen displays "Unlock ?".
lConfirm by pressing the key.
"Your keyboard is unlocked.
STD51_AU_Ed01.pdf 29/12/04 12:00 Page 13

4. YOUR PHONE BOOK
Your telephone contains a phone book capable of storing your 50 most useful
contacts.
Each contact page in the address book consists of a name (max. 12 charac-
ters) and a number (max. 25 digits).
4.1 PROGRAMMING THE 6 DIRECT MEMORIES
lPress to enter the menu.
lSelect "Memory Dial" and press to confirm.
lSelect "Memory 1", for example, and dial the number you want to store in
that memory then press to confirm.
Proceed in the same way to record numbers in the 5 other memories.
4.2 CREATING A CONTACT PAGE
With your DECT cordless telephone, you can key in letters as well as digits.
Handy for entering names in the address book or for naming a telephone!
4.2.1 Quick contact creation
lEnter the menu by pressing the key.
lSelect "Phone Book" and press to confirm.
lSelect "Add" and press to confirm.
lEnter the name using the alphanumeric
keyboard (maximum 12 characters).
lTo select a letter, press the corresponding
key as many times as required.
For example:
- for S, press 4 times.
- for E, press twice.
To toggle from capitals to small letters, press .
To enter a space: press twice. To make a correction: .
Name:
14
STD51_AU_Ed01.pdf 29/12/04 12:00 Page 14

Confirm by pressing the key.
lEnter the number and press to
confirm.
Table of characters
4.3 USING THE PHONE BOOK TO MAKE A CALL
lPress the key.
lUse the and keys to scroll through the list of names.
lTo quit the menu, press .
lPick up the handset to make the call.
Key 1 press
2 presses
3 presses
4 presses
5 presses
1 1 Space ( ) -
2ABC2,
3DEF3:
4GHI4+
5JKL5%
6MNO6/
7PQRS7
8TUV8.
9 WXYZ9
00
**
##
Number:
15
STD51_AU_Ed01.pdf 29/12/04 12:00 Page 15

16
4.4 MODIFYING A CONTACT PAGE
lEnter the phone book by pressing .
lSelect "Phone Book" and press to confirm.
lSelect "Edit" and press to confirm.
lSelect the page you want to modify and press to confirm.
lUse the key to delete the name or correct it, then enter the new
name and press to confirm.
lUse the key to delete the number or correct it, then enter the new
number and press to confirm.
4.5 DELETING A CONTACT PAGE
lEnter the menu by pressing .
lSelect "Phone Book" and press to confirm.
lSelect "Delete" and press to confirm.
lSelect the page you want to delete and press to confirm.
"The screen displays "Sure ?".
lPress to confirm.
"The contact page is deleted.
lTo delete all the pages, select "Erase all".
STD51_AU_Ed01.pdf 29/12/04 12:00 Page 16

5. CUSTOMISING YOUR TELEPHONE
5.1 ADJUSTING THE KEYTONES
A sound is emitted every time you press a key on your DECT cordless tele-
phone keypad: it can be activated or deactivated.
lPress to enter the menu.
lSelect "HS setting" and press to confirm.
lSelect "Set Keytone" and press to confirm.
lTo deactivate: select "Off" with the and keys and press to
confirm.
"The keytones are deactivated.
lTo reactivate: select "On" with the and keys and press to
confirm.
5.2 CHOOSING A MELODY AND ADJUSTING THE VOLUME
lPress to enter the menu.
lSelect "HS setting" and press to confirm.
lSelect "Set Extering" or "Set Intring" and press to confirm.
lUse the and keys to select the melody you want (9 melodies) and
press to confirm.
lUse the and keys to select the volume you want (1 to 9) and
press to confirm.
17
STD51_AU_Ed01.pdf 29/12/04 12:00 Page 17

5.3 EMERGENCY NUMBER
If you activate this function, the emergency number recorded will be dialled
automatically, whatever the key pressed.
lPress to enter the menu.
lSelect "HS setting" and press to confirm.
lSelect "Hot Call" and press to confirm. The display is empty.
lDial the emergency number and press to confirm.
lTo deactivate this function, press twice quickly.
5.4 NAMING A TELEPHONE
You can change the name of your telephone.
lPress to enter the menu.
lSelect "HS setting" and press to confirm.
lSelect "User name" and press to confirm.
lEnter the name (max. 8 characters) and press to confirm.
5.5 SELECTING THE DISPLAY LANGUAGE
Your DECT cordless telephone has menus in 3 languages. To change the lan-
guage:
lPress to enter the menu.
lSelect "HS setting" and press to confirm.
lSelect "Language" and press to confirm.
lSelect the language and press to confirm.
5.6 CHANGING THE TELEPHONE'S PIN NUMBER
lPress to enter the menu.
lSelect "HS setting" and press to confirm.
lSelect "Set PIN:" and press to confirm.
lEnter the PIN code: 1590 (by default) and press to confirm.
18
STD51_AU_Ed01.pdf 29/12/04 12:00 Page 18

19
lEnter the new PIN code and press to confirm.
lConfirm the new PIN code and press to confirm.
5.7 RETURNING TO DEFAULT SETTINGS
lPress to enter the menu.
lSelect "HS setting" and press to confirm.
lSelect "Set default" and press to confirm.
lEnter the PIN: 1590 (by default) and press to confirm.
lThe screen displays "Sure ?"; press to confirm.
5.8 ADJUSTING THE AUTOMATIC LINE SEIZURE
The automatic line seizure function allows you to take an incoming call, by
pressing any of the keys on the telephone.
lPress to enter the menu.
lSelect "HS setting" and press to confirm.
lSelect "Anykey talk" and press to confirm.
lSelect "On" or "Off" to activate or deactivate this setting.
STD51_AU_Ed01.pdf 29/12/04 12:00 Page 19

6. ASSOCIATING / DISASSOCIATING A TELEPHONE WITH
THE BASE (SUPPLIED WITH PACK)
6.1 ASSOCIATING AN EXTRA TELEPHONE WITH THE BASE
You can associate up to 5 telephones with the base.
To associate a handset that is not yet associated:
From a handset which has already been associated (for example the
)
:
lPress to enter the menu.
lSelect "BS Setting" and press to confirm.
lEnter "MASTER PIN:" 1590 (by default) and press to confirm.
lSelect "New PIN:" and press to confirm.
lEnter "Sub PIN:" 1590 (by default) and press to confirm.
lSelect a number from 1 to 9 or "Auto" and press to confirm.
The numbers which have already been assigned are marked by "–".
Then, on the telephone which has not yet been associated: you have
about 2 minutes to register the telephone.
lPress to enter the menu.
lSelect "HS register" and press to confirm.
lSelect the base with which the telephone is to be associated and press
to confirm.
"A message will appear on the screen within 15 seconds and press
to confirm.
lEnter the PIN code: 1590 (by default) and press to confirm.
"The number of the telephone will be displayed within 15 seconds.
If this fails, repeat the complete operation.
D51
D150
20
STD51_AU_Ed01.pdf 29/12/04 12:00 Page 20
Other manuals for SPEEDTOUCH D51
1
Table of contents
Other THOMSON Telephone manuals

THOMSON
THOMSON Serea REPLY User manual

THOMSON
THOMSON GE 21870 User manual

THOMSON
THOMSON Smart Bracket II User manual

THOMSON
THOMSON Serea Combi TH-540DRBLK User manual

THOMSON
THOMSON SPEEDTOUCH D100 User manual

THOMSON
THOMSON CONECTO 100 User manual

THOMSON
THOMSON SPEEDTOUCH D100 User manual

THOMSON
THOMSON TLINK20S User manual

THOMSON
THOMSON SPEEDTOUCH 2020 User manual

THOMSON
THOMSON ST7G User manual