manuals.online logo
Brands
  1. Home
  2. •
  3. Brands
  4. •
  5. TonerRefillKits
  6. •
  7. Printer Accessories
  8. •
  9. TonerRefillKits brother ReChargX RX350 User manual

TonerRefillKits brother ReChargX RX350 User manual

Other TonerRefillKits Printer Accessories manuals

TonerRefillKits ReChargX RX077 User manual

TonerRefillKits

TonerRefillKits ReChargX RX077 User manual

TonerRefillKits ReChargX RX076 User manual

TonerRefillKits

TonerRefillKits ReChargX RX076 User manual

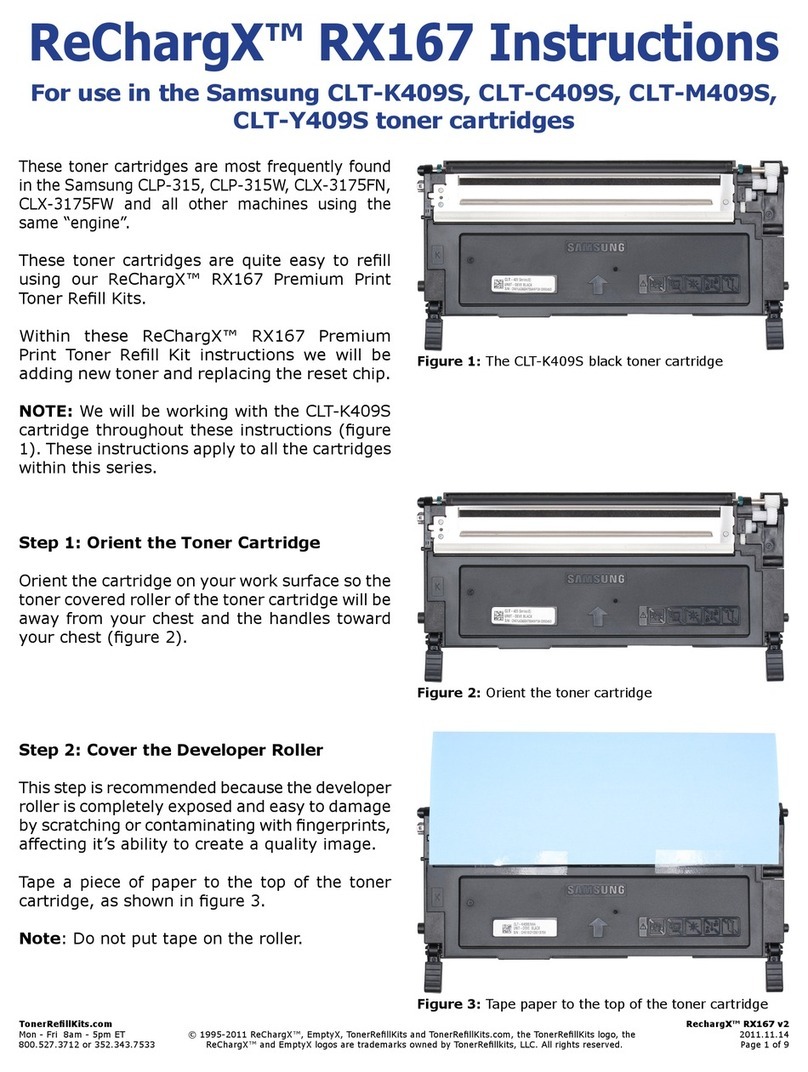
TonerRefillKits ReChargX RX167 User manual

TonerRefillKits

TonerRefillKits ReChargX RX167 User manual

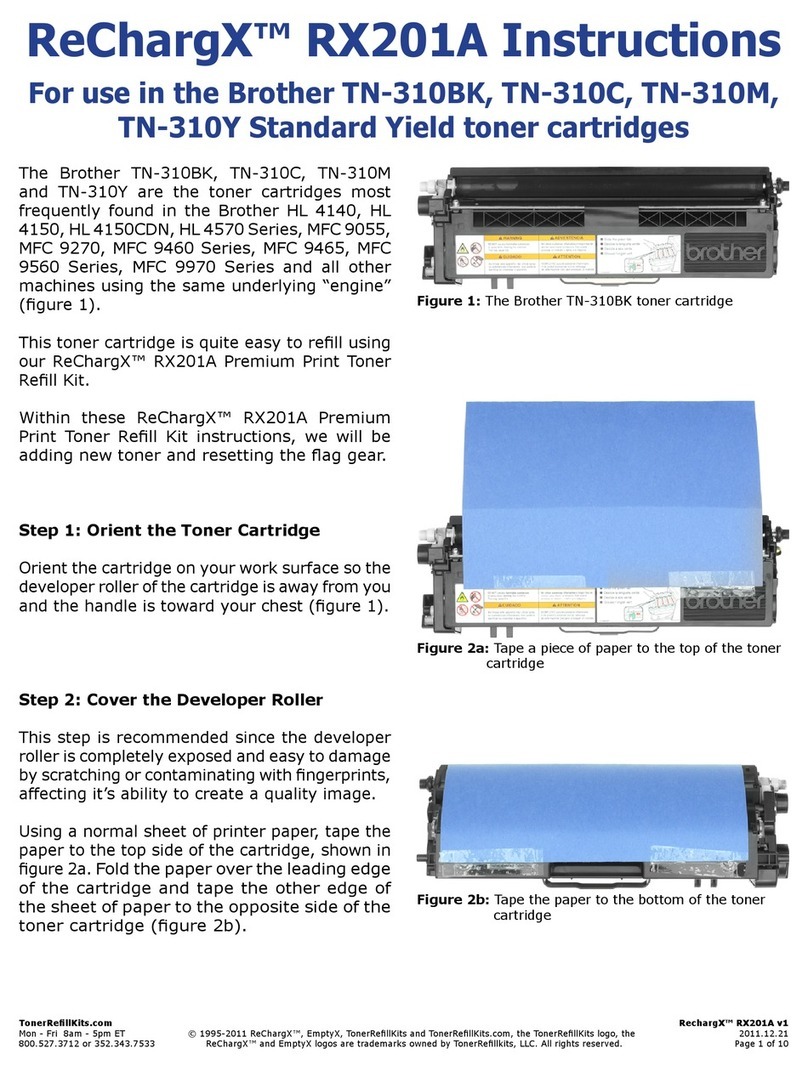
TonerRefillKits ReChargX RX201A User manual

TonerRefillKits

TonerRefillKits ReChargX RX201A User manual

TonerRefillKits ReChargX RX180 User manual

TonerRefillKits

TonerRefillKits ReChargX RX180 User manual

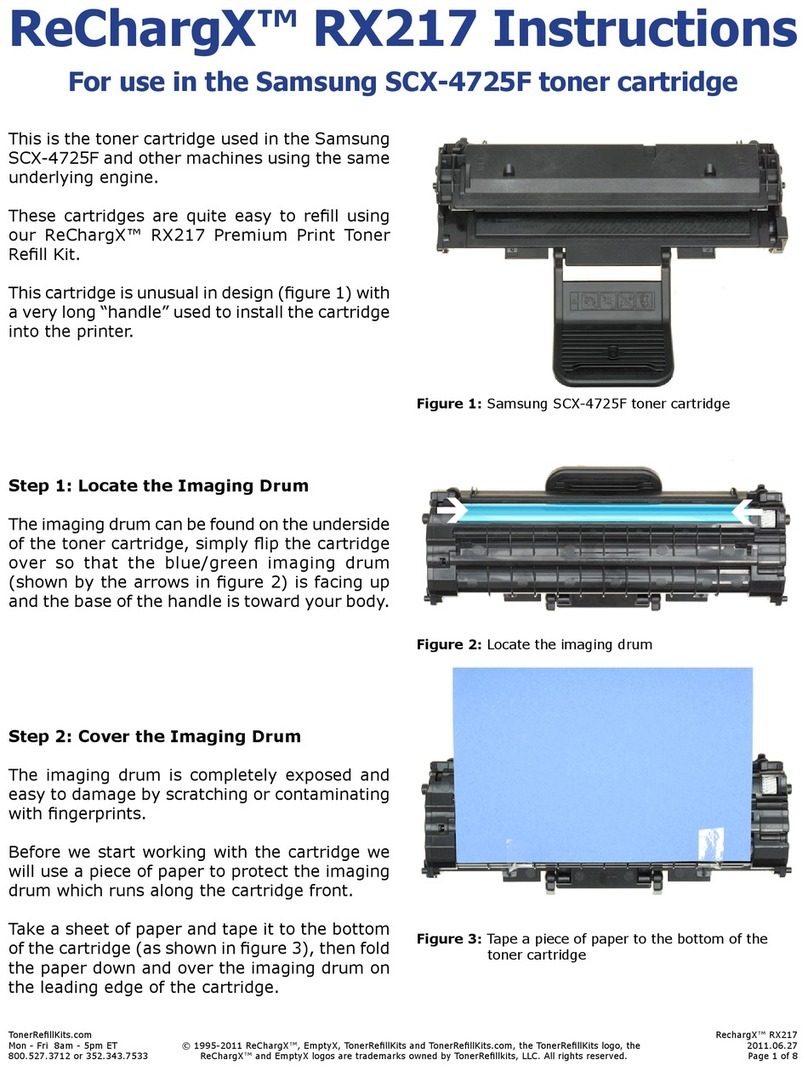
TonerRefillKits ReChargX RX217 User manual

TonerRefillKits

TonerRefillKits ReChargX RX217 User manual

TonerRefillKits ReChargX RX161 User manual

TonerRefillKits

TonerRefillKits ReChargX RX161 User manual

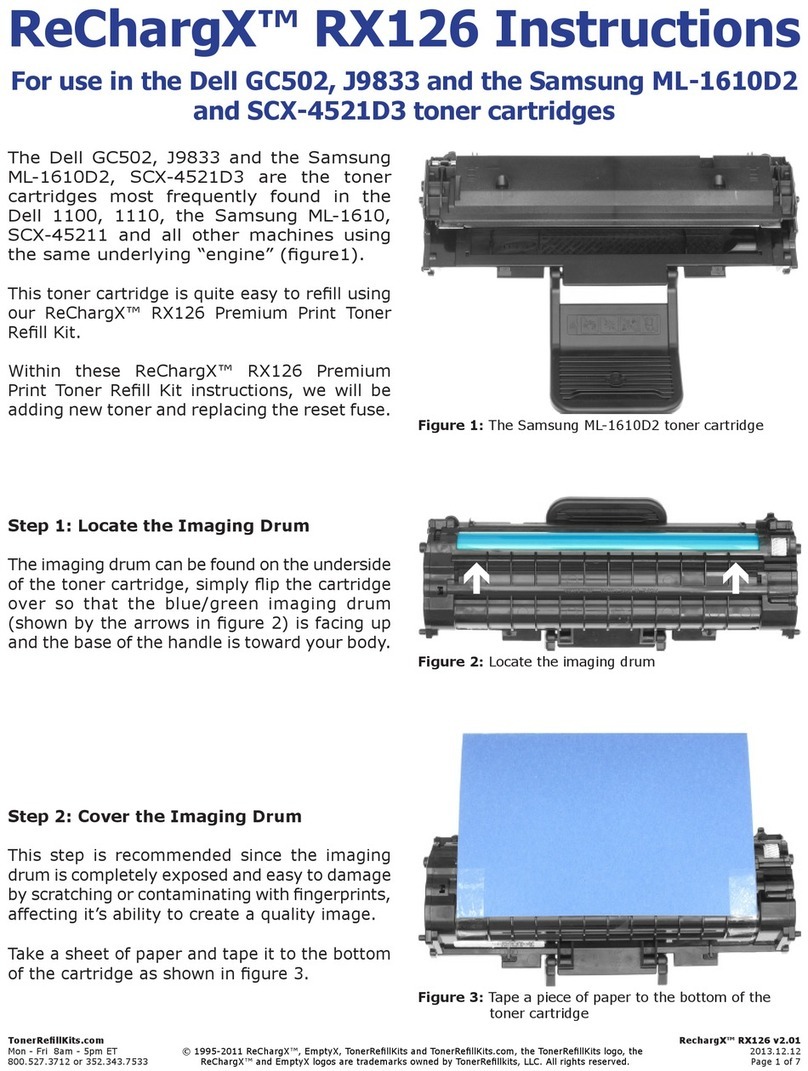
TonerRefillKits ReChargX RX126 User manual

TonerRefillKits

TonerRefillKits ReChargX RX126 User manual

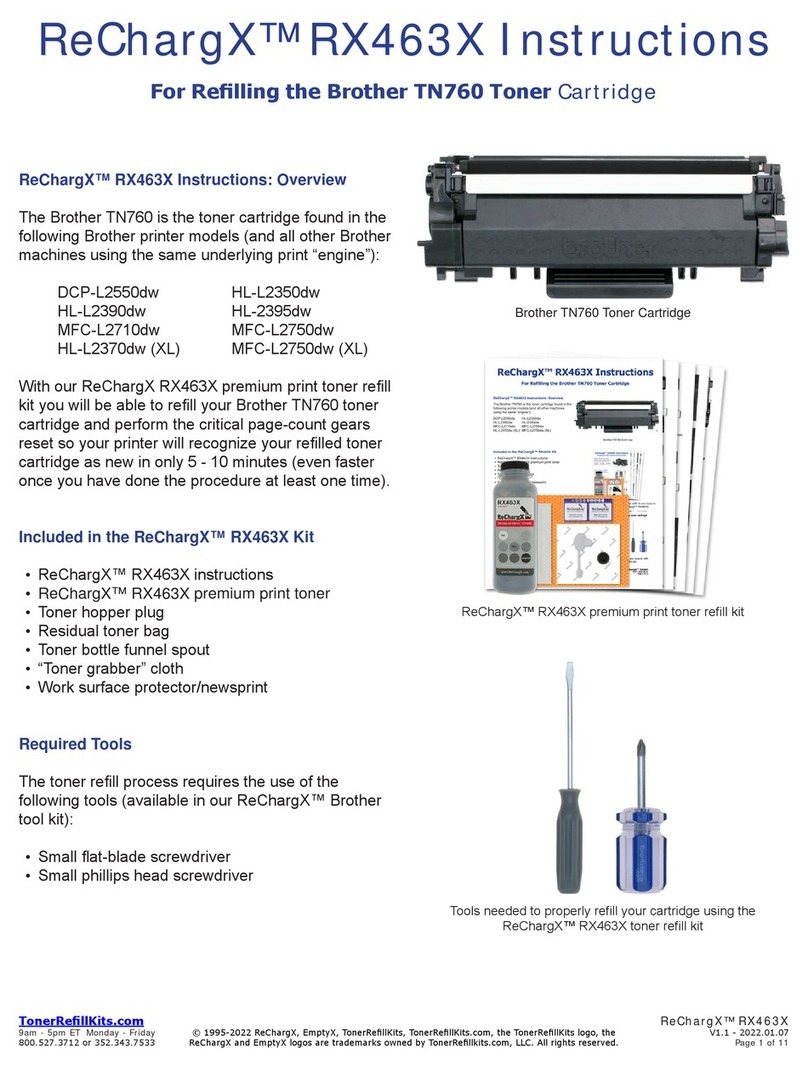
TonerRefillKits ReChargX RX463X User manual

TonerRefillKits

TonerRefillKits ReChargX RX463X User manual

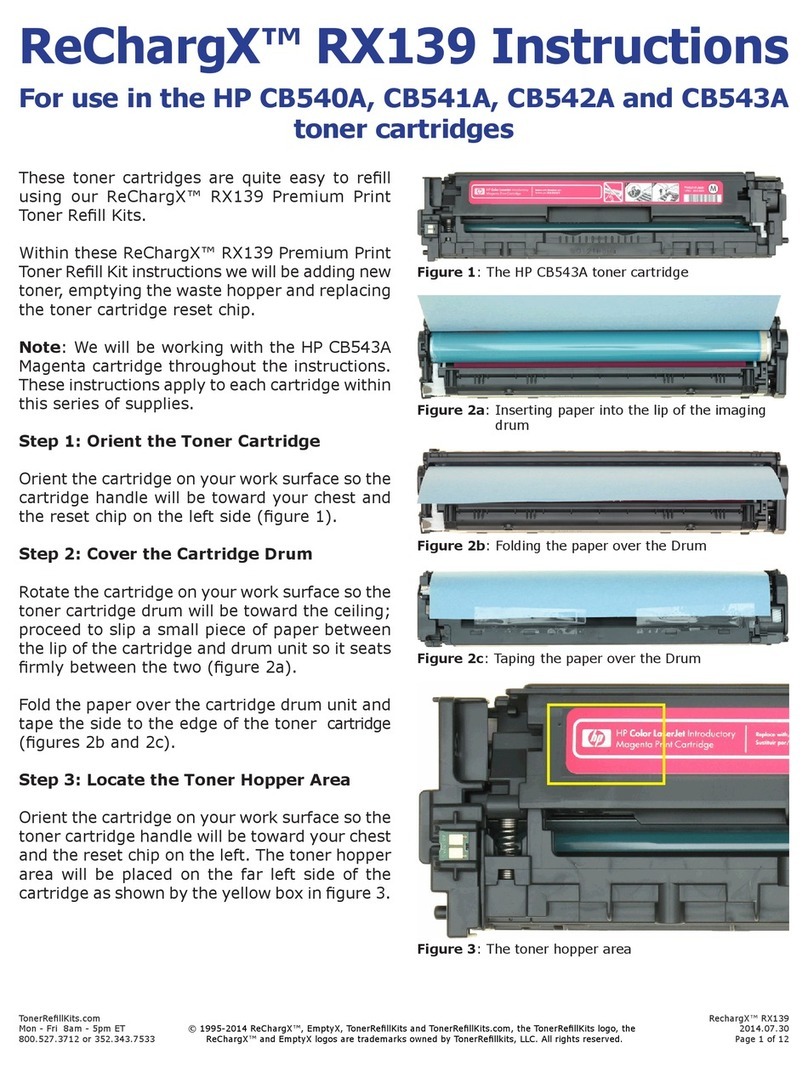
TonerRefillKits ReChargX RX139 User manual

TonerRefillKits

TonerRefillKits ReChargX RX139 User manual

Popular Printer Accessories manuals by other brands

Epson T078620 Product information sheet

Epson

Epson T078620 Product information sheet

Brother TN630 instructions

Brother

Brother TN630 instructions

Formax 6204 Series Maintenance manual

Formax

Formax 6204 Series Maintenance manual

Xerox C11 - DocuPrint Color Inkjet Printer user manual

Xerox

Xerox C11 - DocuPrint Color Inkjet Printer user manual

REA JET HR pro 2K user manual

REA

REA JET HR pro 2K user manual

HP Laserjet,Color Laserjet 4si user guide

HP

HP Laserjet,Color Laserjet 4si user guide

oliser MS 45 instructions

oliser

oliser MS 45 instructions

Xerox EFI EXP6000 Specification sheet

Xerox

Xerox EFI EXP6000 Specification sheet

Epson T6248 Product information sheet

Epson

Epson T6248 Product information sheet

Canon TonerRobot EP-27 instruction manual

Canon

Canon TonerRobot EP-27 instruction manual

Kyocera KM-6230 Instruction handbook

Kyocera

Kyocera KM-6230 Instruction handbook

Triumph Adler DF-710 Instruction handbook

Triumph Adler

Triumph Adler DF-710 Instruction handbook

Star Micronics TSP800 Series install guide

Star Micronics

Star Micronics TSP800 Series install guide

Citizen CBM-202PC Series user manual

Citizen

Citizen CBM-202PC Series user manual

Canon Color imageCLASS MF8170c installation instructions

Canon

Canon Color imageCLASS MF8170c installation instructions

Codonics Virtua 1VCX-LR833 Technical brief

Codonics

Codonics Virtua 1VCX-LR833 Technical brief

Roland DU2-64 Supplementary manual

Roland

Roland DU2-64 Supplementary manual

Epson T059920 Material safety data sheet

Epson

Epson T059920 Material safety data sheet

manuals.online logo
manuals.online logoBrands
  • About & Mission
  • Contact us
  • Privacy Policy
  • Terms and Conditions

Copyright 2025 Manuals.Online. All Rights Reserved.

TonerRellKits.com ReChargX™RX350
8am - 5pm ET Mon - Fri © 1995-2016 ReChargX, EmptyX, TonerRellKits, TonerRellKits.com, the TonerRellKits logo, the V2.00 - 2016.05.09
800.527.3712 or 352.343.7533 ReChargX and EmptyX logos are trademarks owned by TonerRellkits.com, LLC. All rights reserved. Page 1 of 15
ReChargX™ RX350 Instructions
For relling the Brother TN Starter/Introductory,
TN-630, and TN-660 toner cartridges
Brother TN Starter, TN-630, and TN-660 series toner cartridge
ReChargX™ RX350 premium print toner rell kit
Tools needed to properly rell your cartridge using the
ReChargX™ RX350 toner rell kit.
ReChargX™ RX350 Instructions: Overview
The Brother TN Starter/Introductory, TN-630, and
TN-660 are the cartridges frequently found in the
following Brother printer models (and all other
machines using the same “engine”):
DCP-L2500d DCP-L2520dw DCP-L2540dn
DCP-L2540dw HL-L2300d HL-L2320d
HL-L2340dw HL-L2360dn HL-L2360dw
HL-L2365dw HL-L2380dw MFC-L2700dw
MFC-L2703dw MFC-L2720dw MFC-L2740dw
The Brother TN Starter/Introductory, TN-630, and
TN-660 cartridges are easy to rell using our
ReChargX™ RX350 premium print toner rell kit.
Included in the ReChargX™ RX350 Kit
• ReChargX™ RX350 instructions
• ReChargX™ RX350 premium print toner
• ReChargX™ RX350 reset gear & spring
• ReChargX™ RX350 toner hopper plug
• Residual toner bag
• Reminder labels (2)
• Toner bottle funnel spout
• “Toner grabber” cloth
• Work surface protector/newsprint
Required Tools
The toner rell process requires the use of the
following tools (which, if you need them, are available
in our ReChargX™ Brother tool kit):
• Small phillips-head screwdriver
• Small at-blade screwdriver
TonerRellKits.com ReChargX™RX350
8am - 5pm ET Mon - Fri © 1995-2016 ReChargX, EmptyX, TonerRellKits, TonerRellKits.com, the TonerRellKits logo, the V2.00 - 2016.05.09
800.527.3712 or 352.343.7533 ReChargX and EmptyX logos are trademarks owned by TonerRellkits.com, LLC. All rights reserved. Page 2 of 15
Note: Please make certain the printer is powered
“ON” throughout the entire rell procedure. Failure to
do so may cause the printer to be unable to identify
that the cartridge has been relled.
Step 1: Prepare your work surface
Included in the ReChargXTM RX350 premium print
toner rell kit is a sheet of newsprint (Figure 1).
Unfold the sheet and lay it across your work surface.
The newsprint keeps your work surface clean and is
discarded after completing the relling process.
Step 2: Position the drum unit and toner
cartridge assembly
When you remove the cartridge from your printer the
drum unit will still be attached.
Position the assembly on your work surface so the
handle on the front of the toner cartridge (A) is facing
you and the green or blue tab (B) is on the left-hand
side (Figure 2).
Step 3: Separate the toner cartridge from the
drum unit assembly
Press and hold down the green or blue tab (A)
located on the left-hand side of the unit while lifting
up on the handle of the front of the toner cartridge
with your right hand (B) to separate the toner
cartridge from the drum unit (Figure 3).
Lift the toner cartridge up and off of the drum unit.
Note: Since the drum in the drum unit can be easily
scratched or damaged, put it out of harm’s way until
we are completely nished with the relling operation.
Step 4: Prepare the cartridge for relling
Position the cartridge on your work surface so the
handle (A) is facing toward you and the developer
roller (B) is facing away from you (Figure 4).
Figure 1: ReChargX™ newsprint work surface protector
A
B
Figure 2: Positioning the drum unit and toner cartridge assembly
A
Figure 3: Removing the cartridge from the drum unit
Figure 4: The toner cartridge in the correct orientation
B
B
A
TonerRellKits.com ReChargX™RX350
8am - 5pm ET Mon - Fri © 1995-2016 ReChargX, EmptyX, TonerRellKits, TonerRellKits.com, the TonerRellKits logo, the V2.00 - 2016.05.09
800.527.3712 or 352.343.7533 ReChargX and EmptyX logos are trademarks owned by TonerRellkits.com, LLC. All rights reserved. Page 3 of 15
Step 5: Protect the developer roller
The developer roller along the front of the cartridge is
critical to the image production process and can be
damaged even by a ngerprint.
To protect the roller during relling we will cover it
with a sheet of paper.
Start with a piece of paper in “portrait” orientation,
then fold the 8.5” X 11” sheet in half (folding the
top edge over to meet the bottom edge) leaving an
8.5” X 5.5” sheet.
With the cartridge face up tape one of the long 8.5”
edges to the top of the cartridge (Figure 5-1).
Carefully fold the paper over the developer roller
(again, being careful not to touch the roller with your
ngers) and tape the other edge of the paper to the
bottom of the cartridge (Figure 5-2).
Step 6: Remove the cartridge end cap
Position the cartridge on your work surface so the
black plastic end cap (which covers the internal gears
of the cartridge) is facing upward and the handle of
the cartridge is on the right-hand side (Figure 6-1).
You now have access to the two screws which
secure the end cap to the cartridge (highlighted by
the arrows in Figure 6-1).
Using the phillips-head screwdriver remove the two
phillips-head screws (Figure 6-2 and Figure 6-3) and
set them aside for later use.
After removing the two phillips-head screws, lift the
black end cap up and away from the cartridge body
to expose the gear train and set the end cap aside.
Figure 5-1: Protecting the developer roller (front-side)
Figure 5-2: Protecting the developer roller (back-side)
Figure 6-1: Cartridge positioned with end cap facing up
Figure 6-2: Removing the cartridge end cap screws (1 of 2)
Figure 6-3: Removing the cartridge end cap screws (2 of 2)
TonerRellKits.com ReChargX™RX350
8am - 5pm ET Mon - Fri © 1995-2016 ReChargX, EmptyX, TonerRellKits, TonerRellKits.com, the TonerRellKits logo, the V2.00 - 2016.05.09
800.527.3712 or 352.343.7533 ReChargX and EmptyX logos are trademarks owned by TonerRellkits.com, LLC. All rights reserved. Page 4 of 15
Brother uses a “page counting” mechanism (a
combination of gears and “ags”) to report to the
printer when the cartridge is either full or used.
Before we begin the rell procedure we will address
the components of the reset mechanism that either
have to be removed or replaced.
Without properly resetting/addressing these
mechanisms, even after the cartridge has been
relled the cartridge would still appear to the printer
as being empty resulting in a false “toner low” or
“toner empty” message.
Although the starter, standard-yield, and high-yield
toner cartridges are fundamentally the same, each
requires a slightly different process to reset the page
counting mechanism.
Skip forward to the appropriate page for the reset
procedures specic to your cartridge.
If you are working on a TN starter/introductory
cartridge (the cartridge included with the printer)
proceed to page 5 and follow steps 7a-7c.
If you are working on a TN-630 standard-yield
cartridge proceed to page 6 and follow steps 8a-8e.
If you are working on a TN-660 high-yield or
converted TN starter or TN-630 cartridge, proceed
to page 8 and follow steps 9a-9e.
Figure A: The starter cartridge (with end cap removed)
Figure B: The standard-yield cartridge (with end cap removed)
Figure C: The high-yield cartridge (with end cap removed)
Identifying the toner cartridge type
TonerRellKits.com ReChargX™RX350
8am - 5pm ET Mon - Fri © 1995-2016 ReChargX, EmptyX, TonerRellKits, TonerRellKits.com, the TonerRellKits logo, the V2.00 - 2016.05.09
800.527.3712 or 352.343.7533 ReChargX and EmptyX logos are trademarks owned by TonerRellkits.com, LLC. All rights reserved. Page 5 of 15
Preparing the starter cartridge for relling and resetting
Figure 7-1: The starter cartridge (end cap removed)
Figure 7-2: After removing the starter drive gear; before
removing the actuator gear
Figure 7-3: After removing the starter actuator gear; before
removing the toner hopper plug
Figure 7-4: Removing the starter toner hopper plug
A
B
C
A
B
Remove the components
Figure 7-1 shows the gear end of the TN starter
cartridge (the cartridge that came with the machine
when it was new) with the end cap removed.
The components you will be removing are the drive
gear (A), actuator gear (B) and toner hopper plug (C).
Step 7a: Remove the drive gear
To prepare for the resetting of the starter toner
cartridge and its conversion into the equivalent of the
high-yield cartridge, we start by removing the drive
gear (A) (Before: Figure 7-1; After: Figure 7-2).
Step 7b: Remove the actuator gear
With the drive gear removed, we can remove the
actuator gear (B) from the gear train (Before: Figure
7-2; After: Figure 7-3).
Step 7c: Remove the toner hopper plug
With the drive and actuator gears out of the way we
will remove the toner hopper plug (C).
Using the edge of the opening as support, wedge the
tip of a at-blade screwdriver between the lip of the
toner hopper opening and the toner hopper plug.
Then pry the plug up and out (Figure 7-4).
Now that we have removed the starter gears and
toner hopper plug, proceed to page 10 to continue
the process.
C
TonerRellKits.com ReChargX™RX350
8am - 5pm ET Mon - Fri © 1995-2016 ReChargX, EmptyX, TonerRellKits, TonerRellKits.com, the TonerRellKits logo, the V2.00 - 2016.05.09
800.527.3712 or 352.343.7533 ReChargX and EmptyX logos are trademarks owned by TonerRellkits.com, LLC. All rights reserved. Page 6 of 15
AB
Figure 8-1: The standard-yield cartridge (end cap removed)
D
Figure 8-2: After reemoving the reset spring; before removing
the reset gear
Figure 8-3: After removing the reset gear; before removing the
drive gear
Preparing the standard-yield cartridge for relling and resetting
D
C
Remove the components
Figure 8-1 shows the gear end of the standard-yield
toner cartridge with the end cap removed.
The components you will be removing (to be replaced
with the new components which came with the
RX350 toner rell kit to convert your cartridge into a
high-yield cartridge) are the drive gear (A), actuator
gear (B), reset gear (C), reset spring (D) and toner
hopper plug (E), which is located under the reset
gear and not visible in this gure.
Step 8a: Remove the reset spring
To begin the process of converting the standard-yield
into the high-yield, we start by removing the reset
spring (D) (Before: Figure 8-1; After: Figure 8-2).
Step 8b: Remove the reset gear
With the reset spring removed, you may now remove
the black reset gear (C) (Before: Figure 8-2; After:
Figure 8-3) which will expose the toner hopper plug.
C
D
TonerRellKits.com ReChargX™RX350
8am - 5pm ET Mon - Fri © 1995-2016 ReChargX, EmptyX, TonerRellKits, TonerRellKits.com, the TonerRellKits logo, the V2.00 - 2016.05.09
800.527.3712 or 352.343.7533 ReChargX and EmptyX logos are trademarks owned by TonerRellkits.com, LLC. All rights reserved. Page 7 of 15
Figure 8-4: After removing the drive gear; before removing the
actuator gear
Figure 8-5: After removing the actuator gear; before removing
the toner hopper plug
Figure 8-6: Removing the toner hopper plug
A
B
E
Step 8c: Remove the drive gear
With the reset gear removed, we will now remove
the drive gear (A) from the gear train (Before: Figure
8-3; After: Figure 8-4).
Step 8d: Remove the actuator gear
With the drive gear removed we will now remove the
actuator gear (B) from its post (Before: Figure 8-4;
After: Figure 8-5).
Step 8e: Remove the toner hopper plug
With the drive, reset, and actuator gears out of the
way we now have access to the hopper plug (E).
Wedge the tip of a at-blade screwdriver between the
lip of the toner hopper opening and the toner hopper
plug. Then pry the plug up and out (Figure 8-6).
Now that we have removed the spring, gears, and
toner hopper plug, proceed to page 10 to continue
the rell process.
TonerRellKits.com ReChargX™RX350
8am - 5pm ET Mon - Fri © 1995-2016 ReChargX, EmptyX, TonerRellKits, TonerRellKits.com, the TonerRellKits logo, the V2.00 - 2016.05.09
800.527.3712 or 352.343.7533 ReChargX and EmptyX logos are trademarks owned by TonerRellkits.com, LLC. All rights reserved. Page 8 of 15
Figure 9-1: The high-yield cartridge (end cap removed)
Figure 9-2: After removing the reset spring; before removing the
reset gear
D
Figure 9-3: After removing the reset gear; before removing the
drive gear
Preparing the high-yield cartridge for relling and resetting
A
BC
D
Remove the components
Figure 9-1 shows the gear end of the high-yield toner
cartridge with the end cap removed.
The parts you will be working with are the drive gear
(A), actuator gear (B), reset gear (C), reset spring (D)
and toner hopper plug (E), which is located under the
reset gear and not visible in this view.
Step 9a: Remove the reset spring
To prepare for the resetting we start by removing the
cartridge reset spring (D) (Before: Figure 9-1; After:
Figure 9-2).
Step 9b: Remove the reset gear
With the reset spring removed we will now remove
the reset gear (C) which will expose the toner hopper
plug (Before: Figure 9-2; After: Figure 9-3).
D
C
TonerRellKits.com ReChargX™RX350
8am - 5pm ET Mon - Fri © 1995-2016 ReChargX, EmptyX, TonerRellKits, TonerRellKits.com, the TonerRellKits logo, the V2.00 - 2016.05.09
800.527.3712 or 352.343.7533 ReChargX and EmptyX logos are trademarks owned by TonerRellkits.com, LLC. All rights reserved. Page 9 of 15
Figure 9-4: After removing the drive gear; before removing the
actuator gear
Figure 9-5: After removing the actuator gear; before removing
the toner hopper plug
Figure 9-6: Removing the toner hopper plug
B
E
Step 9c: Remove the drive gear
With the reset gear out of the way, we will now
remove the drive gear (A) from the cartridge gear
train (Before: Figure 9-3; After: Figure 9-4).
Step 9d: Remove the actuator gear
With the drive gear removed, we will now remove
the actuator gear (B) (Before: Figure 9-4; After:
Figure 9-5).
Step 9e: Remove the toner hopper plug
With the reset spring and the reset, drive and
actuator gears out of the way, we will now remove
the toner hopper plug (E) (Figure 9-6).
Wedge the tip of a at-blade screwdriver between the
lip of the toner hopper opening and the toner hopper
plug. Then pry the plug up and out.
Now that we have removed the spring, gears, and
toner hopper plug, proceed to page 10 to continue
the process.
A
TonerRellKits.com ReChargX™RX350
8am - 5pm ET Mon - Fri © 1995-2016 ReChargX, EmptyX, TonerRellKits, TonerRellKits.com, the TonerRellKits logo, the V2.00 - 2016.05.09
800.527.3712 or 352.343.7533 ReChargX and EmptyX logos are trademarks owned by TonerRellkits.com, LLC. All rights reserved. Page 10 of 15
Figure 10-1: Inserting cartridge into zip-top bag
Figure 10-2: Dumping out the remaining toner
Preparing the cartridges for relling and resetting
Step 10: Remove the remaining toner
Prior to adding “fresh” toner, we must remove the
residual “old” toner.
On the rst rell of your toner cartridge, the new toner
should not be combined with whatever quantity of
toner that remains in the hopper.
Failure to remove the remaining toner will result in
splotching, smudging, hazing, and other print defects.
Note: This step does not need to be performed on
subsequent rells when fresh ReChargX™ toner is
being added to the existing ReChargX™ toner.
Insert the toner hopper opening end of the cartridge
into the plastic zip-top bag which is included in the
ReChargX™ RX350 toner rell kit (Figure 10-1).
Carefully pour out as much of the residual toner as
possible (tapping along the side of the cartridge helps
to keep the toner owing) (Figure 10-2).
If the toner stops owing, stand the cartridge upright
(with the toner hopper hole facing up) and then put
the end of the cartridge back into the bag and
continue the emptying process.
With the majority of the toner removed, remove the
cartridge from the bag. Seal the bag and discard it.