TonerRefillKits ReChargX RX161 User manual

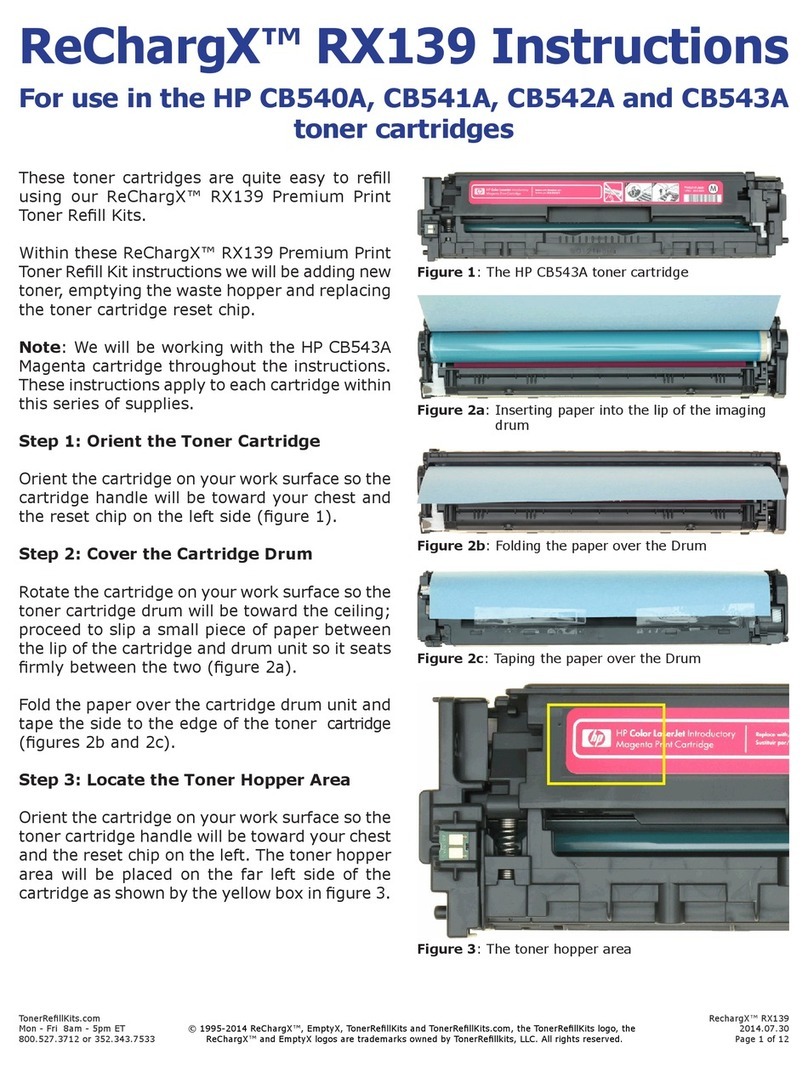
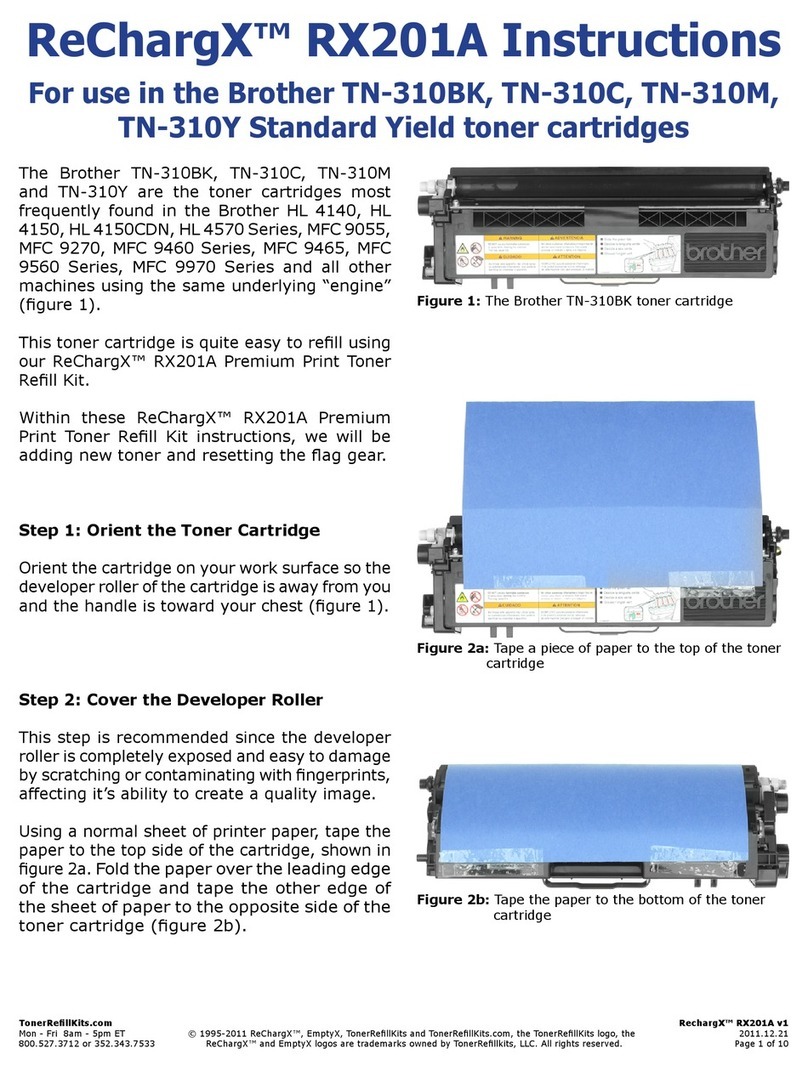
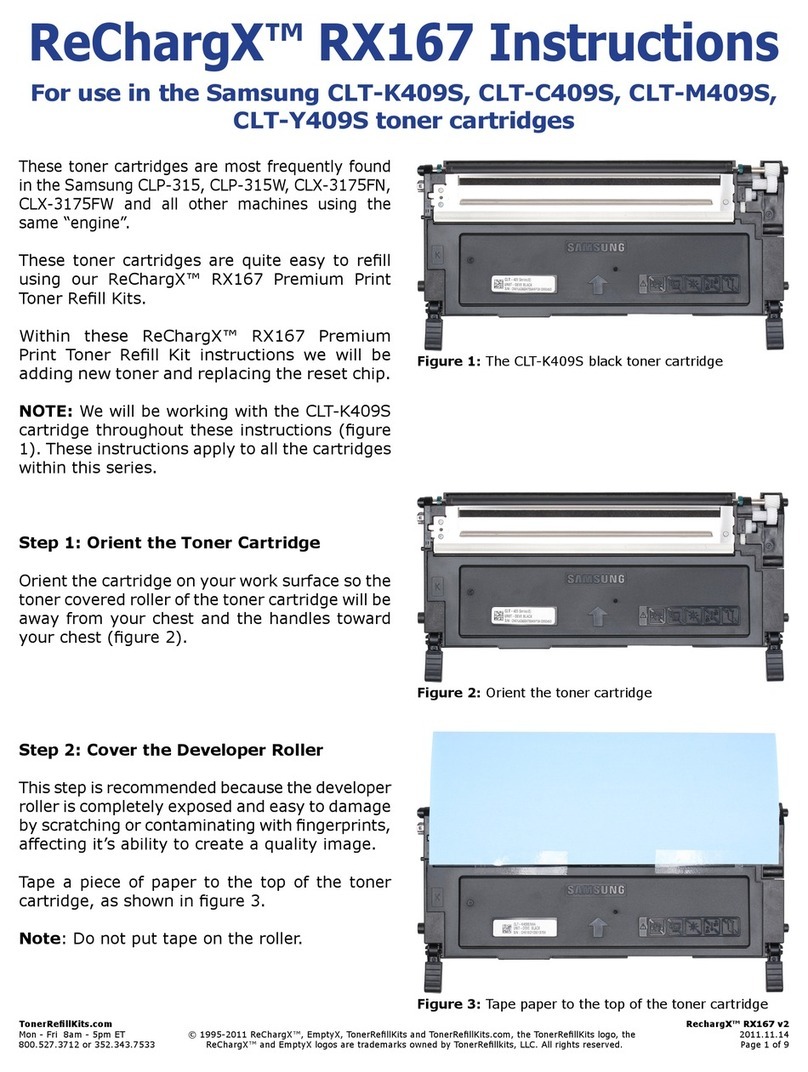
TonerRellKits.com RechargX™ RX161 v1
Mon - Fri 8am - 8pm ET © 1995-2012 ReChargX™, EmptyX, TonerRellKits and TonerRellKits.com, the TonerRellKits logo, the 2012.05.24
800.527.3712 or 352.343.7533 ReChargX™ and EmptyX logos are trademarks owned by TonerRellkits, LLC. All rights reserved. Page 1 of 10
ReChargX™ RX161 Instructions
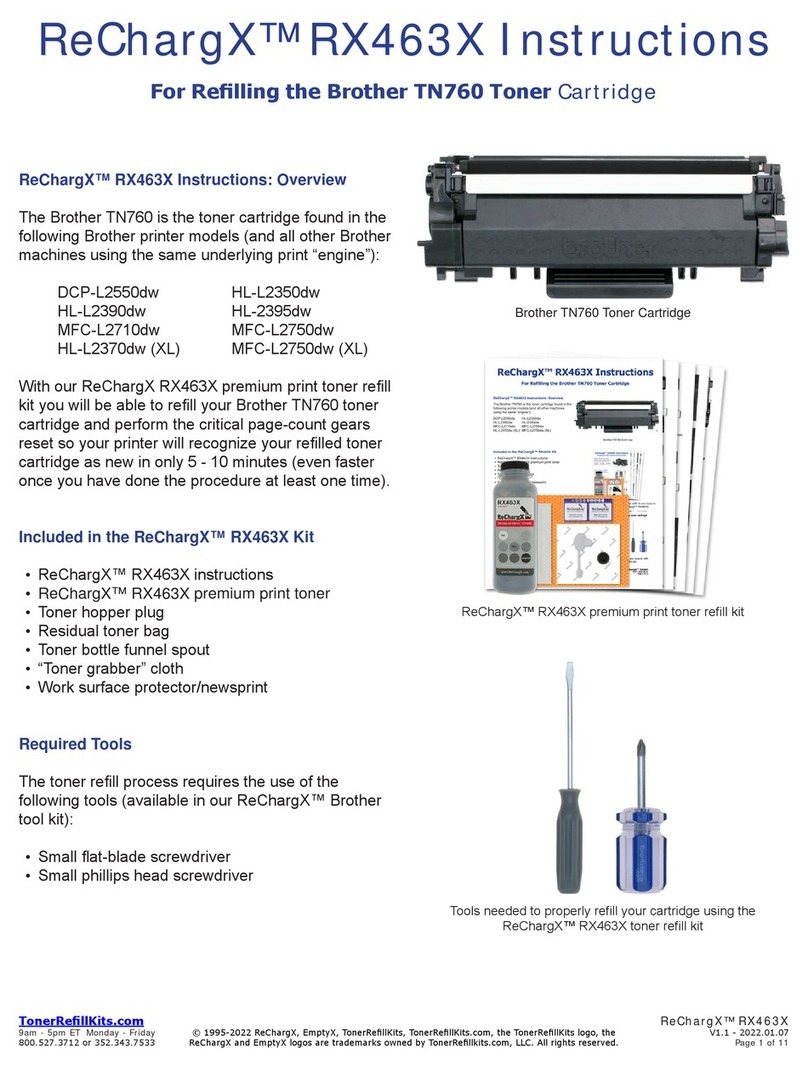
For use in the Okidata 43324404, 43324403, 43324402,
and 43324401 Type C8 toner cartridges
The Okidata 43324404 (gure 1), 43324403
43324402 and 43324401 Type C8 are the toner
cartridges most frequently found in the Okidata
C5500, C5500N, C5650DN, C5650N and all other
machines using the same underlying engine.
This toner cartridge is quite easy to rell using our
ReChargX™ RX161 Premium Print Toner Rell Kit.
Within these ReChargX™ RX161 Premium
Print Toner Rell Kit instructions, we will be
adding new toner, emptying the waste hopper
and replacing the cartridge reset chip.
Tools Required:
Flat-blade screwdriver
Step 1: Locate the Toner Hopper Plug
Orient the toner cartridge so the side with the
large blue lever is facing upward. The toner
hopper plug is located on the blue lever, shown
by the white arrow in gure 2.
Step 2: Remove the Toner Hopper Plug
The toner hopper plug has a small prong located
in the six o’clock position in this orientation,
shown by the arrow in gure 3a.
Figure 1: The Okidata 43324404 toner cartridge
í
Figure 2: The toner hopper plug
í
Figure 3a: The small prong on the toner hopper plug

TonerRellKits.com RechargX™ RX161 v1
Mon - Fri 8am - 8pm ET © 1995-2012 ReChargX™, EmptyX, TonerRellKits and TonerRellKits.com, the TonerRellKits logo, the 2012.05.24
800.527.3712 or 352.343.7533 ReChargX™ and EmptyX logos are trademarks owned by TonerRellkits, LLC. All rights reserved. Page 2 of 10
Step 2: Remove the Toner Hopper Plug
Continued
Wedge the small at-blade screwdriver under
the plastic prong (gure 3b).
Gently pry up on the prong to remove the toner
hopper plug, as shown in gure 3c.
NOTE: Do not attempt to ll the cartridge at
this point. It is critical that you perform the rell
process exactly as we have described it in these
instructions.
Step 3: Empty the Toner Hopper
NOTE: This step does not need to be repeated
the next time you rell.
NOTE: This toner cannot be used again as new
toner being added cannot mix with the OEM toner.
Failing to remove the toner before relling can
result in signicant hazing on some or all of the
printed page that will not go away.
Open the plastic bag, included in the ReChargX™
RX161 Toner Rell Kit, and lower the toner cartridge
so the toner hopper hole is in the bag.
Carefully pour out as much of the remaining
toner as possible (gure 4).
Shaking the toner cartridge up-and-down is
not recommended as it normally creates an
unnecessary toner mess.
If the toner stops owing, stand the cartridge
up and then lower the toner hopper hole into
the bag (gently tapping along the side of the
cartridge helps to keep the toner owing).
With the majority of the toner removed, seal
the bag, but do not throw it away as we will be
using the bag again later.
Figure 3b: Wedge the small at-blade screwdriver under
the plastic prong
Figure 3c: Gently pry up on the prong to remove the
toner hopper plug
Figure 4: Empty the toner hopper

TonerRellKits.com RechargX™ RX161 v1
Mon - Fri 8am - 8pm ET © 1995-2012 ReChargX™, EmptyX, TonerRellKits and TonerRellKits.com, the TonerRellKits logo, the 2012.05.24
800.527.3712 or 352.343.7533 ReChargX™ and EmptyX logos are trademarks owned by TonerRellkits, LLC. All rights reserved. Page 3 of 10
Step 4: Plug the Toner Hopper Hole
Place the plug over the hopper hole, being sure
the plastic prong lines up with the notch on
the side of the toner hopper hole, press rmly
around the entire perimeter of the plug to make
certain the plug sits securely inside the toner
hopper hole. The white arrow in gure 5 shows
the plastic prong tting snugly inside the notch
on the side of the toner hopper hole.
NOTE: Do not press hard enough for the plug
to go through the hole and into the cartridge.
Step 5: Orient the Toner Cartridge
Orient the toner cartridge so the large blue
lever is on the right side and the toner vents
are facing upward, shown in gure 6.
NOTE: It is very important you do not change the
orientation of the toner cartridge in the following
steps, unless told otherwise, or you risk causing
an unnecessary amount of toner mess.
Step 6: Locate the Waste Hopper
In this orientation the waste hopper is located
on the left side of the cartridge inside the circle
in the center of the toner cartridge, shown by
the black arrow in gure 7.
í
Figure 5: The plug rmly in place
Figure 6: Orient the toner cartridge
í
Figure 7: Locate the waste hopper hole

TonerRellKits.com RechargX™ RX161 v1
Mon - Fri 8am - 8pm ET © 1995-2012 ReChargX™, EmptyX, TonerRellKits and TonerRellKits.com, the TonerRellKits logo, the 2012.05.24
800.527.3712 or 352.343.7533 ReChargX™ and EmptyX logos are trademarks owned by TonerRellkits, LLC. All rights reserved. Page 4 of 10
Step 7: Open the Waste Hopper
In order to open the waste hopper, you must
turn the large blue lever so it is in the locked
position, like if you were to lock it into the drum
unit inside the printer. To do this press the small
blue tab, shown by the arrow in gure 8, and
rotate the lever forward, shown by the arrow in
gure 9.
When the lever is lifted into the locked position
both the waste hopper, shown by the arrow in
gure 10, and the toner vents open (gure 11).
NOTE: Be very careful when handling the toner
cartridge in the following steps. With the waste
hopper and toner vents open, it is very easy to
spill toner.
í
Figure 8: Blue tab that must be pressed to rotate the
lever
í
Figure 9: The lever having been rotated
í
Figure 10: The open waste hopper
Figure 11: The open toner vents

TonerRellKits.com RechargX™ RX161 v1
Mon - Fri 8am - 8pm ET © 1995-2012 ReChargX™, EmptyX, TonerRellKits and TonerRellKits.com, the TonerRellKits logo, the 2012.05.24
800.527.3712 or 352.343.7533 ReChargX™ and EmptyX logos are trademarks owned by TonerRellkits, LLC. All rights reserved. Page 5 of 10
Step 8: Empty the Waste Toner Hopper
NOTE: This toner cannot be used again as
paper dust, hair, staples and other small
items can accumulate in the waste hopper.
Note: There is no need to attempt to remove
every last bit of waste toner from the hopper,
just that which comes out easily.
Open the plastic bag, included in the ReChargX™
RX161 Toner Rell Kit, and lower the toner cartridge
so the toner hopper hole is in the bag.
Carefully pour out as much of the remaining
toner as possible (gure 12).
Shaking the toner cartridge up-and-down is
not recommended as it normally creates an
unnecessary toner mess.
If the toner stops owing, stand the cartridge
up and then lower the toner hopper hole into
the bag (gently tapping along the side of the
cartridge helps to keep the toner owing).
With the majority of the toner removed, seal
the bag and toss it in the garbage.
Step 9: Close the Waste Hopper
Close the waste hopper by moving the large
blue lever into the unlocked position like you
would if you were removing it from the drum
unit inside the printer, shown in gure 13.
Step 10: Clean the Area Around the Waste
Hopper Hole
After the waste toner has been removed from
the waste hopper, use the yellow/orange toner
grabber cloth to clean around the waste hopper
hole, as shown in gure 14, to lessen the risk
of a mess.
Figure 12: Empty the waste hopper
Figure 13: The tab in the unlocked position
Figure 14: Clean the area around the waste hopper hole

TonerRellKits.com RechargX™ RX161 v1
Mon - Fri 8am - 8pm ET © 1995-2012 ReChargX™, EmptyX, TonerRellKits and TonerRellKits.com, the TonerRellKits logo, the 2012.05.24
800.527.3712 or 352.343.7533 ReChargX™ and EmptyX logos are trademarks owned by TonerRellkits, LLC. All rights reserved. Page 6 of 10
Step 11: Locate the Toner Hopper Plug
Orient the toner cartridge so the side with the
large blue lever is facing upward. The toner
hopper plug is located on the blue lever, shown
by the white arrow in gure 15.
Step 12: Remove the Toner Hopper Plug
The toner hopper plug has a small prong located
in the six o’clock position in this orientation,
shown by the arrow in gure 16a.
Wedge the small at-blade screwdriver under
the plastic prong (gure 16b).
Gently pry up on the prong to remove the toner
hopper plug, as shown in gure 16c.
í
Figure 15: The toner hopper plug
í
Figure 16a: The small prong on the toner hopper plug
Figure 16b: Wedge the small at-blade screwdriver
under the plastic prong
Figure 16c: Gently pry up on the prong to remove the
toner hopper plug

TonerRellKits.com RechargX™ RX161 v1
Mon - Fri 8am - 8pm ET © 1995-2012 ReChargX™, EmptyX, TonerRellKits and TonerRellKits.com, the TonerRellKits logo, the 2012.05.24
800.527.3712 or 352.343.7533 ReChargX™ and EmptyX logos are trademarks owned by TonerRellkits, LLC. All rights reserved. Page 7 of 10
Step 13: Add ReChargX™ RX161 Premium
Print Toner to the Toner Hopper
Now we will ll the toner hopper with the
ReChargX™ RX161 Premium Print toner.
To ensure the toner ows freely from the bottle
during lling, make certain the cap is screwed
tightly on the bottle, then gently rock/shake
the bottle to free up the toner that may have
settled during shipping.
Next, remove the original cap from the bottle
and replace it with the plastic dispenser spout
from the ReChargX™ RX161 Toner Rell Kit.
To make the adding of the toner to the toner
hopper as easy and dust-free as possible, tilt
the end of the cartridge with the hole in it up
at a 45 degree angle and slowly angle the
dispenser spout on the bottle of toner to meet
up with the hole, as shown in gure 17.
Tilting the bottle up a little more will start the
toner owing into the toner hopper.
NOTE: If at any point the toner stops owing,
simply stand the bottle upright to loosen the
toner and start the pouring process over again
(resist temptation to squeeze the bottle as it
will make a spill or mess more likely).
Fill the hopper until it appears to be full or until
it appears toner no longer ows easily into the
hopper (any toner left in the bottle can easily
be added in the future after you have done a
considerable amount of printing).
Figure 17: Fill the toner hopper

TonerRellKits.com RechargX™ RX161 v1
Mon - Fri 8am - 8pm ET © 1995-2012 ReChargX™, EmptyX, TonerRellKits and TonerRellKits.com, the TonerRellKits logo, the 2012.05.24
800.527.3712 or 352.343.7533 ReChargX™ and EmptyX logos are trademarks owned by TonerRellkits, LLC. All rights reserved. Page 8 of 10
Step 14: Clean the Area Around the Toner
Hopper Hole Before Sealing
Unfold the yellow/orange “toner grabber” cloth
from the ReChargX™ RX161 Premium Print Toner
Rell Kit and stretch it along both dimensions (it
will stretch considerably in one dimension and
not the other). Stretching the yellow/orange
toner grabber cloth activates the toner retaining
substance that is embedded within the cloth.
You will be using this cloth to clean the outside of
the toner hopper hole to ensure the toner hopper
plug will be applied rmly to the cartridge, as shown
in gure 18.
NOTE: Only use the toner grabber cloth on the
exterior of the toner cartridge around the toner
hopper hole area. Do not use the cloth to clean
any of the internal components.
Step 15: Plug the Toner Hopper Hole
Place the plug over the hopper hole, being sure
the plastic prong lines up with the notch on the
side of the toner hopper hole, press rmly around
the entire perimeter of the plug to make certain
the plug sits securely inside the toner hopper
hole. The white arrow in gure 19 shows the
plastic prong tting snugly inside the notch on
the side of the toner hopper hole.
NOTE: Do not press hard enough for the plug
to go through the hole and into the cartridge.
Step 16: Orient the Toner Cartridge
Orient the toner cartridge so the blue lever is
on the left side and the toner vents are facing
away from you, as shown in gure 20.
Step 17: Locate the Reset Chip
The reset chip can be found inside the toner
cartridge just along the edge closest to you,
underneath a small plastic cover, shown by the
black ovals in gures 20 and 21.
Figure 18: Clean the area around the toner hopper
í
Figure 19: Plug the toner hopper hole
Figure 20: Orient the toner cartridge
Figure 21: Locate the reset chip
TonerRellKits.com RechargX™ RX161 v1
Mon - Fri 8am - 8pm ET © 1995-2012 ReChargX™, EmptyX, TonerRellKits and TonerRellKits.com, the TonerRellKits logo, the 2012.05.24
800.527.3712 or 352.343.7533 ReChargX™ and EmptyX logos are trademarks owned by TonerRellkits, LLC. All rights reserved. Page 9 of 10
Step 18: Remove the Plastic Cover
Wedge a small at-blade screwdriver near
the center of the plastic covering the reset
chip, between the cover and the cartridge
and roll the screwdriver to the right to cause
the left side of the cover to pop off, shown
in gure 22a.
Slide the at-blade screwdriver to the right
slowly to lift the right side of the cover (gure
22b). Be careful not to break the plastic cover
as we will need it later.
NOTE: If you do break the plastic cover save
it and we will use tape to hold it in place in a
later step.
Step 19: Remove the Reset Chip
With the plastic cover removed the reset chip
will simply fall out of the cartridge. Simply roll
the cartridge forward until the reset chip falls
out and then put the cartridge back in to its
current orientation (gure 23).
Step 20: Replacing the Cartridge
Reset Chip
After removing the old reset chip from the
toner cartridge, remove the RX161RC reset
chip from its protective plastic bag.
Slide the new reset chip into the toner cartridge
with the circuitry facing the outer edge of the
toner cartridge. Figure 24 shows the reset chip
with the side that should be facing outward
facing up.
Figure 22a: Roll the screwdriver to the right to make
the left side of the cover pop off
Figure 22b: Slide the at-blade screwdriver to the right
Figure 23: The old reset chip
Figure 24: The new reset chip

TonerRellKits.com RechargX™ RX161 v1
Mon - Fri 8am - 8pm ET © 1995-2012 ReChargX™, EmptyX, TonerRellKits and TonerRellKits.com, the TonerRellKits logo, the 2012.05.24
800.527.3712 or 352.343.7533 ReChargX™ and EmptyX logos are trademarks owned by TonerRellkits, LLC. All rights reserved. Page 10 of 10
Step 21: Replace the Plastic Cover
With the new reset chip installed, replace the
plastic cover that holds the reset chip in place,
as shown by the oval in gure 25.
NOTE: If the plastic cover broke during the
removal process a small piece of tape can be
used to hold it in place
Congratulations – You’re Finished!
Congratulations! You have successfully relled
your Okidata 43324404, 43324403 43324402
or 43324401 toner cartridge.
Enjoy your savings. You’ve just saved $77.04 by
relling your black toner cartridge and/or $125.04
by relling one of your color toner cartridges!
-End of ReChargX™ RX161 Instructions-
Customer Service / Technical Support
To further help your ReChargX™ RX161 Toner
Rell procedure, we are always ready, willing
and happy to answer any of your questions or
comments via technical support.
Please contact us at 352.343.7533 or
800.527.3712 M - F 8am - 8pm ET.
Additionally, you may also chat with us using
Live Help on our website (M - F 8am - 8pm ET)
or submit a technical support ticket at:
www.TonerRellKits.com/Tech_Support.php
Figure 25: Replace the plastic cover
Other TonerRefillKits Printer Accessories manuals

TonerRefillKits
TonerRefillKits ReChargX RX139 User manual

TonerRefillKits
TonerRefillKits ReChargX RX201A User manual

TonerRefillKits
TonerRefillKits ReChargX RX217 User manual

TonerRefillKits
TonerRefillKits brother ReChargX RX350 User manual

TonerRefillKits
TonerRefillKits ReChargX RX167 User manual

TonerRefillKits
TonerRefillKits ReChargX RX180 User manual

TonerRefillKits
TonerRefillKits ReChargX RX077 User manual

TonerRefillKits
TonerRefillKits ReChargX RX076 User manual

TonerRefillKits
TonerRefillKits ReChargX RX126 User manual

TonerRefillKits
TonerRefillKits ReChargX RX463X User manual