manuals.online logo
Brands
  1. Home
  2. •
  3. Brands
  4. •
  5. TonerRefillKits
  6. •
  7. Printer Accessories
  8. •
  9. TonerRefillKits ReChargX RX463X User manual

TonerRefillKits ReChargX RX463X User manual

TonerRellKits.com ReChargX™RX463X
9am - 5pm ET Monday - Friday © 1995-2022 ReChargX, EmptyX, TonerRellKits, TonerRellKits.com, the TonerRellKits logo, the V1.1 - 2022.01.07
800.527.3712 or 352.343.7533 ReChargX and EmptyX logos are trademarks owned by TonerRellkits.com, LLC. All rights reserved. Page 1 of 11
ReChargX™ RX463X Instructions
For Relling the Brother TN760 Toner Cartridge
Brother TN760 Toner Cartridge
ReChargX™ RX463X premium print toner rell kit
Tools needed to properly rell your cartridge using the
ReChargX™ RX463X toner rell kit
ReChargX™ RX463X Instructions: Overview
The Brother TN760 is the toner cartridge found in the
following Brother printer models (and all other Brother
machines using the same underlying print “engine”):
DCP-L2550dw HL-L2350dw
HL-L2390dw HL-2395dw
MFC-L2710dw MFC-L2750dw
HL-L2370dw (XL) MFC-L2750dw (XL)
With our ReChargX RX463X premium print toner rell
kit you will be able to rell your Brother TN760 toner
cartridge and perform the critical page-count gears
reset so your printer will recognize your relled toner
cartridge as new in only 5 - 10 minutes (even faster
once you have done the procedure at least one time).
Included in the ReChargX™ RX463X Kit
• ReChargX™ RX463X instructions
• ReChargX™ RX463X premium print toner
• Toner hopper plug
• Residual toner bag
• Toner bottle funnel spout
• “Toner grabber” cloth
• Work surface protector/newsprint
Required Tools
The toner rell process requires the use of the
following tools (available in our ReChargX™ Brother
tool kit):
• Small at-blade screwdriver
• Small phillips head screwdriver
TonerRellKits.com ReChargX™RX463X
9am - 5pm ET Monday - Friday © 1995-2022 ReChargX, EmptyX, TonerRellKits, TonerRellKits.com, the TonerRellKits logo, the V1.1 - 2022.01.07
800.527.3712 or 352.343.7533 ReChargX and EmptyX logos are trademarks owned by TonerRellkits.com, LLC. All rights reserved. Page 2 of 11
Step 1: Prepare your work surface
Included in the ReChargXTM RX463X premium print
toner rell kit is a sheet of newsprint (Figure 1).
The newsprint keeps your work surface clean and is
discarded after completing the relling process.
Unfold the sheet and lay it across your work surface.
Step 2: Positioning the toner cartrridge and drum
unit assembly
When you remove the cartridge assembly from your
printer the drum unit will still be attached.
Position the assembly on your work surface so the
handle on the front of the cartridge (B) is closest to
your chest and the green or blue tab (A) is in the
lower left-hand corner (Figure 2).
Step 3: Separate the toner cartridge from the
drum unit
Press and hold down the green or blue tab (A)
located in the left-hand corner of the unit while lifting
up on the handle (B) of the front of the toner cartridge
with your right hand to separate the toner cartridge
from the drum unit (Figure 3).
Lift the toner cartridge up and o󰀨 of the drum unit.
Note: Since the drum in the drum unit can be easily
scratched or damaged, put it out of harm’s way until
we are completely nished with the relling operation.
Step 4: Prepare the cartridge for relling
Position the cartridge on your work surface so the
handle (B) is facing toward you and the developer
roller (A) is facing away from you (Figure 4).
Figure 1: ReChargX™ newsprint work surface protector
B
Figure 2: Positioning the drum unit and toner cartridge assembly
Figure 3: Removing the toner cartridge from the drum unit
Figure 4: The toner cartridge in the correct orientation
AA
BB
AA
BB
AA
TonerRellKits.com ReChargX™RX463X
9am - 5pm ET Monday - Friday © 1995-2022 ReChargX, EmptyX, TonerRellKits, TonerRellKits.com, the TonerRellKits logo, the V1.1 - 2022.01.07
800.527.3712 or 352.343.7533 ReChargX and EmptyX logos are trademarks owned by TonerRellkits.com, LLC. All rights reserved. Page 3 of 11
Step 5: Protect the developer roller
The developer roller along the front of the cartridge is
critical to the image production process and can be
damaged even by a ngerprint.
To protect the developer roller during relling we will
cover it with a sheet of paper.
Start with a piece of paper in “portrait” orientation,
then fold the 8.5” X 11” sheet in half (folding the
top edge over to meet the bottom edge) leaving an
8.5” X 5.5” sheet.
With the cartridge face up, tape one of the long 8.5”
edges to the top of the cartridge (Figure 5-1).
Carefully fold the paper over the developer roller
(again, being careful not to touch the developer roller
with your ngers) and tape the other edge of the
paper to the bottom of the cartridge (Figure 5-2).
Return the cartridge to its original orientation to
continue (Figure 5-3).
Step 6: Remove the cartridge end cap
Position the cartridge on your work surface so the
black plastic end cap (which covers the internal gears
of the cartridge) is facing upward and the handle of
the cartridge is on the left-hand side.
You now have access to the two screws which
secure the end cap to the cartridge.
Use a phillips-head screwdriver to remove the two
phillips-head screws (Figures 6-1 and 6-2) and set
them aside for later use.
Note: Only remove the two screws shown being
removed in gures 6-1 and 6-2.
Figure 5-1: Protecting the developer roller (top-side)
Figure 5-2: Protecting the developer roller (bottom-side)
Figure 5-3: The cartridge developer roller protected by the paper
Figure 6-1: Removing the end cap screws (screw #1 of 2)
Figure 6-2: Removing the end cap screws (screw #2 of 2)
TonerRellKits.com ReChargX™RX463X
9am - 5pm ET Monday - Friday © 1995-2022 ReChargX, EmptyX, TonerRellKits, TonerRellKits.com, the TonerRellKits logo, the V1.1 - 2022.01.07
800.527.3712 or 352.343.7533 ReChargX and EmptyX logos are trademarks owned by TonerRellkits.com, LLC. All rights reserved. Page 4 of 11
After removing the two phillips-head screws, lift the
end cap o󰀨 the cartridge (Figure 6-3).
Put the end cap o󰀨 to the side for later re-installation.
Step 7: Remove the white drive gear
Remove the white drive gear from the end of the
toner cartridge (Figure 7).
Set the drive gear aside for later re-installation.
Step 8: Remove the cartridge toner hopper plug
Hold the toner cartridge upright and use the edge of
the at-blade screwdriver to carefully pry and lift the
plug up and out of the cartridge (Figure 8).
Figure 6-3: Remove the cartridge end cap
Figure 7: Remove the drive gear from the cartridge
Figure 8: Removing the cartridge toner hopper plug
TonerRellKits.com ReChargX™RX463X
9am - 5pm ET Monday - Friday © 1995-2022 ReChargX, EmptyX, TonerRellKits, TonerRellKits.com, the TonerRellKits logo, the V1.1 - 2022.01.07
800.527.3712 or 352.343.7533 ReChargX and EmptyX logos are trademarks owned by TonerRellkits.com, LLC. All rights reserved. Page 5 of 11
Figure 9: Removing the remaining Brother OEM toner from
the cartridge
Figure 10: Relling the toner cartridge
Step 9: Remove the remaining Brother toner
Prior to adding new ReChargX toner we must remove
any remaining Brother OEM toner (this step is only
necessary on the rst rell. If you have already
relled your cartridge at least once with ReChargX
toner move to Step 10.) Failure to remove the
Brother toner will result in hazing, splotching,
smudging and/or other print defects.
Turn the toner cartridge on its end allowing the toner
hopper to empty into the bag. Periodically tapping on
the cartridge or standing the cartridge up and then
re-starting the emptying procees will help (Figure 9).
After emptying, set the cartridge aside and carefully
zip the bag closed to enclose the waste toner.
Discard the residual toner bag and waste toner.
Step 10: Add the ReChargX™ RX463X premium
print toner to the toner hopper
Before starting the toner hopper relling process
(and after verifying the bottle cap is screwed rmly in
place), gently rock or shake the bottle back-and-forth
several times to ensure the toner will ow smoothly
(the toner can settle and compact during shipping).
Remove the original cap from the toner bottle and
attach the clear, plastic dispenser spout from the
ReChargX™ RX463X premium print toner rell kit.
For the easiest, quickest and most mess-free relling,
tilt the end of the cartridge up with the toner hopper
hole at a 45 degree angle and slowly angle the
dispenser spout on the bottle of toner to meet up
with the hole (Figure 10). Tilting the bottle up a little
more will start the toner owing into the toner hopper.
Pour the toner slowly. RESIST ALL TEMPTATION
TO SQUEEZE THE BOTTLE to increase the ow
of toner. The likelihood of toner escaping under
pressure greatly increases when the bottle is
squeezed while lling the cartridge. If the toner
stops owing, return the bottle to the upright
position and restart the lling process.
Fill the cartridge until the hopper appears to be full. If
any toner remains in the bottle, it can be used at a
later date after you have completed a signicant
amount of printing.
TonerRellKits.com ReChargX™RX463X
9am - 5pm ET Monday - Friday © 1995-2022 ReChargX, EmptyX, TonerRellKits, TonerRellKits.com, the TonerRellKits logo, the V1.1 - 2022.01.07
800.527.3712 or 352.343.7533 ReChargX and EmptyX logos are trademarks owned by TonerRellkits.com, LLC. All rights reserved. Page 6 of 11
Figure 11: Stretching the “toner grabber” cloth
Figure 12: Cleaning the cartridge using the toner grabber cloth
Figure 13: Installing the plug in the cartridge
Step 11: Activate the toner grabber cloth
Take the orange toner grabber cloth from the
ReChargX™ RX463X premium print toner rell kit
and stretch it along both dimensions; the cloth will
stretch considerably more in one dimension and far
less in the other (Figure 11). Stretching the toner
grabber cloth activates the toner retaining substance
embedded within the cloth which gives it the ability to
pick up and retain toner.
Note: Only use the toner grabber cloth on the exterior
of the cartridge. Do not use the cloth to clean any of
the internal components or the drum as the toner
grabber will leave a residue on those critical image
production components which will a󰀨ect the quality of
the print output.
Step 12: Clean the area around the toner hopper
opening
Using the toner grabber cloth, rmly wipe around the
area of the toner hopper hole (Figure 12).
You may also want to use the cloth to clean any toner
left on the toner bottle dispenser spout and your
immediate work space.
Step 13: Install the toner hopper plug
Insert the black plug from the ReChargX™ RX463X
toner rell kit into the hole in the toner cartridge. Press
rmly around the plug perimeter until the plug is
seated completely to ensure a good seal (Figure 13).
TonerRellKits.com ReChargX™RX463X
9am - 5pm ET Monday - Friday © 1995-2022 ReChargX, EmptyX, TonerRellKits, TonerRellKits.com, the TonerRellKits logo, the V1.1 - 2022.01.07
800.527.3712 or 352.343.7533 ReChargX and EmptyX logos are trademarks owned by TonerRellkits.com, LLC. All rights reserved. Page 7 of 11
Figure 14: Placing the drive gear onto the cartridge
Figure 15: The drive gear in its reset position
Figure 16-1: The cartridge end cap with the white reset gear
Step 14: Re-installing the white drive gear
Retrieve the white drive gear we previously removed
and set aside.
Place that white drive gear onto the post to the left of
the toner hopper plug (Figure 14).
Step 15: Positioning the white drive gear
The white drive gear must be positioned correctly in
order to engage the reset gear (failing to do this, or
failing to do it properly will not “tell” the printer a “new”
(completely full) cartridge has been inserted resulting
in a false “toner low” or “replace cartridge” message.)
Turn the drive gear counter clockwise until the gear’s
inner indent/notches face down to the right roughly in
the 5 o’clock position (Figure 15).
With this portion of the ReChargX toner rell process
completed, we now can set the cartridge aside and
retrieve the end cap to complete the reset steps.
Step 16: Adjust the cartridge reset gear
Hold the cartridge end cap with the reset gear and
metal spring facing toward you (Figure 16-1).
TonerRellKits.com ReChargX™RX463X
9am - 5pm ET Monday - Friday © 1995-2022 ReChargX, EmptyX, TonerRellKits, TonerRellKits.com, the TonerRellKits logo, the V1.1 - 2022.01.07
800.527.3712 or 352.343.7533 ReChargX and EmptyX logos are trademarks owned by TonerRellkits.com, LLC. All rights reserved. Page 8 of 11
To prevent the gear from falling o󰀨 of the end cap,
hold the reset gear in place by putting your nger
over the post in the center of the gear on the back of
the end cap (Figure 16-2).
After turning the end cap over, in the following steps
you will use the tip of your nger to rotate the gear
counterclockwise by pushing against the raised white
ridge on the top of the gear while keeping the reset
gear in place with your other hand’s nger on the
back of the end cap (Figure 16-3).
Use the tip of your nger to push counterclockwise
against the raised white plastic ridge on the face of
the reset gear while holding the back of the reset
gear with your other hand’s nger (Figure 16-4).
Rotate the reset gear counterclockwise (Figure 16-5).
Figure 16-2: Holding the reset gear in place on the end cap
Figure 16-3: Raised ridge on the top of the reset gear
Figure 16-4: Turning the reset gear into place
Figure 16-5: Turning the reset gear counterclockwise
TonerRellKits.com ReChargX™RX463X
9am - 5pm ET Monday - Friday © 1995-2022 ReChargX, EmptyX, TonerRellKits, TonerRellKits.com, the TonerRellKits logo, the V1.1 - 2022.01.07
800.527.3712 or 352.343.7533 ReChargX and EmptyX logos are trademarks owned by TonerRellkits.com, LLC. All rights reserved. Page 9 of 11
Use your nger to continue rotating the reset gear
counterclockwise until the gear will turn no farther
(Figure 16-6).
Step 17: Reinstalling the cartridge end cap
While continuing to hold the gear in the proper
position (do not release the reset gear as the tension
from the spring will cause it to rotate in the opposite
direction) place the end cap back onto the cartridge
while lining up the gear, post and screw openings
(Figure 17-1).
Once the end cap has been lowered in place and
seated ush on the end of the cartridge, we are ready
to re-install the two screws (Figure 17-2).
Figure 16-6: Rotating the gear the rest of the way (nal position)
Figure 17-1: Placing the end cap onto the toner cartridge
Figure 17-2: Securing the end cap to the toner cartridge
TonerRellKits.com ReChargX™RX463X
9am - 5pm ET Monday - Friday © 1995-2022 ReChargX, EmptyX, TonerRellKits, TonerRellKits.com, the TonerRellKits logo, the V1.1 - 2022.01.07
800.527.3712 or 352.343.7533 ReChargX and EmptyX logos are trademarks owned by TonerRellkits.com, LLC. All rights reserved. Page 10 of 11
We will re-install the 1st screw in the lower righthand
hole in the end cap (Figure 17-3)
We will next re-install the 2nd screw in the upper
lefthand hole in the end cap (Fig. 17-4)
Step 18: Remove the protective paper
Remove the protective paper (Figure 18) and make
certain you do not accidentally touch the developer
roller once the paper has been removed.
Figure 17-3: Re-installing the rst end cap screw
Figure 17-4: Re-installing the second end cap screw
D
Figure 18: Removing the protective paper
TonerRellKits.com ReChargX™RX463X
9am - 5pm ET Monday - Friday © 1995-2022 ReChargX, EmptyX, TonerRellKits, TonerRellKits.com, the TonerRellKits logo, the V1.1 - 2022.01.07
800.527.3712 or 352.343.7533 ReChargX and EmptyX logos are trademarks owned by TonerRellkits.com, LLC. All rights reserved. Page 11 of 11
Step 19: Reinstall the cartridge into the drum unit
Reinstall the cartridge onto the drum unit (making
certain it clicks into place). Place the entire assembly
back into the printer (Figure 19).
Note: If your printer did not reset or recognize the
cartridge, repeat the gear reset procedure.
Congratulations - You are nished!
You have successfully relled your Brother TN-760
cartridge saving over 70% in the process versus
“o󰀩ce superstore” prices.
- End of ReChargX™ RX463X Instructions -
TonerRellKits.com technical support and
customer 100% satisfaction pledge
Our number one goal is to earn your long-term
business. If you are not 100% satised with every
aspect of your interaction with our company our
web site, ordering process, delivery process, relling
process, instructions, tools, components, etc.,
packaging, quality of the print output, customer
service, technical support or anything else...
We need to hear from you NOW so we can x it!
We are here to help Monday through Friday 9am to
5pm ET (except for legal holidays) and are always
ready, willing and happy to answer any of your
questions or comments via customer service or
technical support.
By telephone, please call us at 352.343.7533 or
800.527.3712 (800LASER12). We are also available
via the “Live Chat” button on every page of our web
site during the same hours.
You may also submit a technical support ticket after
hours by navigating to:
https://TonerRellKits.com/tech_support_form/
Figure 19: Combination toner cartridge and drum unit ready for use

Other TonerRefillKits Printer Accessories manuals

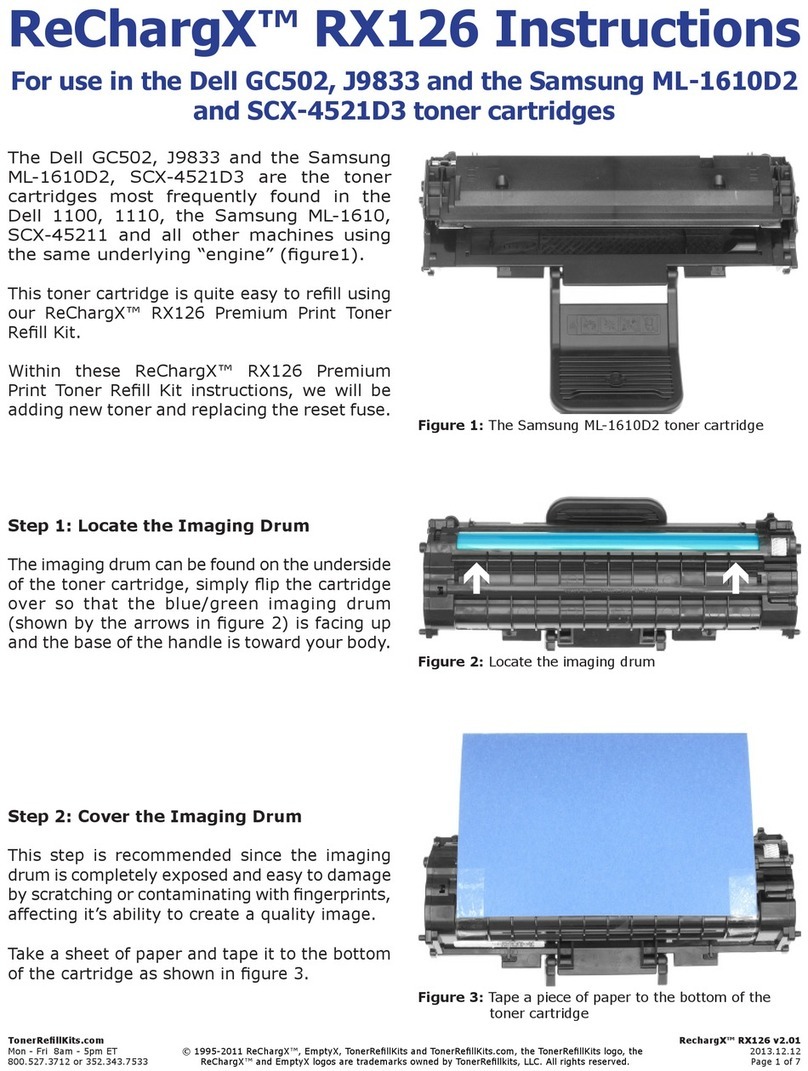
TonerRefillKits ReChargX RX126 User manual

TonerRefillKits

TonerRefillKits ReChargX RX126 User manual

TonerRefillKits ReChargX RX161 User manual

TonerRefillKits

TonerRefillKits ReChargX RX161 User manual

TonerRefillKits ReChargX RX180 User manual

TonerRefillKits

TonerRefillKits ReChargX RX180 User manual

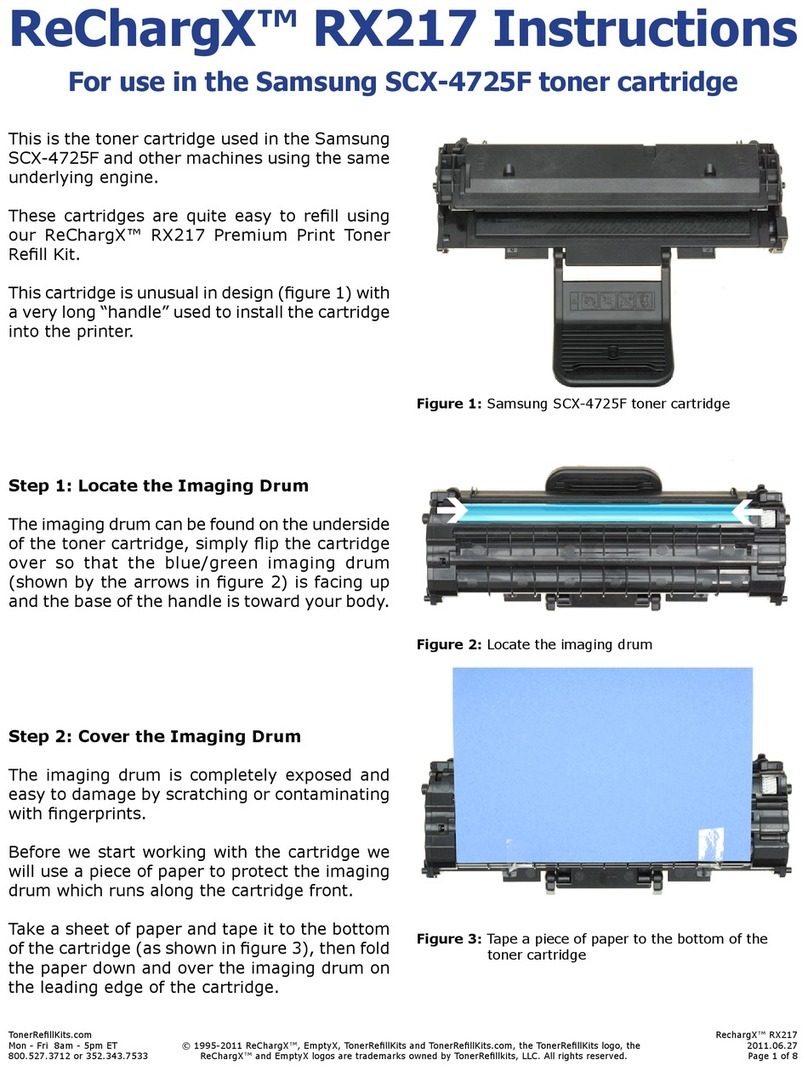
TonerRefillKits ReChargX RX217 User manual

TonerRefillKits

TonerRefillKits ReChargX RX217 User manual

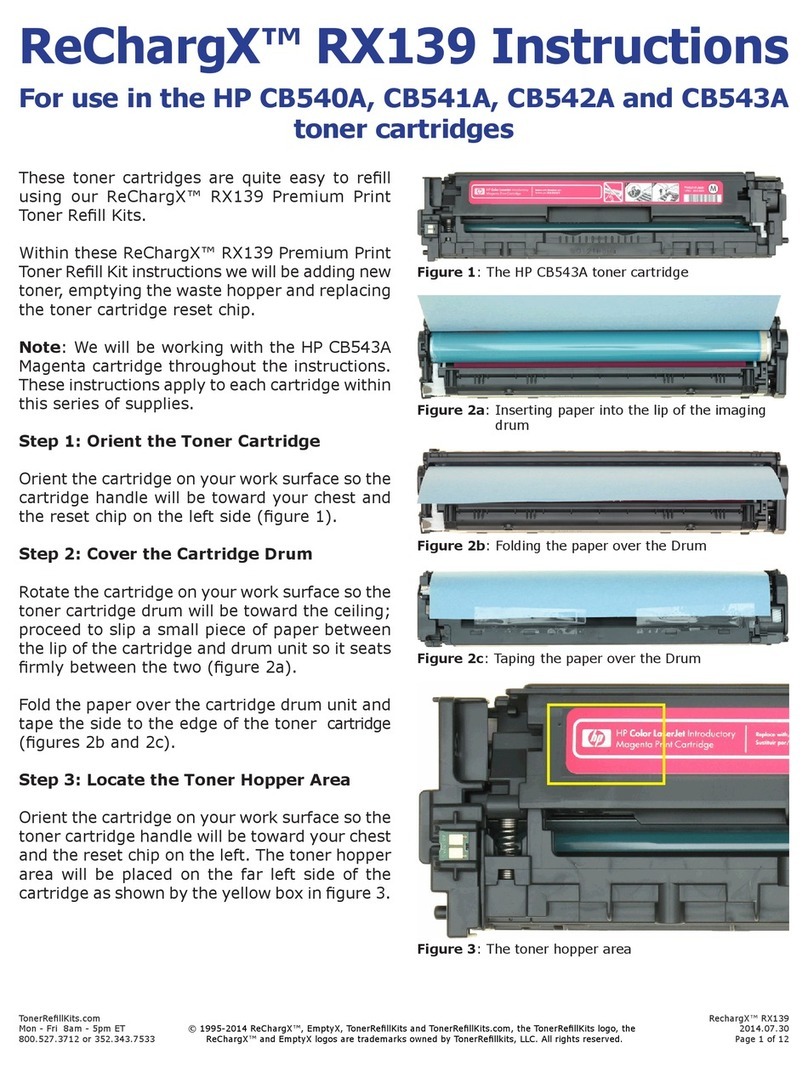
TonerRefillKits ReChargX RX139 User manual

TonerRefillKits

TonerRefillKits ReChargX RX139 User manual

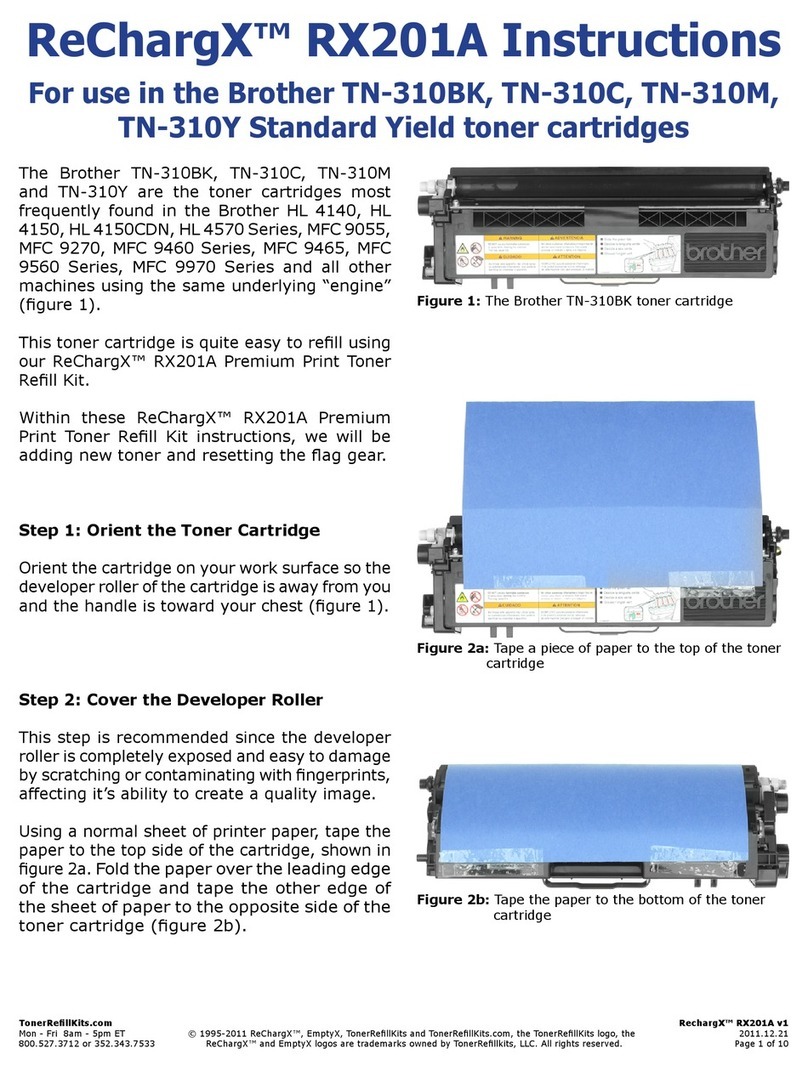
TonerRefillKits ReChargX RX201A User manual

TonerRefillKits

TonerRefillKits ReChargX RX201A User manual

TonerRefillKits brother ReChargX RX350 User manual

TonerRefillKits

TonerRefillKits brother ReChargX RX350 User manual

TonerRefillKits ReChargX RX076 User manual

TonerRefillKits

TonerRefillKits ReChargX RX076 User manual

TonerRefillKits ReChargX RX167 User manual

TonerRefillKits

TonerRefillKits ReChargX RX167 User manual

TonerRefillKits ReChargX RX077 User manual

TonerRefillKits

TonerRefillKits ReChargX RX077 User manual

Popular Printer Accessories manuals by other brands

Fujitsu FTP-632MCL101 overview

Fujitsu

Fujitsu FTP-632MCL101 overview

Canon iR Security Kit-A2 INSTALLATION PROCEDURE

Canon

Canon iR Security Kit-A2 INSTALLATION PROCEDURE

Intermec EasyCoder 601XP reference guide

Intermec

Intermec EasyCoder 601XP reference guide

Epson T614800 Material safety data sheet

Epson

Epson T614800 Material safety data sheet

Canon DADF-H1 Service manual

Canon

Canon DADF-H1 Service manual

Epson T549300 Material safety data sheet

Epson

Epson T549300 Material safety data sheet

Utax DF 420 Service manual

Utax

Utax DF 420 Service manual

Canon NP-1500 instructions

Canon

Canon NP-1500 instructions

Primera Signature II Operator instructions

Primera

Primera Signature II Operator instructions

Fiery Fiery EX12 Color server Job management guide

Fiery

Fiery Fiery EX12 Color server Job management guide

Kyocera PF-760 Service manual

Kyocera

Kyocera PF-760 Service manual

Sharp AR-P15 Service guide

Sharp

Sharp AR-P15 Service guide

Canon Super G3 2nd Line FAX Board-AM1 Service manual

Canon

Canon Super G3 2nd Line FAX Board-AM1 Service manual

AGFA ANTURA WASH UV74A user manual

AGFA

AGFA ANTURA WASH UV74A user manual

Xerox Legacy 4112 Specifications

Xerox

Xerox Legacy 4112 Specifications

Xerox C11 - DocuPrint Color Inkjet Printer installation guide

Xerox

Xerox C11 - DocuPrint Color Inkjet Printer installation guide

Epson T511201 Material safety data sheet

Epson

Epson T511201 Material safety data sheet

HP CF283X Technical guide

HP

HP CF283X Technical guide

manuals.online logo
manuals.online logoBrands
  • About & Mission
  • Contact us
  • Privacy Policy
  • Terms and Conditions

Copyright 2025 Manuals.Online. All Rights Reserved.