TonerRellKits.com RechargX™RX139
Mon-Fri8am-5pmET©1995-2014ReChargX™,EmptyX,TonerRellKitsandTonerRellKits.com,theTonerRellKitslogo,the 2014.07.30
800.527.3712or352.343.7533ReChargX™andEmptyXlogosaretrademarksownedbyTonerRellkits,LLC.Allrightsreserved. Page9of12
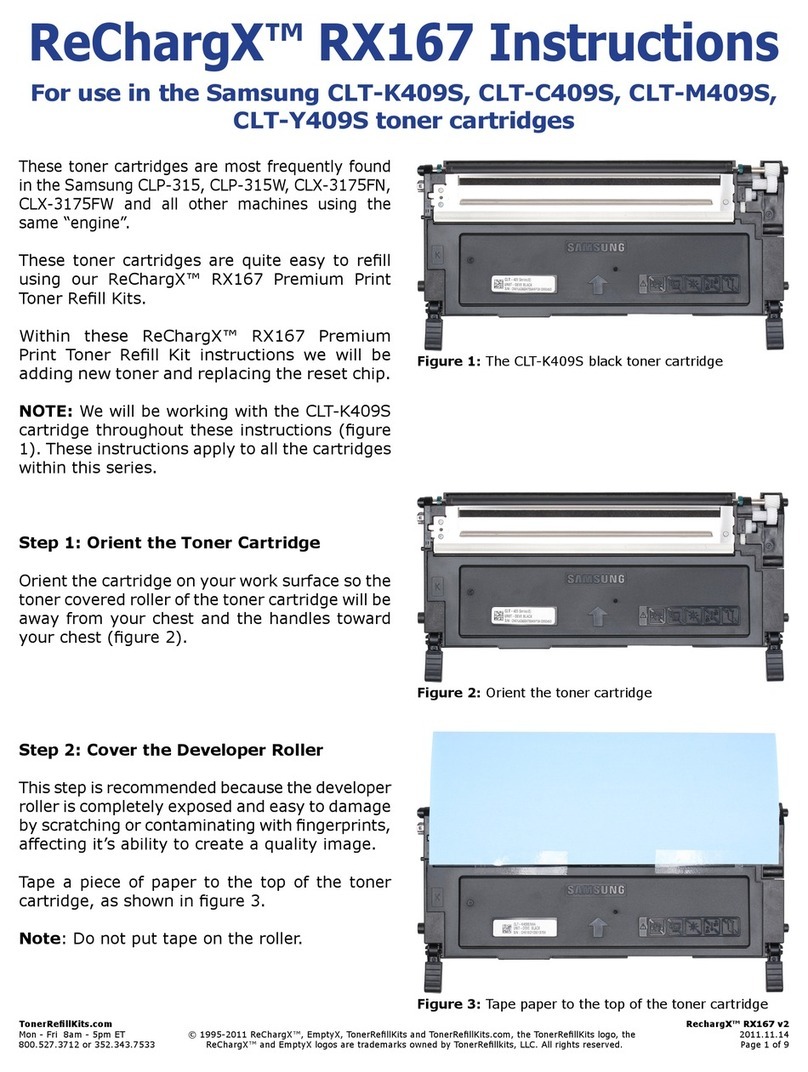
Step 20: Empty the Waste Hopper
Inthisstepwewillremoveanytonerthatisstill
inthewastehopper.
Priortoemptyingthewastehopper,locatethe
newsprint, included in the ReChargX™ RX139
TonerRellKit,andfoldthepaperbothwaysto
createaridgeinthecenterfortonertocollect
duringtheemptyingprocess.
Slowly turn the toner cartridge over placing
theholewithinaninchortwoofsurfaceofthe
newsprint.
Carefullypouroutasmuchofthewastetoner
aspossible(gure20).
Shakingthetonercar-
tridgeup-and-downisnotrecommendasit
normallycreatesanunnecessarytonermess.
Ifthetonerstopsowing,standthe cartridge
upand thenre-lowerthe holeoverthe paper
(gentlytappingalongthesideofthecartridge
helpstokeepthetonerowing).
With the majority of the toner removed,
carefully fold the newsprint over and tape
eachend toprevent accidentalspills while
discardingthenewsprintandtoner.
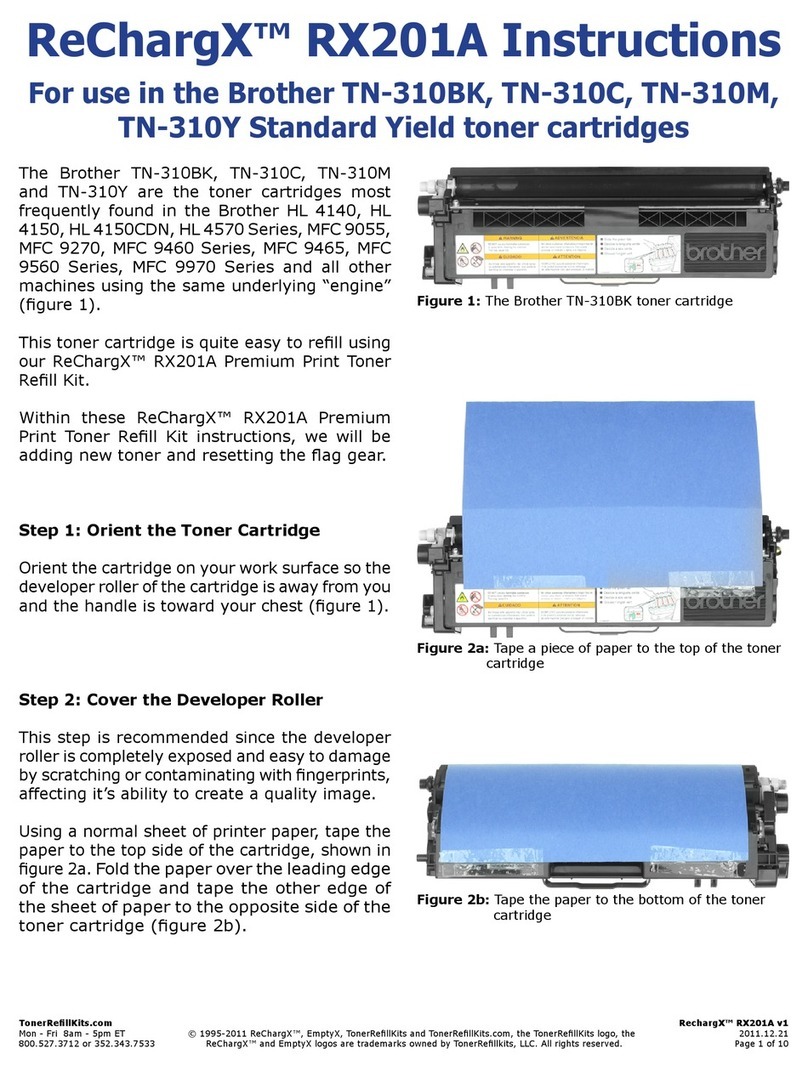
Step 21: Clean the Area Around the Waste
Hopper Hole Before Sealing
Unfoldtheorange“tonergrabber”clothfromthe
ReChargX™ RX139 Premium Print Toner Rell
Kitandstretchitalongbothdimensions(itwill
stretchconsiderablyinonedimensionandnot
theother).
Stretching the orange toner grabber cloth
activatesthetoner retainingsubstance that
isembeddedwithinthecloth.
Youwillbeusingthisclothtocleantheoutside
ofthe wastehopper holeto ensure theRe-
ChargX™leak-proofsealwillbeappliedrmly
tothecartridge(gure21).
Figure 20:EmptytheWasteHopper
Figure 21:Cleaningtheareaaroundthewastehole
