Tool it BTW 6 V User manual

www.gys.fr
V1 - 06/12/2022
FR 02-09 / 58-62
BTW 6/12 V
TESTEUR DE BATTERIE
BATTERY TESTER
BATTERIE-TESTER
PROBADOR DE BATERÍA
ТЕСТЕР БАТАРЕЙ
ACCU TESTER
TESTER DI BATTERIA
EN 10-17 / 58-62
DE 18-25 / 58-62
ES 26-33 / 58-62
RU 34-41 / 58-62
NL 42-49 / 58-62
IT 50-57 / 58-62
WIRELESS
BATTERY TESTER

2
Manuel
d’utilisation BTW 6/12 V
Notice originale
PRÉSENTATION DU PRODUIT
• Test batterie
- Test état de santé de la batterie
- Batterie de test CCA
- Test résistance interne de la
batterie
- Test tension batterie et état de
charge
• Surveillance de la forme d’onde
• Test de démarrage
• Test de l’alternateur.
CARACTÉRISTIQUES TECHNIQUES
Tension d’entrée : CC 4.5 V-16 V
Température de fonctionnement : -40-80°C
(-40-170°F)
Boîtier : IP65
Fonction : Protection intégrée contre les
courts-circuits et les inversions de polarité.
RACCORDEMENT
Brancher la pince rouge à la borne positive
de la batterie et la pince noire à la borne
négative de la batterie. La LED du testeur
devient rouge.

FR
3
Manuel
d’utilisation BTW 6/12 V
Notice originale
FONCTIONNEMENT DE L’APPLICATION
Télécharger l’application via le QR code
situé en 1ère page de cette notice puis
ouvrir l’application.
Connexion au Bluetooth
Lors de la 1ère utilisation, cliquer sur
dans le coin supérieur gauche de l’écran,
le logo est gris, indiquant qu’aucun appareil
n’est connecté.
Toucher «KONNWEI» pour se connecter.
Le logo devient bleu, indiquant que
l’appareil est connecté. La LED sur le
testeur devient bleue également.

4
Manuel
d’utilisation BTW 6/12 V
Notice originale
Connexion automatique :
Une fois la 1ère
connexion eectuée, la connexion devient
automatique dès l’ouverture de l’application
et à partir du moment où le testeur est bran-
ché sur une batterie (> 4.5 V).
Créer une nouvelle batterie
Appuyer sur le bouton en haut à droite
de l’écran.
La fenêtre
Gestion de la Batterie
s’ouvre.
Elle répertorie toutes les batteries déjà créées.
Toucher pour ajouter une
nouvelle batterie.
2
3
4
1
1. Entrer le nom, la
tension nominale et la
position de la batterie.
2.
Type de batterie :
batterie de moto,
batterie ordinaire,
batterie plate AGM,
batterie d’enroulement
AGM, batterie GEL.
Le modèle, le type,
la norme, la capa-
cité de la batterie
et le courant de
démarrage sont gé-
néralement indiqués
sur l’étiquette de la
batterie.
3.
Norme de batterie :
Vérier la norme de
la batterie.
4.
Entrer la valeur
de courant CCA
comprise entre 10 et
2000.

FR
5
Manuel
d’utilisation BTW 6/12 V
Notice originale
5.
Enn cliquer sur .
Sélectionner la batterie à tester
Toucher la batterie à tester pour la sélec-
tionner. L’icône permet de savoir quelle
batterie est sélectionnée
TEST BATTERIE
Toucher l’onglet et lancer le test de
la batterie en appuyant sur «TEST».
Avant d’eectuer un test standard,
assurez-vous que le moteur est éteint.
Le Test Batterie est constitué de 4 tests :
1. Test état de santé de la batterie
2. Batterie de test CCA
3. Test résistance interne de la batterie
4. Test tension batterie et état de charge

6
Manuel
d’utilisation BTW 6/12 V
Notice originale
1
4
2
3
FORME D’ONDE
Surveillance de la forme d’onde de la ten-
sion de la batterie.
Toucher l’onglet et lancer le test de
la batterie en appuyant sur .

FR
7
Manuel
d’utilisation BTW 6/12 V
Notice originale
TEST DE DÉMARRAGE
Toucher l’onglet et lancer le test de
la batterie en appuyant sur .
Suivre les indications pour obtenir le résultat.
Le moteur de la voiture doit être
démarré pendant le test.

8
Manuel
d’utilisation BTW 6/12 V
Notice originale
TEST DE L’ALTERNATEUR
Test du système de charge de la batterie.
Ne pas éteindre le moteur pendant le
test de charge.
Partager le rapport de test de la batterie
À tout moment lors d’un test,
toucher pour accéder à la
fenêtre de partage.
Il est alors possible de parta-
ger le test réalisé par mail :
- sous forme de capture
d’écran.
- sous forme de texte.
Possibilité de partager tous les tests réalisés en
touchant «Setting» puis «Share Report».

FR
9
Manuel
d’utilisation BTW 6/12 V
Notice originale
CONDITION DE GARANTIE
La garantie couvre les défauts de fabrication
pendant 2 ans à compter de la date d’achat
(pièces et main d’œuvre).
La garantie ne couvre pas :
• Dommages de transport.
• Usure normale des pièces (ex. : câbles,
colliers, etc..).
• Les dommages dus à une mauvaise
utilisation (erreur d’alimentation, chute de
matériel, démontage).
• Défaillances liées à l’environnement (pol-
lution, rouille, poussière).
En cas de panne, retourner l’appareil à
votre distributeur avec :
- La preuve d’achat (ticket de caisse etc...)
- Une description du défaut signalé

10
Operating
manual BTW 6/12 V
Translation of the original
instructions
PRODUCT OVERVIEW
• Battery test
- Battery health test
- Battery CCA test
- Battery internal resistance test
- Battery voltage and state-of-
charge test
• Waveform monitoring
• Start-up test
• Alternator test.
TECHNICAL SPECIFICATIONS
Input voltage: CC 4.5 V-16 V
Operating temperature: -40-80°C (-40-
170°F)
Casing: IP65
Function: This unit has integrated short cir-
cuit and reverse polarity protection.
CONNECTION
Connect the red clamp to the positive bat-
tery terminal and the black clamp to the
negative battery terminal. The LED on the
tester will turn red.

EN
11
Operating
manual BTW 6/12 V
Translation of the original
instructions
OPERATION OF THE APPLICATION
Download the software via the QR code
located on the rst page of this manual,
and open the application.
Connecting to Bluetooth
On rst use, click on in the upper left cor-
ner of the screen; the icon is grey, which
indicates that no device is connected
Touch «KONNWEI» to connect.
The logo will turn blue, indicating that
the device is connected. The LED on the
tester will also turn blue.

12
Operating
manual BTW 6/12 V
Translation of the original
instructions
Automatic connection:
After the initial
connection is successful, the link is made
automatically as soon as the application
is opened and the tester is connected to a
battery (>4.5 V).
Setting up a dierent battery
Press the button on the top right of the
screen.
The
Battery Management
window will open.
It will list all the batteries that have already
been added.
Touch to create a new battery.
2
3
4
1
1. Enter the name,
voltage rating, and
location of the battery.
2.
Battery type:
motorbike battery,
regular lead-acid bat-
tery, AGM at battery,
AGM spiral battery,
GEL battery.
The model, type,
standard, capacity,
and starting current
are usually indicated
on the battery label.
3.
Battery standard:
Check the battery
standard.
4.
Enter the CCA cur-
rent value between
10 and 2000.

EN
13
Operating
manual BTW 6/12 V
Translation of the original
instructions
5.
Then click on to nish.
Selecting the battery to be tested
Tap the battery that you want to test from
the list. The icon shows which battery is
currently selected
BATTERY TEST
Touch the icon and start the battery
test by pressing «TEST».
Before performing a test, ensure that
the engine is switched o.
The Battery Test consists of 4 dierent
checks:
1. Battery health test
2. Battery CCA test
3. Battery internal resistance test
4. Battery voltage and state-of-charge test

14
Operating
manual BTW 6/12 V
Translation of the original
instructions
1
4
2
3
WAVEFORM
Monitoring the battery voltage waveform.
Touch the icon and start the battery
test by pressing .

EN
15
Operating
manual BTW 6/12 V
Translation of the original
instructions
START-UP TEST
Touch the icon and start the battery
test by pressing .
Follow the instructions to get the results.
The car’s engine must be
started during testing.

16
Operating
manual BTW 6/12 V
Translation of the original
instructions
ALTERNATOR TEST
Testing the battery charging system.
Do not switch o the engine during
the load test.
Share the battery test report
At any time during a test,
touch to access the sha-
ring window.
The results of the test can
then be shared by email:
- as a screenshot.
- in text format.
You can share all test reports by selecting
«Setting» and then «Share Report».

EN
17
Operating
manual BTW 6/12 V
Translation of the original
instructions
WARRANTY CONDITIONS
The warranty covers any defects or manu-
facturing faults for two years from the date of
purchase (parts and labour).
The warranty does not cover:
• Transport damage.
• Normal wear and tear of parts (e.g. :
cables, clamps, etc).
• Damage due to misuse (incorrect power
supply, damage caused by dropping equip-
ment, dismantling).
• Environmental failures (pollution, rust,
dust).
In the event of a failure, please return the
appliance to your distributor with:
- Proof of purchase (receipt, etc.)
- A description of the reported fault

18
Betriebsanleitung BTW 6/12 V
Übersetzung der
Originalbetriebsanleitung
PRODUKTPRÄSENTATION
• Test Batterie
- Test Funktionszustand der
Batterie
- CCA-Testbatterie
- Test interner Widerstand der
Batterie
- Test Batteriespannung und
Ladezustand
• Überwachung der Wellenform
• Starttest
• Lichtmaschinentest.
TECHNISCHE EIGENSCHAFTEN
Eingangsspannung: CC 4,5 V-16 V
Betriebstemperatur: -40-80 °C (-40-170 °F)
Gehäuse: IP65
Funktion: Geschützt gegen Kurzschluss
und Verpolung.
ANSCHLUSS
Verbinden Sie die rote Klemme mit dem posi-
tiven Anschluss der Batterie, und die schwar-
ze Klemme mit dem negativen Anschluss der
Batterie. Die LED des Testgeräts wird rot.

DE
19
Betriebsanleitung BTW 6/12 V
Übersetzung der
Originalbetriebsanleitung
BETRIEB DER ANWENDUNG
Laden Sie die App über den QR-Code auf
der ersten Seite dieser Anleitung herunter
und önen Sie dann die App.
Bluetooth-Anschluss
Klicken Sie bei der ersten Verwendung auf
oben rechts im Bildschirm. Das Logo bleibt
grau solange kein Gerät verbunden ist.
Berühren Sie „KONNWEI“ für die Verbindung.
Das Logo wird blau sobald das Gerät ver-
bunden ist. Ebenso wird die LED auf dem
Testgerät blau.
Automatische Verbindung:
Nach der 1. Ver-
bindung wird die Verbindung automatisch
hergestellt, sobald die Anwendung geönet
wird und das Testgerät an eine Batterie (>
4,5 V) angeschlossen ist.

20
Betriebsanleitung BTW 6/12 V
Übersetzung der
Originalbetriebsanleitung
Eine neue Batterie erstellen
Drücken Sie auf die Taste oben rechts im
Bildschirm.
Das Fenster
Verwaltung der Batter
ie önet
sich.
Darin werden alle schon erstellten Batterien
aufgelistet.
Berühren Sie , um eine
neue Batterie hinzuzufügen.
2
3
4
1
1. Geben Sie den
Namen, die Nennspa-
nnung und die Posi-
tion der Batterie ein.
2.
Batterietyp:
Motorbatterie,
gewöhnliche Batterie,
AGM-Flachbatterie,
Spiralbatterie,
GEL-Batterie.
Modell und Typ,
Standard, Batte-
riekapazität und
Startstrom sind in
der Regel auf dem
Etikett der Batterie
angegeben.
3.
Batterie-Standard:
Batterie-Standard
prüfen.
4.
Geben Sie den
CCA-Stromwert
zwischen 10 und
2000 ein.
5.
Dann klicken Sie auf .
This manual suits for next models
1
Table of contents
Languages:
Other Tool it Test Equipment manuals

Tool it
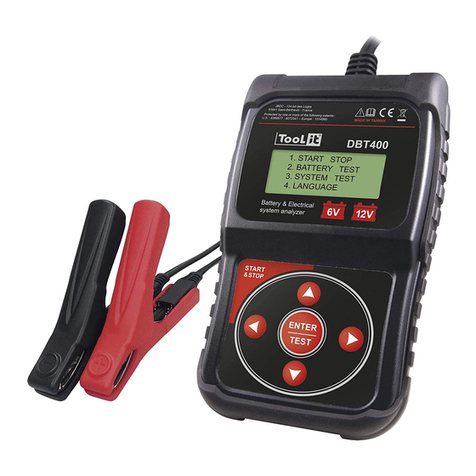
Tool it DBT400 User manual
Tool it
Tool it DBT 350 User manual

Tool it
Tool it TBP 500 User manual

Tool it
Tool it PBT 700 User manual

Tool it
Tool it PBT 812 User manual

Tool it
Tool it NBT 200 User manual

Tool it
Tool it NBT100 Reference guide

Tool it
Tool it PBT 550 User manual

Tool it
Tool it PBT 550 User manual
Tool it
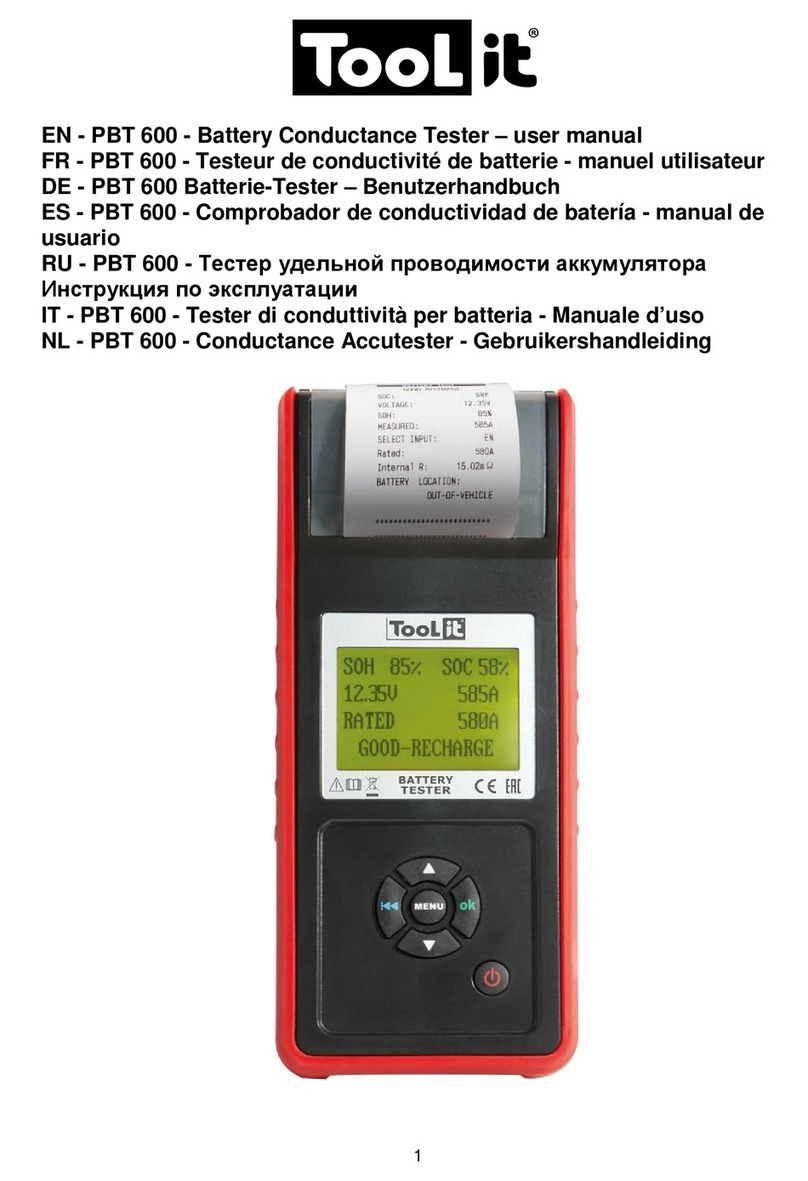
Tool it PBT 600 User manual