4.Rotatethereelsothatabladecrossesthebedknife
approximately25mm(1inch)infromtheendofthe
bedknifeontherightsideofthecuttingunit.
Note:Putanidentifyingmarkonthisbladetomake
subsequentadjustmentseasier.
5.Insertthe0.05mm(0.002inch)shimbetweenthe
markedreelbladeandthebedknifeatthepointwhere
thebladecrossesthebedknife.
6.Turntherightbedbaradjusterclockwiseuntilyoufeel
lightpressure/dragontheshim,thenbackoffthe
bedbaradjuster2clicksandremovetheshim.
Note:Adjusting1sideofthecuttingunitaffectsthe
otherside;the2clickswillprovideclearanceforwhen
youadjusttheotherside.
Note:Ifstartingwithalargegap,bothsidesshould
initiallybedrawncloserbyalternatelytighteningthe
rightandleftsides.
7.Slowlyrotatethereelsothatthesamebladethatyou
checkedontherightsideiscrossingthebedknife
approximately25mm(1inch)infromtheendofthe
bedknifeontheleftsideofthecuttingunit.
8.Turntheleftbedbaradjusterclockwiseuntiltheshim
canbeslidthroughthereeltobedknifegapwithlight
drag.
9.Returntotherightsideandadjustasnecessarytoget
lightdragontheshimbetweenthesamebladeand
bedknife.
10.Repeatsteps8and9untiltheshimcanbeslidthrough
bothgapswithslightdrag,but1clickinonbothsides
preventstheshimfrompassingthroughonbothsides.
Note:Thebedknifeisnowparalleltothereel.
Note:Thisprocedureshouldnotbeneededondaily
adjustments,butshouldbedoneaftergrindingor
disassembly.
11.Fromthisposition(1clickinandshimnotpassing
through)turnthebedbaradjustersclockwise2clicks
each.
Note:Eachclickturnedmovesthebedknife0.018
mm(0.0007inch).Donotovertightentheadjusting
screws.
12.Testthecuttingperformancebyinsertingalongstripof
Torocuttingperformancepaperbetweenthereeland
thebedknife,perpendiculartothebedknife(Figure10).
Slowlyrotatethereelforward;itshouldcutthepaper.
Figure10
Note:Ifexcessivereeldragoccurs,eitherbacklap
orgrindthecuttingunittoachievethesharpedges
neededforprecisioncutting.
AdjustingtheRearRoller
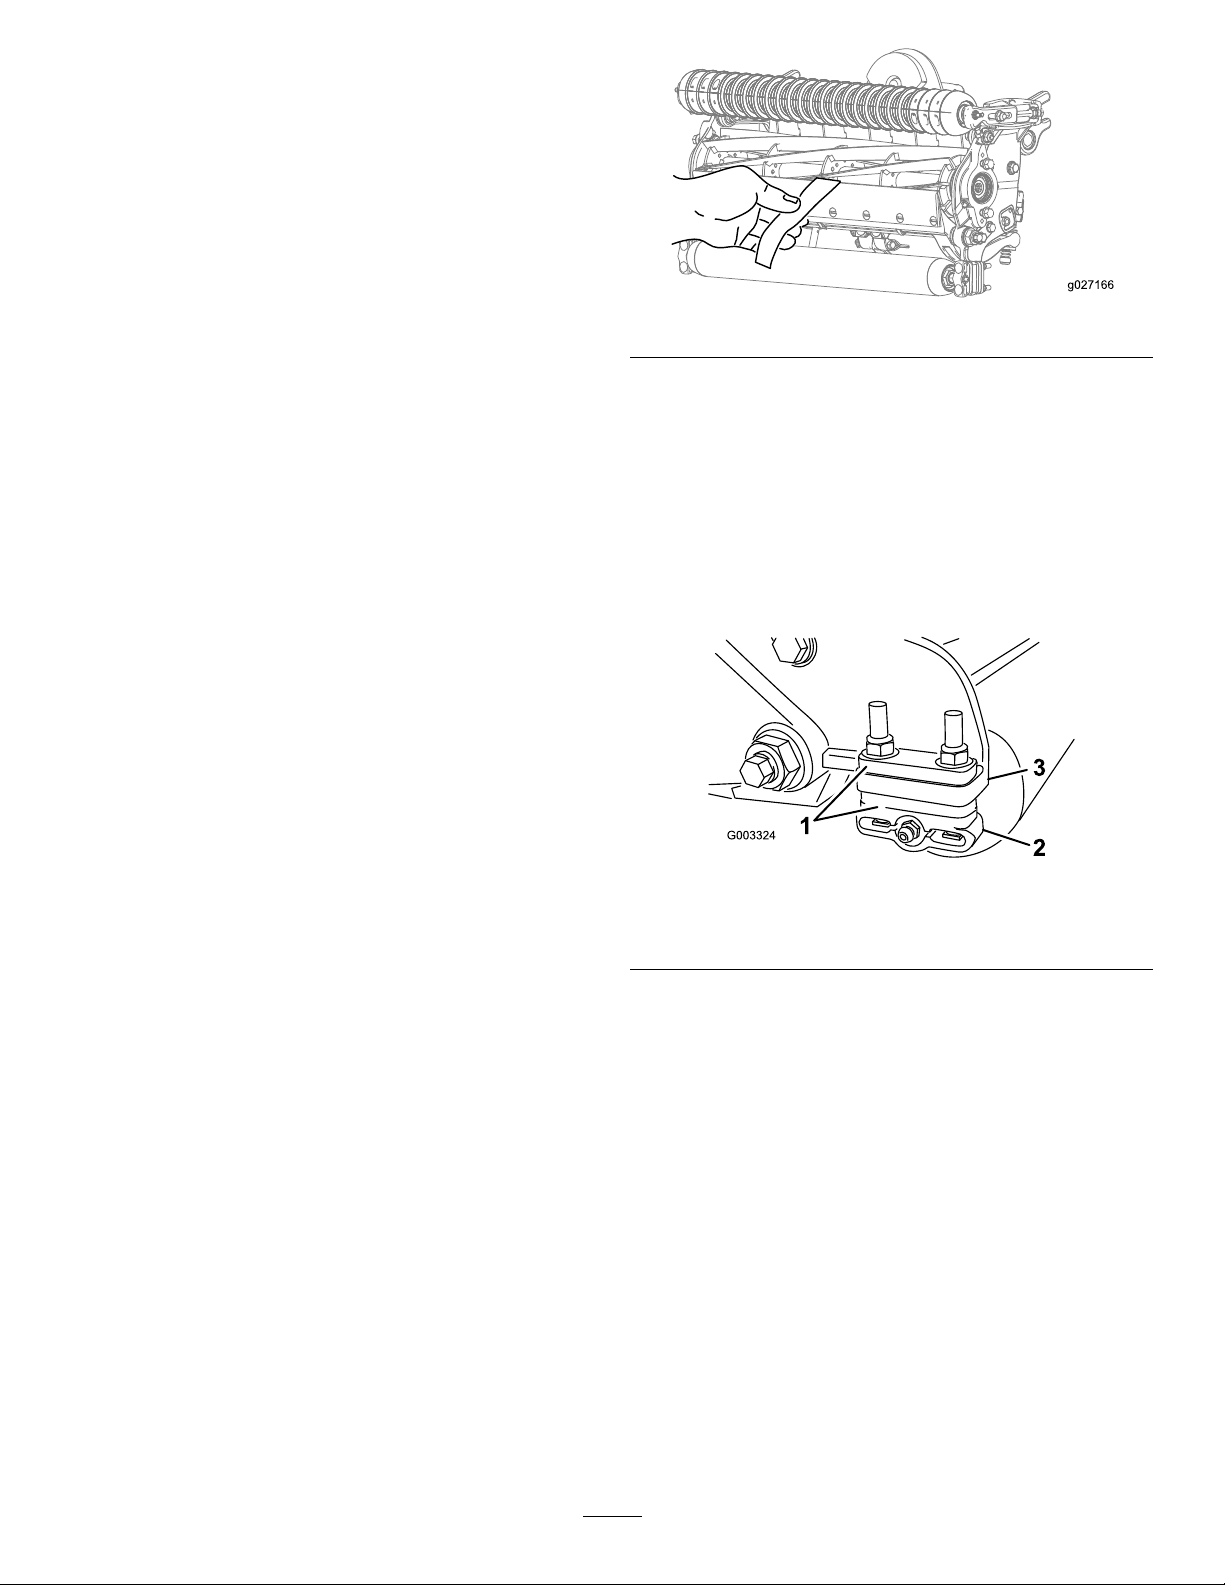
1.Adjusttherearrollerbrackets(Figure11)tothedesired
height-of-cutrangebypositioningtherequiredamount
ofspacersbelowtheside-platemountingange(Figure
11)pertheHeight-of-CutChart(page9).
Figure11
1.Spacer3.Side-platemountingange
2.Rollerbracket
2.Raisetherearofthecuttingunitandplaceablock
underthebedknife.
3.Removethe2nutssecuringeachrollerbracketandthe
spacertoeachside-platemountingange.
4.Lowertherollerandthescrewsfromside-plate
mountingangesandspacers.
5.Placethespacersontothescrewsontherollerbrackets.
6.Securetherollerbracketandspacerstotheunderside
oftheside-platemountingangeswiththenuts
previouslyremoved.
7.Verifythatthebedknife-to-reelcontactiscorrect.Tip
themowertoexposethefrontandrearrollersandthe
bedknife.
Note:Thepositionoftherearrollertothereel
iscontrolledbythemachiningtolerancesofthe
assembledcomponentsandparallelingisnotrequired.
Alimitedamountofadjustmentispossiblebysetting
7