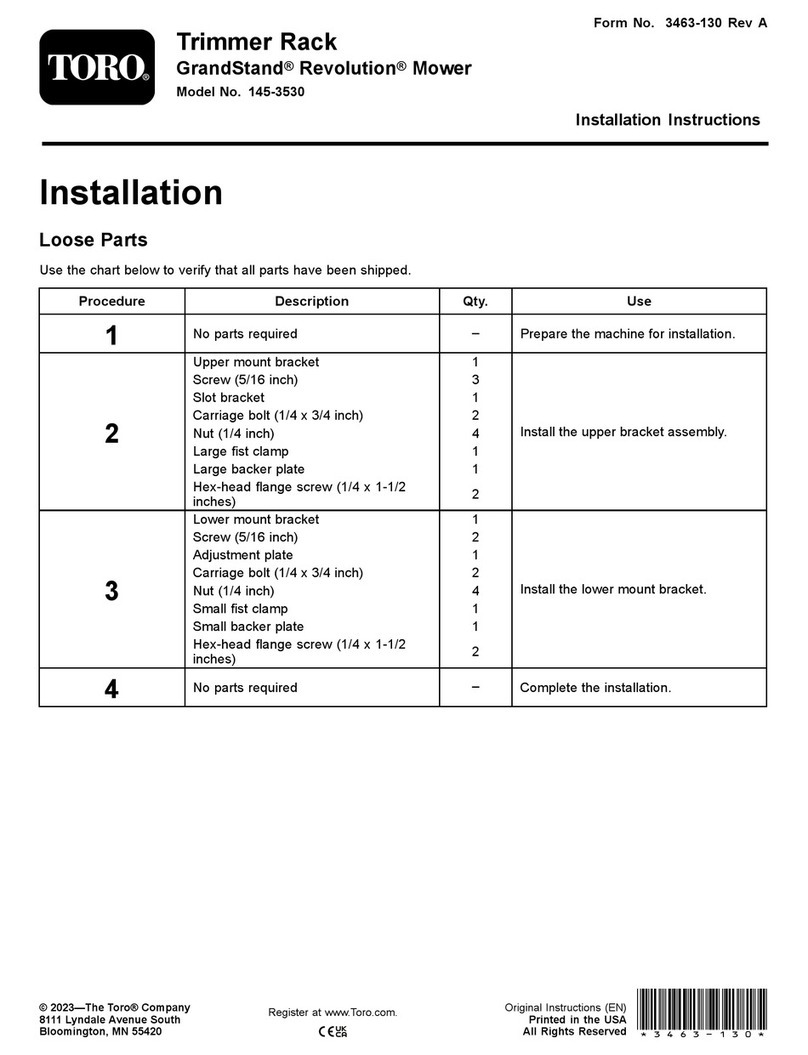
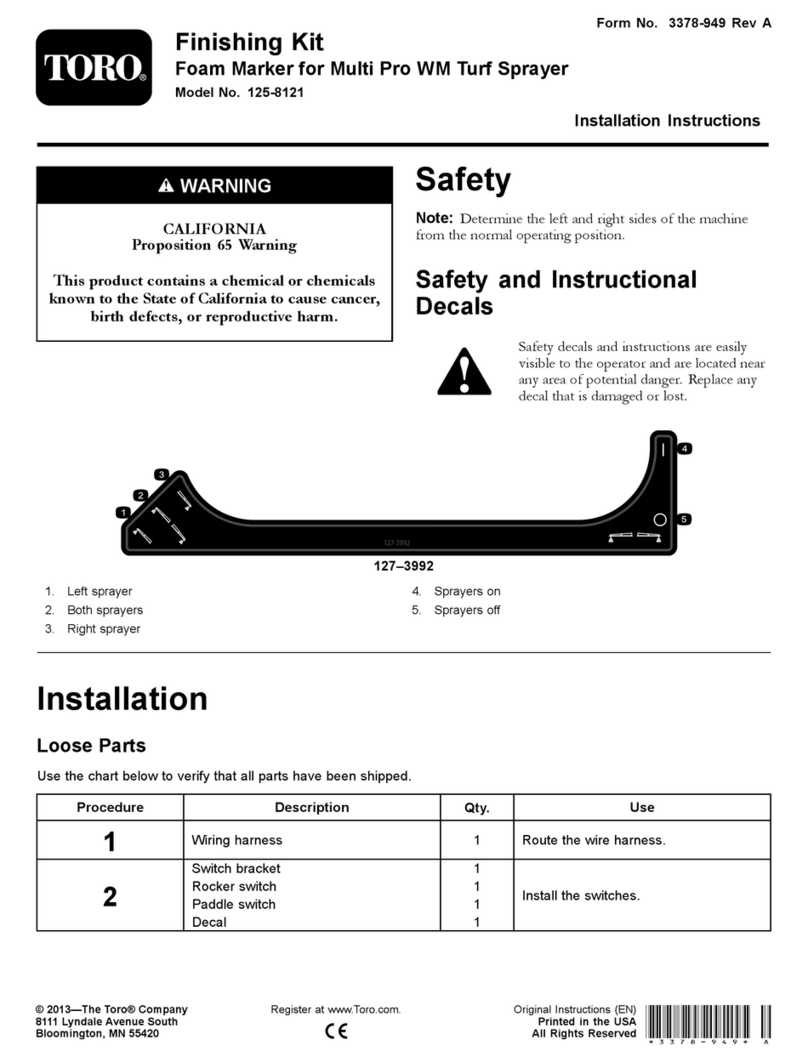
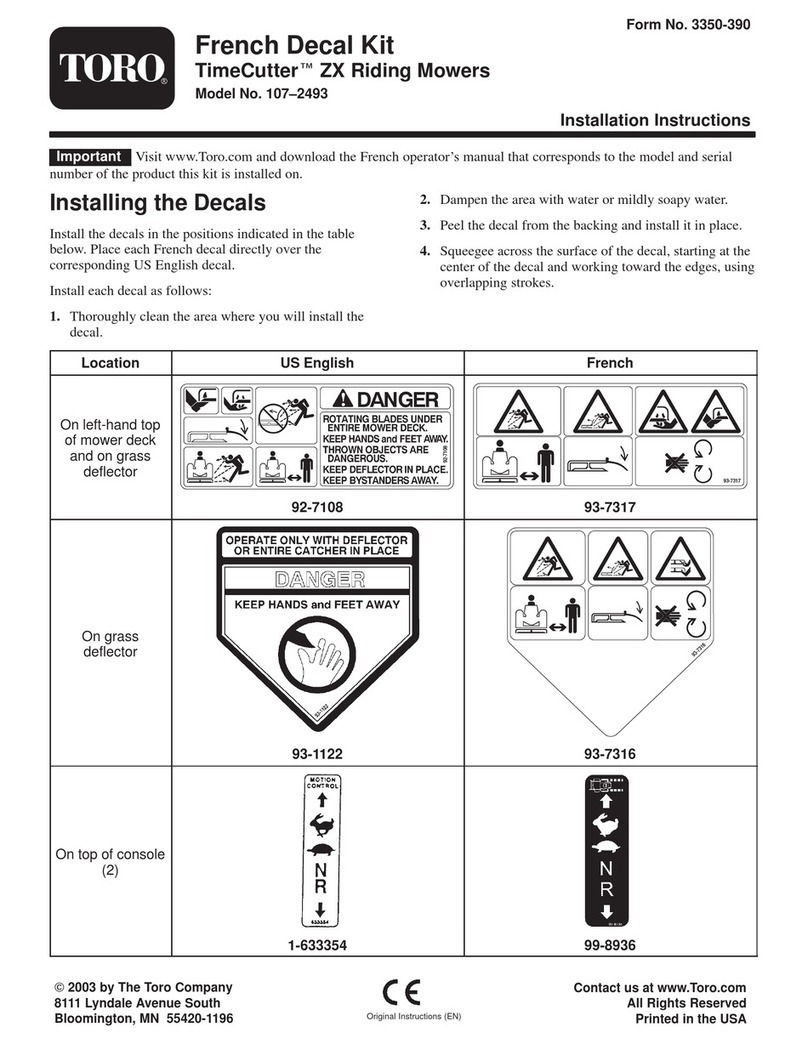
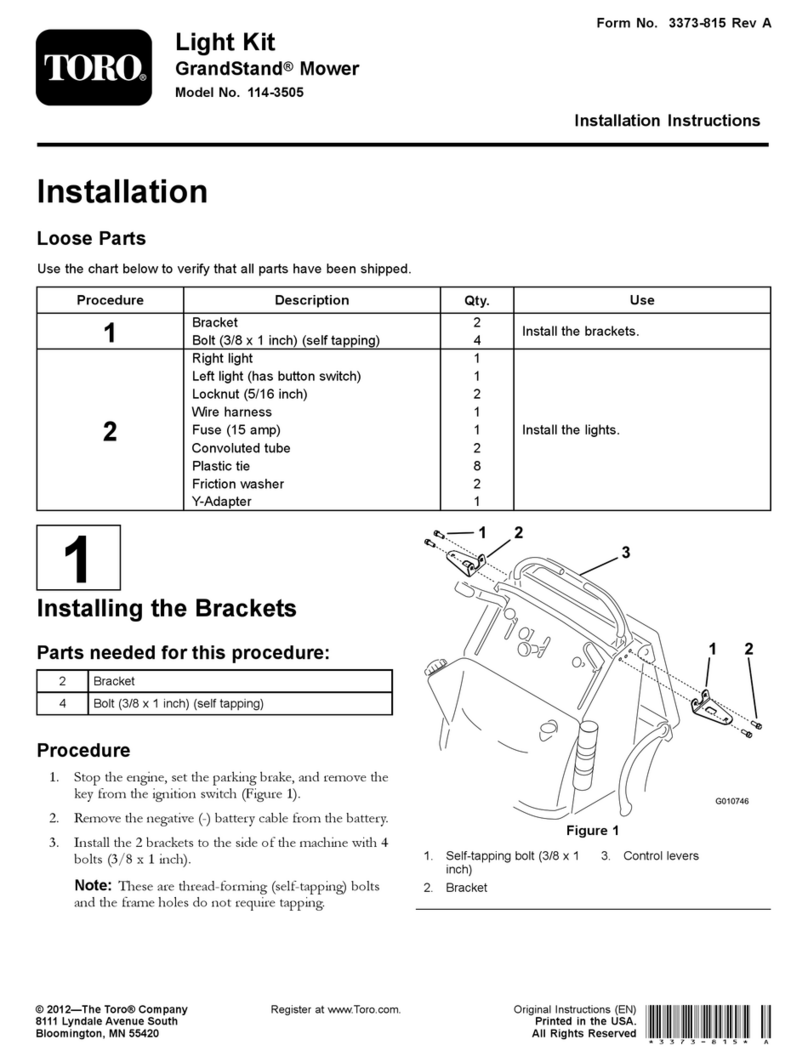
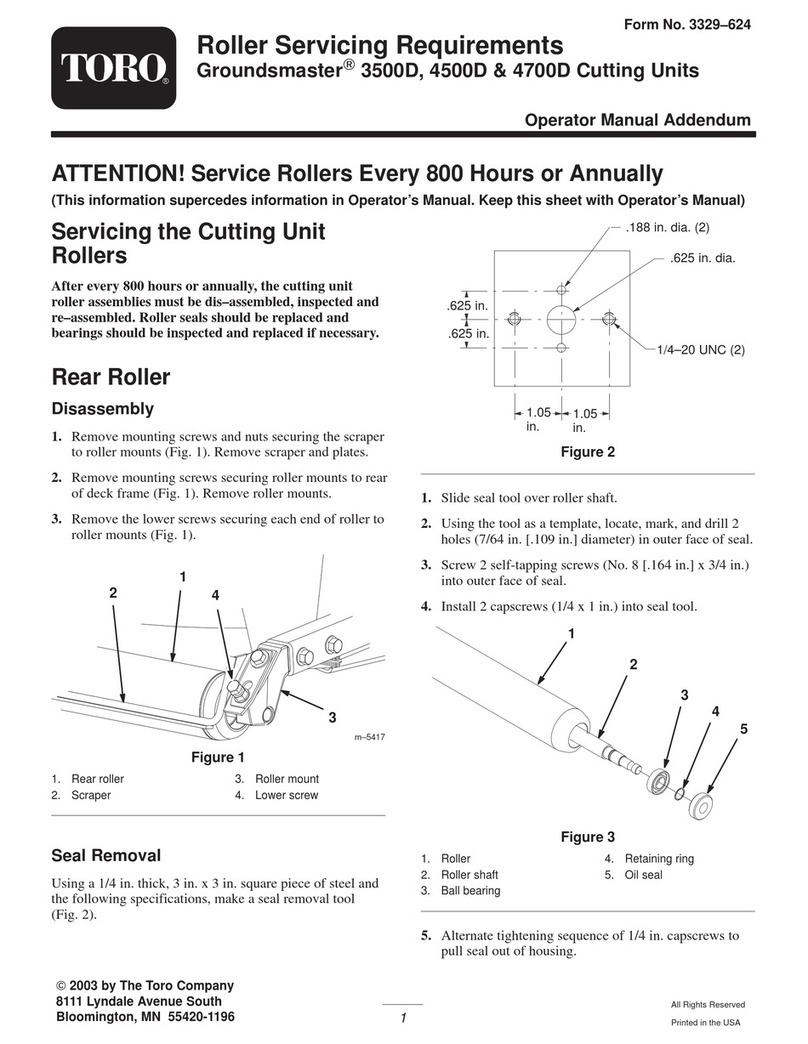
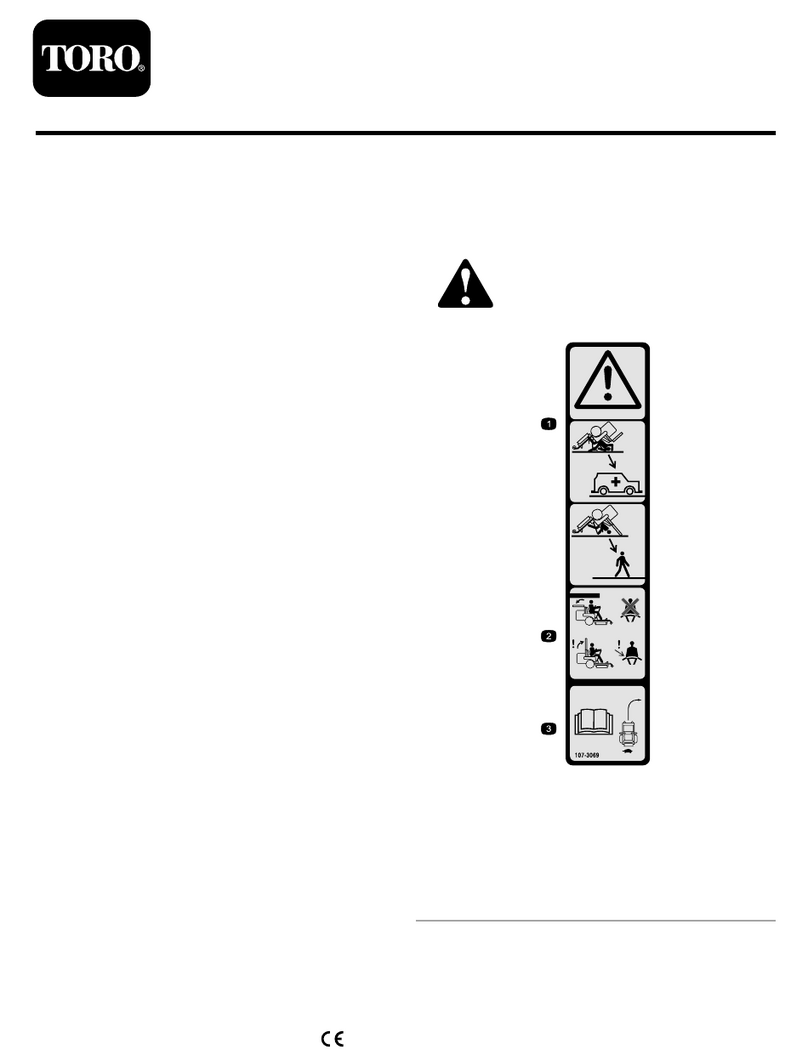
Toro Reelmaster 03485 User manual

FormNo.3420-448RevA
18-inchor22-inch8-Bladeor
11-BladeDPACuttingUnit
Reelmaster®3550or3555SeriesTraction
Unit
ModelNo.03485—SerialNo.401370001andUp
ModelNo.03486—SerialNo.401370001andUp
ModelNo.03487—SerialNo.401400001andUp
ModelNo.03488—SerialNo.401400001andUp
Registeratwww.Toro.com.
OriginalInstructions(EN)*3420-448*A

WARNING
CALIFORNIA
Proposition65Warning
Thisproductcontainsachemical
orchemicalsknowntotheStateof
Californiatocausecancer,birthdefects,
orreproductiveharm.
ThisproductcomplieswithallrelevantEuropean
directives.Fordetails,pleaseseetheDeclarationof
Incorporation(DOI)atthebackofthispublication.
Introduction
Readthisinformationcarefullytolearnhowtooperate
andmaintainyourproductproperlyandtoavoid
injuryandproductdamage.Youareresponsiblefor
operatingtheproductproperlyandsafely.
YoumaycontactT orodirectlyatwww.Toro.com
forproductsafetyandoperationtrainingmaterials,
accessoryinformation,helpndingadealer,orto
registeryourproduct.
Wheneveryouneedservice,genuineT oroparts,or
additionalinformation,contactanAuthorizedService
DealerorToroCustomerServiceandhavethemodel
andserialnumbersofyourproductready.Figure1
identiesthelocationofthemodelandserialnumbers
ontheproduct.Writethenumbersinthespace
provided.
g027162
Figure1
1.Locationofthemodelandserialnumbers
ModelNo.
SerialNo.
Thismanualidentiespotentialhazardsandhas
safetymessagesidentiedbythesafety-alertsymbol
(Figure2),whichsignalsahazardthatmaycause
seriousinjuryordeathifyoudonotfollowthe
recommendedprecautions.
g000502
Figure2
1.Safety-alertsymbol
Thismanualuses2wordstohighlightinformation.
Importantcallsattentiontospecialmechanical
informationandNoteemphasizesgeneralinformation
worthyofspecialattention.
Contents
Safety.......................................................................3
GeneralSafety...................................................3
SafeOperatingPractices....................................3
SafetyandInstructionalDecals..........................4
Setup........................................................................5
1InspectingtheCuttingUnit...............................5
2UsingtheKickstand.........................................5
3AdjustingtheRearShield.................................6
4InstallingtheLooseParts.................................6
ProductOverview.....................................................8
Specications....................................................8
Attachments/Accessories...................................8
Operation..................................................................8
MakingAdjustments...........................................8
Height-of-CutChartTerms................................10
Height-of-CutChart..........................................12
Maintenance...........................................................16
LubricatingtheMachine....................................16
Relief-GrindingtheReel...................................16
ServicingtheBedknife......................................17
ServicingtheBedbar........................................18
ServicingtheHDDualPointAdjusters
(DPA)............................................................19
ServicingtheRoller...........................................21
©2018—TheToro®Company
8111LyndaleAvenueSouth
Bloomington,MN554202
Contactusatwww.Toro.com.
PrintedintheUSA
AllRightsReserved

Safety
Thismachinehasbeendesignedinaccordancewith
ENISO5395:2013andANSIB71.4-2012.
GeneralSafety
Thisproductiscapableofamputatinghandsand
feetandofthrowingobjects.Alwaysfollowallsafety
instructionstoavoidseriouspersonalinjury.
Usingthisproductforpurposesotherthanitsintended
usecouldprovedangeroustoyouandbystanders.
•Readandunderstandthecontentsofthis
Operator’sManualbeforestartingtheengine.
•Donotputyourhandsorfeetnearmoving
componentsofthemachine.
•Donotoperatethemachinewithoutallguards
andothersafetyprotectivedevicesinplaceand
workingonthemachine.
•Keepclearofanydischargeopening.Keep
bystandersandpetsasafedistanceawayfrom
themachine.
•Keepchildrenoutoftheoperatingarea.Never
allowchildrentooperatethemachine.
•Parkthemachineonalevelsurface,lowerthe
cuttingunits,disengagethedrives,engagethe
parkingbrake(ifprovided),shutofftheengine,
andremovethekeybeforeleavingtheoperator's
positionforanyreason.
Improperlyusingormaintainingthismachinecan
resultininjury.T oreducethepotentialforinjury,
complywiththesesafetyinstructionsandalwayspay
attentiontothesafety-alertsymbol,whichmeans
Caution,Warning,orDanger—personalsafety
instruction.Failuretocomplywiththeseinstructions
mayresultinpersonalinjuryordeath.
Youcanndadditionalsafetyinformationwhere
neededthroughoutthisOperator’sManual.
SafeOperatingPractices
•ReadtheOperator’sManualforthetractionunit
andothertrainingmaterialcarefully.Befamiliar
withthecontrols,safetysigns,andtheproper
useoftheequipment.Iftheoperatorormechanic
cannotreadthelanguageofthismanual,itisthe
owner'sresponsibilitytoexplainthismaterialto
them.
•Becomefamiliarwiththesafeoperationofthe
equipment,operatorcontrols,andsafetysigns.
•Theowner/operatorcanpreventandisresponsible
foraccidentsthatmaycausepersonalinjuryor
propertydamage.
•Wearappropriateclothing,includingeye
protection;substantial,slip-resistantfootwear;
longpants,andhearingprotection.Tiebacklong
hairanddonotwearloosejewelry.
•Inspecttheareawheretheequipmentistobe
usedandremoveallobjects,suchasrocks,toys,
andwire,thatthemachinecanthrow.
•Checkthatoperator'spresencecontrols,safety
switches,andshieldsareattachedandfunctioning
properly.Donotoperatethemachineunlessthey
arefunctioningproperly.
•Stopthemachine,removethekey,andwaitfor
allmovingpartstostopbeforeinspectingthe
attachmentafterstrikinganobjectorifthereis
anabnormalvibrationinthemachine.Makeall
necessaryrepairsbeforeresumingoperation.
•Keepyourhandsandfeetawayfromthecutting
units.
•Keepallpartsingoodworkingconditionandall
hardwaretightened.Replaceallwornordamaged
decals.
•Awornordamagedbladecanbreak,anda
pieceofthebladecouldbethrowntowardyouor
bystanders,resultinginseriouspersonalinjuryor
death.
•Inspectthebladeperiodicallyforwearordamage.
•Usecarewhencheckingtheblades.Wrapthe
bladesorweargloves,andusecautionwhen
servicingtheblades.Onlyreplaceorsharpenthe
blades;neverstraightenorweldthem.
•Onmulti-bladedmachines,takecareasrotating1
bladecancauseotherbladestorotate.
3
SafetyandInstructionalDecals
Safetydecalsandinstructionsareeasilyvisibletotheoperatorandarelocatednearanyarea
ofpotentialdanger.Replaceanydecalthatisdamagedormissing.
decal93-6688
93-6688
1.Warning—readthe
instructionsbefore
servicingorperforming
maintenance.
2.Cuttinghazardofhandor
foot—shutofftheengine
andwaitformovingparts
tostop.
4

Setup
LooseParts
Usethechartbelowtoverifythatallpartshavebeenshipped.
ProcedureDescriptionQty.Use
1Cuttingunit1Inspectthecuttingunit.
2Nopartsrequired–Usethekickstandwhentippingthe
cuttingunit.
3Nopartsrequired–Adjusttherearshield.
Straightgreasetting1
O-ring1
4Screws2
Installthelooseparts.
MediaandAdditionalParts
DescriptionQty.Use
Operator'sManual1
PartsCatalog(notincluded)—refertothe
includedpostcardforinformationonobtaining
thePartsCatalog
–Reviewthematerialandsaveitinanappropriateplace.
Note:Determinetheleftandrightsidesofthe
machinefromthenormaloperatingposition.
1
InspectingtheCuttingUnit
Partsneededforthisprocedure:
1Cuttingunit
Procedure
Afterthecuttingunitisremovedfromthebox,inspect
thefollowing:
1.Checkeachendofthereelforgrease.
Note:Greaseshouldbevisiblyevidentinthe
internalsplinesofthereelshaft.
2.Ensurethatallnutsandboltsaresecurely
tightened.
3.Makesurethatthesuspensionofthecarrier
frameoperatesfreelyanddoesnotbindwhen
movedbackandforth.
2
UsingtheKickstand
NoPartsRequired
Procedure
Wheneverthecuttingunithastobetippedtoexpose
thebedknife/reel,propuptherearofthecuttingunit
withthekickstand(suppliedwiththetractionunit)to
makesurethatthenutsonthebackendofthebedbar
adjustingscrewsarenotrestingontheworksurface
(Figure3).
5

g027165
Figure3
1.Kickstand
3
AdjustingtheRearShield
NoPartsRequired
Procedure
Undermostconditions,youcanattainthebest
dispersionwhentherearshieldisclosed(front
discharge).Whenconditionsareheavyorwet,you
canopentherearshield.
Toopentherearshield(Figure4),loosenthebolt
securingtheshieldtotheleftsideplate,rotatethe
shieldtotheopenposition,andtightenthebolt.
g031243
Figure4
1.Bolt2.Rearshield
4
InstallingtheLooseParts
Partsneededforthisprocedure:
1Straightgreasetting
1O-ring
2Screws
Procedure
Installthegreasettingonthereel-motorsideofthe
cuttingunit.UseFigure5todeterminetheposition
ofthereelmotors.
g031275
Figure5
1.Cuttingunit15.Cuttingunit5
2.Cuttingunit26.Reelmotor
3.Cuttingunit37.Weight
4.Cuttingunit4
1.Removeanddiscardthesetscrewonthe
reel-motorsideplate(Figure6).
g031255
Figure6
1.Bolt(2)3.Greasetting
2.Setscrew4.Greasevent
2.Installthestraightgreasetting(Figure6).
3.Iftherearenoboltsonthereel-motorsideplate,
installthem(Figure6).
6

ProductOverview
Specications
ModelNumberNetWeight
0348537kg(82lb)
0348639kg(85lb)
0348742kg(92lb)
0348844kg(97lb)
Attachments/Accessories
AselectionofToro-approvedattachmentsandaccessoriesisavailableforusewiththemachinetoenhance
andexpanditscapabilities.ContactyourAuthorizedServiceDealerorDistributororgotowww.Toro.comfor
alistofallapprovedattachmentsandaccessories
TobestprotectyourinvestmentandmaintainoptimalperformanceofyourToroequipment,countonT oro
genuineparts.Whenitcomestoreliability,Torodeliversreplacementpartsdesignedtotheexactengineering
specicationofourequipment.Forpeaceofmind,insistonT orogenuineparts.
Operation
Note:Determinetheleftandrightsidesofthe
machinefromthenormaloperatingposition.
MakingAdjustments
AdjustingtheBedknifetotheReel
Usethisproceduretosetthebedknifetothereeland
tochecktheconditionofthereelandbedknifeand
theirinteraction.Aftercompletingthisprocedure,
alwaystestthecuttingunitperformanceunderyour
eldconditions.Youmayneedtomakefurther
adjustmentstoobtainoptimalcuttingperformance.
Important:Donotovertightenthebedknifetothe
reeloryouwilldamageit.
•Afterbacklappingthecuttingunitorgrindingthe
reel,youmayneedtomowwiththecuttingunitfor
afewminutesandthenperformthisprocedure
toadjustthebedknifetothereelasthereeland
bedknifeadjusttoeachother.
•Youmayneedadditionaladjustmentsiftheturfis
extremelydenseoryourcuttingheightisverylow.
Youwillneedthefollowingtoolstocompletethis
procedure:
•Shim(0.002inch)—ToroPartNo.125-5611
•Cuttingperformancepaper—T oroPartNo.
125-5610
1.Positionthecuttingunitonaat,levelwork
surface.
2.Turnthebedbaradjustingscrews
counterclockwisetoensurethatthebedbardoes
notcontactthereel(Figure8).
g019940
Figure8
1.Bedbaradjustingscrew
3.Tipthecuttingunittoexposethebedknifeand
reel.
Important:Makesurethatthenutsonthe
backendofthebedbaradjustingscrewsare
notrestingontheworksurface(Figure9).
8

g027165
Figure9
1.Kickstand
4.Rotatethereelsothatabladecrossesthe
bedknifeapproximately25mm(1inch)infrom
theendofthebedknifeontherightsideofthe
cuttingunit.
Note:Putanidentifyingmarkonthisbladeto
makesubsequentadjustmentseasier.
5.Insertthe0.05mm(0.002inch)shimbetween
themarkedreelbladeandthebedknifeatthe
pointwherethebladecrossesthebedknife.
6.Turntherightbedbaradjusterclockwiseuntil
youfeellightpressure/dragontheshim,then
backoffthebedbaradjuster2clicksandremove
theshim.
Note:Adjusting1sideofthecuttingunitaffects
theotherside;the2clickswillprovideclearance
forwhenyouadjusttheotherside.
Note:Ifstartingwithalargegap,bothsides
shouldinitiallybedrawncloserbyalternately
tighteningtherightandleftsides.
7.Slowlyrotatethereelsothatthesameblade
thatyoucheckedontherightsideiscrossing
thebedknifeapproximately25mm(1inch)in
fromtheendofthebedknifeontheleftsideof
thecuttingunit.
8.Turntheleftbedbaradjusterclockwiseuntilthe
shimcanbeslidthroughthereeltobedknife
gapwithlightdrag.
9.Returntotherightsideandadjustasnecessary
togetlightdragontheshimbetweenthesame
bladeandbedknife.
10.Repeatsteps8and9untiltheshimcanbeslid
throughbothgapswithslightdrag,but1clickin
onbothsidespreventstheshimfrompassing
throughonbothsides.
Note:Thebedknifeisnowparalleltothereel.
Note:Thisprocedureshouldnotbeneeded
ondailyadjustments,butshouldbedoneafter
grindingordisassembly.
11.Fromthisposition(1clickinandshimnot
passingthrough)turnthebedbaradjusters
clockwise2clickseach.
Note:Eachclickturnedmovesthebedknife
0.018mm(0.0007inch).Donotovertighten
theadjustingscrews.
12.T estthecuttingperformancebyinsertingalong
stripofTorocuttingperformancepaperbetween
thereelandthebedknife,perpendiculartothe
bedknife(Figure10).Slowlyrotatethereel
forward;itshouldcutthepaper.
g027166
Figure10
Note:Ifexcessivereeldragoccurs,either
backlaporgrindthecuttingunittoachievethe
sharpedgesneededforprecisioncutting.
AdjustingtheRearRoller
1.Adjusttherearrollerbrackets(Figure11)to
thedesiredheight-of-cutrangebypositioning
therequiredamountofspacersbelowthe
side-platemountingange(Figure11)perthe
Height-of-CutChart(page12).
g003324
Figure11
1.Spacer3.Side-platemountingange
2.Rollerbracket
2.Raisetherearofthecuttingunitandplacea
blockunderthebedknife.
9

3.Removethe2nutssecuringeachrollerbracket
andthespacertoeachside-platemounting
ange.
4.Lowertherollerandthescrewsfromside-plate
mountingangesandspacers.
5.Placethespacersontothescrewsontheroller
brackets.
6.Securetherollerbracketandspacerstothe
undersideoftheside-platemountinganges
withthenutspreviouslyremoved.
7.Verifythatthebedknife-to-reelcontactiscorrect.
Tipthemowertoexposethefrontandrear
rollersandthebedknife.
Note:Thepositionoftherearrollertothereel
iscontrolledbythemachiningtolerancesof
theassembledcomponentsandparallelingis
notrequired.Alimitedamountofadjustmentis
possiblebysettingthecuttingunitonasurface
plateandlooseningtheside-platemounting
bolts(Figure12).
g027270
Figure12
1.Side-platemountingbolts
8.Adjustandtightentheboltsandtorquethemto
37to45N-m(27to33ft-lb).
Height-of-CutChartTerms
Height-of-CutSetting(HOC)
Thiscorrespondstothedesiredheightofcut.
Bench-SetHeightofCut
Thebench-setheightofcutistheheightatwhich
thetopedgeofthebedknifeissetaboveaatlevel
surfacethatcontactsthebottomofboththefrontroller
andtherearroller.
EffectiveHeightofCut
Thisistheactualheightthatthegrasshasbeencut.
Foragivenbench-setheightofcut,theactualheight
ofcutwillvarydependingonthetypeofgrass,time
ofyear,turf,andsoilconditions.Thecutting-unit
setup(aggressivenessofcut,rollers,bedknives,
attachmentsinstalled,turf-compensationsettings,
etc.)willalsoaffecttheeffectiveheightofcut.Check
theeffectiveheightofcutusingtheTurfEvaluator
(Model04399)regularlytodeterminethedesired
bench-setheightofcut.
AggressivenessofCut
Theaggressivenessofcuthasasignicantimpacton
theperformanceofthecuttingunit.Aggressiveness
ofcutreferstotheangleofthebedkniferelativetothe
ground(Figure13).
Thebestcutting-unitsetupdependsonyourturf
conditionsanddesiredresults.Experiencewiththe
cuttingunitonyourturfwilldeterminethebestsetting
touse.Youcanadjusttheaggressivenessofcut
throughoutthecuttingseasontoallowforvariousturf
conditions.
Ingeneral,lesstonormalaggressivesettings
aremoreappropriateforwarm-seasongrasses
(Bermuda,paspalum,zoysia)whilecool-season
grasses(bent,bluegrass,rye)mayrequirenormalto
moreaggressivesetups.Moreaggressivesetupscut
moregrassoffbyallowingthespinningreeltopull
moregrassupintothebedknife.
g033036
Figure13
1.Rearspacers3.Aggressivenessofcut
2.Side-platemountingange
RearSpacers
Thenumberofrearspacersdeterminesthe
aggressivenessofcutforthecuttingunit.Foragiven
heightofcut,addingspacersbelowtheside-plate
mountingangeincreasestheaggressivenessofthe
cuttingunit.Allcuttingunitsonagivenmachinemust
besettothesameaggressivenessofcut(number
ofrearspacers,ToroPartNo.106-3925);otherwise,
theafter-cutappearancecouldbenegativelyaffected
(Figure13).
10

Height-of-CutChart
HOCSettingAggressivenessofCutNo.ofRearSpacersNo.ofChainLinksWithGroomerkits
installed**
0.64cm(0.250inch)Less
Normal
More
0
0
1
3+
3+
3
Y
Y
-
0.95cm(0.375inch)Less
Normal
More
0
1
2
4
3
3
Y
Y
-
1.27cm(0.500inch)Less
Normal
More
0
1
2
4
3+
3
Y
Y
Y
1.56cm(0.625inch)Less
Normal
More
1
2
3
4
3
3
Y
Y
-
1.91cm(0.750inch)Less
Normal
More
2
3
4
3+
3
3
Y
Y
-
2.22cm(0.875inch)Less
Normal
More
2
3
4
4
3
3
Y
Y
-
2.54cm(1.000inch)Less
Normal
More
3
4
5
3+
3
3
Y
Y
-
2.86cm(1.125inches)*Less
Normal
More
4
5
6
4
3
3
-
-
-
3.18cm(1.250inches)*Less
Normal
More
4
5
6
4
3
3
-
-
-
3.49cm(1.375inches)*Less
Normal
More
4
5
6
4
3
3
-
-
-
3.81cm(1.500inches)*Less
Normal
More
5
6
7
3+
3
3
-
-
-
+IndicatesthattheU-bracket,onliftarm,ispositionedinthebottomhole(Figure14).
*HighHOCKit(Part137-0890)mustbeinstalled.FrontHOCbracketmustbepositionedinthetopside-platehole.
**YindicatesthatthiscombinationofHOCandspacerscanbeusedwithgroomers.
Note:Changing1chainlinkchangesthepitch-anglemovementoftherearrollerby7.0degrees.
Note:ChangingtheU-bracketontheliftarmtothebottomholeadds3.5degreestothepitchangleofthe
rearroller.
12

AdjustingtheHeightofCut
Note:Forheightsofcutgreaterthan2.5cm(1inch)
installtheHighHeight-of-CutKit.
1.Loosenthelocknutssecuringtheheight-of-cut
bracketstothecutting-unitsideplates(Figure
15).
g027265
Figure15
1.Adjustingscrew3.Height-of-cutbracket
2.Locknut
2.Loosenthenutonthegaugebar(Figure16)
andsettheadjustingscrewtothedesiredheight
ofcut.
g003327
Figure16
1.Gaugebar4.Holesusedforsettingthe
heightofgroom(HOG)
2.Heightadjustingscrew5.Holenotused
3.Nut
3.Measurethedistancebetweenthebottomofthe
screwheadandthefaceofthebartodetermine
theheightofcut.
4.Hookthescrewheadonthecuttingedgeofthe
bedknifeandresttherearendofthebaronthe
rearroller(Figure17).
5.Rotatetheadjustingscrewuntilthefrontroller
contactsthegaugebar(Figure17).Adjustboth
endsoftherolleruntiltheentirerollerisparallel
tothebedknife.
g027266
Figure17
Important:Whensetproperly,therearand
frontrollerscontactthegaugebarandthe
screwissnugagainstthebedknife.This
ensuresthattheheightofcutisidenticalat
bothendsofthebedknife.
6.Tightenthenutstosecuretheadjustment.
Note:Donotovertightenthenuts.Tightenthem
enoughtoremoveanyplayfromthewashers.
13

Usethefollowingcharttodeterminewhich
bedknifeisbestsuitedforthedesiredheightof
cut.
Bedknife/HeightofCutChart
BedknifePartNo.BedknifeLipHeightHeightofCut
LowHOC(Optional)121-3167(18inch)
110-4084(22inch)
5.6mm
(0.220inch)
6.4to12.7mm
(0.250to0.500inch)
EdgeMax®LowHOC
(Model03485)
(Model03487)
137-0830(18inch)
137-0832(22inch)
5.6mm
(0.220inch)
6.4to-12.7mm
(0.250to0.500inch)
ExtendedLowHOC
(Optional)
120-1640(22inch)5.6mm
(0.220inch)
6.4to12.7mm
(0.250to0.500inch)
ExtendedEdgeMax®Low
HOC(Optional)
119-4280(22inch)5.6mm
(0.220inch)
6.4to12.7mm
(0.250to0.500inch)
EdgeMax®
(Model03484)
(Model03486)
137-0831(18inch)
137-0833(22inch)
6.9mm
(0.270inch)
9.5to38.1mm
(0.375to1.50inches)*
Standard(Optional)121-3166(18inch)
108-9096(22inch)
6.9mm
(0.270inch)
9.5to38.1mm
(0.375to1.50inches)*
HeavyDuty(Optional)110-4074(22inch)9.3mm
(0.370inch)
12.7to38.1mm
(0.500to1.50inches)
*Warm-seasongrassesmayrequiretheLow
HOCbedknifefor12.7mm(0.500inch)and
below.
g006510
Figure18
1.Bedknifelipheight
AdjustingtheTurf-Compensation
Settings
Theturf-compensationspringtransferstheweight
fromthefronttotherearroller.Thishelpstoreduce
awavepatternintheturf,alsoknownasmarcelling
orbobbing.
Important:Makethespringadjustmentswiththe
cuttingunitmountedtothetractionunit,pointing
straightaheadandloweredtotheshopoor.
1.Makesurethatthehairpincotterisinstalledin
therearholeinthespringrod(Figure19).
g027263
Figure19
1.Turf-compensationspring3.Springrod
2.Hairpincotter4.Hexnuts
2.Tightenthehexnutsonthefrontendofthe
springroduntilthecompressedlengthofthe
springis12.7cm(5inches);refertoFigure19.
Note:Whenoperatingthemachineonrough
terrain,decreasethespringlengthby12.7mm
(1/2inch).
Note:Theturf-compensationsettingwill
needtoberesetiftheHOCsettingorthe
aggressiveness-of-cutsettingischanged.
14

CheckingandAdjustingthe
CuttingUnit
Thedualknobbedknife-to-reeladjustmentsystem
incorporatedinthiscuttingunitsimpliesthe
adjustmentprocedureneededtodeliveroptimum
mowingperformance.Thepreciseadjustment
possiblewiththedualknob/bedbardesigngives
thenecessarycontroltoprovideacontinual
self-sharpeningaction-thusmaintainingsharpcutting
edges,ensuringgoodqualityofcut,andgreatly
reducingtheneedforroutinebacklapping.
Priortomowingeachday,orasrequired,checkeach
cuttingunittoverifyproperbedknife-to-reelcontact.
Thismustbeperformedeventhoughthequality
ofcutisacceptable.
1.Slowlyrotatethereelinareversedirection,
listeningforreel-to-bedknifecontact.
Note:Theadjustmentknobshavedetents
correspondingto0.018mm(0.0007inch)
bedknifemovementforeachindexedposition.
RefertoAdjustingtheBedknifetotheReel
(page8).
2.T estthecuttingperformancebyinsertinga
longstripofcuttingperformancepaper(T oro
Part125-5610)betweenreelandbedknife,
perpendiculartothebedknife(Figure20).Slowly
rotatethereelforward;itshouldcutthepaper.
g027166
Figure20
Note:Ifexcessivecontact/reeldragisevident
itwillbeeithernecessarytobacklap,refacethe
frontofthebedknife,orgrindthecuttingunitto
achievethesharpedgesneededforprecision
cutting(RefertotheToroManualforSharpening
ReelandRotaryMowers,FormNo.09168SL).
Important:Lightcontactispreferred
atalltimes.Ifyoudonotmaintainlight
contact,thebedknifeandreeledgeswill
notsufcientlyself-sharpenandwilldull
afteraperiodofoperation.Ifyoumaintain
excessivecontact,thebedknifeandreelwill
wearquicker,wearunevenly,andthequality
ofcutmaybeadverselyaffected.
Note:Afterextendedrunning,aridgewill
eventuallydevelopatbothendsofthebedknife.
Roundofforlethesenotchesushwiththe
cuttingedgeofthebedknifetoensuresmooth
operation.
Note:Overtime,youwillneedtogrindthe
chamfer(Figure21),asitisonlydesignedtolast
40%ofthebedknifelife.
g031270
Figure21
1.Lead-inchamferonright
endofbedknife
3.1.5mm(0.060inch)
2.6mm(0.25inch)
Note:Donotmakethelead-inchamfertoo
large,asitmaycauseturftufting.
15

Maintenance
LubricatingtheMachine
Regularlylubricatethe5greasettingsofeachcutting
unit(Figure22)withNo.2lithiumgrease.
Thereare2lubricationpointsonthefrontroller,2on
therearroller,and1atthereel-motorspline.
Note:Lubricatingthecuttingunitsimmediately
afterwashinghelpspurgewateroutofthe
bearingsandincreasesbearinglife.
1.Wipeeachgreasettingwithacleanrag.
2.Applygreaseuntilcleangreasecomesoutof
therollersealsandthebearingreliefvalve.
3.Wipeanyexcessgreaseaway.
g027267
Figure22
Greasettingsonthereel-motorside
Relief-GrindingtheReel
Thereelhasalandwidthof1.3to1.5mm(0.050to
0.060inch)anda30-degreereliefgrind.
Whenthelandwidthgetslargerthan3mm(0.120
inch)wide,dothefollowing:
1.Applya30degreereliefgrindonallreelblades
untilthelandwidthis1.3mm(0.050inch)wide
(Figure23andFigure24).
g028800
Figure23
Models03485and03487
1.30degrees2.1.3mm(0.050inch)
g028838
Figure24
Models03486and03488
1.1.3mm(0.050inch)2.30degrees
2.Spingrindthereeltoachieve<0.025mm(0.001
inch)reelrun-out.
Note:Thiscausesthelandwidthtogrow
slightly.
Note:Toextendthelongevityofthesharpnessofthe
edgeofthereelandthebedknife—aftergrindingthe
reeland/orthebedknife—checkthereel-to-bedknife
contactagainaftercutting2fairways,asany
burrswillberemoved,whichmaycreateimproper
reel-to-bedknifeclearanceandthusacceleratewear.
16

ServicingtheBedknife
Thebedknifeservicelimitsarelistedinthefollowingchart.
Important:Operatingthecuttingunitwiththebedknifebelowtheservicelimitmayresultinpoor
after-cutappearanceandreducethestructuralintegrityofthebedknifeforimpacts.
BedknifeServiceLimitChart
BedknifePartNo.BedknifeLipHeight*ServiceLimit*GrindAngles
Top/FrontAngles
LowHOC(Optional)121-3167(18inch)
110-4084(22inch)
5.6mm
(0.220inch)
4.8mm
(0.190inch)10/5degrees
EdgeMax®LowHOC
(Model03485)
(Model03487)
137-0830(18inch)
137-0832(22inch)
5.6mm
(0.220inch)
4.8mm
(0.190inch)
10/5degrees
ExtendedLowHOC
(Optional)
120-1640(22inch)5.6mm
(0.220inch)
4.8mm
(0.190inch)10/10degrees
ExtendedEdgeMax®
LowHOC(Optional)
119-4280(22inch)5.6mm
(0.220inch)
4.8mm
(0.190inch)10/10degrees
EdgeMax®
(Model03484)
(Model03486)
137-0831(18inch)
137-0833(22inch)
6.9mm
(0.270inch)
4.8mm
(0.190inch)
10/5degrees
Standard(Optional)121-3166(18inch)
108-9096(22inch)
6.9mm
(0.270inch)
4.8mm
(0.190inch)10/5degrees
HeavyDuty(Optional)110-4074(22inch)9.3mm
(0.370inch)
4.8mm
(0.190inch)10/5degrees
RecommendedTopandFrontBedknifeGrind
Angles(Figure25)
g027268
Figure25
1.Bedknifeservicelimit*
2.Topgrindangle
3.Frontgrindangle
Note:Allbedknifeservicelimitmeasurements
referencethebottomofthebedknife(Figure26)
g007165
Figure26
CheckingtheTopGrindAngle
Theanglethatyouusetogrindyourbedknivesis
veryimportant.
Usetheangleindicator(T oroPartNo.131-6828)and
theangle-indicatormount(ToroPartNo.131-6829)to
checktheanglethatyourgrinderproducesandthen
correctforanygrinderinaccuracy.
1.Placetheangleindicatoronthebottomsideof
thebedknifeasshowninFigure27.
17

g034113
Figure27
1.Bedknife(vertical)2.Angleindicator
2.PresstheAltZerobuttonontheangleindicator.
3.Placetheangle-indicatormountontheedgeof
thebedknifesothattheedgeofthemagnetis
matedwiththeedgeofthebedknife(Figure28).
Note:Thedigitaldisplayshouldbevisiblefrom
thesamesideduringthisstepasitwasinstep1.
g034114
Figure28
1.Angle-indicatormount3.Bedknife
2.Edgeofthemagnetmated
withtheedgeofthe
bedknife
4.Angleindicator
4.Placetheangleindicatoronthemountasshown
inFigure28.
Note:Thisistheanglethatyourgrinder
produces,andshouldbewithin2degreesofthe
recommendedtopgrindangle.
ServicingtheBedbar
RemovingtheBedbar
1.Turnthebedbar-adjustingscrews
counterclockwisetobackthebedknife
awayfromthereel(Figure29).
g027175
Figure29
1.Bedbar-adjustingscrew3.Washer
2.Bedbar4.Spring-tensionnut
2.Backoutthespring-tensionnutuntilthewasher
isnolongertensionedagainstthebedbar
(Figure29).
3.Oneachsideofthemachine,loosenthelocknut
securingthebedbarbolt(Figure30).
g003334
Figure30
1.Bedbarbolt2.Locknut
4.Removeeachbedbarboltallowingthebedbar
tobepulleddownwardandremovedfromthe
machinebolt(Figure30).
Note:Accountfor2nylonwashersand1
stampedsteelwasheroneachendofthebedbar
(Figure31).
18

g027176
Figure31
1.Bedbarbolt3.Steelwasher
2.Nut4.Nylonwasher
AssemblingtheBedbar
1.Installthebedbar,positioningthemountingears
betweenthewasherandthebedbaradjuster.
2.Securethebedbartoeachsideplatewiththe
bedbarbolts(nutsonbolts)andthe6washers.
Note:Positionanylonwasheroneachside
oftheside-plateboss.Placeasteelwasher
outsideeachofthenylonwashers(Figure31).
3.T orquethebedbarboltsto37to45N∙m(27to
33ft-lb).
Note:Tightenthelocknutsuntiltheoutside
steelwasherstopsrotatingandtheendplay
isremoved,butdonotovertightenordeect
thesideplates.Thewashersontheinsidemay
haveagap.
4.Tightenthespring-tensionnutuntilthespringis
collapsed,thenbackitoff1/2turn(Figure32).
g006505
Figure32
1.Spring-tensionnut2.Spring
ServicingtheHDDualPoint
Adjusters(DPA)
1.Removeallparts;refertoInstallationInstructions
forHDDPAKitModel120-7230andtoFigure
33.
2.Applyanti-seizecompoundtotheinsideofthe
bushingareaonthecentercuttingunitframe
(Figure33).
3.Alignthekeysontheangebushingstotheslots
intheframeandinstallthebushings(Figure33).
4.Installawavewasherontotheadjustershaftand
slidetheadjustershaftintotheangebushings
intheframeofthecuttingunit(Figure33).
5.Securetheadjustershaftwithaatwasherand
alocknut(Figure33).Torquethelocknutto20
to27N∙m(15to20ft-lb).
Note:Thebedbar-adjustershafthasleft-hand
threads.
6.Applyanti-seizecompoundtothethreadsofthe
bedbar-adjusterscrewthattsintotheadjuster
shaft.Threadthebedbar-adjusterscrewintothe
adjustershaft.
7.Looselyinstallthehardenedwasher,spring,and
springtensionnutontotheadjusterscrew.
8.Installthebedbar,positioningthemountingears
betweenthewasherandthebedbaradjuster.
9.Securethebedbartoeachsideplatewiththe
bedbarbolts(nutsonbolts)and6washersas
follows:
A.Positionanylonwasheroneachsideofthe
side-plateboss.
B.Placeasteelwasheroutsideeachofthe
nylonwashers(Figure33).
C.T orquethebedbarboltsto37to45N∙m
(27to33ft-lb).
D.Tightenthelocknutsuntiltheoutsidesteel
washerstopsrotatingandendplayis
removed,butdonotovertightenordeect
thesideplates.
Note:Thewashersontheinsidemayhavea
gap(Figure31).
10.Tightenthenutoneachbedbaradjuster
assemblyuntilthecompressionspringisfully
compressed,thenloosenthenut1/2turn(Figure
32).
11.Repeattheprocedureontheotherendofthe
cuttingunit.
12.Adjustthebedknifetothereel.
19

g016355
Figure33
1.Shaftadjuster4.Applyanti-seizecompound
here.
7.Applyanti-seizecompound
here.
10.Compressionspring
2.Wavewasher5.Flatwasher8.Bedbar-adjusterscrew11.Spring-tensionnut
3.Flangebushing6.Locknut9.Hardenedwasher
20
This manual suits for next models
3
Table of contents
Other Toro Lawn Mower Accessories manuals

Toro
Toro 161-4520 User manual

Toro
Toro 02710 Manual

Toro
Toro 105-3848 User manual

Toro
Toro 126-8379 User manual

Toro
Toro Groundsmaster 4500 Series User manual

Toro
Toro 144-2436 User manual

Toro
Toro 140-5036 User manual

Toro
Toro E-Z Vac 79345 User manual

Toro
Toro 138-0798 User manual

Toro
Toro 79216 User manual