manuals.online logo
Brands
  1. Home
  2. •
  3. Brands
  4. •
  5. TriangleTube
  6. •
  7. Control Unit
  8. •
  9. TriangleTube INSRKIT06 User manual

TriangleTube INSRKIT06 User manual

Instinct
Gas Valve Replacement
1
WARNING
!
Indicates a potentially hazardous situation which,
if ignored, can result in serious injury or substan-
tial property damage.
NOTICE
Indicates special instructions on installation, operation
or maintenance, which are important to equipment
but not related to personal injury hazards.
WARNING
!
For your safety, turn off electrical power supply
at service panel and allow unit to cool before pro-
ceeding to avoid possible electrical shock and
scald hazard. Failure to do so can cause severe
personal injury or death.
WARNING
!
Failure to follow instructions below can result in
severe personal injury or damage if ignored.
• Instructions are for a qualified installer/ ser-
vice technician only.
• Read all instructions before proceeding.
• Follow instructions in proper order.
Kit Part Number Description Model
INSRKIT06 Gas Valve Replacement All Instinct
Each Kit Includes:
• Gas Valve
• Gas Valve O-Rings
Recommended Tools:
• Adjustable Wrenches
• Phillips Head Screwdriver
• Calibrated Combustion Analyzer
2019-40 Instinct Gas Valve Replacement
Revised 2/22/2021
Instinct
Gas Valve Replacement
2
1. Preliminary Instructions
1. Verify that the Gas Valve replacement kit is correct
for the model of boiler. See table on page 1.
2. Carefully open and unpack the PARTS BOX from its
shipping carton.
3. Carefully remove and check for any damage.
NOTICE
Do not proceed with installation and contact Triangle Tube
right away if the gas valve is damaged in any way.
4. Turn o the electrical power supply to the boiler.
5. Close the manual gas shut o valve to the unit.
2. Gas Valve Replacement:
1. Turn power to the unit“OFF”.
2. Shut o the gas supply to the boiler at the main
manual shuto valve.
3. Remove the front jacket panel.
4. Remove the silicon tube from the gas valve but
leave it attached to the air inlet elbow.
Fig. 1: Instinct 110
Fig. 2: Instinct 155
Fig. 3: Instinct 199
5. Remove the Molex plug from the gas valve.
6. Unscrew the 4 screws securing the gas valve t-
tings on both sides of the gas valve. Do not discard
the screws as they will be reused.
7. Remove the screws used to mount the gas valve
to the bracket. Do not discard these screws as they
will be reused
8. Remove the old Gas valve from the boiler.
NOTICE
Ensure the old o-rings installed between the gas valve and
ttings are removed and not reused.
NOTICE
For the reassembly process do not use adhesive on any gas-
ket surface.
Instinct
Gas Valve Replacement
3
9. Install new O-Rings in the opening on both sides of
the new Gas valve as shown in Fig. 4.
Fig. 4: Gas Valve O-Ring
10. Secure the gas valve to the bracket with the screws
previously removed.
11. Secure all four screws on both sides of the gas valve
WARNING
!
Ensure the O-Rings are properly seated in both gas
valve opening prior to tightening the screws. Improp-
erly seated O-rings can cause severe personal injury,
death or substantial property damage.
12. Reconnect the Molex plug to the gas valve electri-
cal connection.
13. Check and test all gas connections for leaks. Repair
leaks if found.
WARNING
!
Do not check for gas leaks with an open flame. Use a
bubble test. Failure to check for gas leaks can cause
severe personal injury, death or substantial property
damage.
14. Turn the electrical power“ON”to the boiler to check
combustion.
3. Combustion Test and Adjustments
NOTICE
The installer MUST perform a complete combustion check
to ensure the following combustion levels are met at high
and low input ring rates and the burner is operating at op-
timum conditions.
Table 1: Recommended Combustion Settings
NG
110, 155
NG
199
Propane
High Fire
CO2Range 9.0 to
10.5%
8.5 to
10.5%
10.4 to
11.0%
O2Range 4.85 to
2.15 %
5.75 to
2.15 %
5.1 to
4.2 %
CO Max 150 ppm 200 ppm
Low Fire
CO2Range 9.0 to
10.0 %
8.5 to
10.0 %
10.4 to
11.0 %
Lower than or equal to High Fire
CO2level
O2Range 4.85 to
3.0 %
5.75 to
3.0 %
5.1 to
4.2 %
Higher than or equal to High Fire
CO2level
CO Max 10 ppm
WARNING
!
The combustion testing and adjustments must be per-
formed by a qualified installer, service agency or the
gas supplier. All combustion measurements must be
performed with calibrated equipment to ensure prop-
er readings and accuracy.
WARNING
!
Failure to perform a complete combustion test at both
high and low input rates may result in incomplete
combustion and the production of carbon monoxide,
which can cause severe personal injury, death or sub-
stantial property damage.
1. Touch simultaneously on the up and down soft
keys (as high lighted by the wrench icon) for 3 sec-
onds to access the functions for the installer. See
Fig. 5.
Instinct
Gas Valve Replacement
4
2. Enter the installer access code “054” by using the
LEFT and RIGHT buttons to select a digit and the UP
and DOWN buttons to change the digit. Press the
center button to enter the access code.
Fig. 5: CTRLMax Navigation Control
Fig. 6: Controls display
3. Press the RIGHT button to highlight the Manual
Operation icon then press the OK button.
4. Press the center button while the FAN icon is high-
lighted to manually re the burner and power the
CH circulator. See Fig. 6
NOTICE
An adequate CH load must be present to dissipate the heat
generated during the combustion test. If an adequate CH
load is not available, an indirect water heater can be used to
dissipate the heat by creating a DHW call which will enable
the DHW circulator.
5. Press the RIGHT button to adjust the ring rate to
100% (high re). Hold down the RIGHT button to
rapidly increase the ring rate.
6. If the combustion levels during high re are outside
the recommended combustion settings, adjust the
THROTTLE SCREW using a at-blade screwdriver as
follows:
Counter-clockwise adjustment of the THROTTLE
SCREW at High Fire (100% firing rate):
Increase CO2 & Decrease O2
Clockwise adjustment of the THROTTLE SCREW at
High Fire (100% firing rate):
Decrease CO2 & Increase O2
7. Once the combustion level is set at high re, manu-
ally place the boiler into low re mode by pressing
the LEFT button to adjust ring rate down to 0%
(low re).
8. If the combustion level (O2 or CO2) during low re
is not within +/-0.2 of the combustion level mea-
sured at high re, shut down the boiler and contact
Triangle Tube Tech Support at 856-228-3584, ext.
500
9. Reattach the front jacket panel and return the unit
to normal service.
Fig. 7: Throttle Screw Location

Other TriangleTube Control Unit manuals
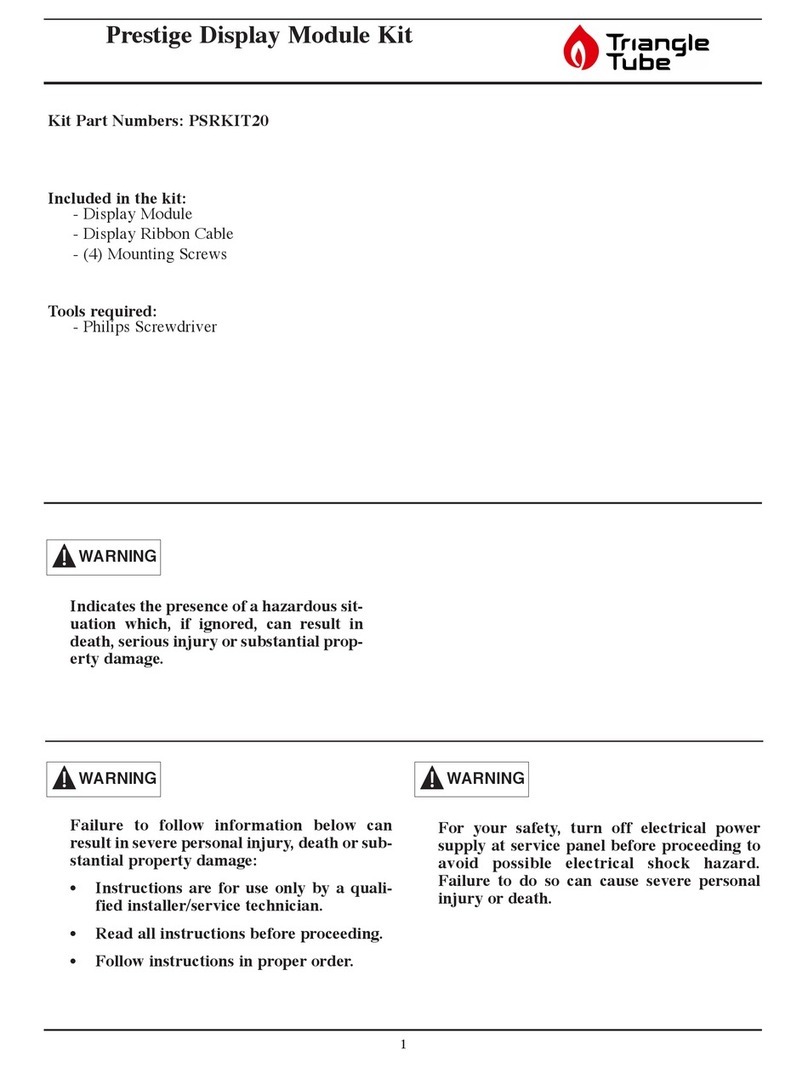
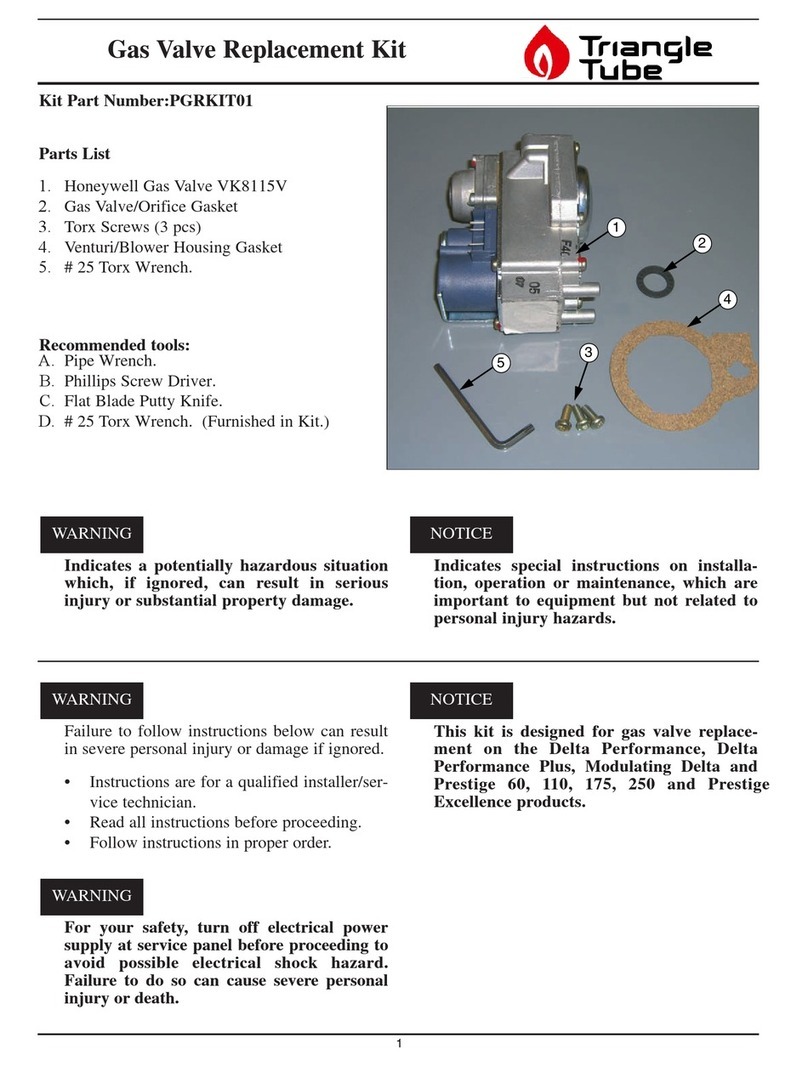
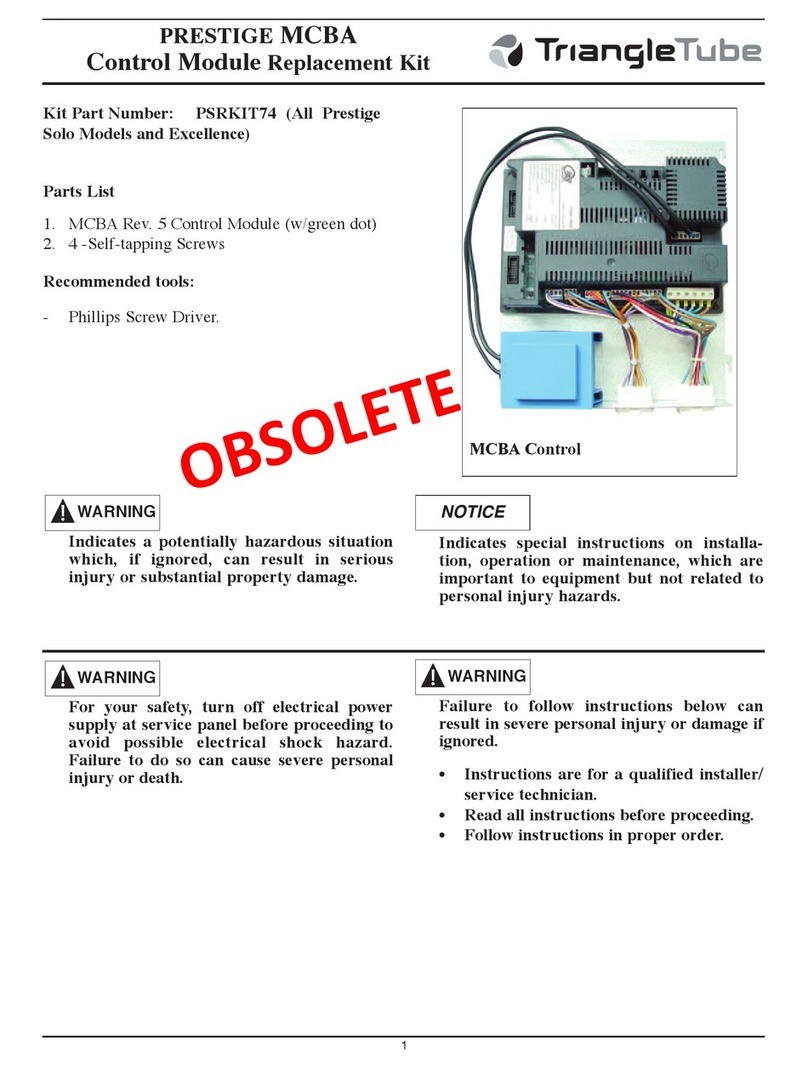
TriangleTube PGRKIT18 User manual

TriangleTube

TriangleTube PGRKIT18 User manual

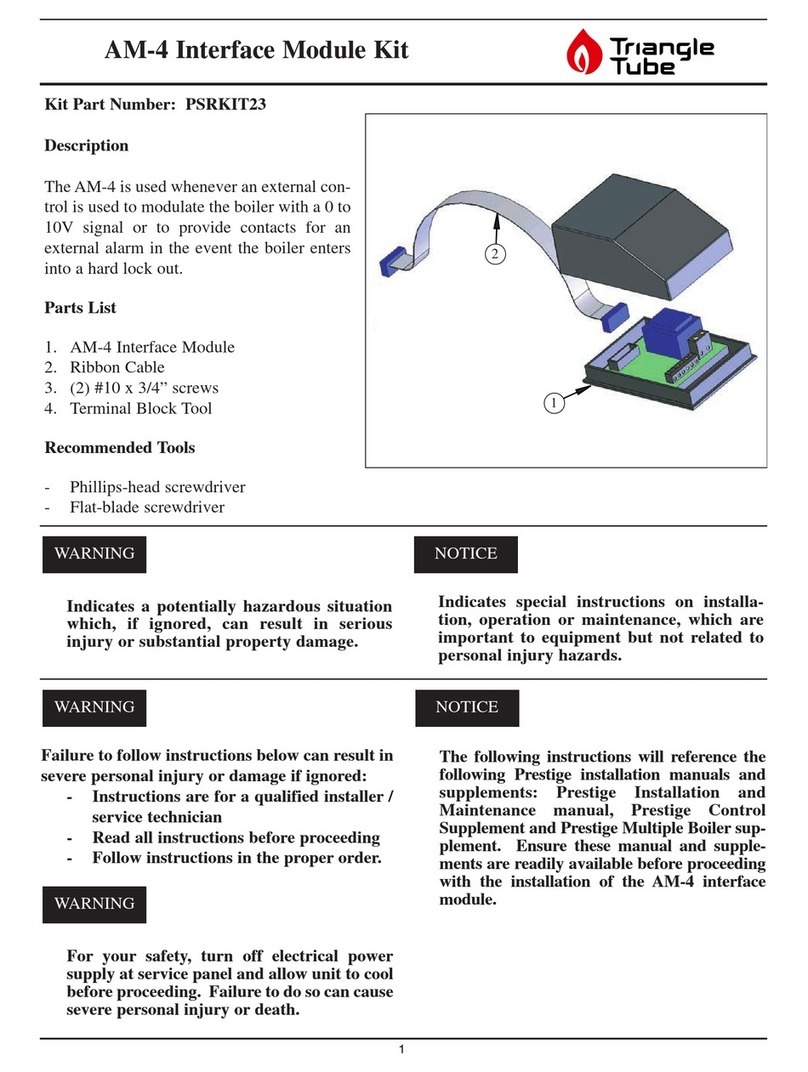
TriangleTube PSRKIT23 User manual

TriangleTube

TriangleTube PSRKIT23 User manual

TriangleTube PRESTIGE TriMax PTRKIT205 User manual

TriangleTube

TriangleTube PRESTIGE TriMax PTRKIT205 User manual

TriangleTube PGRKIT16 User manual

TriangleTube

TriangleTube PGRKIT16 User manual

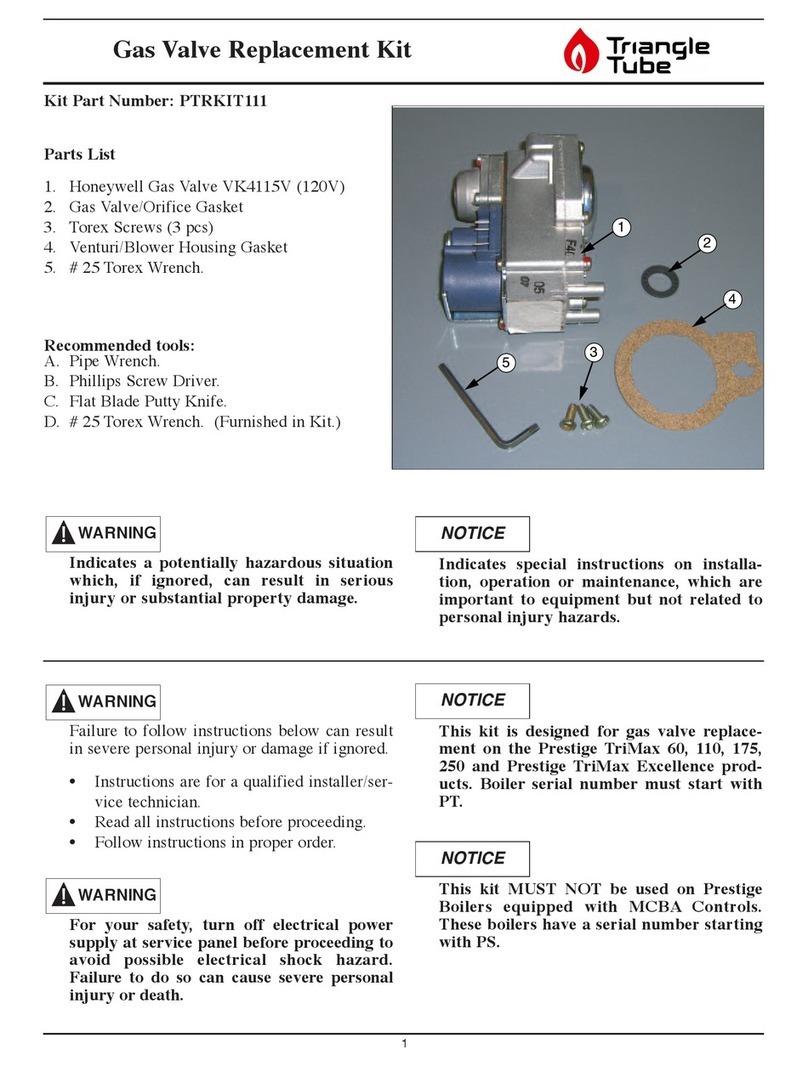
TriangleTube PTRKIT111 User manual

TriangleTube

TriangleTube PTRKIT111 User manual

TriangleTube PSRKIT20 User manual

TriangleTube

TriangleTube PSRKIT20 User manual
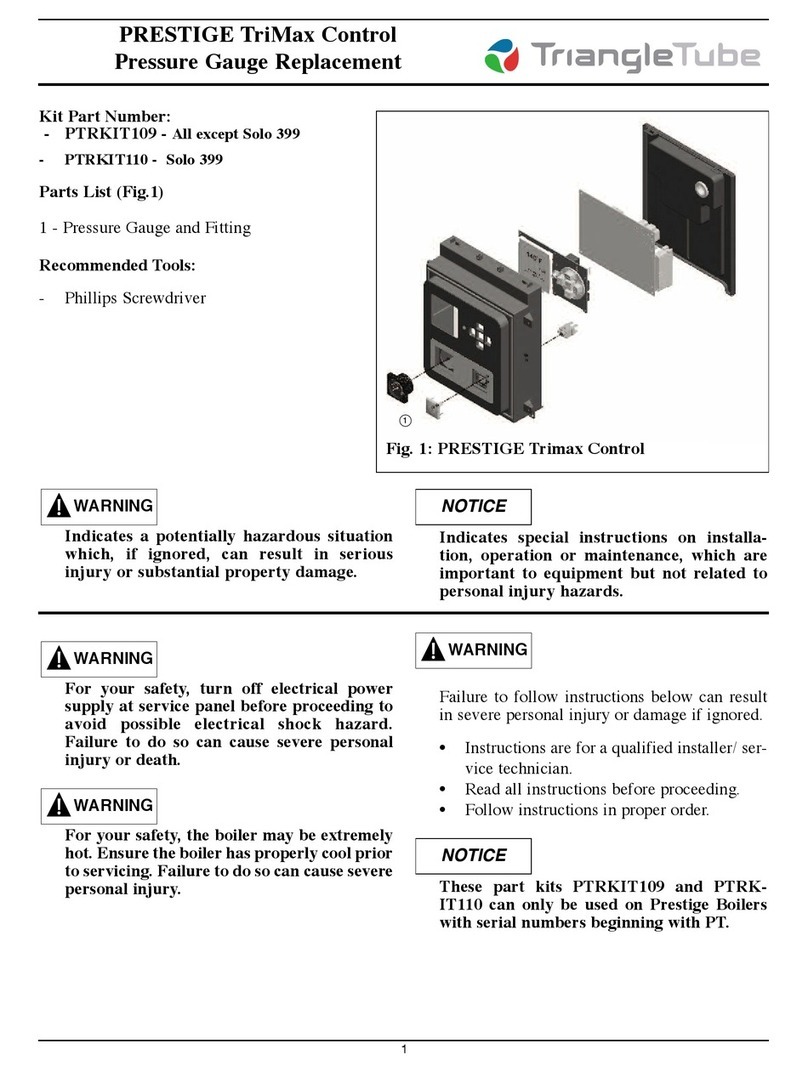
TriangleTube PRESTIGE TriMax PTRKIT109 User manual
TriangleTube

TriangleTube PRESTIGE TriMax PTRKIT109 User manual

TriangleTube Prestige Trimax 399 User manual

TriangleTube

TriangleTube Prestige Trimax 399 User manual

TriangleTube PSRKIT74 User manual

TriangleTube

TriangleTube PSRKIT74 User manual

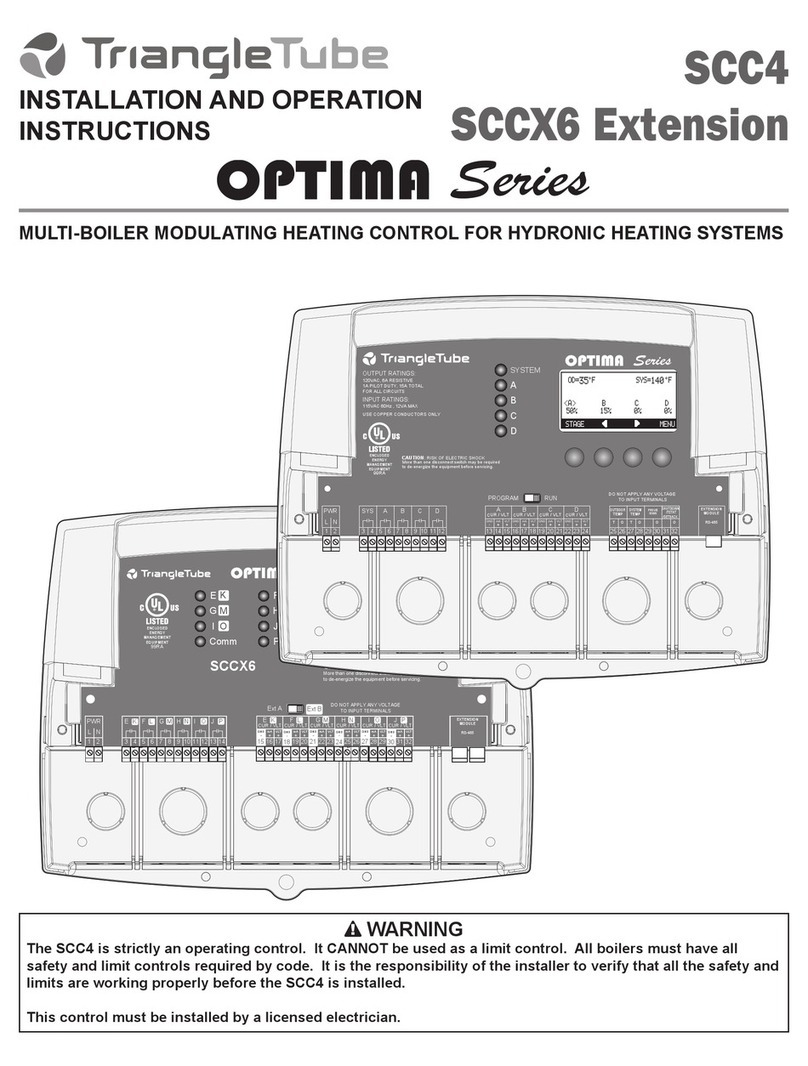
TriangleTube Optima Series Installation instructions

TriangleTube

TriangleTube Optima Series Installation instructions

TriangleTube CHALLENGER CC 85 User manual

TriangleTube

TriangleTube CHALLENGER CC 85 User manual

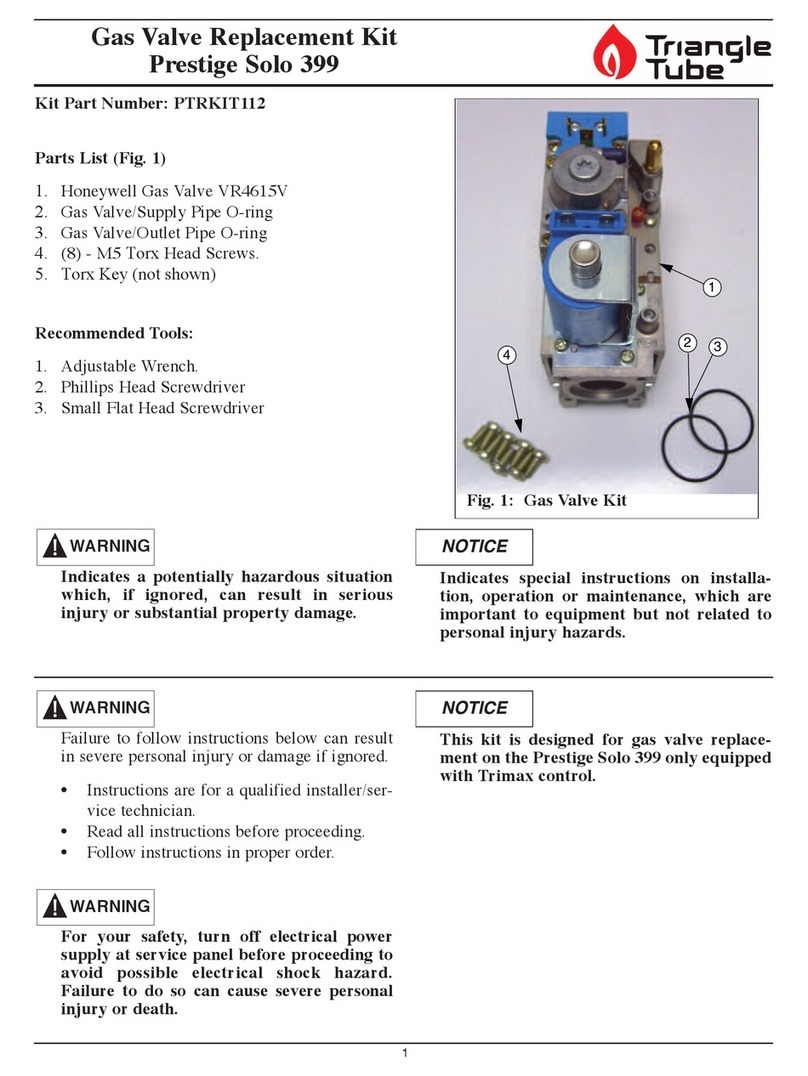
TriangleTube PTRKIT112 User manual

TriangleTube

TriangleTube PTRKIT112 User manual
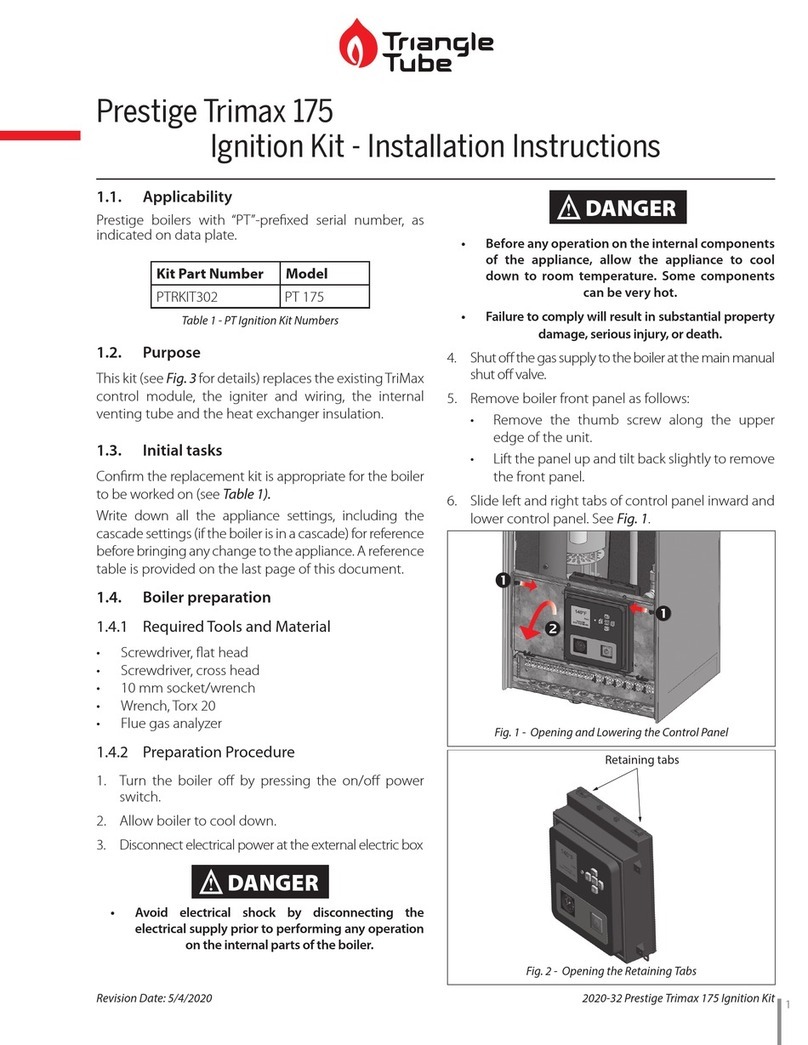
TriangleTube PGRKIT01 User manual

TriangleTube

TriangleTube PGRKIT01 User manual

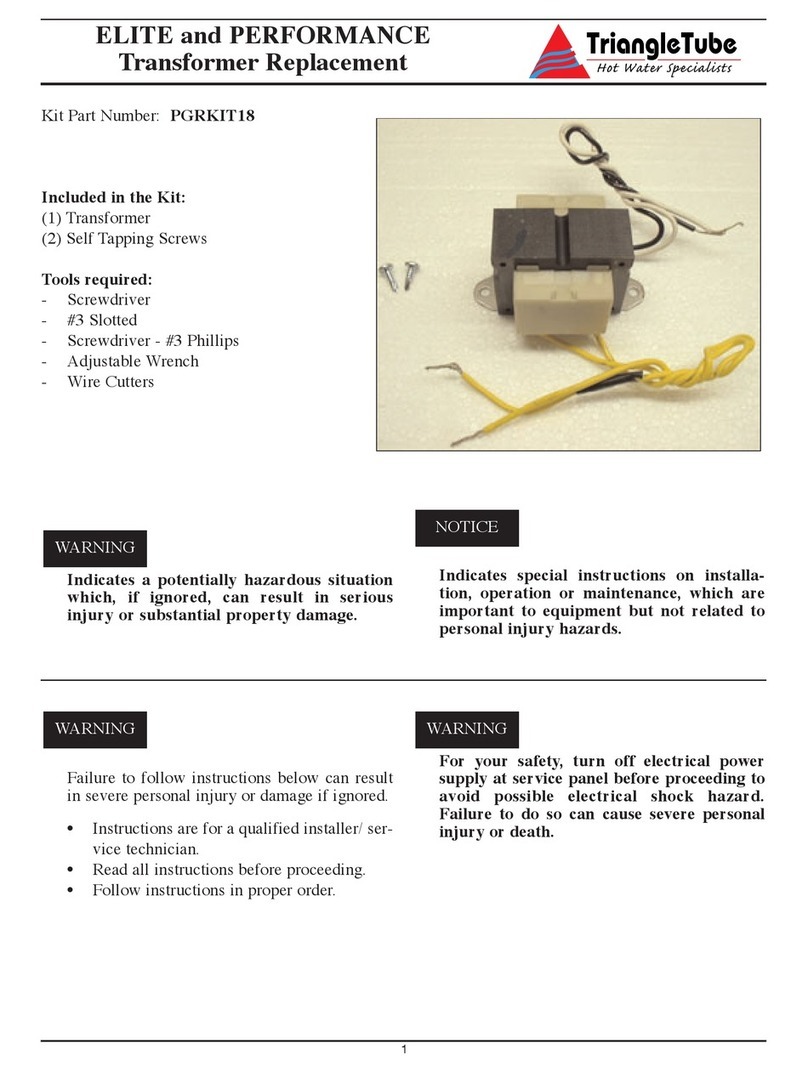
TriangleTube Prestige Trimax 175 User manual
TriangleTube

TriangleTube Prestige Trimax 175 User manual

Popular Control Unit manuals by other brands

Hi-Spec RF-PRO instruction manual

Hi-Spec

Hi-Spec RF-PRO instruction manual

PROPOINT 8688855 quick start guide

PROPOINT

PROPOINT 8688855 quick start guide

Aqua Medic Ocean Light LED Control Operation manual

Aqua Medic

Aqua Medic Ocean Light LED Control Operation manual

Delta R3270-MIXLF quick start guide

Delta

Delta R3270-MIXLF quick start guide

Ublox ZED-F9P Integration manual

Ublox

Ublox ZED-F9P Integration manual

MD SPORTS WM.COM 1614205 troubleshooting guide

MD SPORTS

MD SPORTS WM.COM 1614205 troubleshooting guide

digi-tech AA-0373 user manual

digi-tech

digi-tech AA-0373 user manual

Alfalaval ThinkTop V20 instruction manual

Alfalaval

Alfalaval ThinkTop V20 instruction manual

Fly Sky USM-GT3X instruction manual

Fly Sky

Fly Sky USM-GT3X instruction manual

KEBCO COMBIVERT F4-S/1.2 Applications manual

KEBCO

KEBCO COMBIVERT F4-S/1.2 Applications manual

IBC control VariMax50 manual

IBC control

IBC control VariMax50 manual

SimCom SIM300 user manual

SimCom

SimCom SIM300 user manual

Alfalaval Unique Mixproof 3-body instruction manual

Alfalaval

Alfalaval Unique Mixproof 3-body instruction manual

Skytech TM/R-2-A Installation and operating instruction

Skytech

Skytech TM/R-2-A Installation and operating instruction

red lion MODULAR CONTROLLER SERIES manual

red lion

red lion MODULAR CONTROLLER SERIES manual

Delta DVP04AD-H2 instruction sheet

Delta

Delta DVP04AD-H2 instruction sheet

Paradox IP150+ installation manual

Paradox

Paradox IP150+ installation manual

Heath Zenith CB-2011 user manual

Heath Zenith

Heath Zenith CB-2011 user manual

manuals.online logo
manuals.online logoBrands
  • About & Mission
  • Contact us
  • Privacy Policy
  • Terms and Conditions

Copyright 2025 Manuals.Online. All Rights Reserved.