manuals.online logo
Brands
  1. Home
  2. •
  3. Brands
  4. •
  5. TriangleTube
  6. •
  7. Control Unit
  8. •
  9. TriangleTube PSRKIT74 User manual

TriangleTube PSRKIT74 User manual

PRESTIGE MCBA
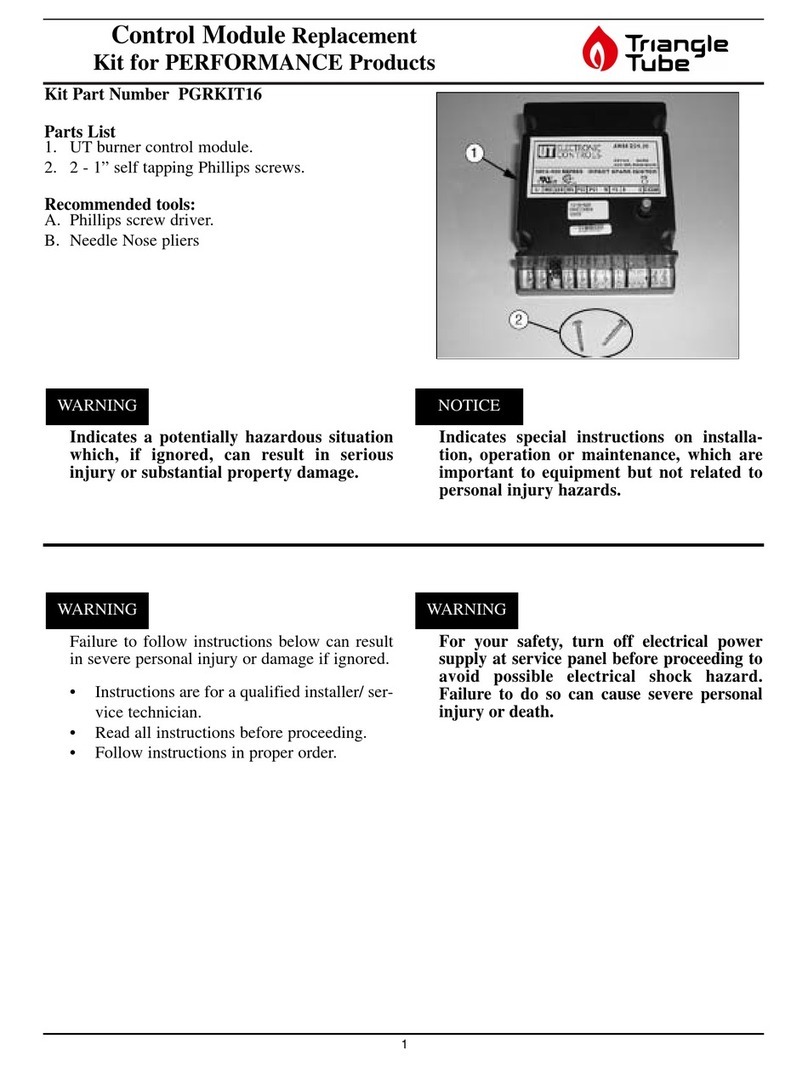
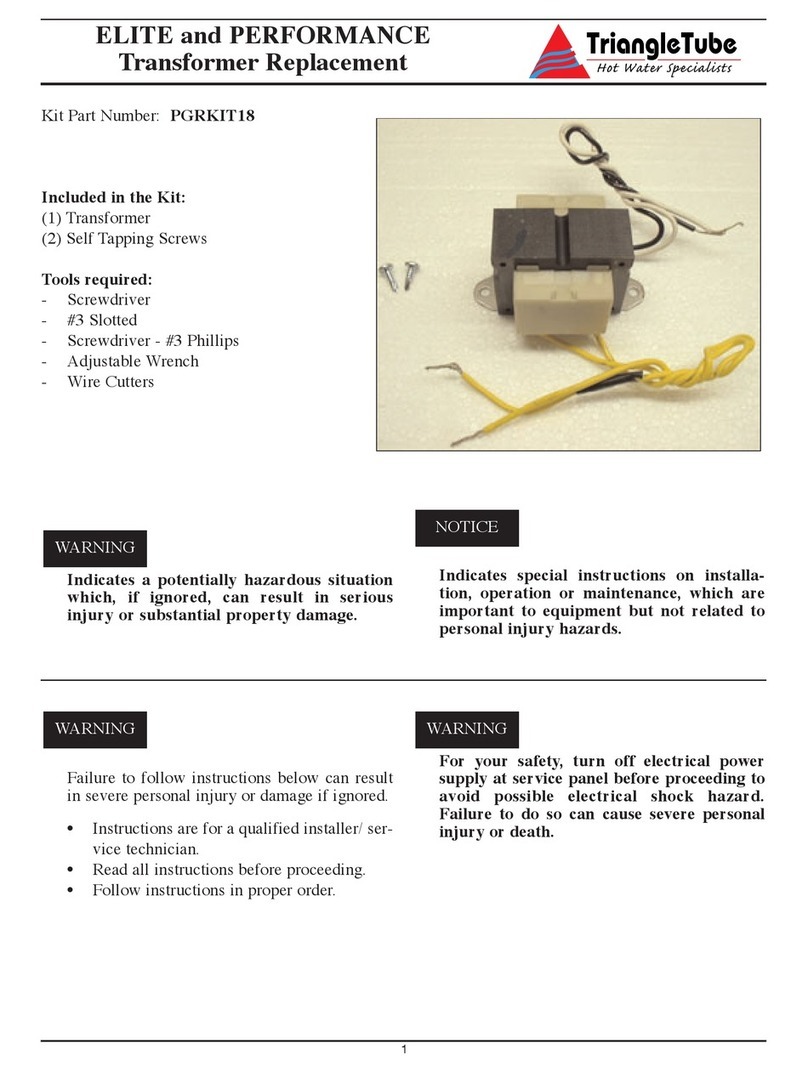
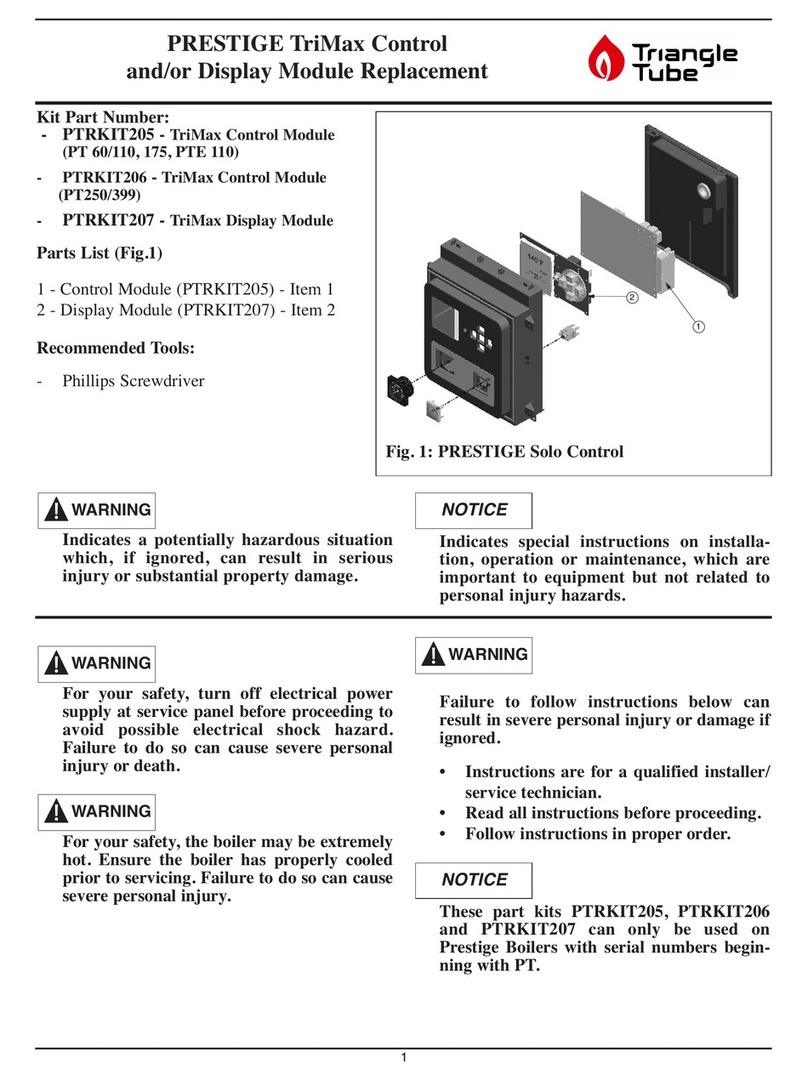
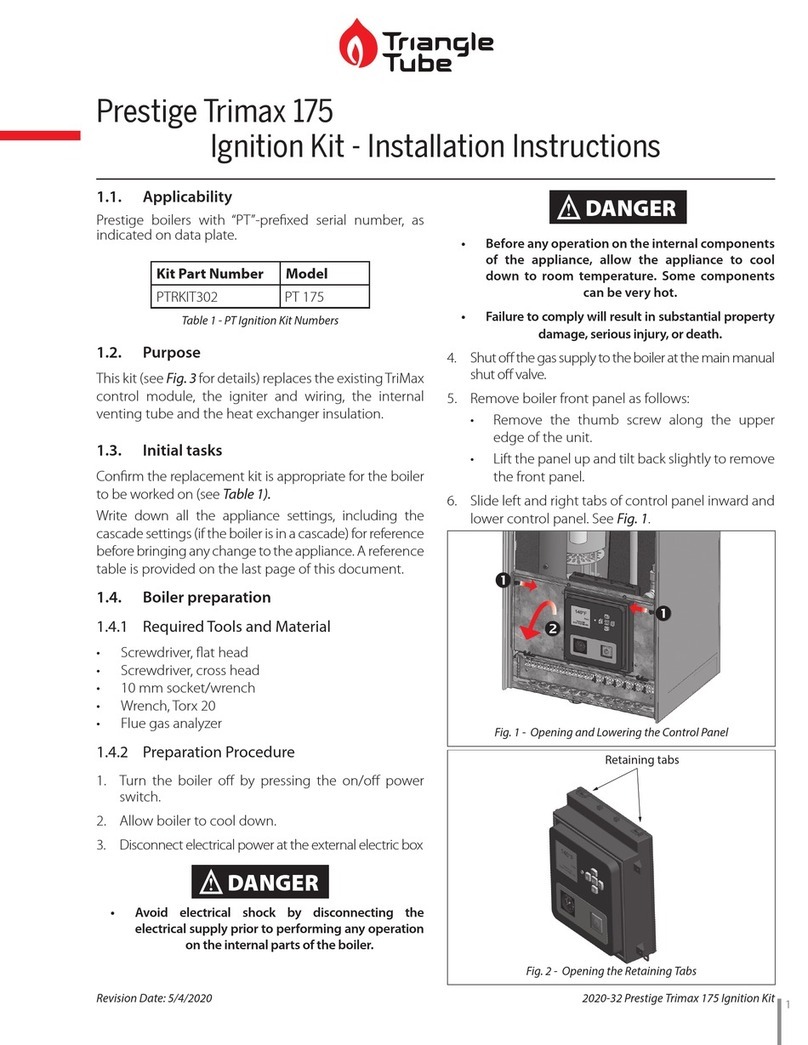
Control Module Repl cement Kit
1
Kit P rt Number: PSRKIT74 (All Prestige
Solo Models nd Excellence)
P rts List
1. MCBA Rev. 5 Control Module (w/green dot)
2. 4 -Self-tapping Screws
Recommended tools:
- Phillips Screw Driver.
Indic tes potenti lly h z rdous situ tion
which, if ignored, c n result in serious
injury or subst nti l property d m ge.
For your s fety, turn off electric l power
supply t service p nel before proceeding to
void possible electric l shock h z rd.
F ilure to do so c n c use severe person l
injury or de th.
Indic tes speci l instructions on inst ll -
tion, oper tion or m inten nce, which re
import nt to equipment but not rel ted to
person l injury h z rds.
F ilure to follow instructions below c n
result in severe person l injury or d m ge if
ignored.
• Instructions re for qu lified inst ller/
service technici n.
• Re d ll instructions before proceeding.
• Follow instructions in proper order.
WARNING
WARNING WARNING
NOTICE
MCBA Control
OBSOLETE
Instructions
1. Turn power to the unit “ FF”.
2. Remove the front jacket panel.
Before proceeding to the following steps
m rk nd l bel ll connections nd the loc -
tion of the connections prior to disconnecting
ny wire connections.
3. Disconnect the ignition cable from the MCBA
Control Module.
4. Disconnect the display panel cable from the
MCBA Control Module.
5. Disconnect all Molex connectors of the main
wire harness from the MCBA Control Module.
6. Disconnect the Transformer cable connector
from the MCBA Control Module.
7. Remove the MCBA Control Module mounting
screws. Do not discard the MCBA Control
Module.
Cont ct Tri ngle Tube Customer Service for
n RGA number to return the d m ge
MCBA Control Module.
8. Mount the new MCBA Control Module onto the
control panel using the screws included with the
kit. Ensure all screws are tight and the module
is securely mounted.
9. Reconnect the main wire harness Molex con-
nectors in the proper connection positions. The
connectors are designed to fit only in the appro-
priate mating connector.
Note th t connector X4 m y h ve 4 pins but
the wire h rness connector only h s 3 pins.
The connector should be pl ced over pins 1
through 3.
10. Reconnect the Transformer cable to the MCBA
Control Module.
11. Reconnect the display panel cable connector to
the MCBA Control Module.
12. Reconnect the ignition cable to the MCBA
Control Module.
13. Remount the front jacket panel to the boiler.
14. Turn power to the unit “ N” and return the boil-
er to service.
15. Using the display panel, reset Parameter 4 to
system temperature requirements. Reference
the Prestige installation manual and/or the
Prestige Control Supplement for steps on set-
ting system parameters.
NOTICE
NOTICE
NOTICE
PRESTIGE MCBA
Control Module Repl cement Kit
2
(4) Mounting
Screws
MCBA Control
Module
Fig. 1: MCBA Mounting
OBSOLETE
PRESTIGE MCBA
Control Module Repl cement Kit
3
ENtERING MCBA ACCEss CodE
The installer must enter the MCBA Access Code to
adjust the advanced parameter settings of the
MCBA to distinguish between a Solo versus
Excellence boiler. The Access Code can be entered
as follows:
1. Press the M DE button until the display shows
STBY.
2. Press and hold the M DE and STEP buttons
together for 2 to 3 seconds until the display
shows CODE.
3. Press the STEP button once and the display will
show C_XX where XX represents a random
number.
4. Press the “+” or “–“ buttons to change the num-
ber displayed to read C_54. Press and hold the
“+” or “–“ button to rapidly change the number.
5. When the display reads C_54, press the
ST RE button to save the Access Code. The
display should flash to indicate that the Access
Code was saved.
After the Access Code has been entered, the
advanced parameters can be accessed by pressing
the M DE button until the display shows PARA.
nce the display shows PARA, press the STEP but-
ton to reach the appropriate parameter. The display
should follow the following sequence:
Press STEP once- 1140
Press STEP x2 - 2_01
Press STEP x3 - 3_01
Press STEP x4 - 4186
Press STEP x5 - P_10
Press STEP x6 - P_11 Etc......
After Parameter 4, the display will show P followed
by the parameter number. nce a particular para-
meter is reached, the display will change to show
the current setting of that parameter.
The ctu l p r meter v lues displ yed on
the displ y m y v ry depending on the ppli-
c tion, but the sequence will lw ys occur in
the order shown.
Ch nging P r meter Setting
1. Use the “+” or “–“ button to change the para-
meter setting.
2. Press the ST RE button to save the change.
The display should flash to indicate that the
change was saved.
3. When changing out the MCBA for a Prestige
S L versus Prestige Excellence Boiler, please
make sure all settings all resumed as were used
on the old MCBA control module. Refer to the
Prestige Installation Manual and/or Prestige
Control Supplement for steps on setting system
parameters.
Parameter 46 (P46) must be set according to the
shcedule below:
- Prestige S L Boiler and SMART Tank
aquastat: Set P46 = 13
- Prestige S L Boiler and SMART Tank
with tank sensor: Set P46 = 12
- Prestige Excellence Boiler: Set P46 = 02
4. Press the RESET button to leave the Access
Code mode.
NOTICE
OBSOLETE
PRESTIGE MCBA
Control Module Repl cement Kit
4
If p r meter setting is ch nged but the
STORE button is not pressed to s ve the set-
ting, the MCBA will utom tic lly store the
setting fter 15 minutes. Ensure ll p r me-
ters re t their f ctory settings or ppropri-
tely revised for the pplic tion prior to com-
missioning the boiler. F ilure to comply
could result in err tic or unreli ble oper tion
of the Prestige boiler.
Once p r meter setting h s been revised
nd stored, pressing the STEP button will
displ y the setting of the next p r meter
without showing P_XX. To void confusion,
it is dvis ble to continue pressing the STEP
button until P r meter 46 is re ched. The
next press of the STEP button will c use the
displ y to roll over to P r meter 1. Continue
pressing the STEP button until the next
p r meter to be djusted is re ched nd
revise the setting.
NOTICE
WARNING
Revised date: 05/24/11 2011-9 MBCBA Replacement Kit Prestige & Excellence
OBSOLETE

Other TriangleTube Control Unit manuals
TriangleTube CHALLENGER CC 85 User manual

TriangleTube

TriangleTube CHALLENGER CC 85 User manual

TriangleTube Prestige Trimax 399 User manual

TriangleTube

TriangleTube Prestige Trimax 399 User manual

TriangleTube PSRKIT20 User manual

TriangleTube

TriangleTube PSRKIT20 User manual

TriangleTube PTRKIT111 User manual

TriangleTube

TriangleTube PTRKIT111 User manual

TriangleTube PTRKIT112 User manual

TriangleTube

TriangleTube PTRKIT112 User manual

TriangleTube PGRKIT16 User manual

TriangleTube

TriangleTube PGRKIT16 User manual

TriangleTube PRESTIGE TriMax PTRKIT205 User manual

TriangleTube

TriangleTube PRESTIGE TriMax PTRKIT205 User manual

TriangleTube Optima Series Installation instructions

TriangleTube

TriangleTube Optima Series Installation instructions

TriangleTube PRESTIGE TriMax PTRKIT109 User manual

TriangleTube

TriangleTube PRESTIGE TriMax PTRKIT109 User manual

TriangleTube PSRKIT23 User manual

TriangleTube

TriangleTube PSRKIT23 User manual

TriangleTube PGRKIT01 User manual

TriangleTube

TriangleTube PGRKIT01 User manual
TriangleTube INSRKIT06 User manual

TriangleTube

TriangleTube INSRKIT06 User manual

TriangleTube Prestige Trimax 175 User manual

TriangleTube

TriangleTube Prestige Trimax 175 User manual

TriangleTube PGRKIT18 User manual

TriangleTube

TriangleTube PGRKIT18 User manual
Popular Control Unit manuals by other brands

Hi-Spec RF-PRO instruction manual

Hi-Spec

Hi-Spec RF-PRO instruction manual

PROPOINT 8688855 quick start guide

PROPOINT

PROPOINT 8688855 quick start guide

Aqua Medic Ocean Light LED Control Operation manual

Aqua Medic

Aqua Medic Ocean Light LED Control Operation manual

Delta R3270-MIXLF quick start guide

Delta

Delta R3270-MIXLF quick start guide

Ublox ZED-F9P Integration manual

Ublox

Ublox ZED-F9P Integration manual

MD SPORTS WM.COM 1614205 troubleshooting guide

MD SPORTS

MD SPORTS WM.COM 1614205 troubleshooting guide

digi-tech AA-0373 user manual

digi-tech

digi-tech AA-0373 user manual

Alfalaval ThinkTop V20 instruction manual

Alfalaval

Alfalaval ThinkTop V20 instruction manual

Fly Sky USM-GT3X instruction manual

Fly Sky

Fly Sky USM-GT3X instruction manual

KEBCO COMBIVERT F4-S/1.2 Applications manual

KEBCO

KEBCO COMBIVERT F4-S/1.2 Applications manual

IBC control VariMax50 manual

IBC control

IBC control VariMax50 manual

SimCom SIM300 user manual

SimCom

SimCom SIM300 user manual

Alfalaval Unique Mixproof 3-body instruction manual

Alfalaval

Alfalaval Unique Mixproof 3-body instruction manual

Skytech TM/R-2-A Installation and operating instruction

Skytech

Skytech TM/R-2-A Installation and operating instruction

red lion MODULAR CONTROLLER SERIES manual

red lion

red lion MODULAR CONTROLLER SERIES manual

Delta DVP04AD-H2 instruction sheet

Delta

Delta DVP04AD-H2 instruction sheet

Paradox IP150+ installation manual

Paradox

Paradox IP150+ installation manual

Heath Zenith CB-2011 user manual

Heath Zenith

Heath Zenith CB-2011 user manual

manuals.online logo
manuals.online logoBrands
  • About & Mission
  • Contact us
  • Privacy Policy
  • Terms and Conditions

Copyright 2025 Manuals.Online. All Rights Reserved.