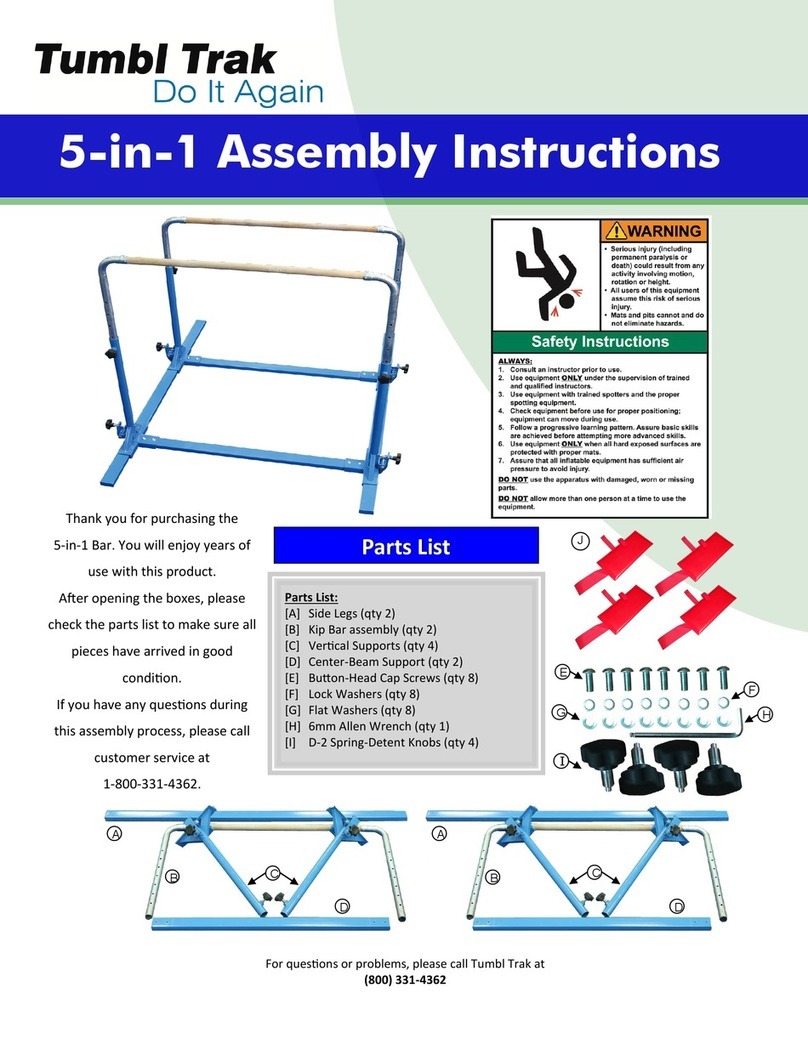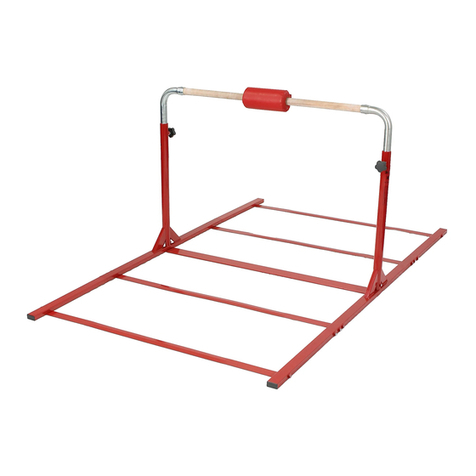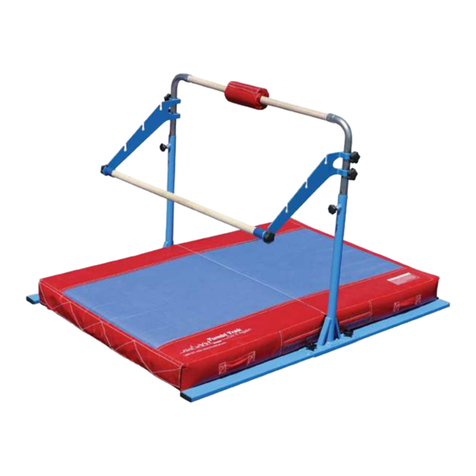
Fig. A
Fig. E
Align the circular tubes of the 2 End Cross Supports
with the appropriate holes on the botto of each
end of the Upright. See botto of Upright (Fig. B).
Slide one of the Uprights down into the tube of the
Center Cross Support. (Fig. A) Make sure the set
screws on the Upright face outward.
Place the Center Cross Support and 2 End Cross
Supports parallel to each other on the floor (Fig. A).
Repeat with 2nd Upright.
Fig. C
Insert 4 Set Screws (there is one Set Screw on the
inner ost part of each end of the Upright leg) (Fig.
C). Tighten with allen wrench. The other two Set
Screws on each leg are to secure the Extensions (if
purchased).
Slide the down tubes of the Bar Asse bly into the
receiver of the Uprights (Fig. D).
Fig. D
Select the appropriate height for the bar and align
the holes of the down tube of the Bar Asse bly
with the holes of the Upright. Insert the D-2
knobs on both sides and lock into place (Fig. E).
7
7
Your new Jr.
Kip Bar is easy
to assemble!
Only 1 tool
necessary!
*If the Bar Assembly is
difficult to move, raise and
lower several times. This
will free the chambers of
any extra paint or metal
particles that may have
been stuck in the chamber
during the manufacturing
process.
8
8
Enjoy!
6
6
5
5
4
4
3
3
2
2
1
1
Fig. B
To adjust bar height:
• loosen D-2 knob (1-2 turns counter-clockwise)
• pull back on knob to retract pin fro tube hole, and
raise/lower bar to desired location
• release knob, assuring that the pin goes into the
appropriate tube hole
• tighten knob (turning clockwise) until knob is fully seat-
ed against the tube, holding it securely
General Guidelines
(125 lb. limit)
Standard Base: for athletes
weighing between 50-70 lbs for
BASIC skills
Standard Base with Extensions:
for athletes weighing between
50-70 lbs for ADVANCED skills.
Standard Base with Extension &
Plywood (purchased fro a local
ho e i prove ent store): for
athletes weighing up to 125 lbs
