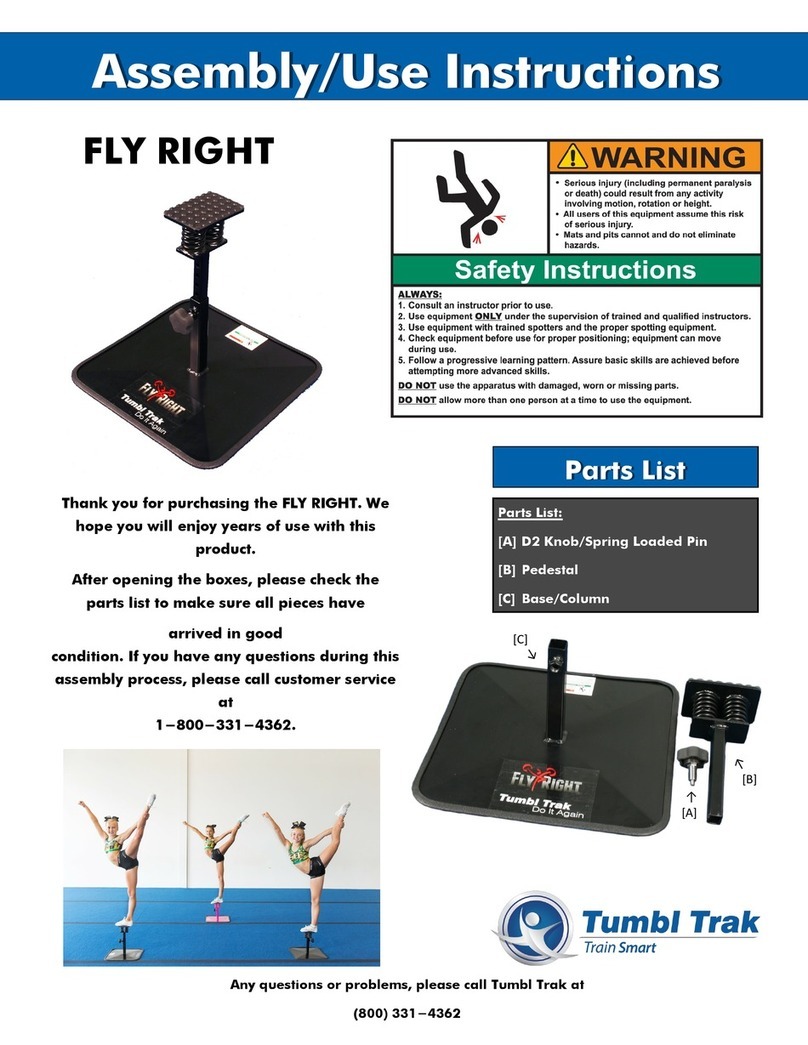
Tumbl Trak Addie Beam User manual
Other Tumbl Trak Fitness Equipment manuals
Tumbl Trak
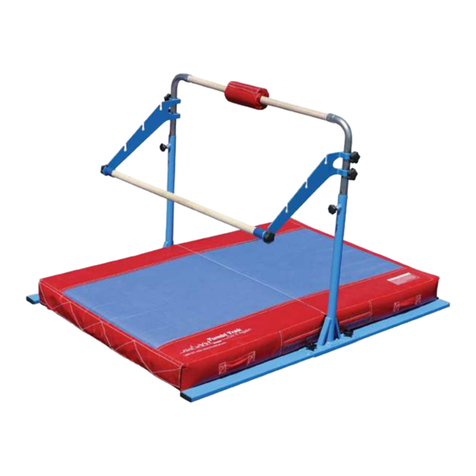
Tumbl Trak Jr. Kip Bar Installation guide

Tumbl Trak
Tumbl Trak Fitness Wheel User manual
Tumbl Trak
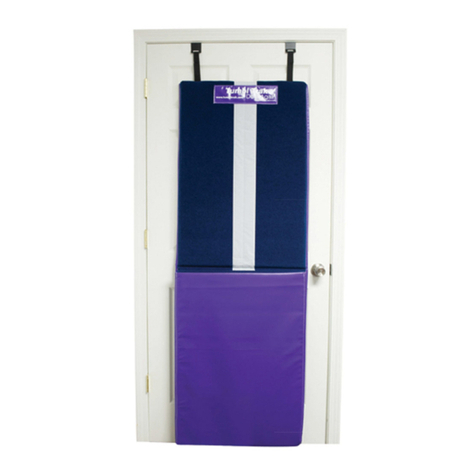
Tumbl Trak Handstand Homework Mat User manual
Tumbl Trak
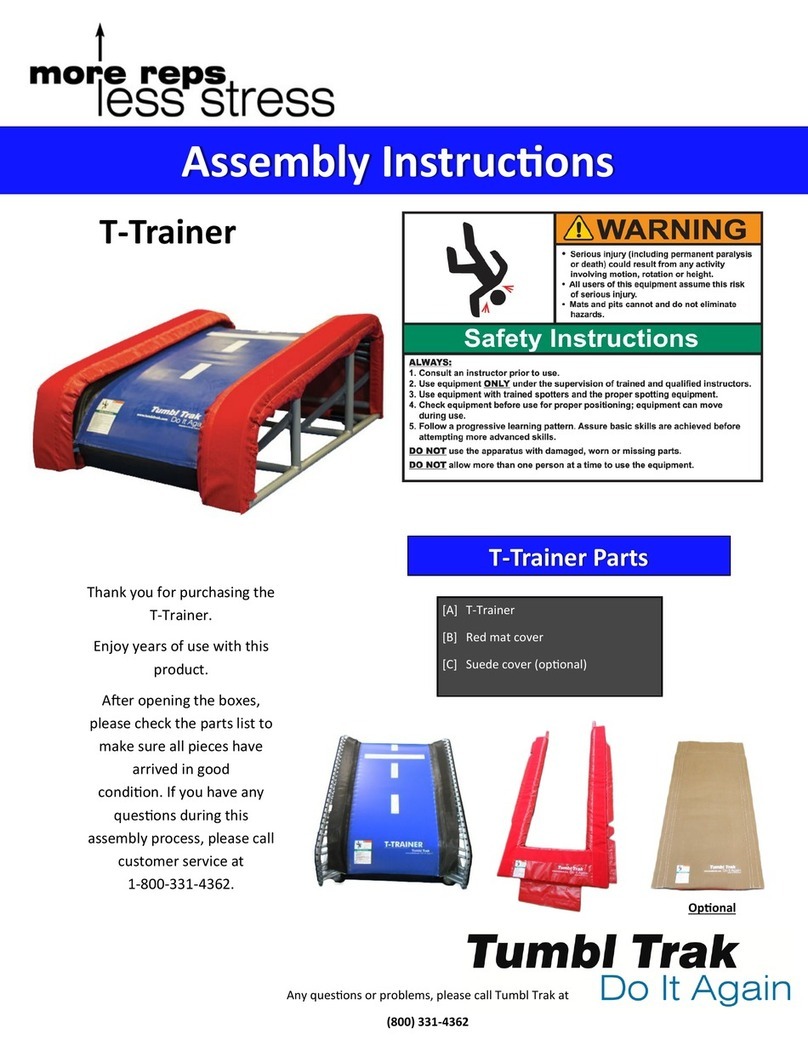
Tumbl Trak T-Trainer User manual
Tumbl Trak
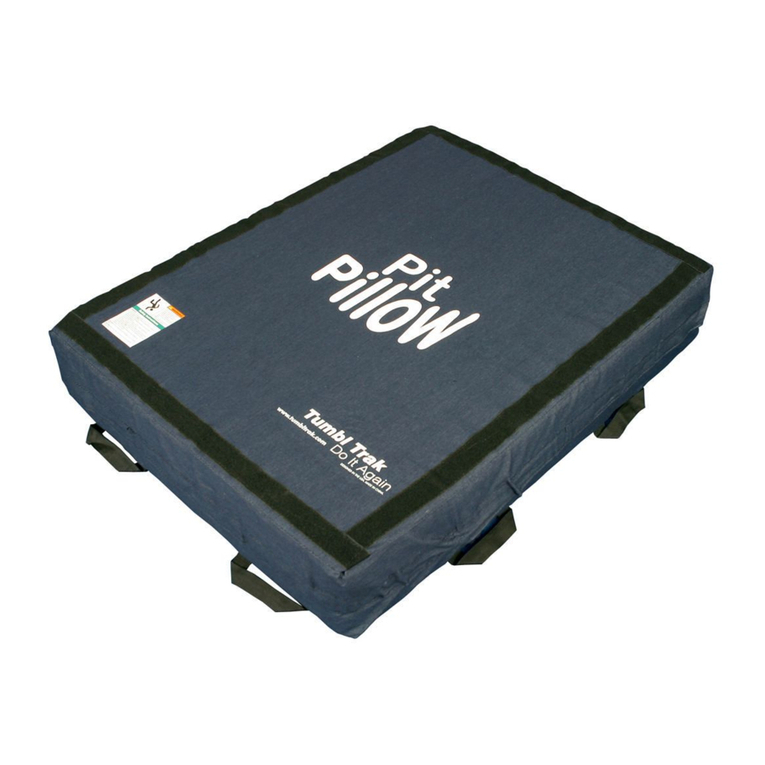
Tumbl Trak Pit Pillow User manual
Tumbl Trak
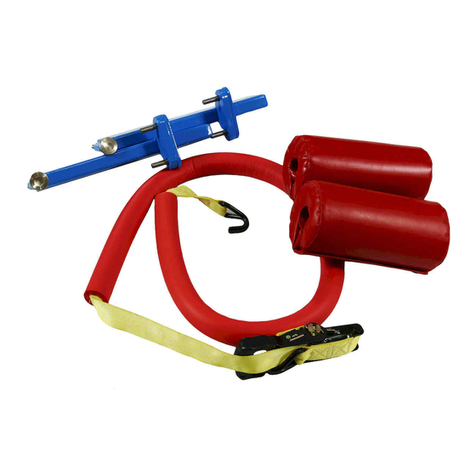
Tumbl Trak Quick Flex Bar User manual
Tumbl Trak
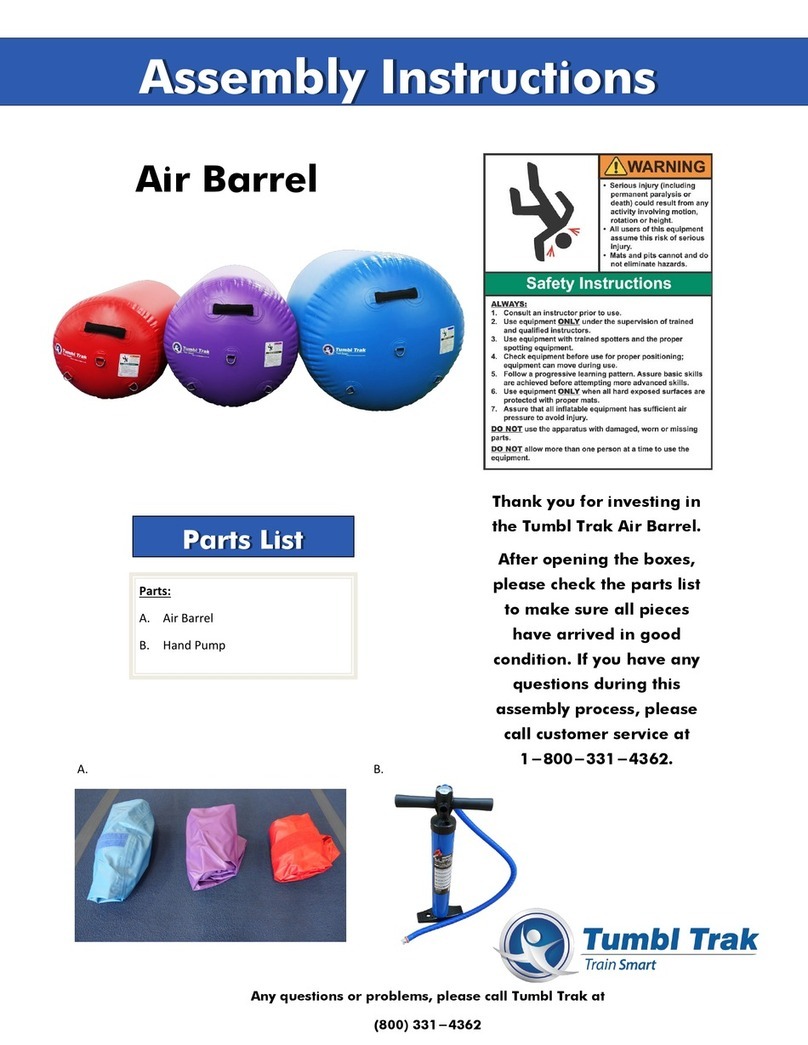
Tumbl Trak Air Barrel User manual
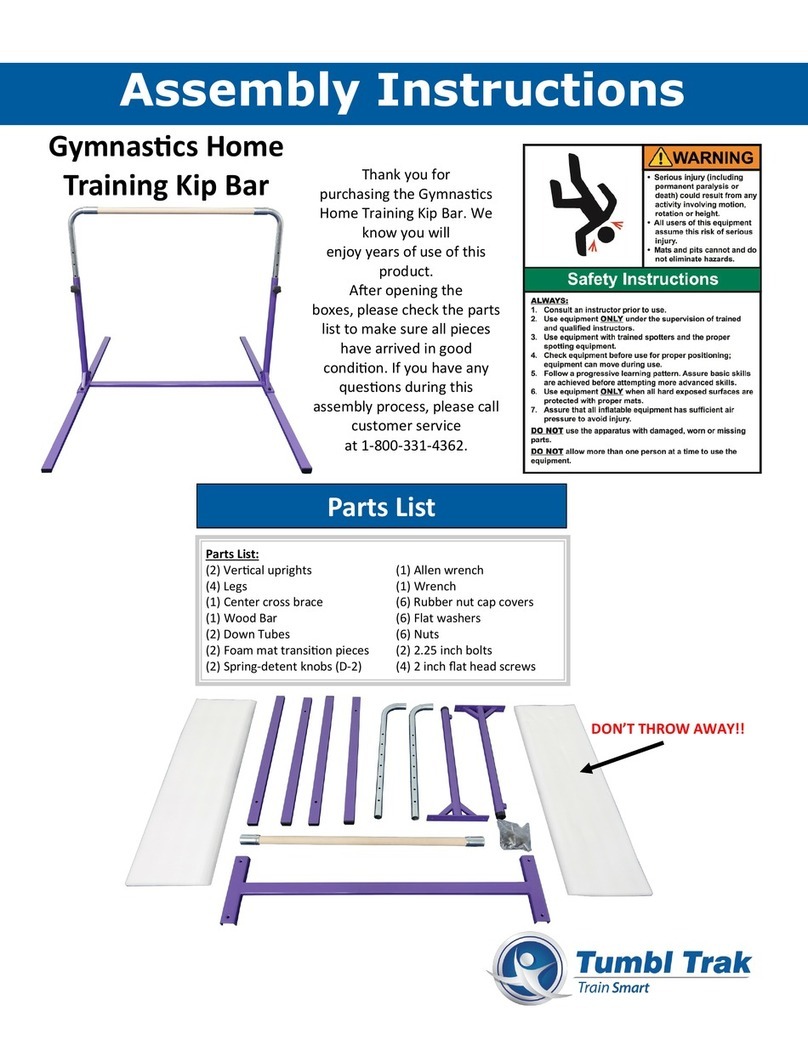
Tumbl Trak
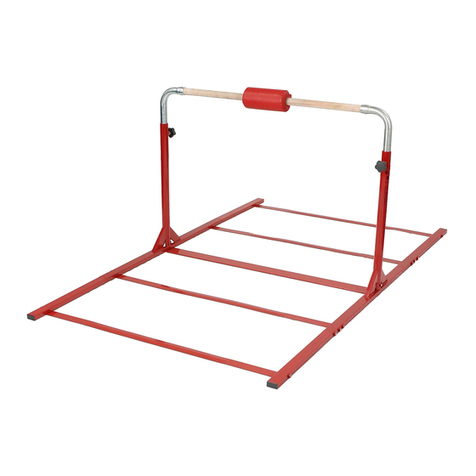
Tumbl Trak Gymnastics Home Training Kip Bar User manual
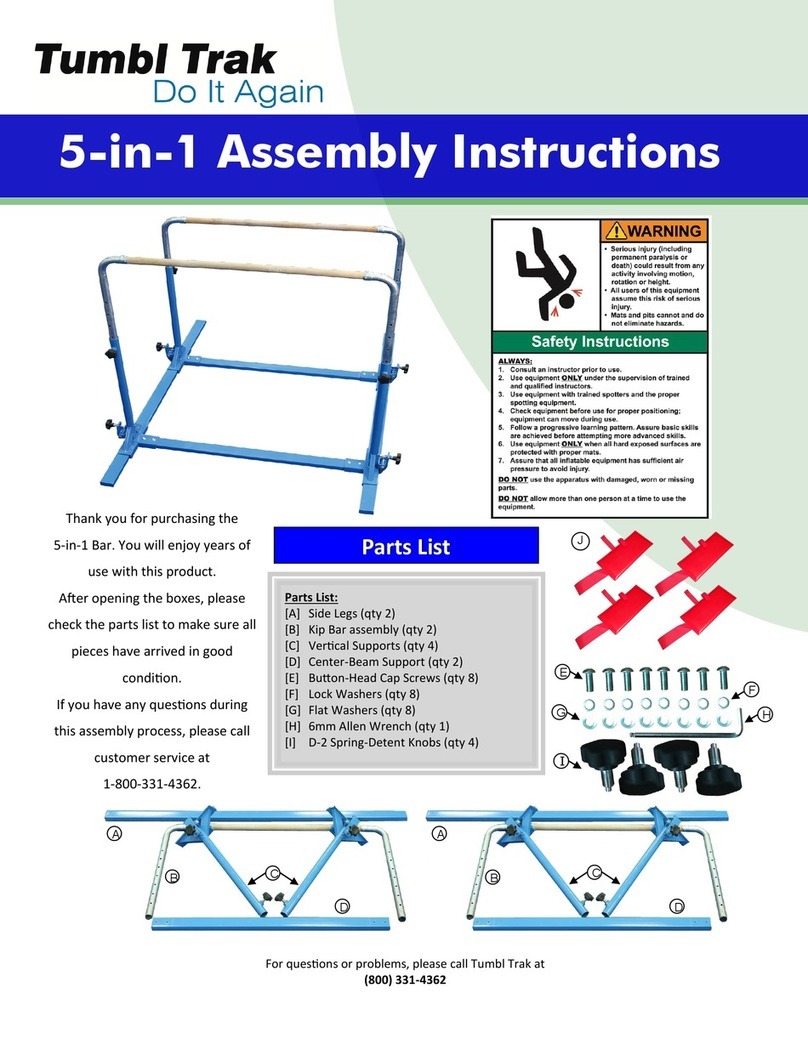
Tumbl Trak
Tumbl Trak 5in1 User manual

Tumbl Trak
Tumbl Trak Air Barrel User manual


