manuals.online logo
Brands
  1. Home
  2. •
  3. Brands
  4. •
  5. Tyco
  6. •
  7. Industrial Equipment
  8. •
  9. Tyco 65 User manual

Tyco 65 User manual

Style 65 One-Piece Flush Escutcheon
Style 401 Two-Piece Deep Escutcheon
1/2 Inch and 3/4 Inch NPT
Page 1 of 4 AUGUST 2018 TFP777
IMPORTANT
Refer to Technical Data Sheet
TFP2300 for warnings pertaining to
regulatory and health information.
Always refer to Technical Data
Sheet TFP700 for the “INSTALLER
WARNING” that provides cautions
with respect to handling and instal-
lation of sprinkler systems and com-
ponents. Improper handling and
installation can permanently damage
a sprinkler system or its compo-
nents and cause the sprinkler to fail
to operate in a fire situation or cause
it to operate prematurely.
Worldwide
Contacts
www.tyco-fire.com
General
Description
The TYCO Styles 65 and 401 Escutch-
eon Plates illustrated in Figures 1 and 2
are designed for use with pendent and
horizontal sidewall automatic sprin-
klers in fire protection systems where
the piping is installed above a ceiling or
behind a wall. They are used to improve
the overall appearance of the installa-
tion by concealing the clearance holes
required for the connecting piping and
fittings to the sprinkler.
The Escutcheon Plates are available
in two styles: Style 65 flush one-piece
(non-adjustable), and Style 401 deep
two-piece (adjustable).
The flush one-piece (non-adjustable)
Style 65 Escutcheon Plates (Fig. 1) are
used where the position of the sprin-
kler “escutcheon plate seating surface”
(relative to the ceiling line or wall) can
be fixed by adjusting the length of the
interconnecting piping.
The two-piece Style 401 Escutcheon
Plates (Ref. Figure 2) are used where
it is necessary to position the sprinkler
away from the ceiling/wall surface so
that spray will not be adversely affected
by protruding obstructions such as
light fixtures and HVAC diffusers.
The adjustment provided by the Style
401 Escutcheon Plates reduces the
accuracy to which the length of the
fixed pipe drops or horizontal pipe
runs to the sprinklers must be cut, and
it provides additional flexibility in the
interconnecting pipe.
The separable, two-piece design of
the Style 401 allows installation of the
sprinklers and pressure testing of the
fire protection system/evaluation of
leak tightness prior to installation of a
suspended ceiling or application of the
finish coating to a fixed ceiling. They
also permit the removal of suspended
ceiling panels, for access to build-
ing service equipment, without having
to first shut down the fire protection
system and remove sprinklers.
NOTICE
The Style 65 and 401 Escutcheons
described herein must be installed
and maintained in compliance with
this document, as well as with the
applicable standards of the NATIONAL
FIRE PROTECTION ASSOCIATION, in
addition to the standards of any other
authorities having jurisdiction. Failure
to do so may impair the performance
of these devices.
The owner is responsible for main-
taining their fire protection system
and devices in proper operating con-
dition. Contact the installing contrac-
tor or product manufacturer with any
questions.
Technical
Data
Approvals
With reference to NFPA 13, listings/approv-
als are not required for metallic escutcheons
used for non-recessed applications.
Finishes
Chrome, Signal White, or Brass
Material
Carbon Steel
STYLE 65
ONE-PIECE ESCUTCHEON
STYLE 401
TWO-PIECE ESCUTCHEON

TFP777
Page 2 of 4
Installation
The TYCO Styles 65 and 401 Escutch-
eon Plates must be installed in accor-
dance with this section.
General Instructions
A leak-tight 1/2 in. NPT sprinkler joint
should be obtained with a torque of 7
to 14 ft-lb and 10 to 20 ft-lb should be
sufficient for a 3/4 in. NPT sprinkler.
Higher levels of torque may distort the
sprinkler orifice seat with consequent
leakage.
Do not attempt to make-up for insuf-
ficient adjustment in an Escutcheon
Plate by under- or over-tightening the
sprinkler. Readjust the position of the
sprinkler fitting to suit.
Style 65
The pipe connected to the sprinkler
fitting must be cut so that the escutch-
eon plate seating surface is at the
proper nominal distance in front of the
wall or below the ceiling. Manufacturing
variations in the take-out of the fittings
as well as the make-in of the sprinklers
(as permitted by ANSI B1.20.1) may
require that trial cuts of the connecting
pipe be made.
Proceed with the assembly as follows:
Step 1. Insert the threaded end of the
sprinkler through the Escutcheon Plate.
Step 2. Apply pipe thread sealant
sparingly to the sprinkler threads
only. Use of a non-hardening type of
TEFLON based pipe thread sealant is
recommended.
Step 3. Hand tighten the sprinkler with
the attached Escutcheon Plate into the
sprinkler fitting.
Step 4. Using the appropriate sprin-
kler wrench, tighten the sprinkler into
the fitting.
Style 401
The pipe connected to the sprinkler
fitting must be cut so that the escutch-
eon plate seating surface is at the
proper nominal distance in front of the
wall or below the ceiling.
Proceed with the assembly as follows:
Step 1. Separate the two pieces of
the Escutcheon Plate and screw the
cup onto the sprinkler until the plate
is engaged onto the last thread of the
sprinkler.
Step 2. Apply a brush-on pipe thread
sealant sparingly to the sprinkler
threads only. Use of a non-hardening
type of TEFLON based pipe thread
sealant is recommended.
Step 3. Hand tighten the sprinkler with
the attached inner plate into the sprin-
kler fitting.
Step 4. Using the appropriate sprin-
kler wrench, tighten the sprinkler into
the fitting.
Step 5. After a suspended ceiling has
been installed or the finish coat has
been applied to a wall or fixed ceiling
(as appropriate), align the detents in
the skirt over those in the cup and
then slide the cup over the skirt until
it comes in contact with the mounting
surface. Do not push the skirt such that
it will lift a ceiling tile out of its normal
position.
Holding the skirt in contact with the
mounting surface, rotate the skirt
approximately 1/8-turn in relation to the
cup creating a friction fit between the
skirt detents and the cup wall, to hold
the Escutcheon Plate firmly together.
SHOWN WITH
SERIES TY-FRB
5.6 K-FACTOR
PENDENT SPRINKLER
FOR REFERENCE
1/2" OR
3/4" NPT
OPENING
ESCUTCHEON
PLATE SEATING
SURFACE
CEILING
SURFACE
1/2"
(12,7 mm)
2" DIA.
(50,8 mm)
2-13/16" DIA.
(71,4 mm)
*
*
*
ORDERED
SEPARATELY
SHOWN WITH
SERIES TY-FRB
5.6 K-FACTOR
PENDENT SPRINKLER
FOR REFERENCE
1/2" OR
3/4" NPT
OPENING
FRICTION
FIT
CUP
SKIRT
ESCUTCHEON
PLATE SEATING
SURFACE
1-7/8" MIN.
(47,6 mm)
2-7/8" MAX.
(73,0 mm)
2-1/4" DIA.
(57,2 mm)
3-1/2" DIA.
(89,0 mm)
2-1/2" DIA.
(63,5 mm)
CEILING
SURFACE
FIGURE 1
STYLE 65 ONE-PIECE
FLUSH ESCUTCHEON
FIGURE 2
STYLE 401 TWO-PIECE DEEP
ADJUSTABLE ESCUTCHEON
TFP777
Page 3 of 4
Care and
Maintenance
The TYCO Style 65 and 401 Escutch-
eon Plates must be maintained and ser-
viced in accordance with this section.
Any impairments must be immediately
corrected.
The owner is responsible for the
inspection, testing, and maintenance of
their fire protection system and devices
in compliance with this document, as
well as with the applicable standards
of the NATIONAL FIRE PROTECTION
ASSOCIATION (e.g., NFPA 25), in addi-
tion to the standards of any authority
having jurisdiction. Contact the install-
ing contractor or product manufacturer
with any questions.
It is recommended that automatic
sprinkler systems be inspected, tested,
and maintained by a qualified Inspec-
tion Service in accordance with local
requirements and/or national codes.
After placing a fire protection system
in service, notify the proper authorities
and advise those responsible for moni-
toring proprietary and/or central station
alarms.
Ordering
Procedure
Contact your local distributor for avail-
ability. When placing an order, indicate
the full product description and Part
Number (P/N).
Style 65 One-Piece
Flush Escutcheon
Specify: Style 65 One-Piece Flush
Escutcheon, (specify thread size),
(specify finish), P/N (specify):
1/2 In. NPT
Chrome Plated . . . . . . . . . . . . . . . . . . . . . . . 115 3
Signal White (RAL9003). . . . . . . . . . . . . . . . 1174
Brass Plated. . . . . . . . . . . . . . . . . . . . . . . . . 1150
3/4 In. NPT
Chrome Plated . . . . . . . . . . . . . . . . . . . . . . . 1152
Signal White (RAL9003). . . . . . . . . . . . . . . . 1175
Brass Plated. . . . . . . . . . . . . . . . . . . . . . . . . 118 4
Style 401 Two-Piece
Deep Escutcheon
The Style 401 Two-Piece Deep
Escutcheon is comprised of separately
ordered Cup and Skirt components.
Cup
Specify: Style 401 Two-Piece Deep
Escutcheon Cup, (specify thread size),
(specify finish), P/N (specify):
1/2 In. NPT
Chrome Plated . . . . . . . . . . . . . . . . . . . . . . . 119 2
Signal White (RAL9003). . . . . . . . . . . . . . . . 119 6
Brass Plated. . . . . . . . . . . . . . . . . . . . . . . . . 119 4
3/4 In. NPT
Chrome Plated . . . . . . . . . . . . . . . . . . . . . . . 119 3
Signal White (RAL9003). . . . . . . . . . . . . . . . 1197
Brass Plated. . . . . . . . . . . . . . . . . . . . . . . . . 119 5
Skirt
Specify: Style 401 Two-Piece Deep
Escutcheon Skirt, (specify finish), P/N
(specify):
Chrome Plated . . . . . . . . . . . . . . . . . . . . . . . 119 8
Signal White (RAL9003). . . . . . . . . . . . . . . . 1200
Brass Plated. . . . . . . . . . . . . . . . . . . . . . . . . 119 9
Limited
Warranty
For warranty terms and conditions, visit
www.tyco-fire.com.
TFP777
Page 4 of 4
NATIONAL FIRE PROTECTION ASSOCIATION and NFPA are registered trademarks of National Fire Protection Association;
TEFLON is a registered trademark of DuPont
1400 Pennbrook Parkway, Lansdale, PA 19446 | Telephone +1-215-362-0700
© 2018 Johnson Controls. All rights reserved. All specifications and other information shown were current as of document revision date and are subject to change without notice.

This manual suits for next models

1

Other Tyco Industrial Equipment manuals

Tyco TY-FRB Series User manual

Tyco

Tyco TY-FRB Series User manual

Tyco DV-5A User manual

Tyco

Tyco DV-5A User manual

Tyco HV User manual

Tyco

Tyco HV User manual

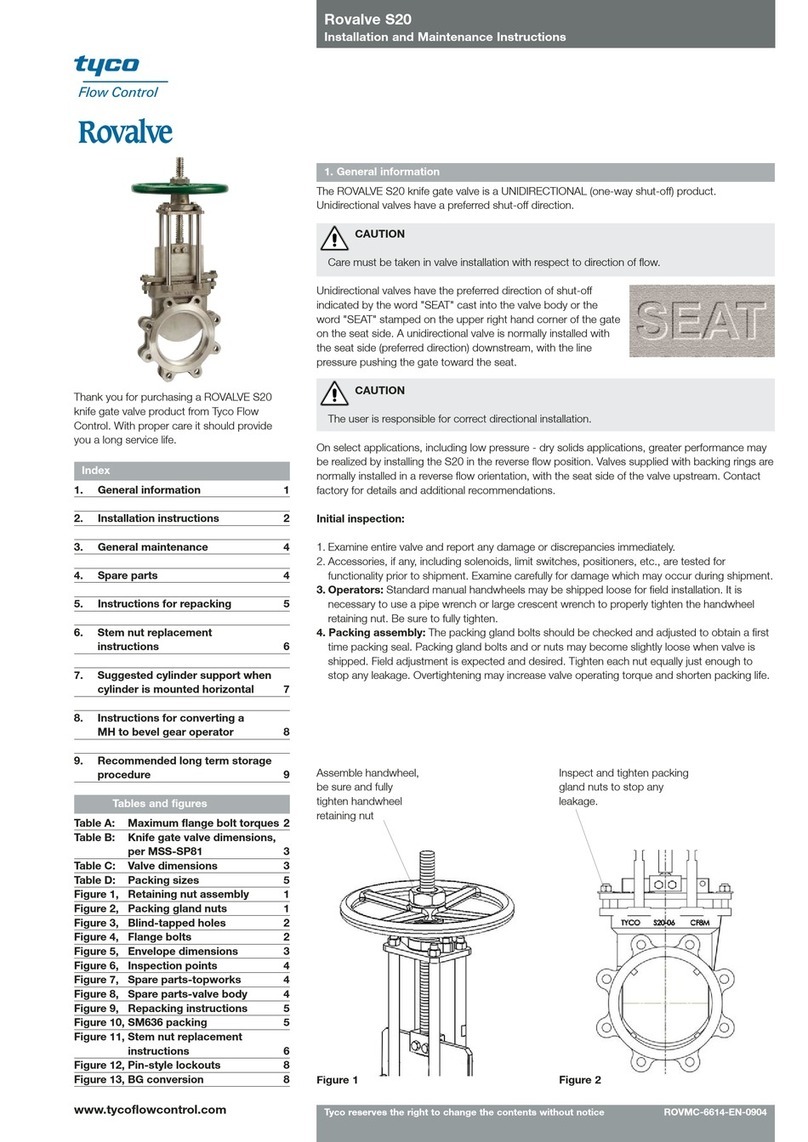
Tyco Rovalve S20 User manual

Tyco

Tyco Rovalve S20 User manual

Tyco GRINNELL F445 User manual

Tyco

Tyco GRINNELL F445 User manual

Tyco A User manual

Tyco

Tyco A User manual

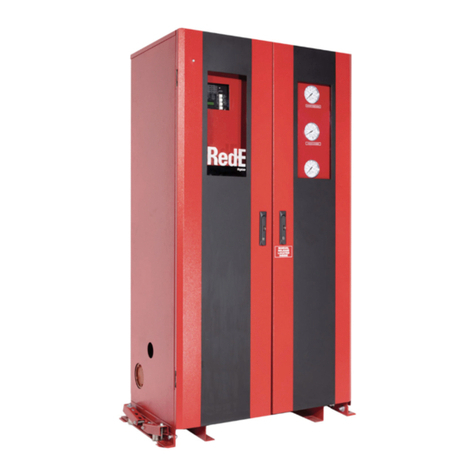
Tyco AQUAMIST Red-E Mist Supply Skid User manual

Tyco

Tyco AQUAMIST Red-E Mist Supply Skid User manual

Tyco Deluge Red-E User manual

Tyco

Tyco Deluge Red-E User manual

Tyco SHB1 User manual

Tyco

Tyco SHB1 User manual

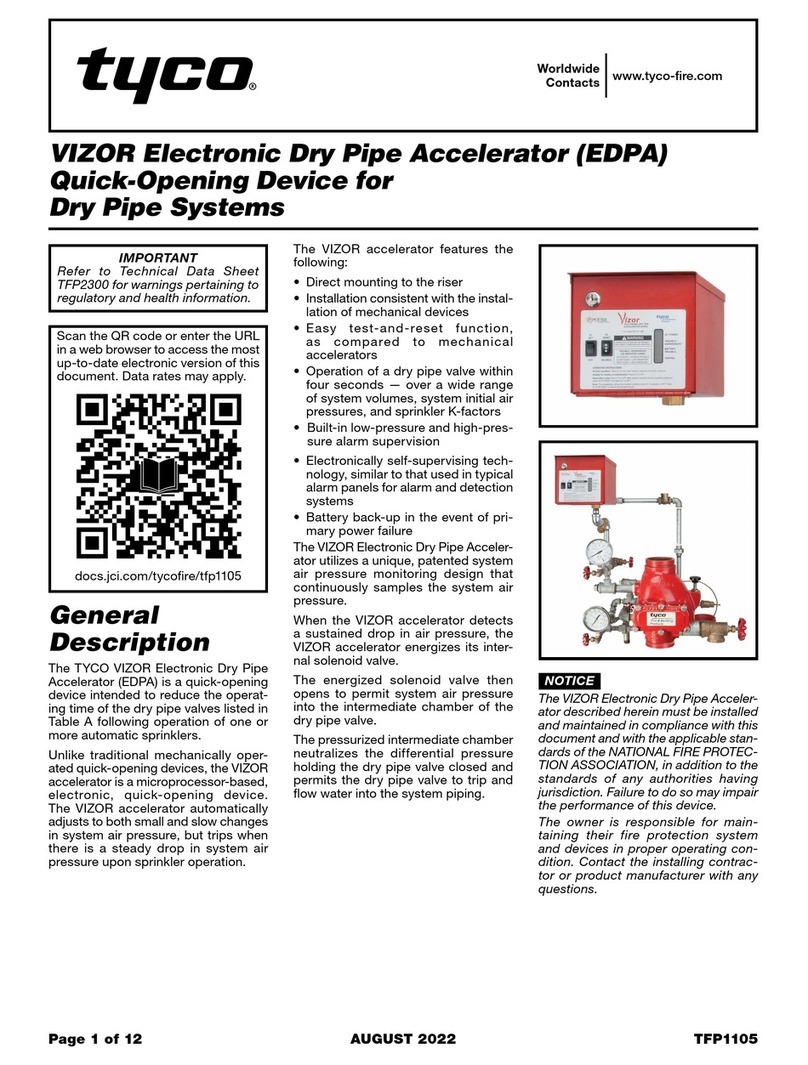
Tyco VIZOR User manual

Tyco

Tyco VIZOR User manual

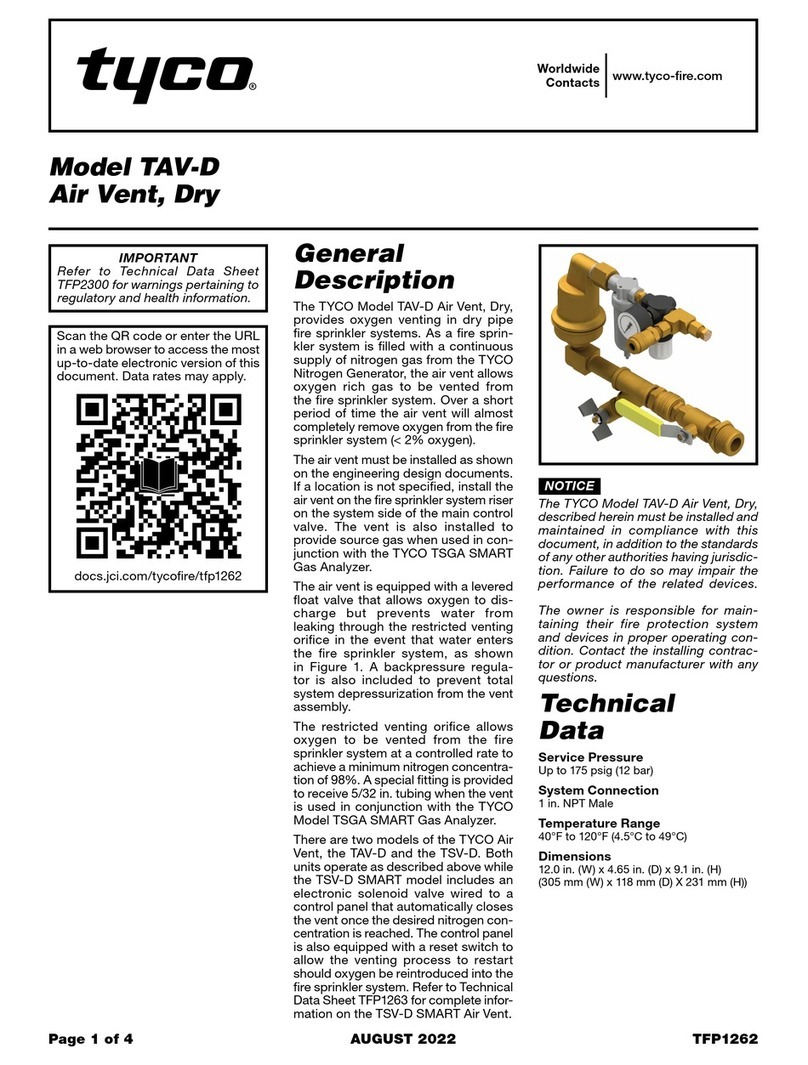
Tyco TAV-D User manual

Tyco

Tyco TAV-D User manual

Tyco AMD-3 User manual

Tyco

Tyco AMD-3 User manual

Tyco KANTECH KTES-FBOX Operating and maintenance manual

Tyco

Tyco KANTECH KTES-FBOX Operating and maintenance manual

Popular Industrial Equipment manuals by other brands

WPG MRPT89AC operating instructions

WPG

WPG MRPT89AC operating instructions

AMP 4 Customer's manual

AMP

AMP 4 Customer's manual

Viega 8570.51 Instructions for use

Viega

Viega 8570.51 Instructions for use

Bison 6620 instruction manual

Bison

Bison 6620 instruction manual

ABB HT846491 Operation manual

ABB

ABB HT846491 Operation manual

C.B.S. SCIENTIFIC EBU-4000 instruction manual

C.B.S. SCIENTIFIC

C.B.S. SCIENTIFIC EBU-4000 instruction manual

TRI tool BEVELMASTER 216B Operation manual

TRI tool

TRI tool BEVELMASTER 216B Operation manual

MyBinding SealerSales KF-300F instruction manual

MyBinding

MyBinding SealerSales KF-300F instruction manual

Merco MHC24SNT2T instruction sheet

Merco

Merco MHC24SNT2T instruction sheet

Graco PR-Xv instructions

Graco

Graco PR-Xv instructions

ABB HT608689 Operation manual

ABB

ABB HT608689 Operation manual

Eaton CLSM0200 Service manual

Eaton

Eaton CLSM0200 Service manual

Siemens 3VT9100-8LA00 operating instructions

Siemens

Siemens 3VT9100-8LA00 operating instructions

Schmalz FX-SW 120x60-SEA operating manual

Schmalz

Schmalz FX-SW 120x60-SEA operating manual

Unitary products group P XU-V/G9V-UP Series installation manual

Unitary products group

Unitary products group P XU-V/G9V-UP Series installation manual

BGS technic 9987 manual

BGS technic

BGS technic 9987 manual

Festo FLSM Series operating instructions

Festo

Festo FLSM Series operating instructions

Elettra LS132N installation instructions

Elettra

Elettra LS132N installation instructions

manuals.online logo
manuals.online logoBrands
  • About & Mission
  • Contact us
  • Privacy Policy
  • Terms and Conditions

Copyright 2025 Manuals.Online. All Rights Reserved.