Unit UT279 User manual

110401112106X

Contents
Safety Information ................................................................................................. 1
I. Introduction............................................................................................... 2
II. Electrical Symbols .................................................................................... 3
III. Technical Specifications ........................................................................... 4
IV. External Structure..................................................................................... 6
V. Operating Instructions .............................................................................. 7
1ˊPower On/Off ............................................................................................ 7
2ˊData Measurement ................................................................................... 7
3ˊClock Setting............................................................................................. 8
4ˊData Storage............................................................................................. 8
5ˊData Viewing............................................................................................. 8
6ˊTested Object Numbering ......................................................................... 8
7ˊData Deletion ............................................................................................ 8
8ˊTouchscreen Calibration ........................................................................... 9
9ˊPower-off Time Setting.............................................................................. 9
10ˊAlarming Setting ..................................................................................... 9
11ˊCurrent Waveform Testing..................................................................... 10
12ˊMonitoring in Real Time ........................................................................ 11
13ˊData Downloading ................................................................................ 12
VI. Battery Replacement.............................................................................. 12
VII. Packing List............................................................................................ 13

1
Safety Information
Thank you for buying this product, for better use of it, please be sure of the
followings:
Read the user manual carefully.
Follow all operating precautions in the user manual.
Pay special attention to safety use in any case.
Note the labels, texts and symbols at the tester.
If the battery power is low, the tester will keep rebooting, please replace
battery.
Do not test circuit with voltage over 600V.
It is forbidden to use without rear cover and battery cover closed well.
In case that the case or test lead cracks and then cause exposed metal
during use, please stop use immediately.
Please do not place and keep the tester in places with high
temperature/humidity, dews and direct sunlight for an extended period of time.
Maintain and clean the tester and current clamp in a regular basis, do not
wipe them with corrosives and coarse materials.
Avoid the iron core of current clamp from deforming, deformed iron core will
affect testing accuracy.
Please note the battery polarity when replacing battery, and remove the
battery if not used for a long time.
Use, disassembly and repair must be performed by authorized eligible
personnel.
If danger may occurs due to the tester, please stop using the tester and seal
it, then send it to authorized qualified agency for maintenance.

2
The symbols “ ” at the tester and user manual represent danger warning,
indicating user must perform safe operation according to the warnings.
The symbol “ ” in the user manual represents warning of super danger,
indicating user must perform safe operation according to the warnings.
I. Introduction
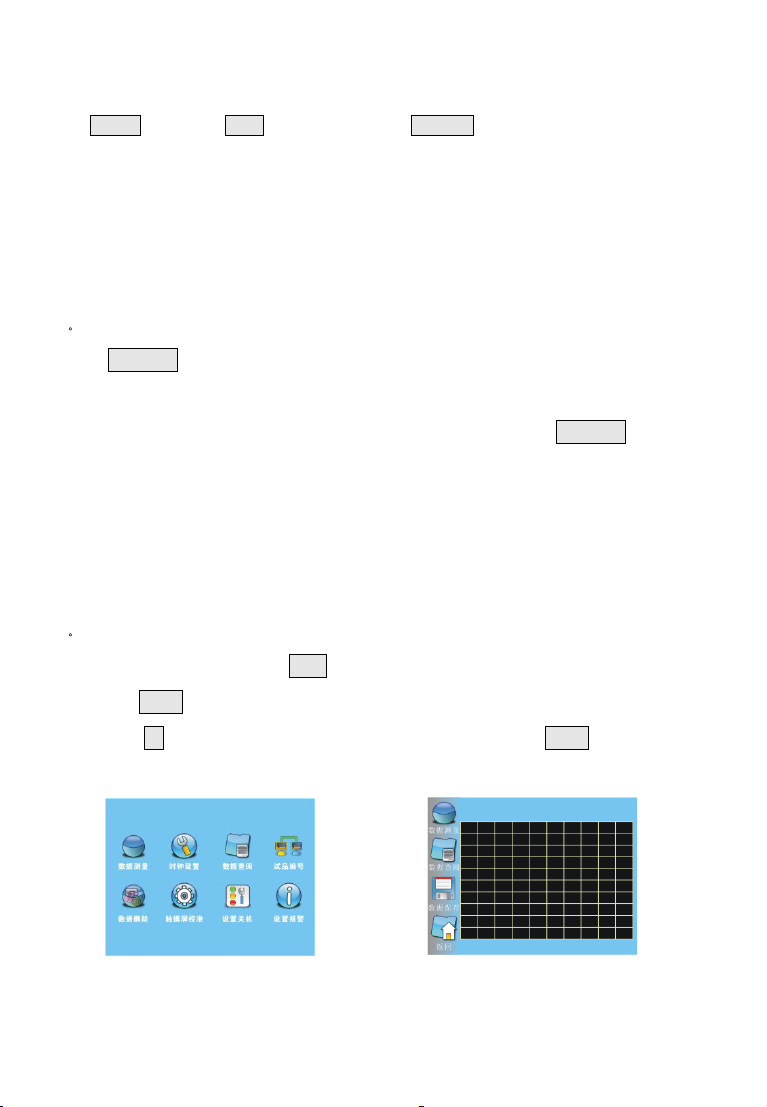
UT279 Transformer Grounding Current Tester is designed and manufactured to
perform on-line test on the grounding current and the leakage current of
transformer iron core in power system on site, the tester is designed with current
clamp, monitoring software, communication line, etc. The transformer is an
important electrical equipment in the power system, if the transformer is
malfunctioned, that will cause severe consequence to the power system. The
transformer iron core under normal operation is grounded in the way of single point,
if grounded in the way of two or multiple points, current loop will occur between the
iron core and the ground, the maximum current in the loop can reach several tens
of amperes, which will cause partial area of the iron core to be overheated or even
burnt. The tester can find out potential fault in transformer, which makes it an ideal
tool to ensure safe operation and daily maintenance of transformer. The tester is
capable of resisting interference, applicable in environment with strong magnetic
field near transformer, mainly used for leakage current test performed on the “clamp”
(a device to fix the iron core of electrical equipment) and electrical equipment such
as transformer, electric reactor and others in transformer station and power
generating plant. The tester also applies to current test and leakage current test of
circuits or equipment in electric power, communication, meteorology, railway, oil
field, architecture, metrology, scientific research and teaching institute, industrial
and mining enterprises, and other fields.

3
The tester is designed with high-speed microprocessor and 3.5-inch color touch-
screen LCD, enabling smart touch operation and easy use, it can display the value
and waveform of measured current in real time. With FFT, digital filtering and other
technologies employed, the tester makes measured data more accurate. UT279
has multiple functions such as alarming threshold setting and warning indication,
data & time and “Setting”, auto power off, setting of numbering of tested object, it
is able to save 200 sets of data and waveforms, the stored data can be imported
to computer via the USB interface of the tester.
As the iron core of current clamp is made with permalloy and magnetic shielding
technology, it is not susceptible to influence and interference from external
magnetic field, ensuring continuous measurement of high accuracy, stability and
reliability. The internal diameter of the clamp jaw is 80mm×80mm, which allows it
to clamp cable or grounding wire of 80mm below, or 96mm×4mm grounding wire
of flat steel. The clamp jaw features portable design and realizes non-contact, safe
and rapid measurement without the circuit under test disconnected.
The monitoring software has multiple functions such as on-line monitoring in real
time, data viewing, data storage, data printing, dynamic display, waveform
indication, alarming threshold setting, alarm indication, and more.
II. Electrical Symbols
Super dangerous! The user must stringently
observe the safety
regulations, otherwise it may pose a risk of shock and cause personal
injury and death.
Danger! The user must stringently observe the safety regulations,
otherwise it may pose a risk of shock and cause personal injury and

4
death.
Warning! The user must stringently observe the safety regulations,
otherwise it can cause personal injury or damage to equipment.
Double insulated
Alternating current (AC)
Direct current (DC)
III. Technical Specifications
Function Grounding current test, AC leakage current on-line test, AC
current on-line test.
Power supply
DC 9V alkaline dry battery (LR6 1.5V×6)
Testing mode
Clamp-shaped CT
Jaw size 80mm×80mm (The jaw can clamp 80mm lead, or
96mm×4mm grounding wire of flat steel)
Current range
AC 0.00mA~100A
Resolution
AC 0.00mA~0.99mA; resolution: 0.01mA
AC 1.0mA~99.0mA; resolution: 0.1mA
AC 100mA~999mA; resolution: 1mA
AC 1.0A~100.0A; resolution: 0.1A
Accuracy
±(0.5%+5dgt)
23°C±3°C, 70%RH, test lead is centered within the clamp
jaw.
Frequency
range
10HZ~1000HZ
Display mode
3.5-inch color touch-screen LCD (320dots × 240dots)
Operating
mode
Smart touch and button control
Tester
dimension
198mm×100mm×45mm
Current clamp
dimension
194mm×145mm×40mm
Weight
Tester: 450g (battery included); current clamp: 780g
LCD size
Display area: 71mm×53mm

5
Electromagne
tic
interference
When the current clamp induces electric field of 100A at a
distance of 10mm, induced current of 10mA will be generated.
Sampling rate
Once per second
Data storage 200 sets of data (Data will not be lost when battery is replaced
or power is down)
Date and
clock
Date and clock displays, clock setting
Tested object
numbering
Setting of numbering of test points
Auto power
off
The tester will power off automatically after it is started up after
5 minutes by default.
Touchscreen
calibration
The tester has function of touchscreen calibration.
USB interface The tester has a USB interface, via which the stored data in
tester can be imported to computer.
Alarming
setting
Alarming threshold range: 10mA~99.99A
Alarming
indication
The LCD flashes and the buzzer sounds when the tested
value exceed the alarming threshold.
Voltage of
tested circuit
AC 600V
Overrange
indication
“OL” is displayed
Battery
voltage
When battery voltage drops to 7.2V±0.1V
, the low battery
symbol will be displayed, indicating battery replacement. The
measured data is accurate under low battery condition.
Rated current
180mA at most
Lead length
2 meters
Operating
temperature &
humidity
-10°C~40°C; 80%rh
Storage
temperature &
humidity
-10°C~60°C; 70%rh

6
Insulation
strength
AC 2kV/rms (between screw and casing)
IEC1010-1, IEC1010-2-032, Pollution Class 2, CAT 600V,
IEC61326 (EMC standard)
IV. External Structure
1. Connector for current clamp 2. USB interface

7
3. 3.5-inch color touch-screen LCD 4. Tester
5. ĹĻĸĺ button and MEM button 6. POWER button
7. Coil tap 8. Coil tap
9. Shielded layer 10. Audio plug
11. Output lead 12. Current clamp
13. Trigger
V. Operating Instructions
1ˊPower On/Off
When POWER is pressed, the tester will be turned on and the LCD will display the
menu. If blank screen occurs and the LCD keeps flashing after the tester is turned
on, that indicates the battery power may be low, please press POWER to turn off
the tester and then replace the battery. The time of powering off the tester
automatically can be set, the time range is 000 to 999(min), if the time is set at
“000”, the tester will not power off automatically. The tester will power off
automatically after it is turned on for 5 minutes by default.
2ˊData Measurement
In function menu page, press ĸĺ to move the cursor to “Data Measurement” icon,
and press MEM or tap “Data Measurement” icon to enter data measurement page,
then press ĹĻ to move the cursor to “Return” icon, next, press MEM or tap “Return”
icon to return to function menu pate.
Menu Data measurement

8
3ˊClock Setting
In function menu page, press ĸĺ to move the cursor to “Clock Setting” icon, and
press MEM or tap “Clock Setting” icon to enter clock setting page, press ĸĺ or
tap “” icon to move the cursor to year, month, day, hour, minute, press ĹĻ or
tap “” icon to adjust date and time. Press ĹĻ to move the cursor to “Return” icon,
then press MEM or tap “Return” icon to return to function menu page.
4ˊData Storage
In data measurement page, when pressing ĸor tapping “Data Storage” icon, the
tester will enter data storage status and the LCD will display “NO.XXXHD”, the
tester stores the current, waveform, time, tested object numbering to the memory,
“NO.XXX” represents the number of groups of stored data, press ĸagain or tap
other icons to exit.
5ˊData Viewing
In function menu page, press ĸĺ to move the cursor to “Data Viewing”, then
press MEM or tap “Data Viewing” icon to enter data viewing page, press ĹĻ to
scroll through data. Press ĹĻ to move the cursor to “Return” icon, then press MEM
or tap “Return” icon to return to function menu page.
6ˊTested Object Numbering
In function menu page, Press ĸĺ to move the cursor to “Tested Object
Numbering” icon, then press MEM or tap “Tested Object Numbering” icon to
enter the page of tested object numbering, press ĸĺ or tap “” icon to move
the cursor, press ĹĻ or tap “” icon to change the numbering of tested object, press
ĹĻ to move the cursor to “Return” icon, then press MEM or tap “Return” icon to
return to function menu page.
7ˊData Deletion
In function menu page, press ĸĺ to move the cursor to “Data Deletion” icon, then

9
press MEM or tap “Data Deletion” icon to enter data deletion page. When the
cursor is at “Yes”, press MEM or tap “Yes” icon to delete the stored data. If pressing
MEM or tapping “No” icon when the cursor is at “No”, the stored data will not be
deleted and the present page will return to function menu page. Press ĹĻ to move
the cursor to “Return” icon, then press MEM or tap “Return” icon to return to
function menu page.
Data cannot be recovered after deletion!
The operation of data deletion represents all stored
data are deleted at a time.
8ˊTouchscreen Calibration
In function menu page, press ĸĺ to move the cursor to “Touchscreen calibration”
icon, and press MEM or tap “Touchscreen calibration” icon to enter touchscreen
calibration page, then tap the symbol “+” in sequence. Return to function menu
page after calibration.
9ˊPower-off Time Setting
In function menu page, press ĸĺ to move the cursor to “Power-off Time Setting”
icon, then press MEM or tap “Power-off Time Setting” icon to enter power off
setting page, press ĸĺ or tap “ĸĺ” icon to move the cursor, press ĹĻ or tap “ĹĻ”
icon to change the power-off time, the tester will not power off if the time is set at
“000”, press ĹĻ to move the cursor to “Return” icon, then press MEM or tap
“Return” icon to return to function menu page. The time of powering off
automatically is set at from 000 to 999 minutes, the tester will automatically power
off after it is turned on for 5 minutes by default.
10ˊAlarming Setting
In function menu page, press ĸĺ to move the cursor to “Alarming Setting” icon,
then press MEM or tap “Alarming Setting” icon to enter alarming setting page,


11
To measure the leakage current of the grounding wire of
electrical equipment, please clamp the grounding wire.
To measure the current of the circuit, please clamp the live
or neutral wire individually.
To measure single-phase leakage current, please clamp the
live and neutral wires together.
To measure the leakage current of 3 three-phase wires,
please clamp the 3 three-phase wires.
To measure the leakage current of 4 three-phase wires,
please clamp the 4 three-phase wires.
To measure the leakage current of 5 three-phase wires,
please clamp the 5 three-phase wires.
For safety, please remove the measured lead from the
tester after high voltage/current test.
12ˊMonitoring in Real Time
Turn on the tester to enter test status, connect the tester with the computer via the
equipped USB communication cable, operate the monitoring software installed

12
in computer, if the communication is normal, the computer can monitor on-line
current in real time.
The monitoring software has multiple features such as on-line real-time
monitoring, history querying, dynamic display, waveform indication, alarming
threshold setting and alarming indication, and has multiple functions including data
reading, access, storage, printing, etc.
13ˊData Downloading
Please follow the operating steps below:
xInstall the USB driver and “Monitoring Software”.
xConnect the tester with computer via the equipped USB communication cable.
xTurn on the tester.
xAllow the monitoring software to operate.
xSelect history querying and read the data.
VI. Battery Replacement
Install battery according to the correct polarity,
otherwise it may cause damage to the tester.
If the battery power is low, please replace it
immediately.
New and used batteries cannot be applied together.
1) When the battery voltage is 7.2V±0.1V below, the tester will display low battery
symbol to indicate insufficient battery power, please replace the battery.
2) Press POWER button to turn off the tester, and open the battery cover after the
tester is confirmed power-off, then, replace the batteries with new qualified ones
and close the battery cover, last, turn on the tester to confirm if the replacement is
complete. Please pay special attention to battery specification and polarity. (See
figures below)

Table of contents
Other Unit Test Equipment manuals

Unit
Unit UTD2000CEX+ Series User manual

Unit
Unit UT522 User manual

Unit
Unit UT 4000 Series User manual

Unit
Unit UPO1000 Series User manual

Unit
Unit UT502A User manual

Unit
Unit UTD2052CL+ User manual

Unit
Unit UT501B User manual

Unit
Unit UT12A User manual

Unit
Unit UTD2000M User manual

Unit
Unit UTD1000 Series User manual