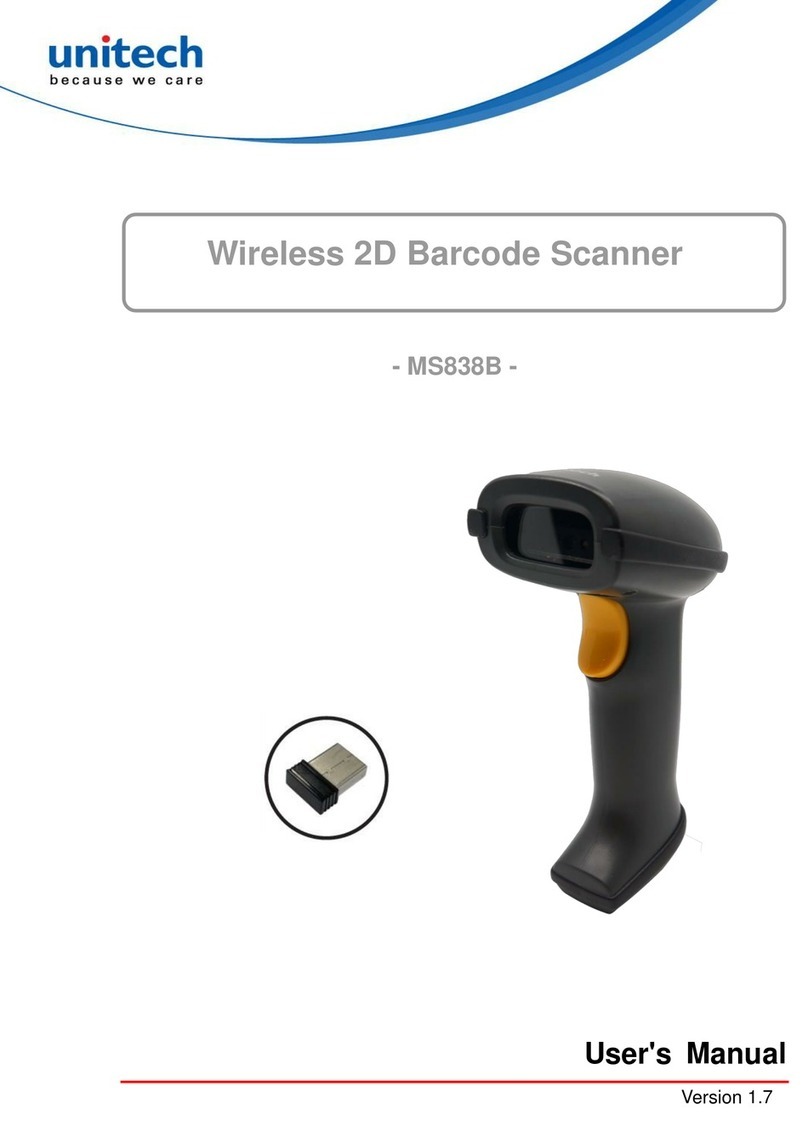
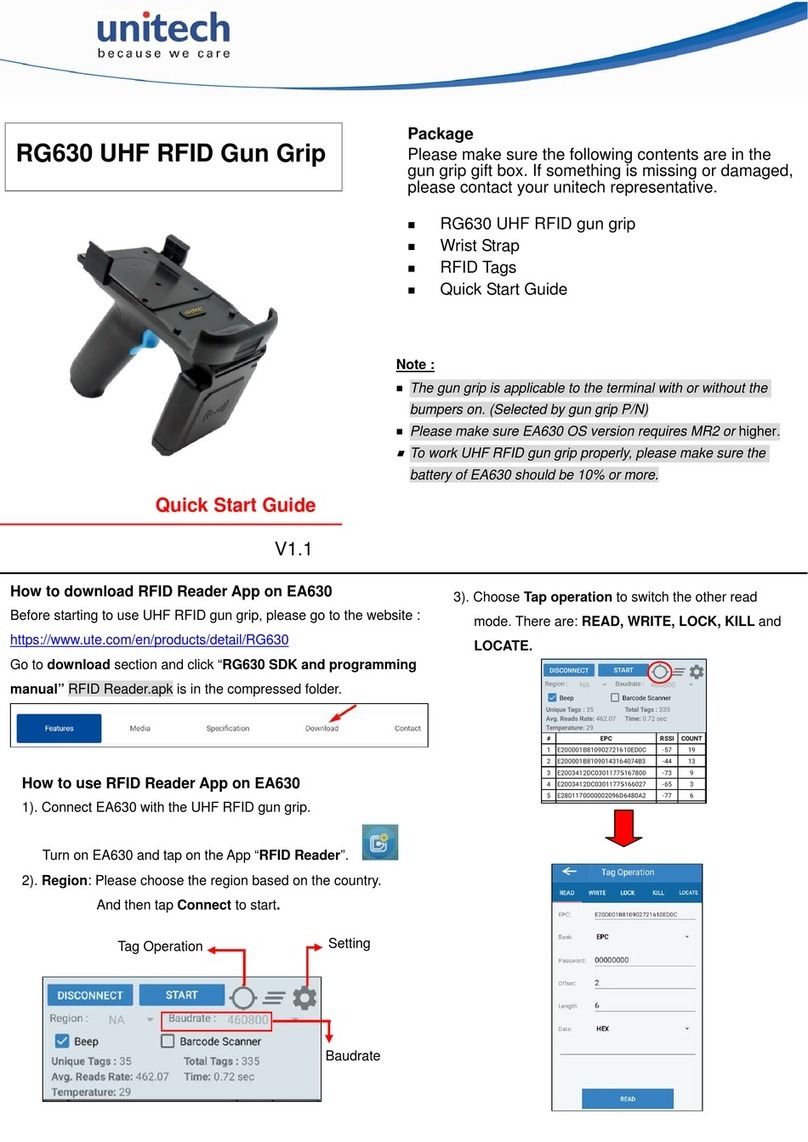
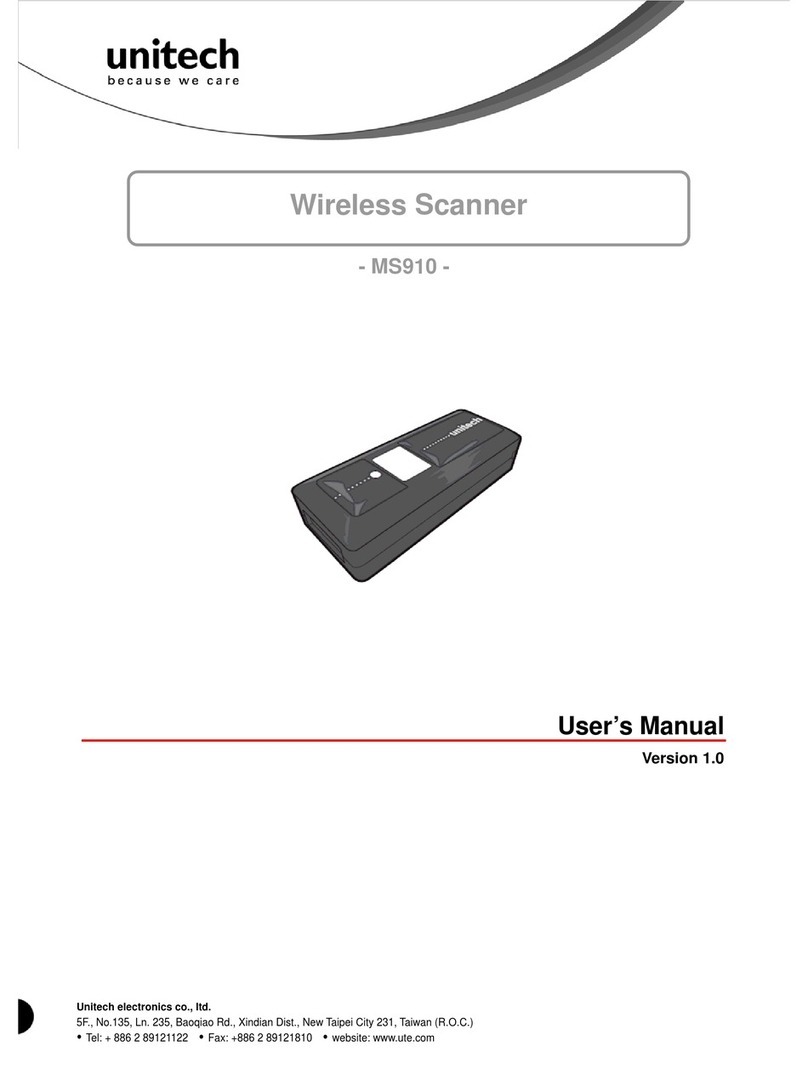
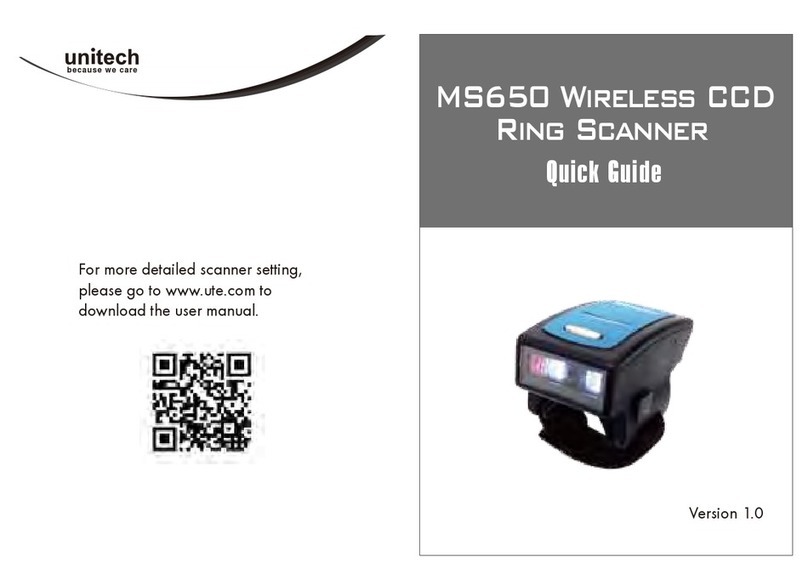
Unitech MS860G User manual

MS860G
WiFi
Bar Code
Scanner
REV. E


MS860 WiFi Manual
TABLE of CONTENTS
INTRODUCTION ............................................................................ 1
INTRODUCTION..................................................................... 1
QUICK START......................................................................... 2
SCANNER PARTS:.................................................................. 5
CRADLE PARTS...................................................................... 7
CHARGING THE SCANNER:.................................................. 8
WiFi NETWORK SETTINGS.......................................................... 9
INTRODUCTION..................................................................... 9
GLOSSARY........................................................................... 17
SCANNERCONFIGURATIONMANAGER ........................................... 24
Scanner Port................................................................... 24
Bar Code Symbologies................................................... 28
Data Editing.................................................................... 37
PROGRAMMINGVIA SCANNER INPUT........................................ 40
Introduction..................................................................... 40
Quick Setup Bar Codes.................................................. 41
Beep and Delays............................................................ 43
RS232............................................................................. 44
Scanner Port................................................................... 46
Symbologies – Group 6.................................................. 49
Data Editing.................................................................... 57
TCP/IP............................................................................ 62
Function Codes for PC................................................... 64
ASCII Chart .................................................................... 65
SPECIFICATIONS........................................................................ 69
TROUBLESHOOTING ................................................................. 71
BAR CODE TEST CHART........................................................... 75

MS860G WiFi Manual

MS860G WiFi Manual 1
INTRODUCTION
INTRODUCTION
The MS860G WiFi laser bar code scanner is one of the newest
members of Unitech’s MS series. The MS860G incorporates the
latest WiFi technology, making it ideal for real-time bar code
data collection in warehouse, loading dock, inventory, back
office, document tracking, retail environments - anywhere cables
would restrict movement or limit access.
The incorporated 802.11b module allows the MS860G to be
used within approximately 100 feet (30m) from an Access Point
(AP) in an office environment, and up to 330 feet (100m) in an
open environment. This gives users mobility and freedom to
scan bulky and difficult to reach items.
The cradle of MS860G works as a battery charger for the
scanner. When resting in the cradle, the scanner can reach a
fully charged state in 4½ to 5 hours. When fully charged, the
scanner can provide up to 16 hours scanning time. For
long-term product storage, the scanner can be powered off by
using the scanner’s push down on/off switch.Alternatively, the
scanner can remain powered but unused for up to 1 month
before the batteries require recharging.
The MS860G offers checkout personnel the ability to scan bulky
items without the need for heavy lifting by customers or
checkout personnel, making for added convenience and safety.
The MS860G is perfect for applications such as supermarkets,
hypermarkets, shopping clubs, retailers, light warehouse, and
manufacturing.
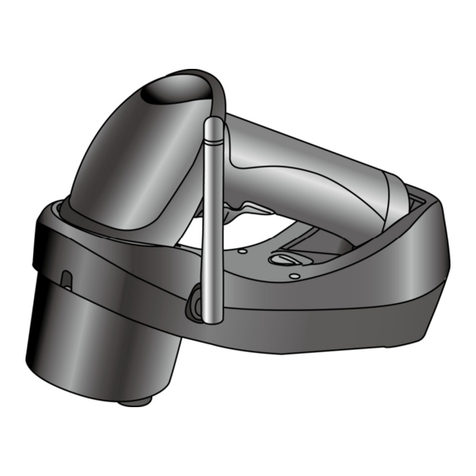
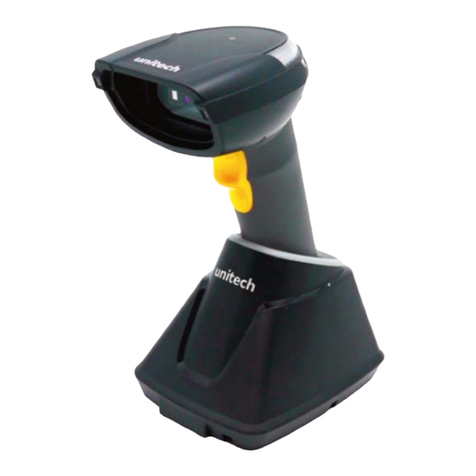
MS860G Scanner MS086 Cradle

2 MS860G WiFi Manual
INTRODUCTION
QUICK START
1. Connect the plug of the power adapter into the power jack on
the cradle, and connect the power adapter into anAC outlet. You
will hear a beep, and the Power Status and Charging Status
LEDs on the top of the cradle will glow green.
2. Use an unfolded paperclip to push down the battery power
on/off internal switch located inside the round hole on the
yellow warning label underneath the scanner. You will feel a
‘click’ as you push down the switch and then hear one beep
from the scanner. When shipped from the factory, the
scanner’s on/off switch is in the “off” position, so the scanner
must be switched on before operation.
3. Place the MS860G scanner on the cradle - the cradle’s
Charging Status LED will now glow red while charging. After
4½ to 5 hours the status LED color will change to green,
meaning that the MS860G has been fully charged and is
ready to use.
4. Four ways were provided to setup TCP/IP network for
scanner: using barcode setting, using VCOM utility web
program, using SCM and using monitor.exe
a. Using appendix G barcode chart for scanner TCP/IP
network setting, turn on the scanner, scan "Enter into
command Mode ""default""CR($M)""EE", network setting
will go back to factory default; IP: 192.168.1.250, Mask:
255.255.255.0, Gateway: 192.168.1.254. Barcode setup
detail will be shown in the later chapter.
b. Using VCOM utility web program, prepare a WLANAP:
SSID="slandemo", WEP-off, IP-192.168.1.1, power on the
scanner, scanner default IP=192.168.1.250, open VCOM
utility and click "Search" button, you will see another SNMP
Search screen, click "Search" button and you will see
192.168.1.250 shown in the IP list, click on the IP address
and web configuration program will be opened, you can
configure all your needs to the scanner by this web program.
c. Using SCM program, install scanner configuration manager
from user guide CD, once the installation was finished, CSM
icon will be shown on the desktop, open the program and
click "Tools""WiFi-Setup", please follow the wizard, after you
fill in all network configuration and you will be able to print
out the barcode setup sheet, you can scan the printed
barcode sheet to finish you network configuration.
Once the scanner is connected to the WLAN, the flashing green
LED on the scanner turn into steady green.
MS860G WiFi Manual 3
INTRODUCTION
IMPORTANT NOTES
• "ACK” helps avoid data loss during anAccess Point (AP)
power disconnection. To turn “ACK” on, follow the steps
below:Print out pg. 65 – RS232 Settings
Scan:
Enter Group 4
C5
1
Exit
After “ACK” is turned on, the scan data transmission rate
might be a little slower, depending on your wireless network
condition.
• If “ACK” is turned off, the scan data transmission rate will be
normal, but because the scanner’s read and transmit
functions are separate, by the time the scanner learns that
it’s become disconnected from the AP, between 5 to 8
scanned data records may not have been sent to the
network, even though the scanner gives a “good read”
signal after each of them.
• Some APs may not be compatible with MS860G
reconnection while out of range. In this case the MS860G
will need to be powered off and on again, and also VCOM
communication will need to be restarted.
• The VCOM Utility supports Windows 2000 and XP.
Unfortunately, Windows 98 and NT are not supported.
• If using bar codes to configure your network settings, before
you start scanning, power off the scanner, and then scan the
“Enter Group 10” bar code on page 562 within 5 seconds
after turning the scanner power back on.

4 MS860G WiFi Manual
INTRODUCTION
SCANNER AND ACCESSORIES:
MS860G-W8A: MS860G WiFi laser scanner w/US plug
MS860G-W8B: MS860G WiFi laser scanner w/UK plug
MS860G-W8E: MS860G WiFi laser scanner w/UP plug
400479: Unitech MS860G WiFi Scanner user guide CD
400480: Unitech MS860G WiFi Scanner quick start guide sheet
*Scanner Configuration Manager: Windows based software
providing a user-friendly interface for easier scanner
configuration.
*Available on the Unitech website – www.unitech-adc.com
1010-500858:AC 110-240V, DC9V/2Apower adaptor with US plug
1010-600860G:AC 110-240V, DC9V/2Apower adaptor with UK plug
1010-600859: AC 110-240V, DC9V/2A power adaptor with
European plug
Other items may be ordered for the specific protocol being used.
To order additional items, contact the dealer and distributor.

MS860G WiFi Manual 5
INTRODUCTION
SCANNER PARTS:
Scanner LED
The MS860G has one LED indicator located on the head of the
scanner which indicates the operating status of the scanner.
Red LED is ON
When the scanner attempts to read a bar code, the LED will
glow red.
Single Green LED Flash
When the scanner successfully reads a bar code the
scanner LED flashes green once, and you will hear a single
beep.
Flashing Green LED
1. When the scanner reads a 'start configuration' bar code
("Enter Group 1", for instance) and enters configuration
mode, the scanner LED will flash green while the
scanner simultaneously gives one High-Low-High tone
beep. Upon exiting configuration mode, the scanner will
give one High tone beep, and the scanner LED will stop
flashing.
2. The scanner is powered on but not yet connected to the
WLAN or the connection to the WLAN is broken.
Green LED remains ON
When the scanner is powered on and connected to the
WLAN successfully.

6 MS860G WiFi Manual
INTRODUCTION
Buzzer
The MS860G provides audible feedback while it is in operation.
These sounds indicate the operating status of the scanner.
One High Tone Beep
The scanner will beep once after successfully reading a bar
code.
One High-Low-High Beep
After scanning a ‘begin configuration’ bar code (“Enter Group 5”,
for instance), the scanner LED will flash green while the scanner
simultaneously gives one high-low-high tone beep. Upon exiting
configuration mode by scanning an “Exit” bar code, the scanner
will give one high tone beep, and the scanner LED will stop
flashing.
Continuous High-Low Beeps
If scans are attempted out of range, communication will be
broken. The scanner LED will remain red and you will hear a
continuous high-low beep from the scanner when you scan bar
codes. If the Access Point is powered off, this means the
communication between the scanner and theAccess Point is
lost. You will also hear a continuous high-low beep from the
scanner when you scan bar codes.

MS860G WiFi Manual 7
INTRODUCTION
CRADLE PARTS
Cradle LEDs
The MS860G charging cradle has two LED indicators (power
on/off status and battery charging status).
Power ON/OFF Status LED stays ON
When the power adapter plug is connected into the power jack
on the cradle, and the power adapter is connected into anAC
outlet, the cradle will beep, and the LED on the top of the cradle
will remain on.
Battery Charging Status LED remains Red
The red LED indicates the scanner battery is charging.
Battery Charging Status LED remains Green
The LED changes to green when scanner battery charging is
complete.
Please Note:
The MS086 Cradle has an interface port (to the left of the power
plug) and a communication LED next to the two other LEDs.
These components are inactive due to the wireless nature of
the MS860G WiFi.

8 MS860G WiFi Manual
WiFi INTRODUCTION
CHARGING THE SCANNER:
Prior to performing any operation with the scanner, make sure it
has been fully charged.
How to determine if the scanner needs recharging:
1. During operation, a flashing red scanner LED indicates the
scanner has low power.
2. When the trigger is pressed and a scan laser line is not
visible (do NOT look directly into the scanner), the scanner
has no power. Make sure the scanner is not merely switched
off. To charge the scanner, place the unit into the cradle. The
battery status LED on the cradle will glow red, indicating the
charging process has begun.
To Charge the MS860G:
Simply place the MS860G into the MS086 Charging Cradle.
Make sure the MS086 Cradle is plugged into an available
electrical outlet via its Power Supply.
A complete charging process takes about 4 to 5 hours, during
which the cradle’s battery charging LED will glow red. After
charging is complete the battery charging LED will remain a
steady green. When charging the scanner for the first time,
make sure the scanner remains on the cradle until after the
battery charging LED changes from red to green.
Manufacturer’s Suggestion:
If the scanner is not to be used for a long period of time, it is
recommended that you turn off the battery power of the scanner.
Use an unfolded paper clip to push down the internal power
on/off switch, located inside the round hole on the yellow laser
warning label of the scanner (see page 7). You will feel a ‘click’
when the internal switch is moved up to the “OFF” position or
when the internal switch is moved down to the “ON” position.
To ensure that the scanner has been switched off, press the
scanner’s trigger and make sure that the scanner’s LED does
not glow red.

MS860G WiFi Manual 9
WiFi NETWORK SETTINGS
INTRODUCTION
The MS860G WiFi is designed to connect to your
computer(s) via the existing wireless network through one
of itsAccess Points (APs), thereby eliminating the
dedicated wireless receiving unit required by other types of
wireless scanners.
Integrating the MS860G into the wireless network is the
same as integrating any other piece of wireless hardware,
requiring that you give it its own unique IP address, which
can be obtained from your network administrator. The
MS860G WiFi’s default settings and explanations are
shown below and described on the following pages.
Item Default Setting
IP Address 192.168.1.250
IP Subnet Mask 255.255.255.0
Gateway IP Address 192.168.1.254
SSID wlandemo
RF Channel 6
WEP Disabled
Authentication Type Auto
Note: The default settings must be changed to allow the
MS860G and the AP start communicating, and default
settings are provided merely as a starting point.
How the MS860G WiFi actually works:
Scanners normally communicate directly with host computers
via keyboard or RS232 interface. The MS860G WiFi instead
communicates over your wireless network with the nearest
Access Point (AP), which then communicates with the host
computer. The host computer uses the VCOM utility to convert
the WiFi signal to a Virtual Com Port (RS232) signal, which the
host computer recognizes as one of the standard scanner
interfaces.
MS860G
WiFi
Host
Computer
A
ccess
Point

10 MS860G WiFi Manual
WiFi NETWORK SETTINGS
So, two things must be configured: the MS860G’s Wireless
Network settings, and the host computer’s Virtual Com Port
settings. Consult your network administrator for the
appropriate network wireless settings for your MS860G
which must be manually configured via Scanner
Configuration Manager or bar codes (see below and pages
24 to 39). VCOM should automatically create a “virtual com
port” for the Access Point to communicate data through. If
this doesn’t happen automatically, then refer to the
Troubleshooting section (page 71).
VCOM
The VCOM utility’s function is to convert incoming wireless
data into Virtual Com Port data that your computer expects
from a scanning device. Unlike SCM or Bar Code Scanning
(below) VCOM cannot modify the MS860G’s configuration.
VCOM simply pairs the MS860G’s existing IP address,
configured via SCM or bar code scanning (see below) with
its host computer(s) virtual com port.
Modifying the WiFi settings:
If the MS860G’s settings need to be manually modified, this
can be accomplished via the two different methods below,
each described in full starting on page 10.
SCM
Scanner Configuration Manager (SCM) is a proven and
powerful utility for scanner configuration. Easy to use, it is
probably the most straightforward method of modifying your
MS860G’s wireless settings. Because of the wireless
communication between the MS860G and the host
computer, SCM settings cannot be directly downloaded to
the MS860G. Instead, SCM provides for printing a series of
bar codes derived from SCM’s configuration, and these bar
codes are then scanned by the MS860G.
Bar Codes
Direct bar code scanning is the simplest, most direct, but
most tedious method of configuring the MS860G scanner.
Once mastered, however, it allows the user full “hands-on”
control over the MS860G’s wireless settings. Detailed
instructions for bar code scanning start on page 20.

MS860G WiFi Manual 11
WiFi NETWORK SETTINGS
1. Application Connectivity
TCP Client Mode:
AP
Default SSID : wlandemo
Default IP : 192.168.1.240
User name : admin
Password : password
Destination IP : 192.168.1.2
Destination Port :10002
(
Vcom
p
ort 2
)
SSID : wlandemo
TCP server
TCP client#1
IP : 192.168.1.2
Server Port:10002 for Vcom port#2
Server Port:10012 for Vcom port #12
(VCOM configuration ref Figure 2 )
Default SSID : wlandemo
Default IP : 192.168.1.250
User name : admin
Password : password
Destination IP : 192.168.1.2
Destination Port :10012
(
Vcom
p
ort 12
)
TCP client#10
Figure 1 Topology
One may use monitor.exe utility or right click toolbar to access
Virtual com (Serial/IP) control panel, (for more detail refer to
Change Virtual COM setting section).
Figure 2 Virtual Com setting page

12 MS860G WiFi Manual
WiFi NETWORK SETTINGS
2. Installation Procedures:
Step 1: One should prepare an access point and change its
SSID to wlandemo.
Step 2: Once SW1601T attached to Access Point, one may use
Monitor.exe to Find SW1601T & its IP address, even
ones PC and SW1601T are in different subnet.
Note: one may click re-scan button to find all the SW1601T in
the subnet (Figure 3).
Figure 3 re-scan function
Step 3: Configure SW1601T by monitor
1. Change SW1601T’s IP address
(1) Click “Configuration”.
(2) Select “Network” ->it will pop-up Network setting
page (Figure 4).
(3) One may change the IP address/subnet
mask/Gateway to meet one’s subnet.

MS860G WiFi Manual 13
WiFi NETWORK SETTINGS
Figure 4 Networking setting page
(4) Click “OK” to configure the setting, and it will pop-up
Authorize page, one may input the password and
then click “Authorize” button to make the setting
effective (Figure 5).
Note: the default user name is “admin”, password is
“password”.
Figure 5 Authorize page
(5) After reboot, the settings should be changed to new
settings.

14 MS860G WiFi Manual
WiFi NETWORK SETTINGS
2. Change Virtual COM setting:
(1) Click “Configuration”.
(2) Select “Virtual COM” -> it will pop-up Virtual COM
setting page (Figure 6).
Figure 6 Virtual COM & TCP server Settings
(3) One may select “Select Port” and then click “Set” to
add Virtual COM Port, after configure successful the
port selected should change to “used” state and
“Advanced button” should be enabled, one may also
click “Advanced button” to configure Virtual COM
further. (Figure 7)
Figure 7 Access Virtual COM (Serial/IP) control panel

MS860G WiFi Manual 15
WiFi NETWORK SETTINGS
(4) One may use the Default Server port & Server IP to
connect Server IP (TCP server)
Note:
1. The PC which run moniter.exe utility should detect the IP
address itself and the IP address should be act as TCP
server if Server IP is different from the monitor.exe detected
one may assign it by oneself.
2. One shouldn’t change the Server port & Server IP if one
want to use the PC which run moniter.exe utility to act as
TCP server.
3. If one’s PC wants to manage all SW1601T in the subnet,
one should assign different server port for each SW1601T,
one may use the default settings which monitor.exe utility
provide.
4. One may use “Clear” button to remove Virtual com port
settings, after remove the “used” state should be erased.
5. One may also click the toolbar below to access Virtual COM
(Serial/IP) control panel (Figure 8).
Figure 8 Access Virtual com (Serial/IP) control panel via toolbar
3. Change SW1601T’s network, Basic Setup、Radio、Security
and RS232 Setup settings by web browser.
Note: Make sure ones PC is located on the same subnet as
SW1601T.

16 MS860G WiFi Manual
WiFi NETWORK SETTINGS
After click “Config by IE”, it should pop-up the web page below:
3. Software Installing
SW1601T wireless-Serial Server is shipped with default settings
shown in the following table:
Property Default Value
Default SSID wlandemo
IPAddress 192.168.1.250
Gateway 192.168.1.254
Subnet Mask 255.255.255.0
User Name admin
Password password
RS232 Setup 38400, None, 8, 1, No flow control, Type:
TCP client, Destination IP: 192.168.1.2,
destination port 4660, Virtual COM enable
Table of contents
Other Unitech Barcode Reader manuals

Unitech
Unitech MS910 User manual

Unitech
Unitech MS837 User manual

Unitech
Unitech MS852N User manual

Unitech
Unitech MS916 User manual

Unitech
Unitech MS910 User manual

Unitech
Unitech MS282e User manual

Unitech
Unitech MS840 User manual

Unitech
Unitech RH767 II User manual

Unitech
Unitech MS282 User manual

Unitech
Unitech MS912+ User manual

Unitech
Unitech MS852B User manual

Unitech
Unitech ES700 User manual

Unitech
Unitech MS282 User manual

Unitech
Unitech MS652 User manual

Unitech
Unitech MS336 User manual

Unitech
Unitech MS836B User manual

Unitech
Unitech MS836 User manual

Unitech
Unitech MS842 User manual

Unitech
Unitech MS120 User manual

Unitech
Unitech MS650 User manual