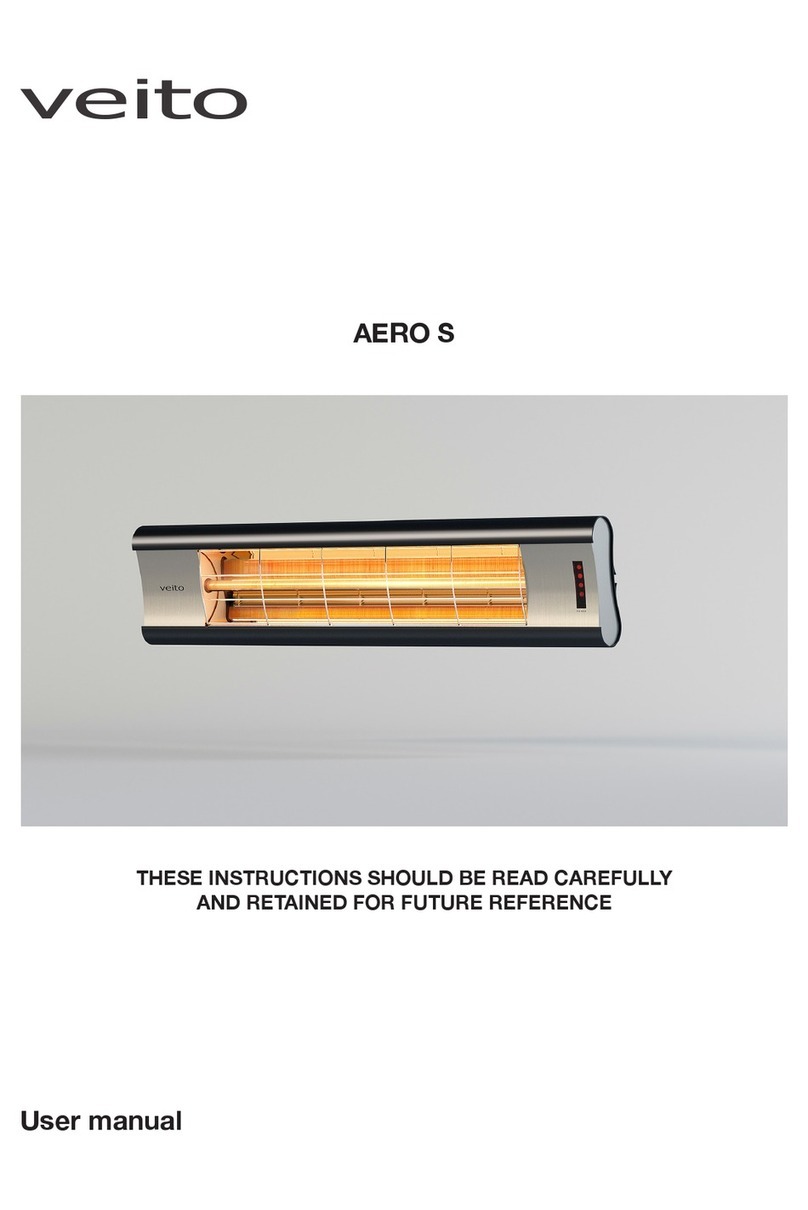
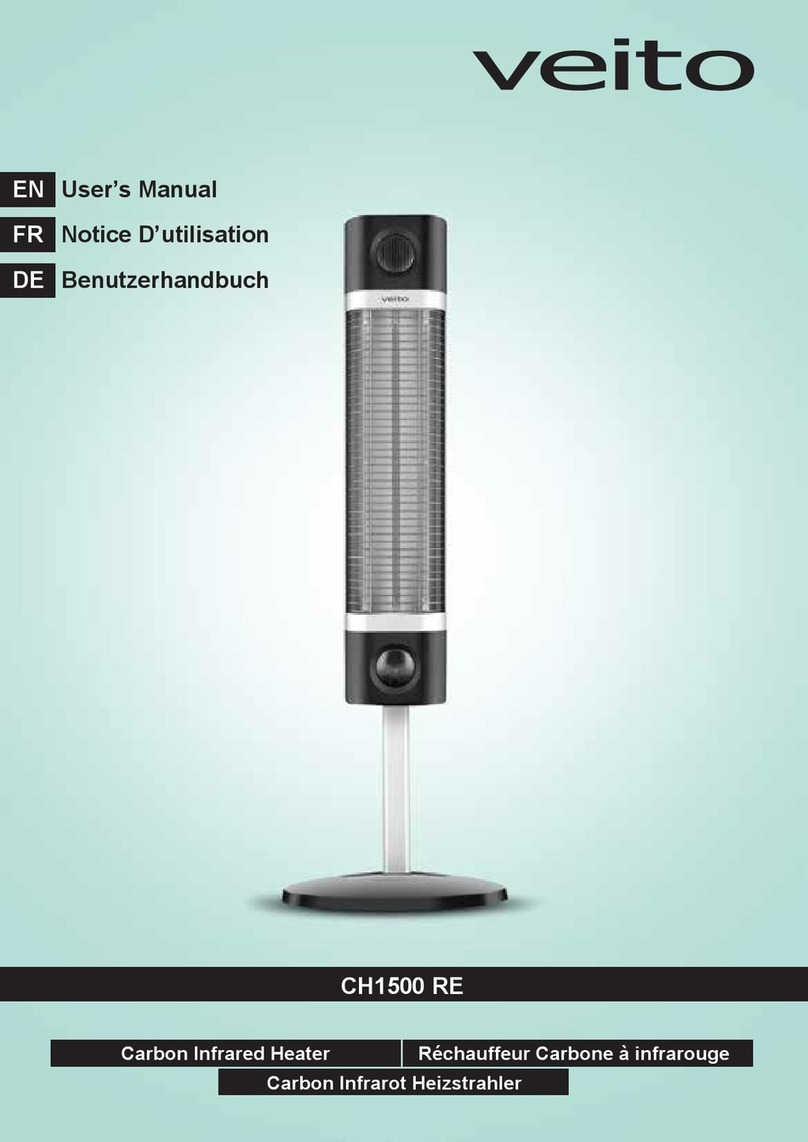
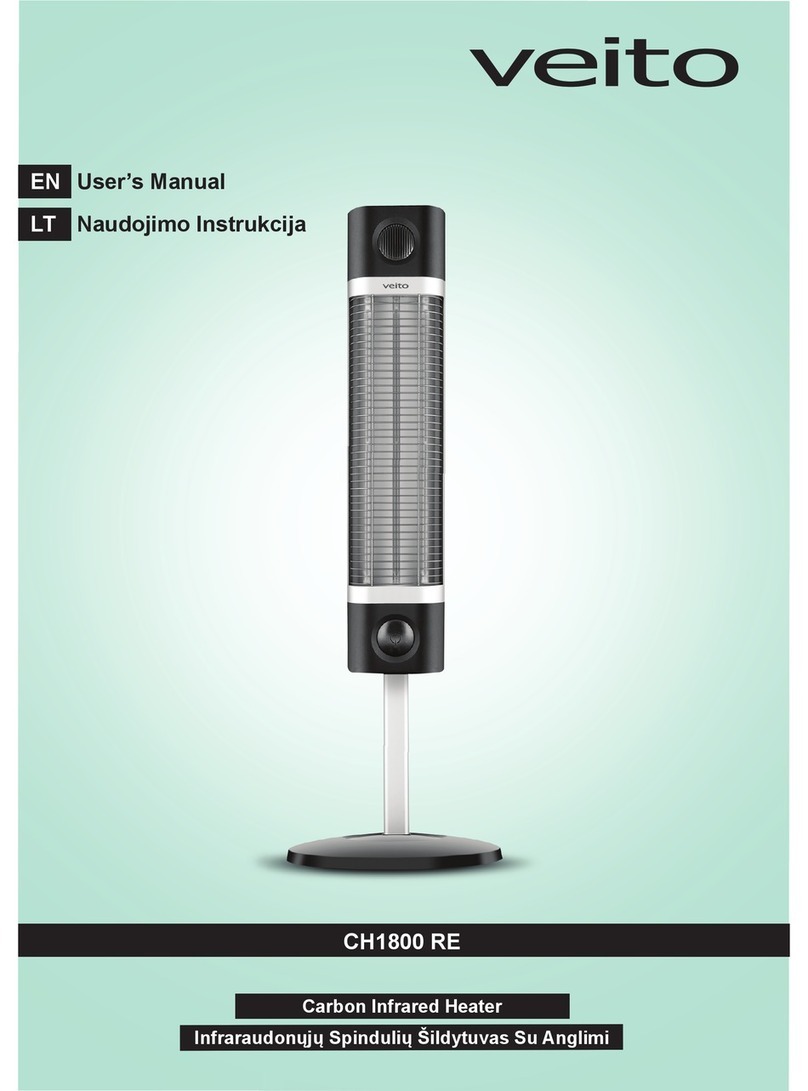
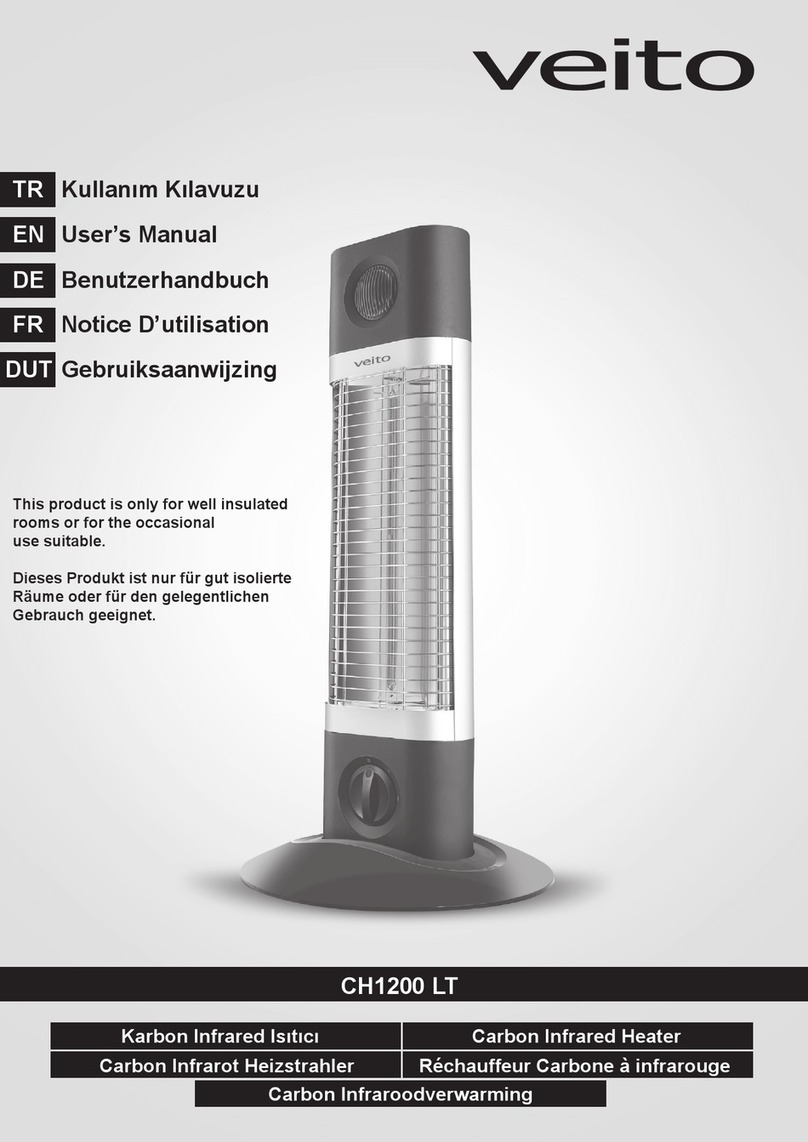
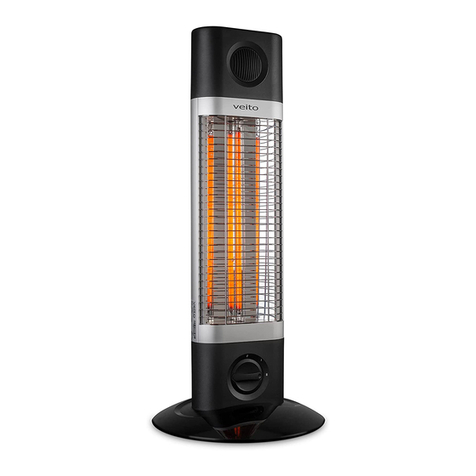
veito CH2500 RW User manual

PRECAUTIONS
CARBON INFRARED HEATER
CH2500 RW
User’s Manual
DESCRIPTION
OF USE
• Thank you for purchasing Veito Carbon Infrared Heater. Please read the instructions
thoroughly before using your heater.
• After reading the instructions, please keep it in a place accessible to all users.
• Ensure you read ‘Safety Precautions’ in advence and use the product corectly.
• We can not be liable for any damages caused by failure to observe these instructions.
• The product is specified for use with a power supply of 230V 50/60Hz
• This manual includes the product warrantly.
• Specifications and contents of this manual may be changed without prior notice, in
accordance with our commitment to product quality, design and control.


2
CONTENTS
Configuration and name
•Main body
•Indication and operation part
•Remote control
•How to replace the remote control battery
How to use
•Operation and stop
•Heat amount control
•Off timer
How to diagnose safety device
Cleaning and maintenance
Storage Instructions
Troubleshooting
Wiring diagram
Specification
Product warranty
Safety Precautions
Precautions for installation and before use
•Precautions for install
•How to install
•How to use power
3
7
7
7
8
8
8
8
9
9
9
9
9
9
10
10
10
11
11
11
12

PRECAUTIONS
Safety Precautions
!
!
!
These precautions are designed for keeping users safe and preventing material damage.
Be sure to read them and use the product correctly.
• There are 3 classifications of safety precautions and they are listed in the box below.
Risk
Warning
Caution
Possiblity of death or severe injury in the event of mishandling.
Possiblity of injury and/or material damage in the event of mishandling.
*Meaning of picture signs
!
Indicate prohibition Indicate contents that people must carry out
!Risk *After reading this, be sure to keep it at a place where other users can refer to it at any time.
(Can cause explosion)
Do not leave or use pressure vesel around
heater
3

4
WARNING
!*After reading this, be sure to keep it at a place where other users can refer to it at any time.
!Use specific 230V 16A amp
socket.
(to prevent fire & electric shock)
230V
!Ensure both plug and socket is
clean and free from dust when
using.
Never use with a damaged
power lead, plug or loose wall
socket. (this can cause electric
shock, short circuiting or fire)
Never remove the plug from the
socket by pulling the mains lead.
Never touch the plug with wet
hands.
(risk of electrocution and/or fire)
Do not extend the power cord.
(risk of breakdown or fire) !Ensure you hold the power
plug properly when either
plugging in or unplugging.
Do not kink or place the main
power lead under heavy objects.
(risk of electric shock or fire)
Do not overload the dedicated
power socket with other
equipment.
Always turn off the unit by use
of its power button and
never by just pulling the
mains plug or tripping the
circuit breaker.
!
Ensure that the unit is properly earthed
through the mains power circuit.
Do not install, use
or place any
combustible
liquids or gases
nearthe product.
(risk of fire or
explosion)
Never place the unit near
combustible products such as
curtains, carpets etc. This can
cause a fire.
Never put hands or
objects into the main
body of the product.
Never touch it
immediately after use.
(risk of fire burns or
electric shock)
Never place combustible objects on
the product such as vinyl and
plastic items.(can
cause a risk of fire)
The heater must not be located
immediately below a socket outlet
when in use. (risk of fire)

PRECAUTIONS
5
WARNING
!
Do not use this heater in the immediate
surroundings of a bath, a shower, or a
swimming pool. (electrocution and/or
electric leakage can easily occur)
Never move the product
whilst it is switched on.
Always turn it off and
allow it to cool down
before touching.
Do not use the unit other than
for its intended use. (do not use
for drying clothing or for keeping
animals or plants warm etc.)
Never attempt to clean the unit
with any solvents or flammable
liquids. (this could cause electric
shock or fire)
!The safety grille does not
protect children or frail
people completely. (use
under strict supervision)
!
If the power cord is damaged,
it must be replaced by the
manufacturer, its sevice
agent or similarly qualified
persons in order to avoid
a hazard.(risk of electric
shock or fire)
Do not use the product whilst sleeping
or away from the premises.
Do not use this heater with a
programmer, timer or any other
device that switches the heater
on automatically. Since a fire risk
may exist if the heater is covered
or positioned incorrectly.
*After reading this, be sure to keep it at a place where other users can
refer to it at any time.

6
CAUTION
!
!
!
The heater must be installed on a flat
and even surface.
When thunder and lightning is
present, turn off the unit and
disconnect from the power
supply. Disconnect from power
supply when the unit is not
being used for a long period.
!
!
!
Do not try to take the unit apart
or repair it. Never jar the
product.
Do not clean the product before disconnecting from
power and allowing it to cool down.
Keep heater away from other electric
domestic appliances. (They could
get damaged due to high heat)
Store the product in dry, indoor locations
and not in hot or humid locations.
After storage, remove all
dust before re-use.
*After reading this, be sure to keep it at a place where other users can
refer to it at any time.
Do not use the unit on unstable
or unsafe surfaces.
Do not touch hot parts whilst in use. Do not place hands
on the unit as it gets very hot during its heating operation.
Always turn it off and allow it to cool before handling.
Children must be kept away from the heater.

50 cm
50 cm
1.8 m
1.8 m
•Always leave a clear space of at
least 0.5m from the left and right
of the unit. The unit must also have
at least 1.8m clear space above it.
Never put any obstacles nearer than
1.8m to the front of the heater.
The unit must be installed at least
1.8m height from the floor.
•Use the unit in places with easy eccess
to power sockets and that are well
ventilated.
•Never use connecting terminals in the
power lead. Always directly connect the
unit to the power.
PRECAUTIONS
7
Precautions for installation and before use
PRECAUTIONS FOR INSTALL
•Install the two L connection
parts to the back side of the
heater with the screws
supplied by keeping a
suitable distance between
them.
•Install the other two L
connection parts to the wall
with the screws and wall plugs
supplied by keeping the
same distance between them.
*After reading this, be sure to keep it at a place where
other users can refer to it at any time.
Place and secure the heater to
the wall with the L connection
parts by using the special
screws supplied.
Decide the best position for the
heater and fully tighten the
screws.
!!
!
Never install the heater on a combustible
surface. ( wood, carton etc.)
Install the product at places that are visible to people.
(frequently observe the product for safety)
Install the product at places where users
always reside and be sure to equip fire
extinguisher.
Do not install at
places with high
temperature.
HOW TO INSTALL *Keep packaking parts because they are necessary in
maintaining the heater for a long time.
•The heater can be used as both horizontal and vertical. When the heater is plugged in,
it will automatically set its position.
•Check there are no hidden cable before drilling holes for wall plugs.
•Decide the position for the heater on the wall. Proceed as follows;

Plastic Body
Rear Reflector
Carbon Flament
HOW TO USE POWER
• When using 230V
•Put plug into specific outlet for 230V with earth terminal.
Configuration and Name
MAIN BODY
•External appearence can be changed without prior notice for improving quality.
INDICATION AND OPERATION PART
8
1.Control button
2.LED display
Power, temperature and timer settings are
displayed.
1
Base Reflector
Aluminium Body
Safety Grille
Control Panel
Power Cord
2

HOW TO REPLACE THE REMOTE CONTROL BATTERY
9
• The remote control uses a CR2025 lithium 3.0 V coin battery that is
commonly used in small electronic devices.
• Push the battery compartment release button and then slide out the
battery tray on the bottom of the remote control.
•Remove the old battery and put the new battery in, making sure that
the battery's positive side is facing up.
•Slide the battery tray back into the remote control until it clicks.
REMOTE CONTROL
OPERATION AND STOP
1- Start the operation by pressing the setting or the auto button.
2- When you press the auto button, you can set the temperature by using the
setting buttons;
Electronic temperature control automatically regulates power consumption
based on your set temperature and eliminates annoying hot and cold cycles.
3- When you press the level button, you can set the heat steps by using the
setting buttons;
Heating capacity can be set to 4 different levels 1000W-1500W-2000W-2500W.
• When you press the timer button, you can set the off timer between 1-9 hours by using the setting buttons;
• When the timer is set, off timer lamp will light up and the heater will automatically shut down at the end of
the determined time.
• To stop the off timer, set the timer as “0” or restart the heater.
• Point the remote control towards the receiver whilst using it.
•Remote control will not work from a distance when strong lighting
or sunlight is present. In this case, use the remote control just in front
of the control panel.
•When you select a function with the remote control you will here
a 'beep'.
•When the remote control is not used for a long period, please
remove the battery to avoid leakage and damage.
•Do not allow water or liquid to get into the remote control.
How to use
It is recommended that persons who may have difficult understanding or operating the appliance controls should not be
left unattended while using the appliance. Special considerations should be given to young children and the less able
bodied!
1. Start operation by pressing the setting or the auto button.
2. Heater is turned on and operation is started with the sound of beep.
3. Press power button to stop.
HEAT AMOUNT CONTROL
OFF TIMER
Power
Timmer
Setting buttons
Automatic temperature
control
Power setting

How to Diagnose Safety Device
10
DESCRIPTION
OF USE
SAFETY DEVICE Veito heater is equippped with diverse safety device, preventing a risk of fire.
In the event that heater is not working properly, safety device is operated and
heater is automatically stopped.
When the heater is knocked over, it
will automatically shut down.
• After checking that there is no
damage, switch on again and operate
normally.
• If the heater exceeds temperature
requirements, it will automatically
switch itself off.
The unit will automatically stop if there
is a power failure. You must press the
power setting button to continuou use.
Cleaning and Maintenance
Precautions for examination and handling;
- Handle heater when it is completely cooled down and power is cut off.
- If the heater has collected dust or dirt inside the unit or around the elements, have the unit cleaned by
a qualified service agent. Do not operate the heater in this condition.
- Do not attempt to open the case of the heater at any time, there are no customer serviceable parts inside.
- Do not use powerful abrasive or solvent cleaning fluids when cleaning the heater as they may damage the
plastic parts. Use only a clean, dry cloth to clean the external surfaces of the heater only.
Storage and Instructions
•Disconnect from power
supply.
•Ensure main body is clean
and dry. •Cover the heater with the covering
supplied when you purchased the unit.
Keep it in a well ventilated dry place.

Troubleshooting
11
This heater was manufactured conscientiously and checked several times before delivery.
If you experience a malfunction, please try to rectify the fault yourself first with the help of this table. In doing
do, you will avoid the unnecessary expense of customer service assistance.
If a foult in your heater can not be rectified with the aid of this table, please contact the Central Customer Service
Department.
Repairs must only be carried out by authorized professionals.
Unit
is not
working
Syptoms How to deal with
•Is electric supply working?
•Check that the power plug is plugged in.
•Is the circuit breaker off?
•Check the main power supply is working.
•Turn on the product once again after plugging in.
•Reset circuit breaker.
Specification
model
classification
Heating Capacity BTU/h
Maximum Power (W)
Space for use (m )
2
Power supply
Size(mm) (WxLxH)
Product weight (kg)
Safety device
Controlling method
Controlling function
CH2500 RW
12000
2500
30
230V 50/60Hz
80x170x940
2.5
Tilt sensor, overheat protection
Push button and remote control
Automatic temperature control, 4 power settings, off timer
Wiring Diagram
Carbon Flament
Triac
Off timer
Tilt sensor
Supply cable
Blue (L)
Brown (N)
Yellow-Green (E)
Mainboard
Temperature
sensor
C°

12
Veito Carbon Infrared Heater give more reliable performance, comfort and
durability the more they are used. They are built under a strict quality assurance
regime which includes inspection both during and after production and exhaustive
reliability testing.
In the unlikely event you have any problems, please contact your dealer or
distributor. If the problem is as a result of a production fault or failure, repairs will
be undertaken free of charge during the period of warranty subject to the following
warranty conditions:
1.The warranty period is 12 months from the date of first purchase.
2.If the problem has been caused by customer error or misuse, abuse or damage,
then all repairs will be charged for.
3.This warranty card is valid within your country.
4.Proof and date of purchase must be supplied.
5.Please complete the details below and keep this warranty in a safe place.
6.All transport charges back to the dealer are at the customers cost. Keep all
original packaging to facilitate return. Return to customer will be at dealers cost
WARRANTY
(Applicable to first retail purchaser only)
DESCRIPTION
MODEL
DATE OF PURCHASE
CARBON INFRARED HEATER
CH2500 RW
PRODUCT
SERIAL NO:
Warranty Period
DISTRIBUTOR
( ) Months
Name of Company
Telephone No.
CUSTOMER
DETAILS
Name:
Address:
Telephone:

Notes


www.veito.com
Table of contents
Other veito Heater manuals

veito
veito BLADE S Service manual
veito
veito CH1800 RE User manual

veito
veito Blade User manual

veito
veito CH1200 LT User manual

veito
veito Blade User manual

veito
veito MANTA User manual

veito
veito CH1200 LT User manual

veito
veito 19.07.3104 User manual
veito
veito CH2500 TW User manual

veito
veito AERO Service manual
Popular Heater manuals by other brands

Modine Manufacturing
Modine Manufacturing MELMEL-24B1-120 Series Installation and service manual

noken
noken TONO 100284608 manual

Rowenta
Rowenta SILENCE COMFORT - SO5115 manual

Ferroli
Ferroli NEO 500 Instructions for installation and use

CEH
CEH RCHB 4200 installation instructions

Optex
Optex Smart Line PCU-5 installation instructions