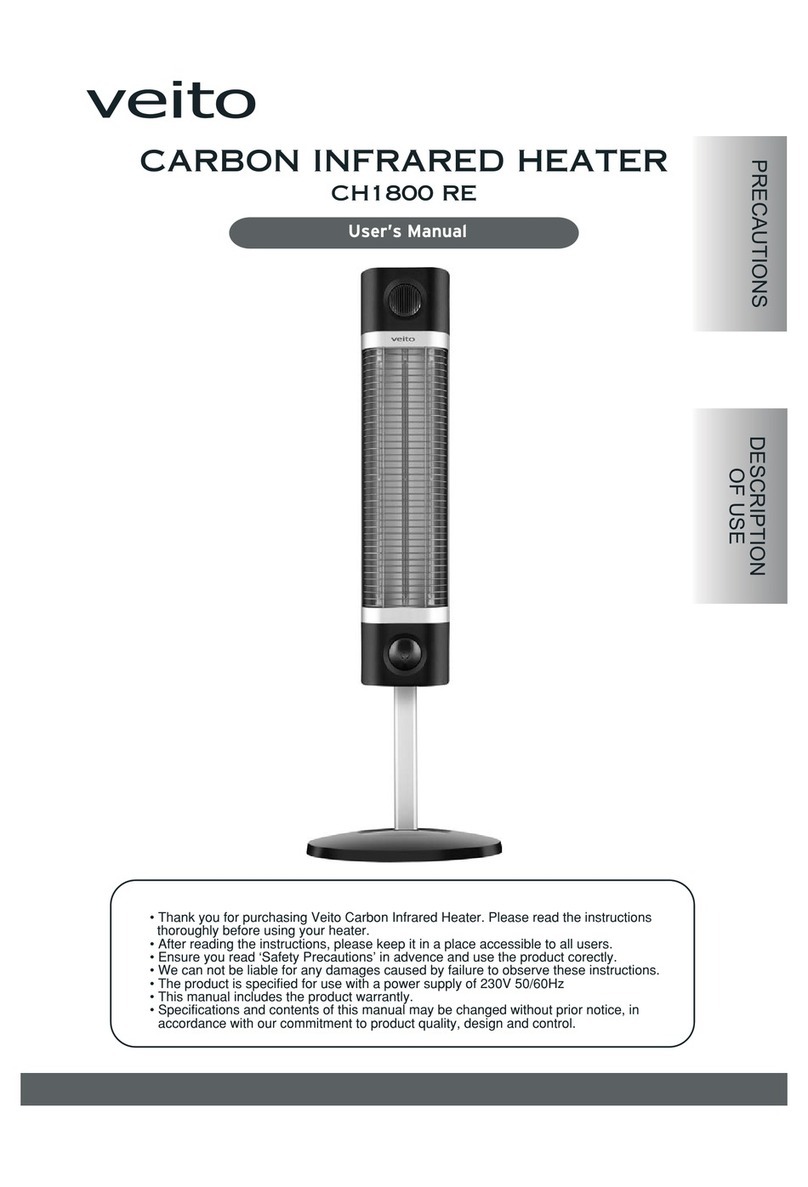
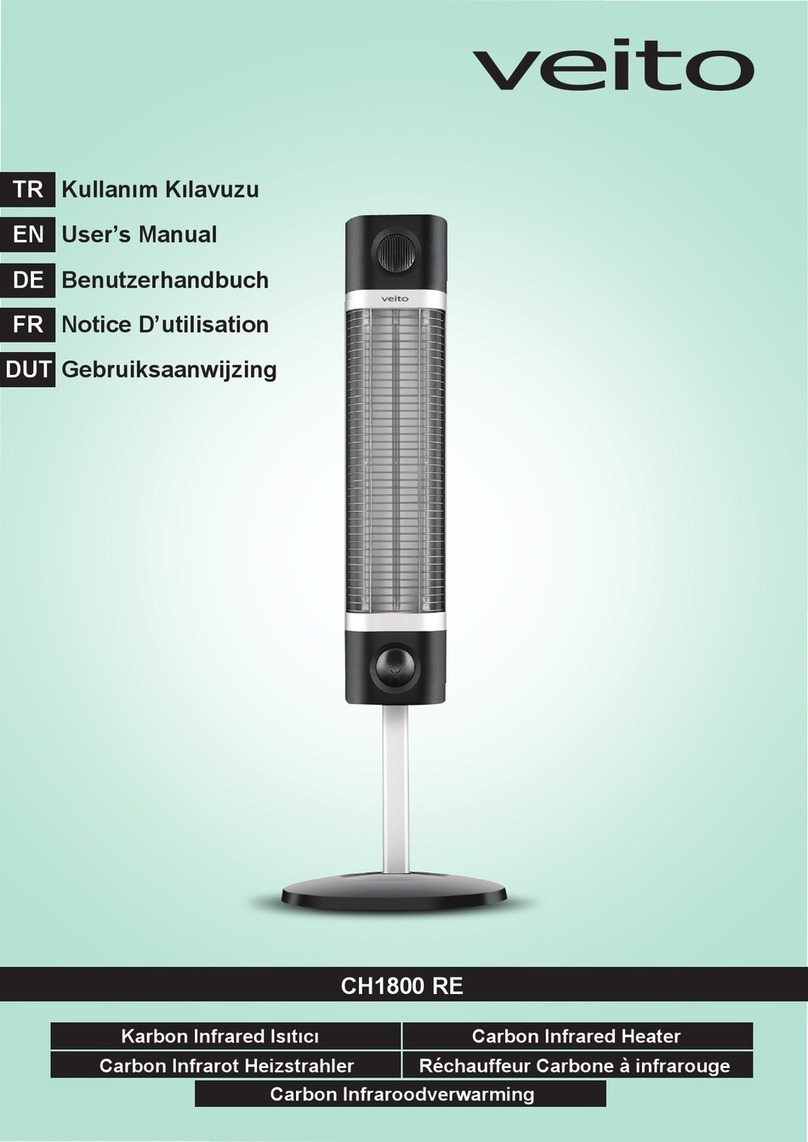
veito CH1800 RE User manual

EN User’s Manual
CH1800 RE
Carbon Infrared Heater
LT Naudojimo Instrukcija
Infraraudonųjų Spindulių Šildytuvas Su Anglimi

-2-
Carbon Infrared Heater
• Thank you for purchasing Veito Carbon Infrared Heater. Please read the instructions thoroughly
before using your heater.
• After reading the instructions, please keep it in a place accessible to all users.
• We cannot be liable for any damages caused by failure to observe these instructions.
• This appliance can be used by children aged from 8 years and above and persons with reduced
physical, sensory or mental capabilities or lack of experience and knowledge if they have been given
supervision or instruction concerning use of the appliance in a safe way.
Safety Precautions
These precautions are designed for keeping users safe and preventing material damage. Be sure
to read them and use the product correctly.
Read all instructions before installing and using this heater.
This heater is designed for use on a 220-240VAC 50/60Hz supply.
Use this heater only as described in this manual. Any other use not recommended by the
manufacturer may cause fire, electric shock, or injury to persons.
This appliance is not intended for use by persons (including children) with reduced physical, sensory
or mental capabilities, or lack of experience and knowledge, unless they have been given
supervision or instruction concerning use of the appliance by a person responsible for their safety.
Children should be supervised to ensure that they do not play with the appliance.
The fireguard of this heater is intended to prevent direct access to heating elements and must be in
place when the heater is in use.
The fireguard does not give full protection for young children and infirm persons.
Do not use the heater in areas where gasoline, paint, flammable liquids or highly combustible dusts
are used or stored.
Ensure both plug and socket is clean and free from dust when using.
Regularly inspect the power cord and plug for wear or damage and do not operate the heater with
a damaged cord, plug or loose socket or after the heater malfunctions, has been dropped or
damaged in any manner.
To disconnect the heater from the power supply, turn the controls off, grip the plug and pull from the
power socket. Never pull by the cord. Never touch the plug with wet or moist hands.
Do not kink or place the main power lead under heavy objects. Do not allow the supply cord to sit or
hang in front of the heater while in use.
EN

-3-
Do not overload the dedicated power socket with other equipment. Do not use and extension cord
with this heater.
The heater must not be located immediately below a socket outlet or connection box and ensure
that the unit is properly earthed through the mains power circuit.
Keep combustible materials such as furniture, pillows, bedding, papers, clothes and curtains at least
1.5m from the front of the heater and keep them away from the sides and rear.
Do not use the heater if the heating element is cracked or broken.
Never put hands or objects into the main body of the product. Never touch it immediately after use.
Always disconnect the heater from the electricity supply and allow it to cool before adjusting the
position or attempting to work on it.
Never place combustible objects on the product such as vinyl and plastic items.
Do not use this heater in the immediate surroundings of a bath, a shower, or a swimming pool.
Extreme care should be taken whenever the heater is left operating and unattended.
Never use the heater while sleeping.
Introduction
The Veito Carbon Infrared heater produces instant and comfortable heat like the sun. These robust
and weatherproof heaters are designed for domestic and commercial heating applications.
Model CH1800 RE
Heating Capacity (BTU/h) 7500
Maximum Power (W) 1700
Space for use (m2) 20
Power Supply AC 220-240V 50/60 Hz
Dimensions (mm) (WxLxH) 80 x 170 x 820
Product Weight (kg) 2.1
Controlling method Push Button and Remote Control
Controlling function Automatic Temperature Control, 4 Power Settings, Off Time
Safety device Tilt Sensor

-4-
Precautions for Installations
Never install the heater on a combustible surface. Do not use the unit on unstable or unsafe surfaces.
Install the product at places that are visible to people.
Do not install at places with high temperature.
Keep packaging parts because they are necessary in maintaining the heater for a long time.
Installation
Assemble the two parts of the base.
Insert the plastic connection part onto the aluminum profile.
Place the aluminum profile into the place on the base and push it on a
level until it sounds ‘click’.
Assemble the product stand with the product. Tighten the connection nut
adequately as to secure the heater in position. You will re-adjust this
height later.

-5-
Always leave a clear space of at least 0.5m from the left and right of the unit. The unit must also
have at least 1.5m clear space above it. Never put any obstacles nearer than 1.5m to the front of
the unit.
Use the unit in places with easy access to power sockets and that are well ventilated.
Never use connecting terminals in the power lead. Always directly connect the unit to the power.
Put plug into specific outlet for 220-240VAC 50/60Hz with earth terminal.
Configuration
1-Plastic Body
2-Base Reflector
3-Aluminium Body
4-Rear Reflector
5-Safety Grille
6-Carbon Flament
7-Control Panel
8-Aluminum Profile
9-Plastic Base
10-Carry Handle
11-Fixing Plastic
12-Fixing Nut
13-Power Cord

-6-
Control Panel
1-LED Display
Power, temperature and timer settings are displayed.
2-Control Button
Remote Control
1-Power
2-Setting Buttons
3-Automatic Temperature Control
4-Level Control
5-Timer Setting
Point the remote control towards the receiver whilst using it.
Remote control will not work from a distance when strong lighting or sunlight is present. In this case,
use the remote control just in front of the control panel.
When you select a function with the remote control you will hear a ‘beep’.
When the remote control is not used for a long period, please remove the battery to avoid leakage
and damage.
Do not allow water or liquid to get into the remote control.
The remote control uses a CR2025 lithium 3.0V coin battery that is commonly used in small
electronic devices.
Push the battery compartment release button and then slide out the battery tray on the bottom of
the remote control.
Remove the old battery and put the new battery in, making sure that the battery’s positive side is
facing up.Slide the battery tray back into the remote control until it clicks.

-7-
Operation and Stop
The appliance is not to be used by children or persons with reduced physical, sensory or mental
capabilities, or lack of experience and knowledge, unless they have been given supervision or
instruction.
1- Start operation by pressing power setting or “AUTO” button.
2- Heater is turned on and operation is started with the sound of ‘beep’.
3- Press “POWER” button to stop.
When you press the “AUTO” button, you can set the temperature by using the settings button.
Electronic temperature control automatically regulates power consumption based on your set
temperature and eliminates annoying hot and cold cycles.
When you press the “LEVEL” button, you can set the heat steps by using the settings buttons.
Heating capacity can be set to 4 different levels: 900W – 1100W – 1400W – 1700W.
When you press the “TIMER” button, you can set the off time between 1 – 9 hours by using the
settings button.
When the timer is set, off timer lamp will light up and the heater will automatically shut down at the
end of the determined time.
To stop the off timer, set the timer as ‘0’ or restart the heater.
When the heater is knocked over, it will automatically shut down.
Electrical Circuit
1. Triac
2. Carbon Flament
3. Power Cord
4. Yellow-Green (E)
5. Brown (N)
6. Blue (L)
7. Off Timer
8. Tilt Sensor
9. Temperature Sensor
10. Mainboard

-8-
Cleaning and Maintenance
Handle heater when it is completely cooled down and power is cut off.
If the heater has collected dust or dirt inside the unit or around the elements, have the unit cleaned
by a qualified service agent. Do not operate the heater in this condition.
Do not attempt to open the case of the heater at any time; there are no customer serviceable parts
inside.
Do not use powerful abrasive or solvent cleaning fluids when cleaning the heater as they may
damage the plastic parts. Use only a clean, dry cloth to clean the external surfaces of the heater
only.
Cleaning and user maintenance shall not be made by children without supervision.
Do not touch the heating element with bare fingers, as residue from your hand could affect the life
of the lamp. If it is accidentally touched, remove the finger marks with a soft cloth moistened with
methylated spirit or alcohol.
Ensure main body is clean and dry.
Cover the heater with the covering supplied when you purchased the unit. Keep it in a well-
ventilated dry place.

-9-
Infraraudonųjų spindulių šildytuvas su anglimi
• Dėkojame, kad įsigijote Veito infraraudonųjų spindulių šildytuvą su anglimi. Prieš pradėdami
šildytuvą naudoti, įdėmiai perskaitykite instrukciją.
• Perskaitę instrukciją, pasidėkite ją į tokią vietą, kur ją galėtų lengvai rasti visi naudotojai.
• Negalime prisiimti atsakomybės už žalą, atsiradusią dėl šių instrukcijų nesilaikymo.
• Šį prietaisą gali naudoti ir vaikai nuo 8 metų amžiaus bei asmenys, kurių fiziniai, jutiminiai arba
protiniai gebėjimai yra nusilpę, kurie turi mažai patirties ir žinių, jei juos prižiūri ir nurodymus dėl
prietaiso naudojimo duoda už jų saugumą atsakingas asmuo.
Saugumo nurodymai
Šie nurodymai skirti tam, kad prietaiso naudotojai būtų saugūs ir išvengtų materialinės žalos.
Būtina perskaitykite šiuos nurodymus ir naudokite gaminį tinkamai.
Prieš įrengdami ir naudodami šildytuvą, perskaitykite visą instrukciją.
Šį šildytuvą galima naudoti esant 220-240VAC 50/60Hz maitinimui.
Naudokite šį šildytuvą tik taip, kaip aprašyta šioje instrukcijoje. Naudodami prietaisą kitaip nei
aprašyta, galite sukelti gaisrą, patirti elektros šoką ar susižeisti.
Šio prietaiso negalima naudoti asmenims (tame tarpe ir vaikams), kurių fiziniai, jutiminiai ar protiniai
gebėjimai yra nusilpę, kurie turi per mažai patirties ar žinių, nebent juos prižiūri ir nurodymus dėl
prietaiso naudojimo duoda už jų saugumą atsakingas asmuo.
Vaikus reikia prižiūrėti, kad su prietaisu jie nežaistų.
Šildytuve yra įrengta apsauga nuo gaisro, kuri saugo nuo tiesioginio priėjimo prie kaitinimo elementų,
todėl ši apsauga visada turi būti savo vietoje.
Apsauga nuo gaisro nesuteikia visiškos apsaugos mažiems vaikams ir netvirtiems asmenims.
Nenaudokite šildytuvo, kur laikomi ar naudojami dažai, benzinas, degūs skysčiai ar ypač degios
dulkės.
Pasirūpinkite, kad naudojimo metu kištukas ir maitinimo laidas būtų švarūs.
Reguliariai tikrinkite maitinimo laidą ir kištuką, ar jie nenusidėvėję ir nepažeisti. Nenaudokite šildytuvo,
jei jo laidas ar kištukas pažeisti, jei maitinimo lizdas kliba ar jei pastebite kitokių sutrikimų.
Nenaudokite prietaiso, jei jis buvo nukritęs ar yra pažeistas kokiu nors kitu būdu.
Norėdami išjungti šildytuvą iš maitinimo tinklo, išjunkite jį ir ištraukite iš maitinimo tinklo suimdami
už kištuko. Niekada netraukite už laido. Niekada nelieskite kištuko drėgnomis ar šlapiomis rankomis.
Nesupainiokite laido ir nedėkite ant jo sunkių daiktų. Stebėkite, kad naudojant šildytuvą, laidas
nekabėtų jo priekyje.
LT
Neperkaukite maitinimo tinklo kitais prietaisais. Šildytuvo nenaudokite su prailginimo laidu.
Šildytuvo negalima laikyti tiesiai po maitinimo lizdu ar žemiau prijungimo dėžės.
Degias medžiagas, pavyzdžiui baldus, pagalves, lovatieses, popierius, drabužius ir užuolaidas,
laikykite bent 1,5 m atstumus nuo šildytuvo iš visų pusių.
Nenaudokite šildytuvo, jei kaitinimo elementas yra įskilęs ar lūžęs.
Nekiškite rankų ar daiktų į gaminio korpusą. Nelieskite jo iš karto po naudojimo. Prieš reguliuodami
šildytuvo padėtį ar atlikdami kokius nors kitus darbus, išjunkite jį iš maitinimo tinklo ir leiskite atvėsti.
Ant gaminio niekada nedėkite degių medžiagų, pavyzdžiui, vinilo ar plastikinių dalių.
Nenaudokite šildytuvo netoli vonios, dušo ar baseino.
Būkite ypač atsargūs ir atidūs, kai paliekate veikiantį prietaisą be priežiūros.
Niekada nenaudokite šildytuvo miegodami.
Įžanga
Veito infraraudonųjų spindulių šildytuvai su anglimi šildo greitai ir patogiai, kaip saulė.
Šie tvirti ir vandeniui atsparūs šildytuvai tinka naudoti ir buitinei, ir komercinei paskirčiai, tiek viduje,
tiek lauke.
Modelis CH1800 RE
Šildymo galingumas (BTU/val.) 7500
Didžiausias galingumas (W) 1700
Šildomos erdvės plotas (m2) 20
Maitinimo tiekimas AC 220-240V 50/60 Hz
Išmatavimai (mm) (plotis x ilgis x aukštis) 80 x 170 x 820
Gaminio svoris (kg) 2.1
Valdymo būdas mygtuko paspaudimu ir nuotolinio valdymo pulteliu
Valdymo funkcijos automatinis temperatūros valdymas, 4 nustatymo lygiai,
išsijungimo laikas
Apsauginis mechanizmas posvyrio jutiklis, apsauga nuo perkaitimo
-10-

Įspėjimai dėl įrengimo
Niekada neįrenkite šildytuvo ant degaus paviršiaus. Nenaudokite prietaiso ant nestabilių ir nesaugių
paviršių.
Įrenkite šildytuvą tokiose vietose, kurios yra matomos žmonėms.
Neįrenkite šildytuvo vietose, kur aukšta temperatūra.
Pasilikite pakuotės medžiagas, nes jų gali prireikti prietaiso priežiūrai.
Įrengimas
Surinkite dvi pagrindo dalis.
Uždėkite aliuminio profilį į vietą ant prietaiso pagrindo ir įstumkite jį taip,
kad užsifiksuotų ir pasigirstų spragtelėjimas.
Ant aliuminio profilio uždėkite plastikines sujungimo dalis.
Surinkite gaminio stovą ir prietaisą. Priveržkite prijungimo veržlę taip, kad
šildytuvas būtų pritvirtintas tinkamoje padėtyje. Aukštį bus galima
sureguliuoti vėliau.
-11-

-12-
Visada palikite bent 0,5 cm tuščios vietos iš prietaiso dešinės ir kairės pusių. Virš prietaiso reikia
palikti bent 1,5 m tuščio ploto. Arčiau nei 1,5 m atstumu iki prietaiso negali būti jokių kliūčių.
Šildytuvą naudokite tokiose vietose, kur lengva prieiti prie maitinimo tinklo, ir kurios yra gerai
vėdinamos.
Niekada nenaudokite terminalų laidui prijungti. Prietaisą visada junkite tiesiai į maitinimo tinklą.
Kištuką junkite į specialų maitinimo lizdą su įžemintu terminalu, kurio maitinimo tiekimas
220-240 VAC 50/60Hz.
Dalys:
1-Plastikinis korpusas
2-Pagrindo reflektorius
3-Aliuminis korpusas
4-Galinis reflektorius
5-Apsauginės grotelės
6-Anglies pluoštas
7-Valdymo mygtukas
8-Aluminis profilis
9-Plastikinis pagrindas
10-Rankena prietaisui nešti
11-Tvirtinimo priedai (plastikiniai)
12-Tvirtinimo veržlės
13-Maitinimo laidas

Valdymo skydelis
1-LED ekrane rodomi maitinimo, temperatūros ir
laikmačio nustatymai.
2-Valdymo mygtukas
Nuotolinis valdymas
1-Maitinimas
2-Nustatymų mygtukai
3-Automatinis temperatūros valdymas
4-Lygių valdymas
5-Laikmačio nustatymai
Nuotolinio valdymo pultelį nukreipkite į jo priėmėją.
Nuotolinio valdymo pultelis neveikia iš didelio atstumo, kai yra labai stiprus apšvietimas ar ryškiai
šviečia saulė. Tokiu atveju, nuotolinio valdymo pultelį naudokite stovėdami prieš valdymo skydelį.
Kai nuotolinio valdymo pulteliu rinksitės funkcijas, kiekvieną kartą pasigirs pyptelėjimas.
Jei nuotolinio valdymo pultelio nenaudosite ilgą laiką, išimkite iš jo bateriją, kad išvengtumėte
ištekėjimo ar kitų pažeidimų.
Stebėkite, kad į nuotolinio valdymo pultelį nepatektų vandens ar kitokių skysčių.
Šis nuotolinio valdymo pultelis veikia naudojant mažą ličio bateriją CR2025, kuri įprastai
naudojama mažuose elektros prietaisuose.
Paspauskite baterijų skyrelio atidarymo mygtuką ir išstumkite nuotolinio valdymo pulto baterijos
dėklą.
Išimkite seną ir įdėkite naują bateriją. Teigiama baterijos pusė turi būti nukreipta į viršų.
Įstumkite baterijos dėklą atgal ir užfiksuokite. Turi pasigirsti spragtelėjimas.
-13-

Veikimas ir sustabdymas
Prietaiso negalima naudoti vaikams ir asmenims, kurių fiziniai, jutiminiai ir protiniai gebėjimai yra
nusilpę, kurie turi per mažai patirties ir žinių, nebent juos prižiūri ir nurodymus jiems duoda už jų
saugumą atsakingas asmuo.
1- Norėdami, kad šildytuvas pradėtų veikti, paspauskite maitinimo nustatymų ar automatinio režimo
(AUTO) mygtuką.
2- Šildytuvui įsijungus ir pradėjus veikti, pasigirsta pyptelėjimas.
3- Norėdami šildytuvą sustabdyti, paspauskite maitinimo (POWER) mygtuką.
Paspaudę automatinio režimo mygtuką, nustatymų mygtukais galite nustatyti temperatūrą.
Elektroniniu temperatūros valdymu automatiškai reguliuojamas energijos suvartojimas priklausomai
nuo nustatytos temperatūros, be to, šalinami erzinantys karščio ir šalčio ciklai.
Paspaudę lygio (LEVEL) mygtuką, nustatymų mygtukais galite nustatyti šildymo etapus. Galima
nustatyti keturis šildymo galingumo lygius: 900W – 1100W – 1400W – 1700W.
Paspaudę laikmačio (TIMER) funkciją, nustatymų mygtukais galite rinktis laikotarpį nuo 1 iki 9
valandų.
Nustačius laiką, užsidega lemputė, o pasibaigus nustatytam laikui, šildytuvas išsijungia automatiškai.
Norėdami išjungti laikmatį, nustatykite jį į 0 arba paleiskite šildytuvą iš naujo.
Jei šildytuvas apvirsta, jis išsijungia automatiškai.
Elektros schema
1. Triac (trijų terminalų elektroninis įtaisas)
2. Anglies pluoštas
3. Maitinimo laidas
4. Geltona-žalia (E)
5. Ruda (N)
6. Mėlyna (L)
7. Laikmačio išjungimas
8. Posvyrio jutiklis
9. Temperatūros jutiklis
10. Pagrindinė plokštė
-14-

Valymas ir priežiūra
• Prieš atlikdami kokius nors darbus su šildytuvu, visada išjunkite šildytuvą iš maitinimo tinklo ir
leiskite jam atvėsti.
• Jei į šildytuvo vidų, aplink kaitinimo elementą prisirinko dulkių ar purvo, prietaisą išvalyti turėtų
kvalifikuotas paslaugų teikėjas. Tokios būklės prietaiso nenaudokite.
• Nemėginkite atidaryti prietaiso dėklo; viduje nėra jokių dalių, kurioms būtų reikalinga techninė
priežiūra.
• Nenaudokite aštrių valymo priemonių ar tirpiklių prietaisui valyti, nes galite pažeisti plastikines
prietaiso dalis. Valydami prietaiso išorę, naudokite drėgną audeklą.
• Vaikams negalima atlikti prietaiso valymo ir priežiūros darbų, jei jų niekas neprižiūri.
• Neliesite kaitinimo elementų nuogomis rankomis, nes likučiai nuo jūsų rankų gali turėti poveikio
lempai. Jei atsitiktinai ją palietėte, nuvalykite pirštų antspaudus metilo spiritu ar alkoholiu sudrėkintu,
minkštu audeklu.
• Pasirūpinkite, kad prietaiso korpusas būtų sausas ir švarus.
• Uždenkite šildytuvą pirkimo metu pateikta danga. Laikykite šildytuvą gerai vėdinamoje vietoje.
-15-

Other manuals for CH1800 RE
1
Table of contents
Languages:
Other veito Heater manuals

veito
veito BLADE S Service manual

veito
veito Blade User manual

veito
veito CH1200 LT User manual

veito
veito CH1500 RE User manual

veito
veito AERO S User manual

veito
veito CH1800 RE User manual

veito
veito BLADE Series User manual

veito
veito CH1200 LT User manual

veito
veito 19.07.3104 User manual

veito
veito Blade User manual
Popular Heater manuals by other brands

Pelonis
Pelonis PHTPU1501 owner's manual

Klarstein
Klarstein 10031979 manual

Rointe
Rointe ecodesign BELIZE Installation and user manual

Pro-Elec
Pro-Elec PEL00913 manual

Quest Leisure Products
Quest Leisure Products Slimline Quartz instructions

ASKOMA
ASKOMA ASKOHEAT-FO AHFOR-BI-A Series Fitting instructions, user manual and service