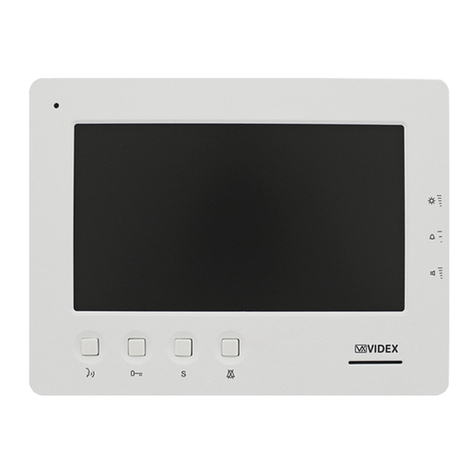
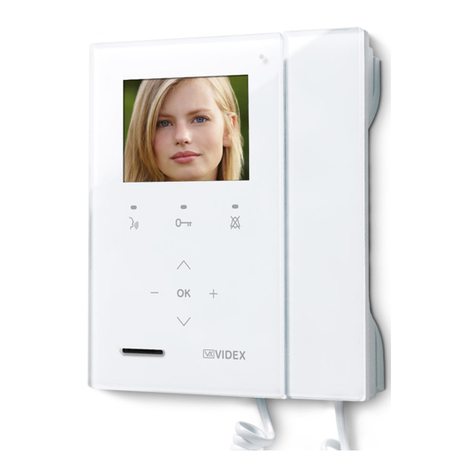
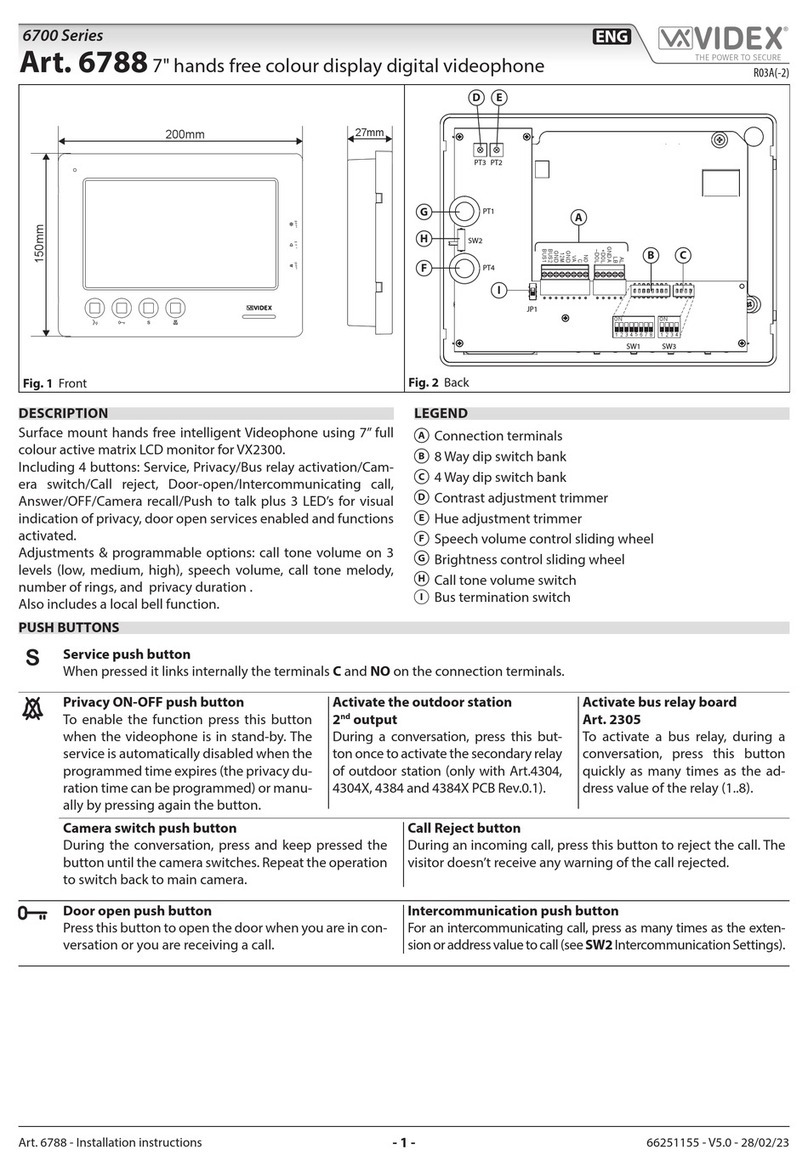
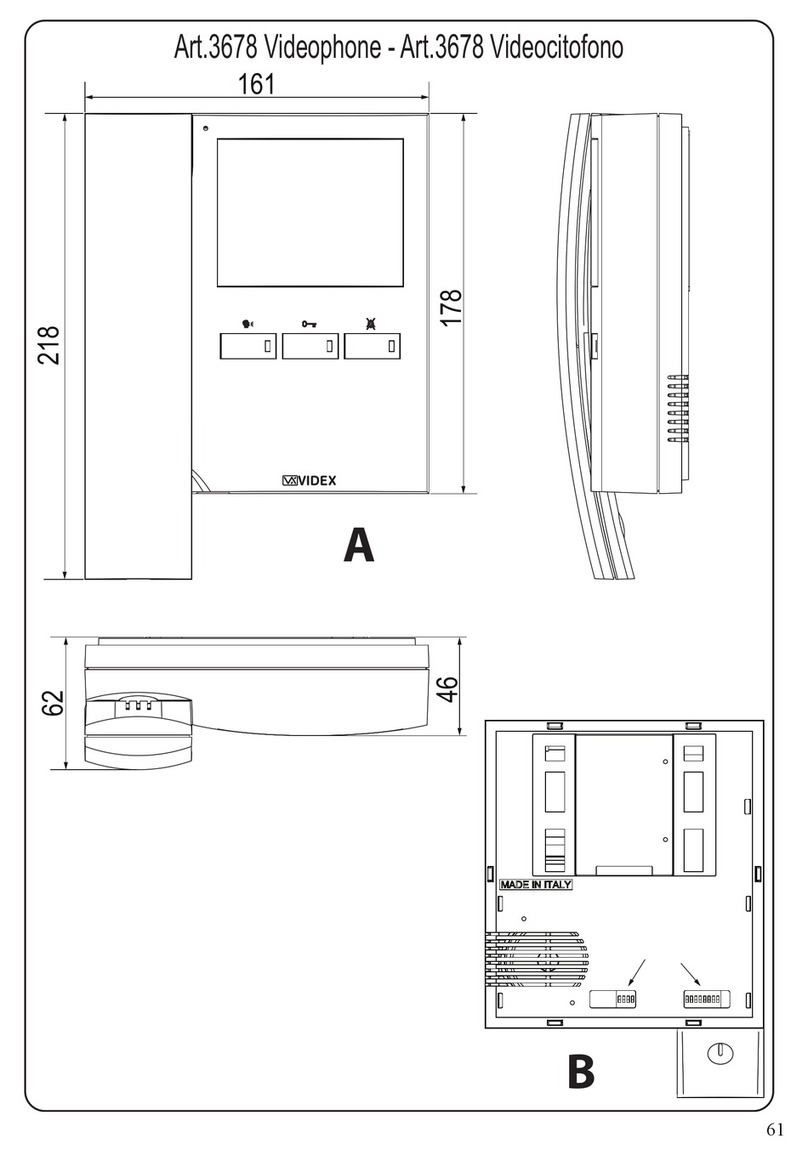
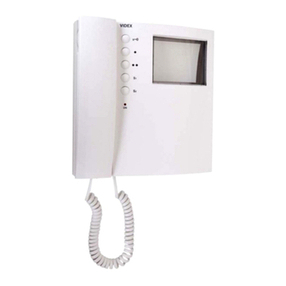
Videx Kristallo KRV7985 User manual

66225048 - V1.0 - 30/04/20
- 1 -
Kristallo Series
Art.KRV7985 - Mounting instructions
135cm
Fig. 1 Fig. 2 Fig. 3
2
Fig. 4 Fig. 5
2 31
Fig. 6
Fig. 7
NO
YES
Fig. 8
21 3
Fig. 9
WARNING: Remeber to remove the mains before installing the videomonitor.
1. Put the back cover in a horizontal position on the wall leaving approx 135cm between the lower side of the back cover and the
nished oor (Fig. 1).
2. Mark the points for the xing holes remembering that the wires must be fed through the hole (Fig. 2).
3. Make the holes, insert the wall plugs and x the back cover with the screws feeding the wires into the hole (Fig. 3).
4. Insert the provided connection terminals (type and number of terminals depending on the videomonitor model) (Fig. 4).
5. Connect the wires to the connection terminals following the provided installation diagram (Fig. 5).
6. The surface mounting kit is ready to house the videomonitor: setup the dip-switches on the videomonitor as per provided con-
nection diagram or instruction sheet. Insert rst the bottom side of the videomonitor then press it home (Fig. 6).
7. Press rmly the the upper corners of the videomonitor with two ngers until you hear a “CLICK!” (Fig. 7). The videomonitor is
installed, power up the system and check that it works correctly.
8. To open the videomonitor apply pressure in the inner part of the the two clips indicated by the grey arrows using a at screwdriv-
er (Fig. 8) then pull the videomonitor forward from the top (Fig. 9). N.B. Repeat the same operation with both clips.
Art.KRV7985Surface mounting kit for Kristallo 7" videomonitors

66225048 - V1.0 - 30/04/20
- 2 -
Serie Kristallo
Art.KRV7985 - Istruzioni di montaggio
135cm
Fig. 1 Fig. 2 Fig. 3
2
Fig. 4 Fig. 5
2 31
Fig. 6
Fig. 7
NO
SI
Fig. 8
21 3
Fig. 9
ATTENZIONE: Rimuovere l’alimentazione prima di installare il videocitofono.
1. Posizionare il coperchio in posizione orizzontale sulla parete lasciando circa 135cm tra il lato inferiore del coperchio e il pavi-
mento nito (Fig. 1).
2. prendere i riferimenti per i fori di ssaggi tenendo presente che i conduttori devono passare attraverso l’apertura (Fig. 2).
3. Realizzare i fori, inserire i tasselli ad espansione e ssare il coperchio alla parete tramite le viti fecendo passare i conduttori attraverso
la fessura (Fig. 3).
4. Inserire i morsetti di connessione forniti (la tipologia e la quantità dei morsetti varia in base al modello del videocitofono) (Fig. 4).
5. Eseguire il collegamento dei conduttori morsetti secondo lo schema fornito a corredo (Fig. 5).
6. Il kit da supercie è pronto per ospitare il videocitofono: impostare i dip-switches sul videocitofono the videomonitor secondo
lo schema di collegamento o secondo le istruzioni. Inserire prima il lato inferiore del videocitofono e successivamente spingerlo
in sede in direzione dritta (Fig. 6).
7. Premere con decisione gli angoli superiori del videocitofono con due dita no a che non si udirà un “CLICK!” (Fig. 7). Il videocito-
fono è installato, alimentare il sistema e vericare il corretto funzionamento.
8. Per aprire il videocitofono esercitare una leggera pressione nella parte interna delle due clip indicate dalle freccie grigie uti-
lizzando un giravite piatto (Fig. 8), successivamente tirare il videocitofono in direzione dritta (Fig. 9). N.B. Ripetere la stessa
operazione per entrambe le clip.
Art.KRV7985Kit montaggio da supercie per videocitofoni Kristallo 7"

66225048 - V1.0 - 30/04/20
- 3 -
DISPOSAL
In accordance with the Legislative Decree no. 49 of 14 March 2014 “Implementation of the Directive 2012/19/EU on
waste electrical and electronic equipment (WEEE)”.
The crossed-out bin symbol on the equipment or on the packaging indicates that when the product reaches the end
of its lifetime, it must be collected separately from mixed municipal waste. The user must, therefore, dispose of the
equipment at the end of its lifetime in the suitable waste collection centres or bring it to the retailer during the pur-
chase of a new equipment of equivalent type at the ratio of one-to-one. Furthermore, the user is allowed to dispose
of the WEEEs of very small size (domestic appliances without any external dimension exceeding 25 cm (9.84 inches)
for free to the retailers, without any purchase obligation. The correct waste disposal of the WEEEs contributes to their
reuse, recycling and recovery and avoids potential negative eects on the environment and human health due to the
possible presence of dangerous substances within them.
SMALTIMENTO
Ai sensi del Decreto Legislativo 14 marzo 2014, n° 49 “Attuazione della direttiva 2012/19/UE sui riuti di apparecchia-
ture elettriche ed elettroniche (RAEE)”.
Il simbolo del cassonetto barrato riportato sull’apparecchiatura o sulla sua confezione indica che il prodotto alla ne
della propria vita utile deve essere raccolto separatamente dagli altri riuti urbani misti. L’utente dovrà, pertanto, con-
ferire l’apparecchiatura giunta a ne vita presso gli idonei centri di raccolta dierenziata oppure riconsegnarla al riven-
ditore al momento dell’acquisto di una nuova apparecchiatura di tipo equivalente, in ragione di uno a uno. L’utente ha,
inoltre, la possibilità di conferire gratuitamente presso i distributori, senza alcun obbligo di acquisto, per i RAEE di pic-
colissime dimensioni (per le apparecchiature di tipo domestico con nessuna dimensione esterna superiore a 25 cm).
L’adeguata raccolta dierenziata dei RAEE contribuisce al loro riutilizzo, riciclaggio e recupero ed evita potenziali ef-
fetti negativi sull’ambiente e sulla salute umana dovuti alla eventuale presenza di sostanze pericolose al loro interno.
ÉLIMINATION
Conformément au décret législatif n ° 49 du 14 mars 2014 relatif à l’«Application de la directive 2012/19 / UE relative
aux déchets d’équipements électriques et électroniques (DEEE)».
Lesymbolede lapoubellebarréesur l’équipementousur sonemballageindique que leproduitenn devieutile doit être
collecté séparément des autres déchets municipaux en mélange. L’utilisateur doit donc remettre l’équipement en n de
vieauxcentresdecollecteappropriésoulerestitueraurevendeurlorsdel’achatd’unnouveautyped’équipementéquiva-
lent,danslerapportdeunàun.Deplus,l’utilisateuralapossibilitédeconférergratuitementauxdistributeurs,sansaucune
obligation d’achat, de très petits DEEE (pour les appareils ménagers sans dimensions extérieures supérieures à 25 cm).
La collecte séparée adéquate des DEEE contribue à leur réutilisation, leur recyclage et leur valorisation et évite les
éventuels eets négatifs sur l’environnement et la santé humaine en raison de la présence possible de substances
dangereuses dans ceux-ci.
ELIMINACIÓN
De conformidad con el Decreto legislativo n. 49 de 14 de marzo 2014“Aplicación de la Directiva 2012/19/UE relativa a
residuos de aparatos eléctricos y electrónicos (RAEE)”.
El símbolo del contenedor tachado indicado sobre los aparatos o sobre los embalajes señala que el producto al -
nal de su vida útil debe ser recogido separadamente de otros residuos municipales mezclados. Por tanto, el usuario
deberà conferir los aparatos al nal de su vida útil en los apropriados centros de recogida selectiva o devolverlos al
revendedor al momento de la compra de nuevos aparatos equivalentes, en una relación de uno a uno. Además, el
usuario tiene la posibilidad de entregar sin cargo a los distribuidores, sin ninguna obligación de compra, los RAEEs
muy pequeños (para electrodomésticos sin dimensiones externas superiores a 25 cm).
La recogida selectiva apropriada de los RAEEs contribuye a su reutilización, reciclaje y valorización y evita potenciales
impactos negativos sobre el medio ambiente y la salud humana debidos a la possible presencia de substancias peli-
grosas dentro de ellos.
VERWIJDERING
In overeenstemming met het Wetsbesluit nr. 49 van 14 maart 2015“Implementatie van de Richtlijn 2012/19/EU inzake
afgedankte elektrische en elektronische apparaten (AEEA)”.
Het doorgekruiste vuilnisbaksymbool op het apparaat of de verpakking geeft aan dat het product aan het einde van
zijn levensduur niet samen met het gewone huisvuil weggegooid mag worden. De gebruiker moet het apparaat aan
het einde van zijn levensduur inleveren bij een gepast inzamelpunt of de winkel waar hij een nieuw apparaat van een
gelijksoortig type zal kopen. De gebruiker kan tevens AEEA’s van een zeer klein formaat (huishoudapparaten met een
buitenafmeting kleiner dan 25 cm (9,84 inch)) gratis en zonder enige aankoopverplichting bij handelaars inleveren.
Een juiste verwijdering van AEEA’s draagt bij tot hergebruik, recycling en terugwinning, en voorkomt potentiële ne-
gatieve eecten op het milieu en de menselijke gezondheid door de mogelijke aanwezigheid van gevaarlijke stoen.
MANUFACTURER
FABBRICANTE
FABRICANT
FABRICANTE
FABRIKANT
ةعنصملا ةكرشلا
VIDEX ELECTRONICS S.P.A.
Via del Lavoro, 1
63846 Monte Giberto (FM) Italy
Tel (+39) 0734 631669
Fax (+39) 0734 632475
CUSTOMER SUPPORT
SUPPORTO CLIENTI
SUPPORTS CLIENTS
ATENCIÓN AL CLIENTE
KLANTENDIENST
ءمعلا ةمدخ
VIDEX ELECTRONICS S.P.A.
www.videx.it - technical@videx.it
Tel: +39 0734-631669
Fax: +39 0734-632475
UK Customers only:
VIDEX SECURITY LTD
www.videxuk.com
Tech Line: 0191 224 3174
Fax: 0191 224 1559
Main UK oce:
VIDEX SECURITY LTD
1 Osprey Trinity Park
Trinity Way
LONDON E4 8TD
Phone: (+44) 0870 300 1240
Fax: (+44) 020 8523 5825
www.videxuk.com
Northern UK oce:
VIDEX SECURITY LTD
Unit 4-7
Chillingham Industrial Estate
Chapman Street
NEWCASTLE UPON TYNE - NE6 2XX
Tech Line: (+44) 0191 224 3174
Phone: (+44) 0870 300 1240
Fax: (+44) 0191 224 1559
Greece oce:
VIDEX HELLAS Electronics
48 Filolaou Str.
11633 ATHENS
Phone: (+30) 210 7521028
(+30) 210 7521998
Fax: (+30) 210 7560712
www.videx.gr
Danish oce:
VIDEX DANMARK
Hammershusgade 15
DK-2100 COPENHAGEN
Phone: (+45) 39 29 80 00
Fax: (+45) 39 27 77 75
www.videx.dk
Benelux oce:
NESTOR COMPANY NV
E3 laan, 93
B-9800 Deinze
Phone: (+32) 9 380 40 20
Fax: (+32) 9 380 40 25
www.videx.be
Dutch oce:
NESTOR COMPANY BV
Business Center Twente (BCT)
Grotestraat, 64
NL-7622 GM Borne
www.videxintercom.nl
info@videxintercom.nl
El producto lleva la marca CE que demuestra su conformidad y puede ser
distribuido en todos los estados miembros de la unión europea UE.
Este producto cumple con las Directivas Europeas 2014/30/EU (EMC);
2014/35/EU (LVD); 2011/65/EU (RoHS): marca CE 93/68/EEC.
Het product heeft de CE-markering om de conformiteit ervan aan te tonen en
is bestemd voor distributie binnen de lidstaten van de EU zonder beperkin-
gen. Dit product volgt de bepalingen van de Europese Richtlijnen 2014/30/EU
(EMC); 2014/35/EU (LVD); 2011/65/EU (RoHS): CE-markering 93/68/EEG.
Le produit est marqué CE à preuve de sa conformité et peut être distribué
librement à l’intérieur des pays membres de l’union européenne EU.
Ce produit est conforme aux directives européennes 2014/30/EU (EMC) ;
2014/35/EU (LVD) ; 2011/65/EU (RoHS): marquage CE 93/68/EEC.
The product is CE marked demonstrating its conformity and is for distribution
within all member states of the EU with no restrictions. This product follows
the provisions of the European Directives 2014/30/EU (EMC); 2014/35/EU
(LVD); 2011/65/EU (RoHS): CE marking 93/68/EEC.
Il prodotto è marchiato CE a dimostrazione della sua conformità e può essere
distribuito liberamente all’interno dei paesi membri dell’Unione Europea UE.
Questo prodotto è conforme alle direttive Europee: 2014/30/UE (EMC);
2014/35/UE (LVD); 2011/65/UE (RoHS): marcatura CE 93/68/EEC.
CE
EU/2014/30
:(RoHS(EMC); 2014/35/EU (LVD); 2011/65/EU
.CE 93/68/EEC
Other Videx Telephone manuals

Videx
Videx 4KC Series User manual

Videx
Videx 3371 User manual

Videx
Videx DK2/DC User manual

Videx
Videx 3123 User manual

Videx
Videx 4333 Kristallo Series User manual

Videx
Videx 3000 Series User manual

Videx
Videx 3678 User manual

Videx
Videx 6478 User manual

Videx
Videx 3000 Series User manual

Videx
Videx VX2300 User manual

Videx
Videx Kristallo KRV7 Series User manual

Videx
Videx 3000 Series User manual

Videx
Videx 3000 Series User manual

Videx
Videx 3412 User manual

Videx
Videx SL5488 Installation instructions

Videx
Videx 6400 SERIES User manual

Videx
Videx 6300 Series User manual

Videx
Videx 6300 Series User manual

Videx
Videx 6778 VX2200 User manual

Videx
Videx 3000 Series User manual