8
дона слегка приподнимите его и вытяните
на себя. Вставьте поддон (10) обратно в
нижнюю часть корпуса кофемашины до упо-
ра и проверьте правильность установки ме-
таллической решётки поддона.
•Откройте правую дверцу (13) и убедитесь,
что заварочный блок (12) установлен в пра-
вильном положении и зафиксирован, за-
кройте дверцу.
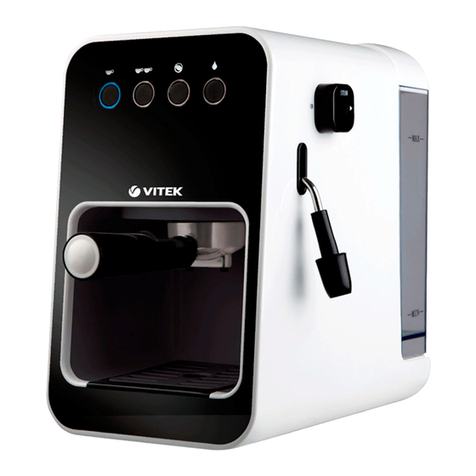
•Извлеките резервуар для воды (2) и про-
мойте его теплой водой с нейтральным мо-
ющим средством. Для извлечения резерву-
ара откройте крышку (1) и потяните за неё
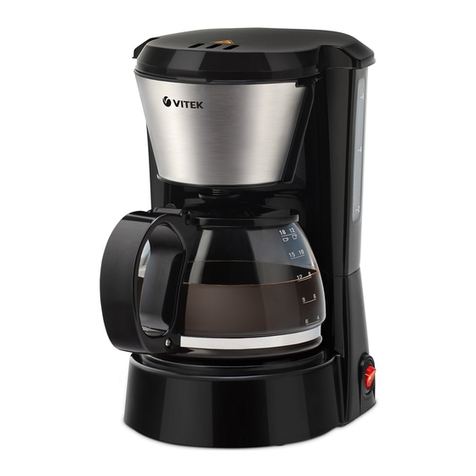
по направлению вверх (рис. 1).
•Наполните резервуар (2) чистой водой до
максимальной отметки, установите его об-
ратно в кофемашину и закройте крышку (1).
Примечание: Резервуар для воды (2) можно
наполнять только свежей чистой водой ком-
натной температуры. Запрещено заливать
горячую или ледяную воду и молоко. Несоблю-
дение данного требования может привести к
трещинам в резервуаре для воды и поломке
устройства.
ВНИМАНИЕ!
–При установке резервуара для воды (2)
крышка контейнера для кофейных зерен (3)
должна быть плотно закрыта.
–Не переполняйте резервуар (2) во избежа-
ние выплёскивания воды при его установке
обратно в кофемашину.
–Если для наполнения резервуара водой вы
используете подходящую ёмкость и не из-
влекаете резервуар из кофемашины, то при
наливе воды внимательно следите за тем
чтобы крышка контейнера для кофейных зе-
рен (3) была плотно закрыта. В противном
случае, при случайном попадании воды в
контейнер для кофейных зёрен кофемолка
будет повреждена.
–Меняйте воду в резервуаре для воды как
можно чаще! Вода, находившаяся в резер-
вуаре длительное время, может содержать
микроорганизмы и представлять угрозу для
вашего здоровья.
•Откройте крышку контейнера для кофейных
зёрен (3) и протрите внутреннюю поверх-
ность контейнера (5) мягкой слегка влажной
салфеткой, после чего вытрите её насухо.
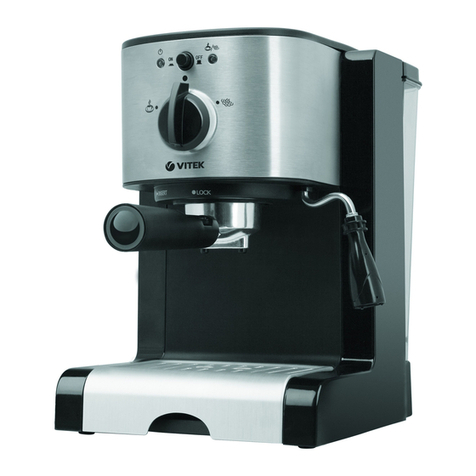
•Проверьте положение регулятора степени
помола. Перед первым использованием
ручка регулятора степени помола (4) долж-
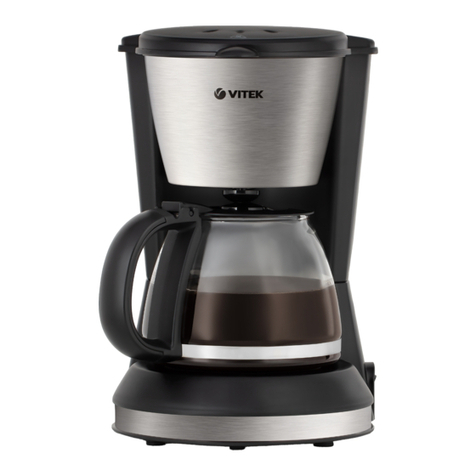
на быть установлена в положение 3 (рис. 2).
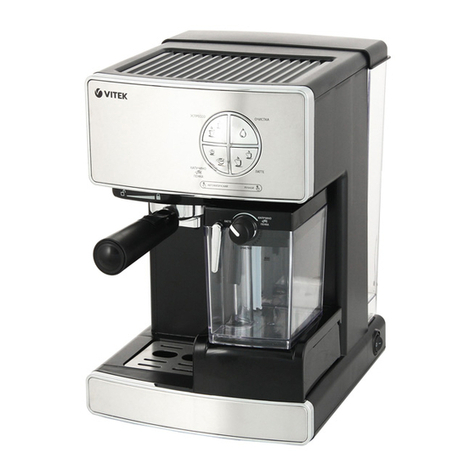
•Засыпьте в контейнер (5) кофейные зёрна
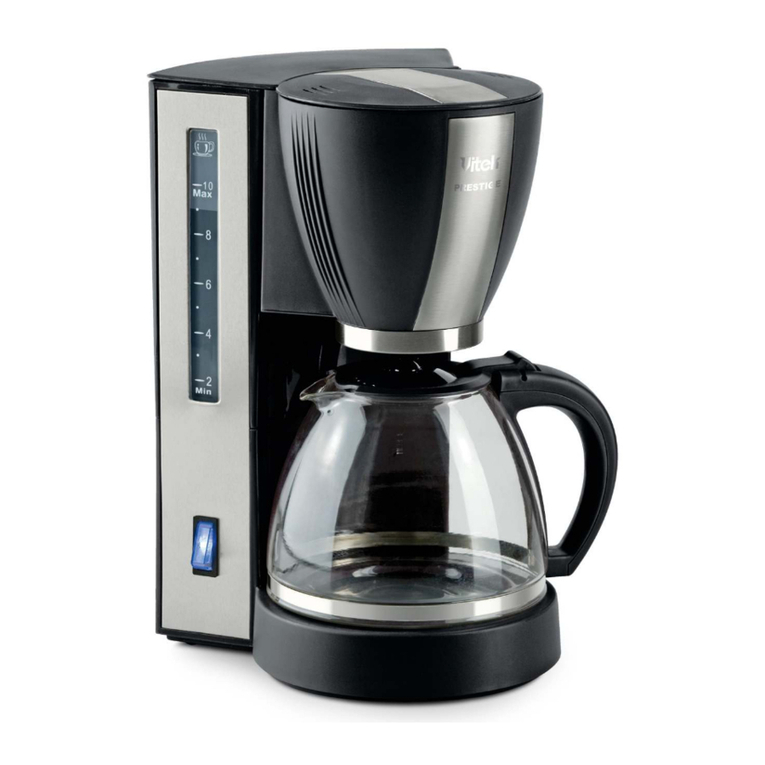
(рис. 3) и плотно закройте его крышкой (3).
Кофемашина позволяет приготовить кофей-
ные напитки только из цельных обжаренных
кофейных зёрен, которые перемалываются
встроенной кофемолкой для каждой порции
кофе.
Примечание: Засыпайте в контейнер лишь
столько кофейных зёрен, сколько вам потребу-
ется в течение нескольких дней. При контакте с
воздухом кофе теряет свой аромат.
Внимание! Перед тем как приступить к при-
готовлению кофейных напитков ознакомьтесь
с разделом Регулирование степени помола
кофе и правильно отрегулируйте степень по-
мола кофейных зёрен.
ВНИМАНИЕ! В контейнер для кофейных зё-
рен (4) можно помещать только обжаренные
кофейные зерна. Пожалуйста, не добавляйте в
контейнер воду, молотый, растворимый кофе,
растворимый кофейный порошок, либо иные
сублимированные кофесодержащие смеси,
предназначенные для быстрого заваривания
их горячей водой, кофейные зерна, смешан-
ные с твердыми частицами, обработанный
зерновой кофе с содержанием сахара, кара-
мели, никогда не используйте кофейные зер-
на, хранившиеся в морозильной камере, иначе
ножи кофемолки будут повреждены.
ИСПОЛЬЗОВАНИЕ УСТРОЙСТВА
Включение кофемашины
Вставьте вилку сетевого шнура в электриче-
скую розетку.
–Установите на металлическую решётку под-
дона (10) подходящую ёмкость для слива
жидкости.
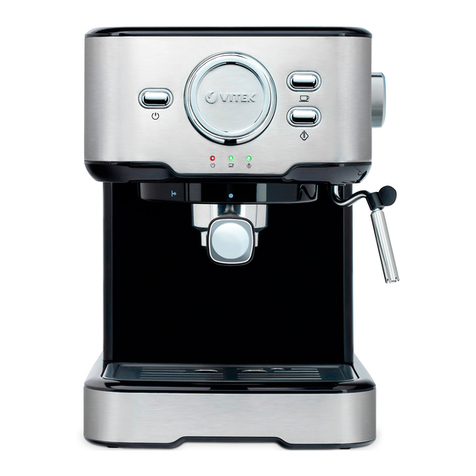
–Во избежание прямого контакта с брызгами
горячей воды отрегулируйте по высоте блок
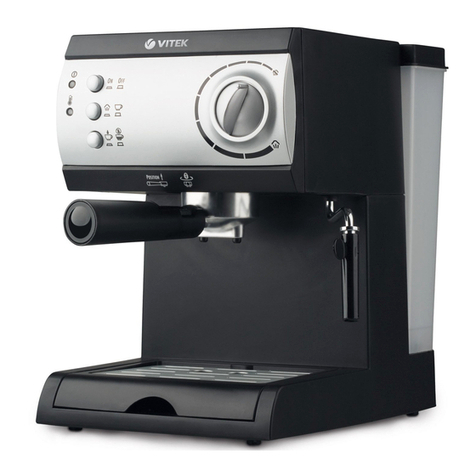
подачи кофе (8) (рис. 4).
–Для включения кофемашины нажмите кноп-
ку включения (9) « » (рис. 4).
При включении кофемашины автоматически
включается нагрев, самодиагностика, и за-
пускается режим автоматической промывки
системы, при этом ход процесса будет ото-
бражаться на дисплее панели управления (7).
Во время автоматической промывки системы
из блока подачи кофе (8) вытекает небольшое
количество горячей воды.
–Когда вышеуказанные процессы будут за-
вершены, кофемашина перейдёт в режим
ожидания и будет готова к использованию,
