manuals.online logo
Brands
  1. Home
  2. •
  3. Brands
  4. •
  5. Vivo
  6. •
  7. TV Mount
  8. •
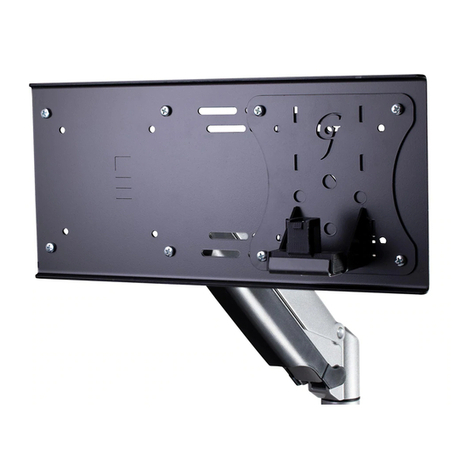
  9. Vivo MOUNT-V001G User manual

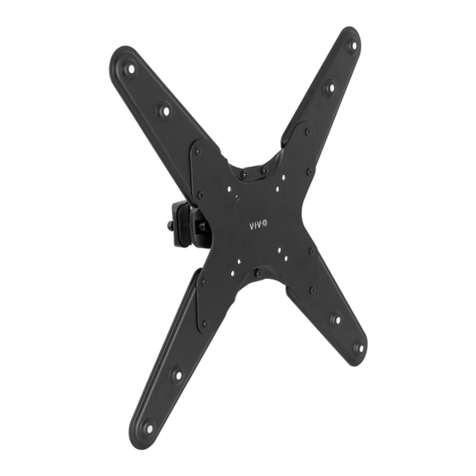
Vivo MOUNT-V001G User manual

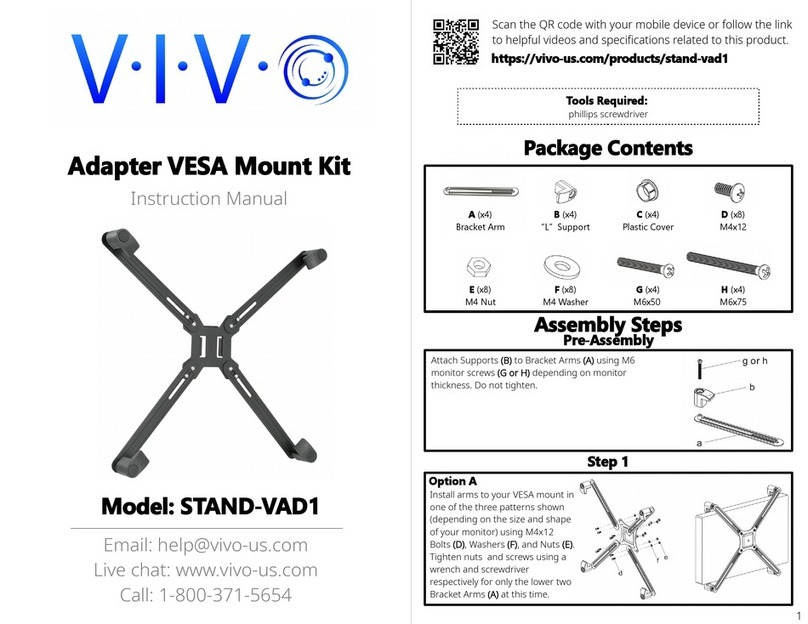
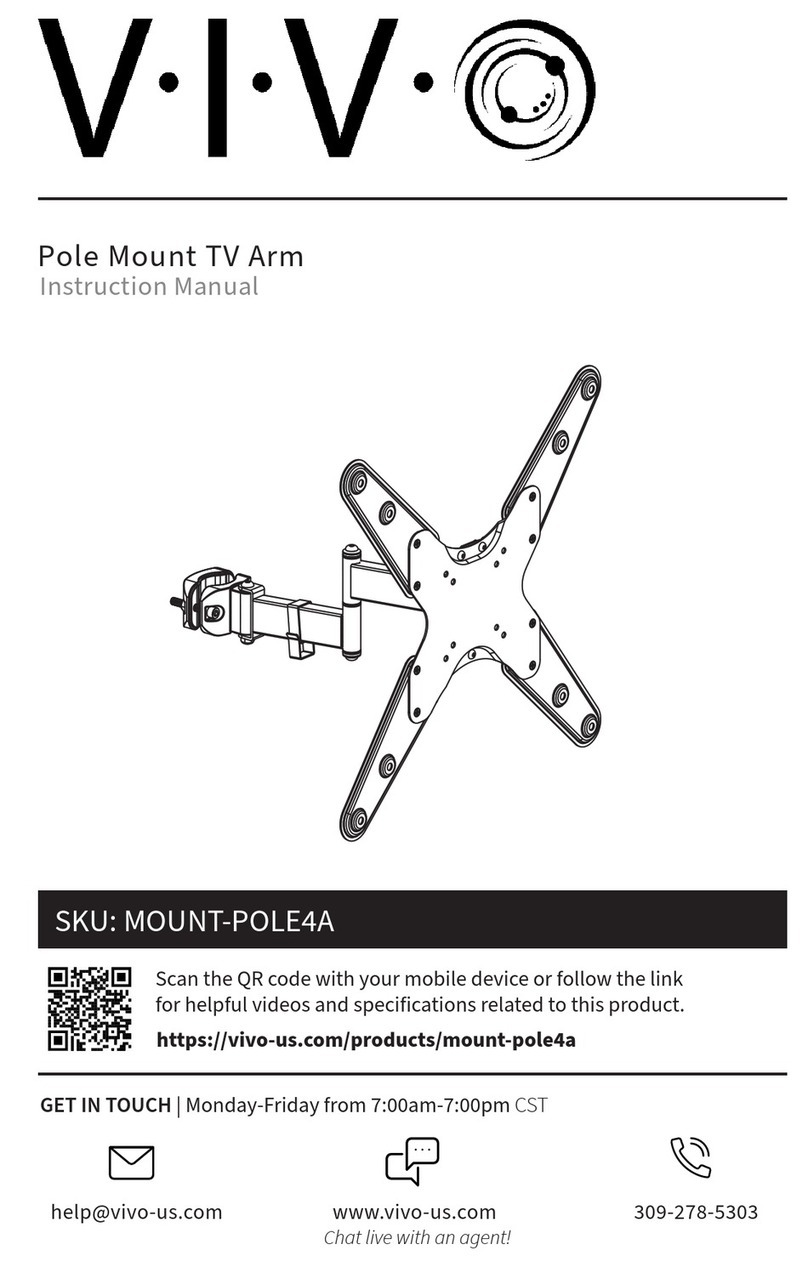
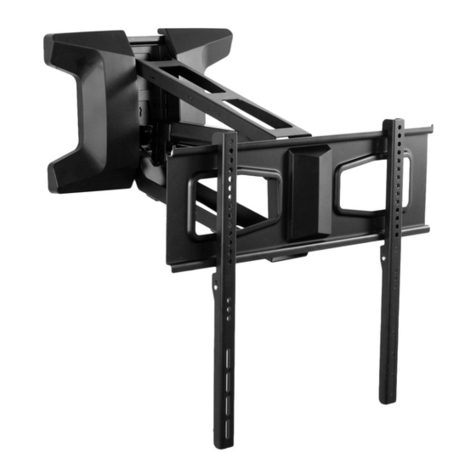
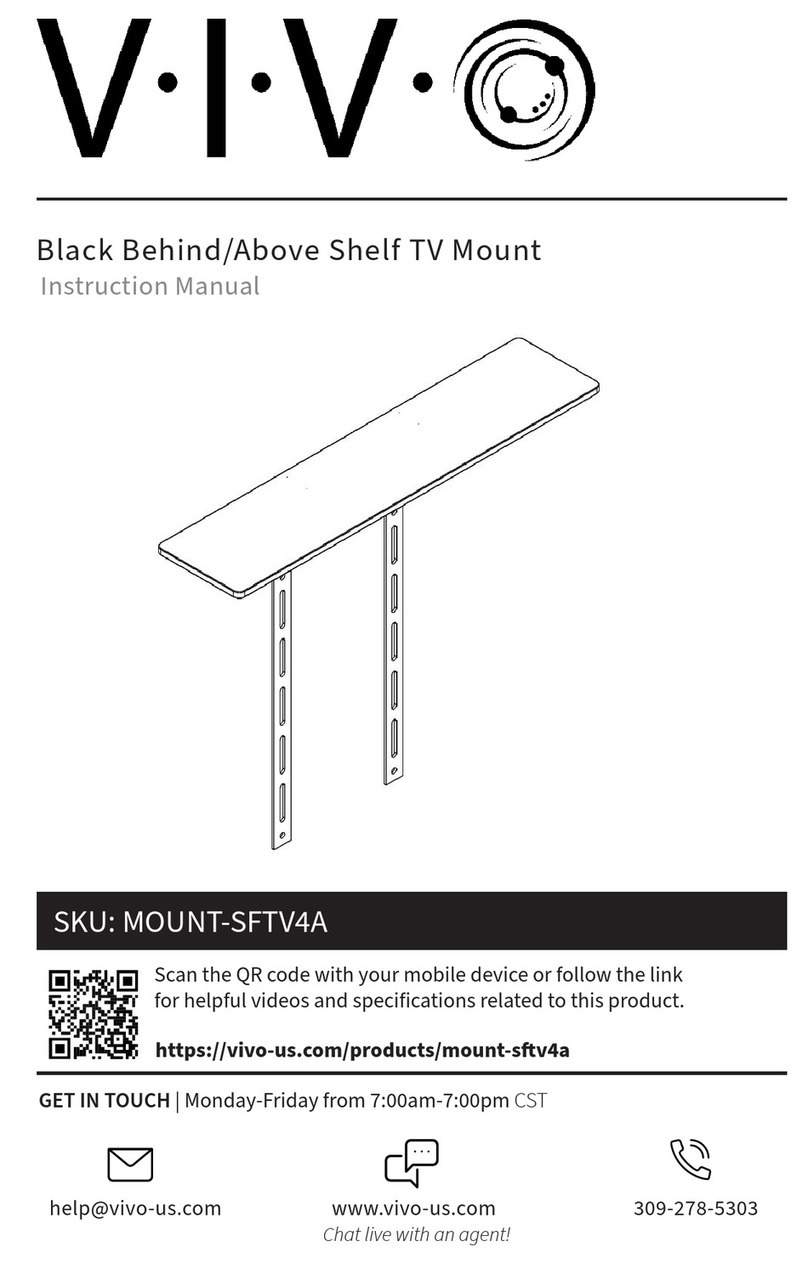
Other Vivo TV Mount manuals

Vivo MOUNT-VWSF1 User manual

Vivo

Vivo MOUNT-VWSF1 User manual

Vivo MOUNT-VW100T User manual

Vivo

Vivo MOUNT-VW100T User manual

Vivo STAND-KIT-TV03E User manual

Vivo

Vivo STAND-KIT-TV03E User manual

Vivo STAND-V032T User manual

Vivo

Vivo STAND-V032T User manual

Vivo STAND-TV70B User manual

Vivo

Vivo STAND-TV70B User manual

Vivo MOUNT-SPSB2 User manual

Vivo

Vivo MOUNT-SPSB2 User manual

Vivo MOUNT-E-MM070W User manual

Vivo

Vivo MOUNT-E-MM070W User manual

Vivo MOUNT-VW080P User manual

Vivo

Vivo MOUNT-VW080P User manual

Vivo MOUNT-MM01B User manual

Vivo

Vivo MOUNT-MM01B User manual

Vivo MOUNT-VW70F User manual

Vivo

Vivo MOUNT-VW70F User manual

Vivo MOUNT-VW100T User manual

Vivo

Vivo MOUNT-VW100T User manual

Vivo STAND-TV00Y User manual

Vivo

Vivo STAND-TV00Y User manual

Vivo MOUNT-VW04G User manual

Vivo

Vivo MOUNT-VW04G User manual

Vivo STAND-TV02PW User manual

Vivo

Vivo STAND-TV02PW User manual

Vivo MOUNT-VWSF1W User manual

Vivo

Vivo MOUNT-VWSF1W User manual

Vivo MOUNT-VW01E User manual

Vivo

Vivo MOUNT-VW01E User manual

Vivo STAND TV00J User manual

Vivo

Vivo STAND TV00J User manual

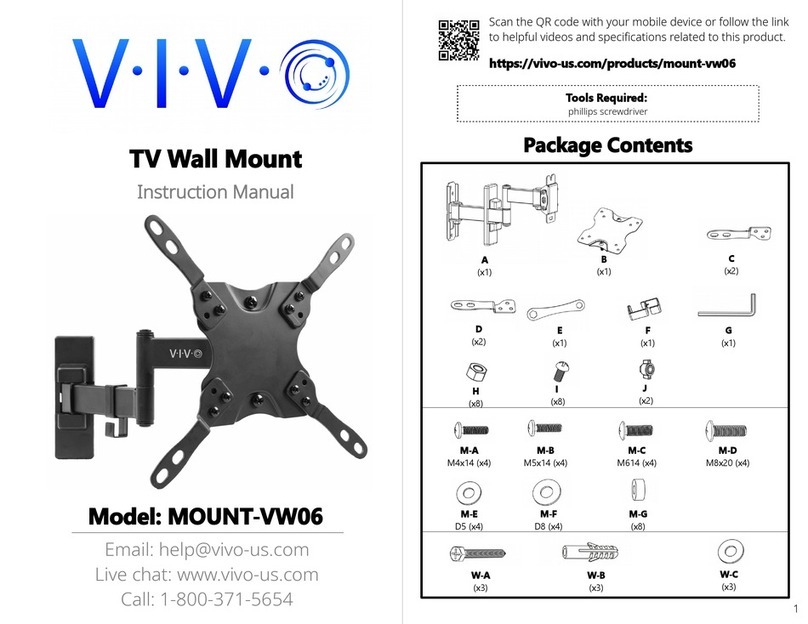
Vivo MOUNT-VW06 User manual

Vivo

Vivo MOUNT-VW06 User manual
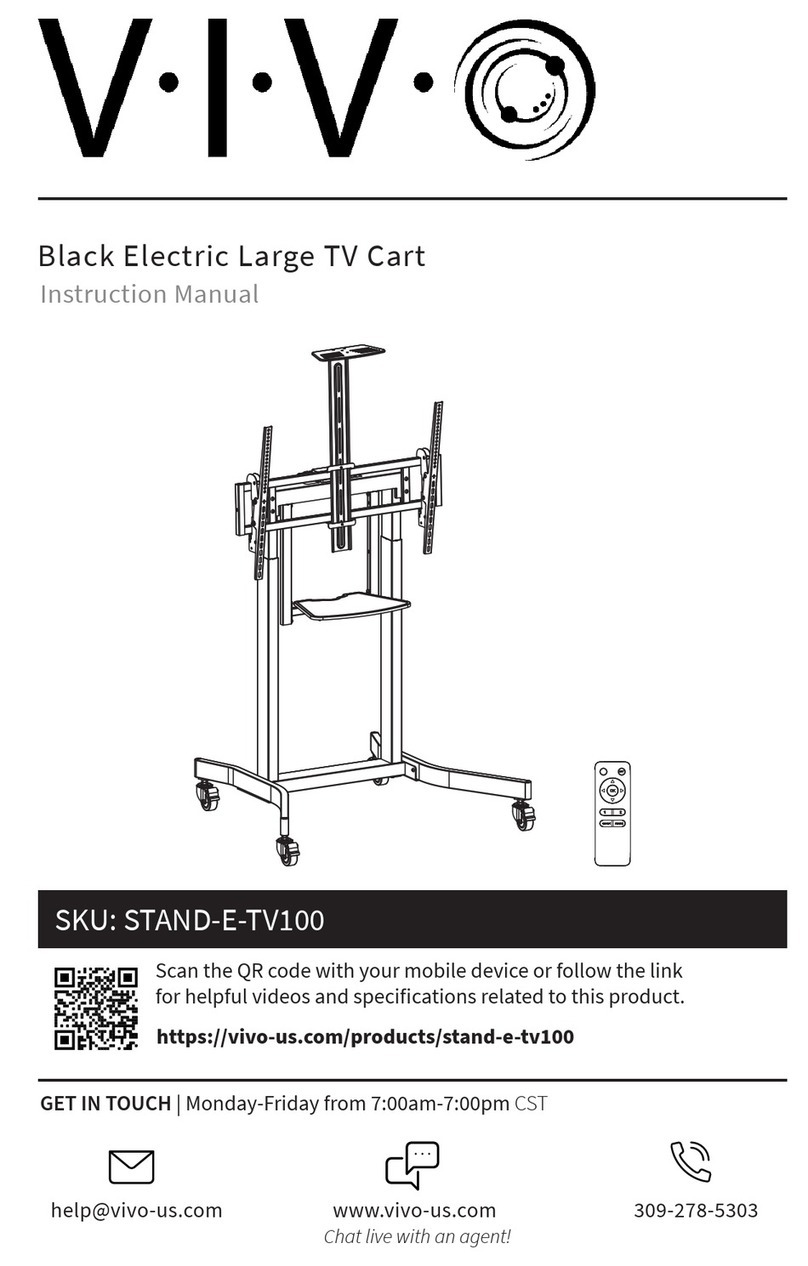
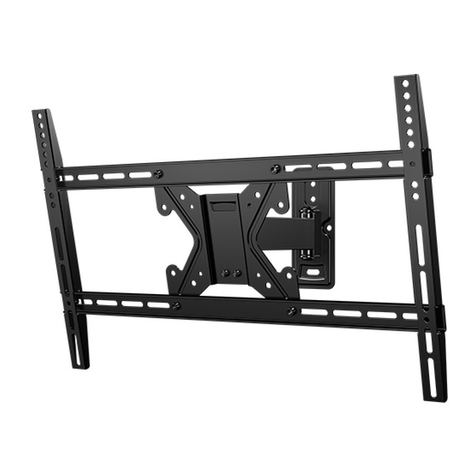
Vivo VESA STAND-VAD1B User manual

Vivo

Vivo VESA STAND-VAD1B User manual

Vivo MOUNT-E-UP65A/AW User manual

Vivo

Vivo MOUNT-E-UP65A/AW User manual

Vivo MOUNT-E-FD70 User manual

Vivo

Vivo MOUNT-E-FD70 User manual

Vivo MOUNT-V101G1/W User manual

Vivo

Vivo MOUNT-V101G1/W User manual

Vivo MOUNT-VW03G User manual

Vivo

Vivo MOUNT-VW03G User manual
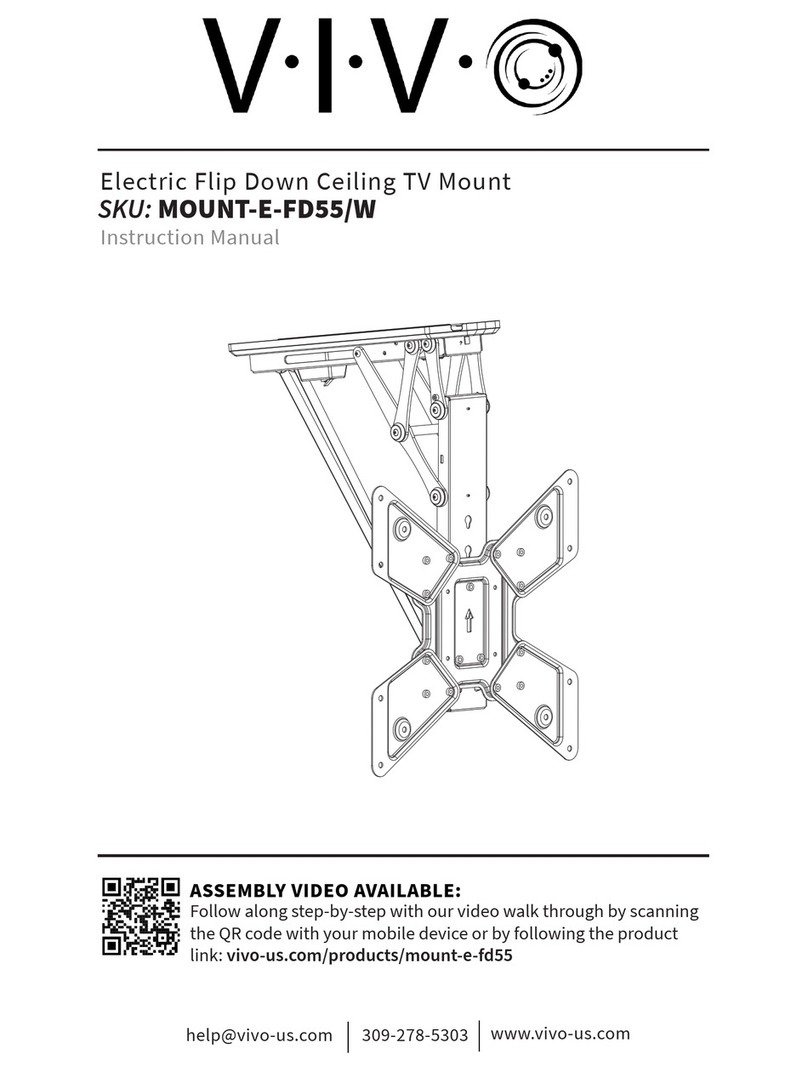
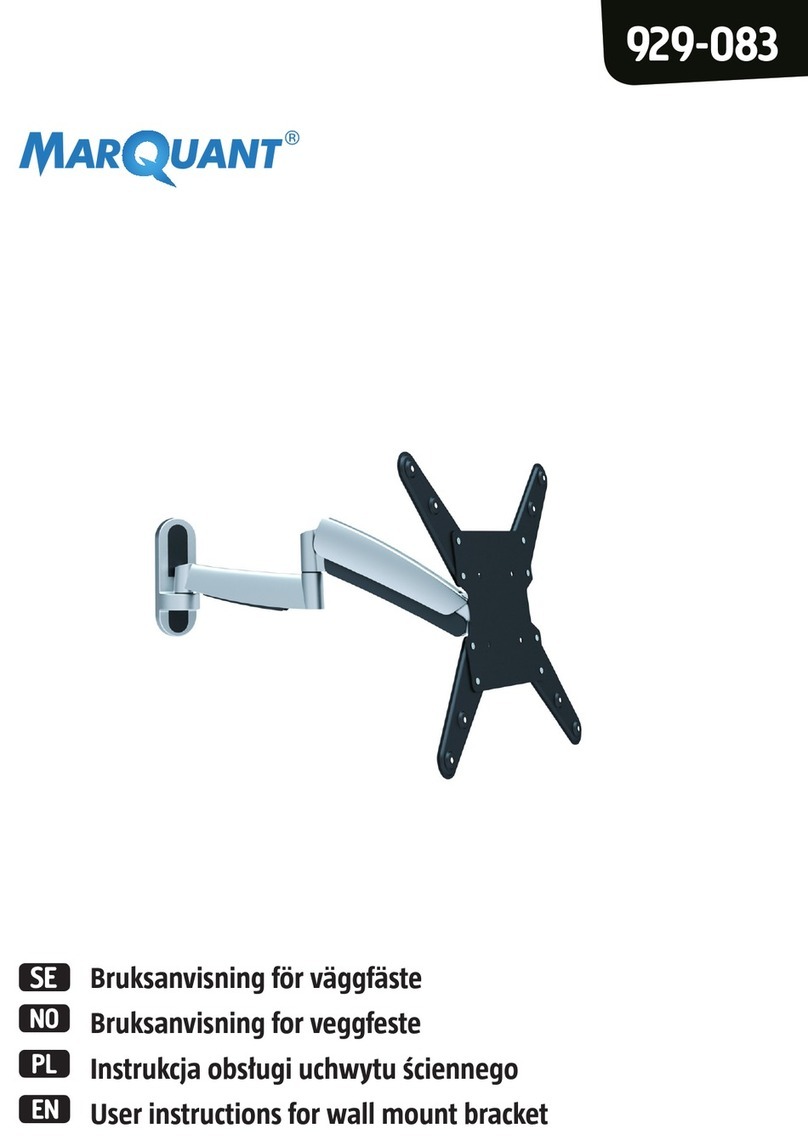
Vivo MOUNT-VW11 User manual

Vivo

Vivo MOUNT-VW11 User manual

Popular TV Mount manuals by other brands

Krüger & Matz KM1300 owner's manual

Krüger & Matz

Krüger & Matz KM1300 owner's manual

Barkan E220 manual

Barkan

Barkan E220 manual

Bauhn ACTVB-1120 installation guide

Bauhn

Bauhn ACTVB-1120 installation guide

Vantage Point Products CB01 instructions

Vantage Point Products

Vantage Point Products CB01 instructions

Ergotron Neo Flex Cantilever UHD user guide

Ergotron

Ergotron Neo Flex Cantilever UHD user guide

ECG LD 174203 instruction manual

ECG

ECG LD 174203 instruction manual

StarTech.com FPCEILBTB user manual

StarTech.com

StarTech.com FPCEILBTB user manual

VonHaus 05/038 instruction manual

VonHaus

VonHaus 05/038 instruction manual

Techlink ECHO TV manual

Techlink

Techlink ECHO TV manual

Sandstrom SSTVMC12X instruction manual

Sandstrom

Sandstrom SSTVMC12X instruction manual

Kanto RCAD590 user manual

Kanto

Kanto RCAD590 user manual

Forging Mount HY9440 instruction manual

Forging Mount

Forging Mount HY9440 instruction manual

ICW SCACC18 installation instructions

ICW

ICW SCACC18 installation instructions

LG WM-L640V owner's manual

LG

LG WM-L640V owner's manual

Gembird WM-65ST-01 user manual

Gembird

Gembird WM-65ST-01 user manual

ERARD FiTUP XXL 035320 quick start guide

ERARD

ERARD FiTUP XXL 035320 quick start guide

PEERLESS PLCK-1 Installation and assembly

PEERLESS

PEERLESS PLCK-1 Installation and assembly

GEM GEM GP001 instructions

GEM

GEM GEM GP001 instructions

manuals.online logo
manuals.online logoBrands
  • About & Mission
  • Contact us
  • Privacy Policy
  • Terms and Conditions

Copyright 2025 Manuals.Online. All Rights Reserved.

   
Instruction Manual
Email: help@vivo-us.com
Live chat: www.vivo-us.com
Call: 1-800-371- 6 4
-  
Scan the QR code with your mobile device or follow the link
to helpful videos and specifications related to this product.
 
phillips screwdriver
 
1
-  (x2)
Screw
-  (x2)
Anchor
-   (x2)
Washer
-  (x4)
M4x12
- (x4)
M5x12
-   (x4)
D5
(x1)
Monitor Arm
 (x1)
5mm Allen Key
(x2)
Cover
- -!"##$$ %&#"#& $
&'( "
2
" 
For concrete or brick wall installation, use a pencil to mark drilling
locations and drill 2/4” deep holes using a 3/8” bit. Mount arm (A) to
wall using screws (W-A) , anchors (W-B), washers (W-C).
"  #   )
Use a pencil to mark drilling location for wood beam and drill 2.2”
deep holes using 3/16”bit. Use of a stud finder is recommended.
Mount arm (A) to wall using screws (W-A) and washers (W-C). Do
NOT use anchors (W-B) for wood beam installation.
"    ) Press covers (B) into screw holes.
" *
" +
Tighten the socket screw if the joints are making a popping sound.
Adjust arm tension by turning screw with Allen wrench (C). Turn
clockwise to reduce tension and turn counterclockwise to increase
tension. The tension should be just enough to hold your monitor In
place without lifting itself up. If needed, adjust bolts on the sides of
the hinge behind the VESA plate to tighten or loosen the tilt angle.
" ,
Remove cable cover by
removing the screw
underneath each one.
using mm Allen Wrench (C).
Install screws (M-A) or (M-B) with washers (M-C) in top two holes of
the monitor, leaving 3mm of space between the screw heads and
the monitor.
Hang monitor over top two slots of VESA plate, install two bottom
screws, and then tighten top screws,
" - ./
using mm Allen Wrench (C).
Tighten using mm Allen Wrench (C).
3
If you do not understand these directions, or if you have any
doubts about the safety of the installation, please call a
qualified technician. Check carefully to make sure there are no
missing or defective parts. Improper installation may cause
damage or serious injury. Do not use this product for any
purpose that is not explicitly specified in this manual. We
cannot be liable for damage or injury caused by improper
mounting, incorrect assembly, or inappropriate use.
Email: help@vivo-us.com
Live chat: www.vivo-us.com
Call: 1-800-371- 6 4
For more VIVO products, check out our
website at
www.vivo-us.com.
If any parts are received damaged or defective, please contact
us. We are happy to replace parts to ensure you have a fully
functioning product.
0( 
  
Last updated: /1/2018 4
" 1
2  3
Insert cables and replace covers while making sure the cables have
enough slack to allow enough free movement of the arm.