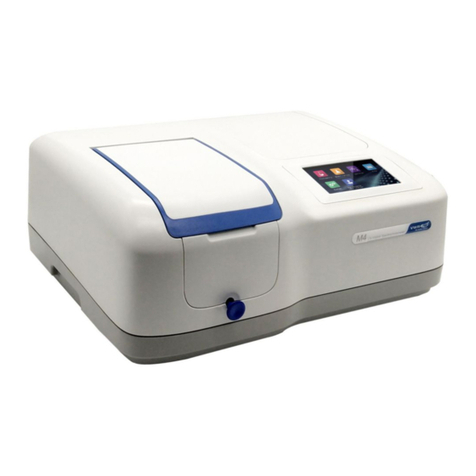
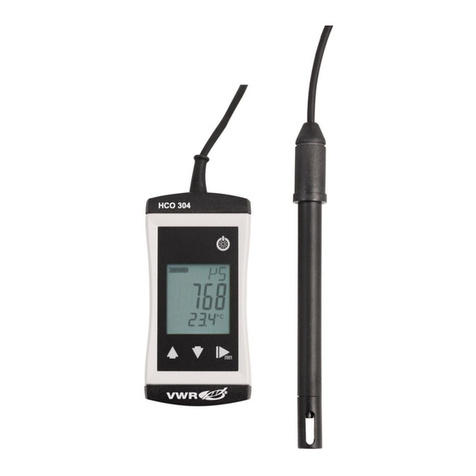
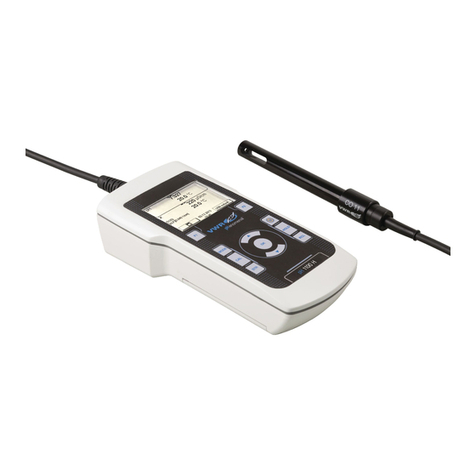
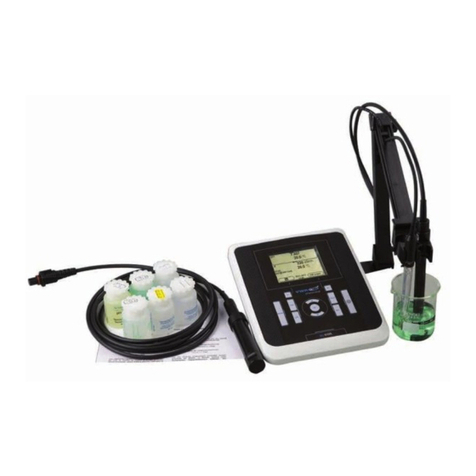
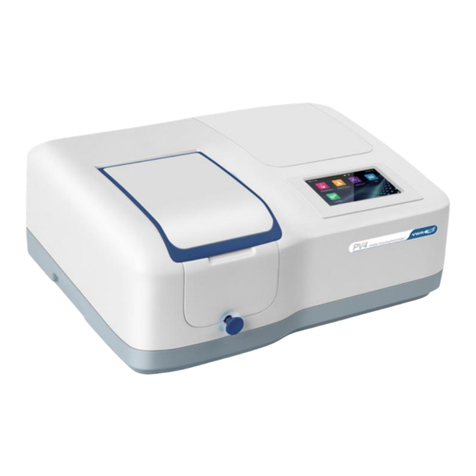
VWR M4 Installation guide

QUICK MANUAL
VWR® M4/PV4/P4
UV/VIS Spectrophotometer
Europe
VWR International bv
Researchpark Haasrode 2020
Geldenaaksebaan 464
B-3001 Leuven
+ 32 16 385011
http://be.vwr.com
UK Importer
VWR International Ltd
Hunter Boulevard, Magna Park
Lutterworth, Leicestershire, LE17 4XN
http://uk.vwr.com
Made in China
Avoiding Electrical Shock
Please follow the guidelines below, and read this manual
in its entirety to ensure safe operation of the unit.
VWR recommends against the use of M4, PV4 and P4
UV/VIS Spectrophotometer.
To avoid electrical shock
• Do not open the device.
• Disconnect the device from the mains supply before
carrying out maintenance work or changing the fuses.
• The inside of the device is a high-voltage area Danger!
• Do not use the device if it is damaged, especially if the
main power cable way is in any damaged or defective.
• Repairs may only be carried out by the service
technicians from your local VWR office and authorized
contractual partners.
• The device must be connected to a power outlet that
has a protective ground connection.
• If the equipment is used in a manner not specified by
the manufacturer, the protection provided by the
equipment may be impaired.
Avoiding Damage to the Instrument
• Do not allow any liquid to enter into the device.
• Do not operate the device in a hazardous location
or potentially explosive environment.
Safety Information
For more details, please
consult the full manual.
EU Catalogue Number
M4 : 634-1087
PV4 : 634-1088
P4 : 634-1089
3. Press the item to set measurement parameters, press the
button Next to establish through the following 3 ways;
CoeK Input equation coefficients K.
StdI Input the standard samples concentration and
absorbance.
StdM Guide the measurement of standard samples
absorbance and input concentration according to
the program.
4. Press the button Measure to start after the establishment
is completed;
5. Put the reference in the measurement channel, press the
icon to do zero.
6. Put the sample in the measurement channel, press the
icon to measure a sample and record the result.
7. Press the icon to browse the result(s).
Spectrum scan
1. Main interface, press the icon to start a Spectrum
application;
2. Press the icon to setup the measurement parameters;
3. Press the item to select or key in the parameters, press the
button Measure to accept the new parameters and back
to measurement interface;
4. Put the reference in the measurement channel, press the
icon to scan baseline;
5. Put the sample in the measurement channel, press the
icon to scan sample and record the results;
6. Press the icon the curve and results.
www.vwr.com
Environmental Requirement
• Operation Temperature: 15~35℃,
Operation Humidity: ≤85%
• Avoid direct sunlight
• Avoid strong electric field and magnetic field
• Keep away from corrosive gas
• Keep away from dust and smudgy
Workbench Requirement
• Weight Capacity: 15kg
• Minimum Size: 500(L)×400(W)×600(H)
Power Supply Requirement
• Voltage: 100~240V AC, 50/60Hz
• Power: ≥150VA
• Good Earthing Terminal
Other Suggested Configuration
• You should use power stabilizer if the voltage is
unstable or changing frequency
Installation Environment
Unpacking Operation
No.
1
2
3
4
5
6
7
8
Description
Spectrophotometer
Glass Cuvette
Quartz Cuvette *
Quick Manual
Power Cord (Euro/UK/CH)
Software USB Flash Dive
USB Cable
Dust Cover
Quantity
1 PC
4 PCS
2 PCS
1 PC
3 PCS
1 PC
1 PC
1 PC
1. Open the packing box, take out spectrophotometer and put
on the desk;
2. Check power supply, connect the power cord;
3. Take away everything in the sample room, keep the light
path unobstructed, and cover the sample chamber cover;
4. Power on, the instrument starts self-test and calibration;
InstallationIntroduction
1
3
2
4 5
6
7 8
9
1 - Sample chamber cover
2 - Touch screen
3 - Pull rod
4 - Power switch
5 - USB port ( type B, for USB
disk & USB printer)
6 - USB port (type B,
Communicate with PC)
7 - RS232 port (Serial printer)
8 - Fuse holder
9 - Power socket 5. After completing the self-test and calibration, enter the
main interface, finish installation.
Photometry
1. Main interface, press the icon to start a Photometry
application;
2. Press the icon to switch to the measurement mode;
3. Press the icon to set wavelength, key in the
measurement wavelength;
4. Put the reference in the measurement channel, press the
icon to do zero.
5. Put the sample in the measurement channel, press the
icon to measure a sample and record the result.
6. Press the icon to browse the result(s).
Quantitation
1. Main interface, press the icon to start a Quantitation
application;
2. Quantitation interface, press the button Establish method;
* Only for the UV model M4 and P4

Home Back to main interface
Measuring samples Put the “Sample” in the
measurement channel, press to measure.
General operation
After started an application, in the measurement interface.
Return Back to previous interface
Do blank/Scan baseline Put the “Reference”
in the measurement channel, press to do blank or
scan baseline.
Set method Press to goto the Method interface,
and setup the measuring parameters.
Exit Press to popup the selection form, press
corresponding icon to exit to widows or exit and
power off the tablet.
Exit UVStudio
Main interface.
For more details, please
consult the full manual.
EU Catalogue Number : 634-1173
Avoiding Electrical Shock
Please follow the guidelines below, and read this manual
in its entirety to ensure safe operation of the unit.
VWR recommends against the use of M4, PV4 and P4
UV/VIS Spectrophotometer.
To avoid electrical shock
• Do not open the device.
• Disconnect the device from the mains supply before
carrying out maintenance work or changing the fuses.
• The inside of the device is a high-voltage area Danger!
• Do not use the device if it is damaged, especially if the
main power cable way is in any damaged or defective.
• Repairs may only be carried out by the service
technicians from your local VWR office and authorized
contractual partners.
• The device must be connected to a power outlet that
has a protective ground connection.
• If the equipment is used in a manner not specified by
the manufacturer, the protection provided by the
equipment may be impaired.
Avoiding Damage to the Instrument
• Do not allow any liquid to enter into the device.
• Do not operate the device in a hazardous location
or potentially explosive environment.
Safety Information
QUICK MANUAL
VWR® P6
UV/VIS Spectrophotometer
Europe
VWR International bv
Researchpark Haasrode 2020
Geldenaaksebaan 464
B-3001 Leuven
+ 32 16 385011
http://be.vwr.com
UK Importer
VWR International Ltd
Hunter Boulevard, Magna Park
Lutterworth, Leicestershire, LE17 4XN
http://uk.vwr.com
Made in China

www.vwr.com
Environmental Requirement
• Operation Temperature: 15~35℃,
Operation Humidity: ≤85%
• Avoid direct sunlight
• Avoid strong electric field and magnetic field
• Keep away from corrosive gas
• Keep away from dust and smudgy
Workbench Requirement
• Weight Capacity: 15kg
• Minimum Size: 500(L)×400(W)×600(H)
Power Supply Requirement
• Voltage: 100~240V AC, 50/60Hz
• Power: ≥150VA
• Good Earthing Terminal
Other Suggested Configuration
• You should use power stabilizer if the voltage is
unstable or changing frequency
Installation Environment
Unpacking
1. Open the packing box, take out spectrophotometer
and put on the desk;
2. Check power supply, connect the power cord;
4. Take away everything in the sample room, keep the
light path unobstructed, and cover the sample chamber
cover;
5. Power on the instrument starts;
Installation
OperationIntroduction
4
567
1 - Sample chamber cover
2 - Tablet
3 - Pull rod
4 - Power switch
5 - USB port (Type B,
Communicate with PC)
6 - Fuse holder
7 - Power socket
6. Start the tablet and double click the icon to run
UV Studio;
3. The tablet can be connected to the instrument via
USB or Bluetooth.
No.
1
2
3
4
5
6
7
8
9
10
11
Description
P6 Spectrophotometer
Glass Cuvette
Quartz Cuvette
Quick Manual
Power Cord (Euro/UK/CH)
Software USB Flash Dive
Tablet
Power Adapter
USB Hub
USB Cable
Dust Cover
Quantity
1 PC
4 PCS
2 PCS
1 PC
3 PCS
1 PC
1 PC
1 PC
1 PC
1 PC
1 PC
1
3
2
We recommend using USB. If you choose the USB
connection method, please turn off Bluetooth on
the tablet.
7. After completing the self-test and calibration, enter the
main interface, finish installation.
Start a measurement
Main interface, press the measurement icon to start an
application.
Photometry Measuring the photometric value
of a sample at a single wavelength.
Multi wavelength Measuring the photometric
value of a sample at multiple wavelengths.
Kinetics Measuring the change in absorbance
or absorbance change rate over time at a
wavelength.
Time scanning Measuring the change of
photometric value with time at a single wavelength.
Quantitation Establish a standard curve and
measure the concentration of the sample using a
standard curve.
Biological method measurement Measuring
DNA, RNA and protein concentrations using
built-in methods or new methods.
Spectrum scanning Measuring the photometric
curve of a sample over a range of spectra.

For more details, please
consult the full manual.
Exit Press to popup the selection form, press
corresponding icon to exit to widows or exit and
power off the Industrial PC.
Exit UVStudio
Main interface.
EU Catalogue Number : 634-1174
Avoiding Electrical Shock
Please follow the guidelines below, and read this manual
in its entirety to ensure safe operation of the unit.
VWR recommends against the use of M4, PV4 and P4
UV/VIS Spectrophotometer.
To avoid electrical shock
• Do not open the device.
• Disconnect the device from the mains supply before
carrying out maintenance work or changing the fuses.
• The inside of the device is a high-voltage area Danger!
• Do not use the device if it is damaged, especially if the
main power cable way is in any damaged or defective.
• Repairs may only be carried out by the service
technicians from your local VWR office and authorized
contractual partners.
• The device must be connected to a power outlet that
has a protective ground connection.
• If the equipment is used in a manner not specified by
the manufacturer, the protection provided by the
equipment may be impaired.
Avoiding Damage to the Instrument
• Do not allow any liquid to enter into the device.
• Do not operate the device in a hazardous location
or potentially explosive environment.
Safety Information
QUICK MANUAL
VWR® P9
UV/VIS Spectrophotometer
Europe
VWR International bv
Researchpark Haasrode 2020
Geldenaaksebaan 464
B-3001 Leuven
+ 32 16 385011
http://be.vwr.com
UK Importer
VWR International Ltd
Hunter Boulevard, Magna Park
Lutterworth, Leicestershire, LE17 4XN
http://uk.vwr.com
Made in China

www.vwr.com
1. Open the packing box, take out spectrophotometer and
put on the desk;
2. Check power supply, connect the power cord, switch on
the power switch;
Installation
Introduction
1 - Sample chamber cover
2 - Touch Screen
3 - USB port (type A,Front)
4 - Start/Stop Button
5 - Injection hole
6 - HDMI
7 - VGA
8 - Ethernet
9 - USB port (type A)
10 - Thermstat socket
11 - Power Switch
12 - Fuse holder
13 - Power socket
14 - USB port (type B,
Communicate with PC)
5. Start the tablet and double click the icon to run
UV Studio;
3. Take away everything in the sample room, keep the
light path unobstructed, and cover the sample chamber
cover;
4. Prss the Start/Stop button to start the instrument;
Photometry Measuring the photometric value
of a sample at a single wavelength.
Multi wavelength Measuring the photometric
value of a sample at multiple wavelengths.
Kinetics Measuring the change in absorbance
or absorbance change rate over time at a
wavelength.
Time scanning Measuring the change of
photometric value with time at a single wavelength.
Quantitation Establish a standard curve and
measure the concentration of the sample using a
standard curve.
Biological method measurement Measuring
DNA, RNA and protein concentrations using
built-in methods or new methods.
Spectrum scanning Measuring the photometric
curve of a sample over a range of spectra.
6. After completing the self-test and calibration, enter the
main interface, finish installation.
1
3
2
4
5
6
78
910
1413
12
11
Environmental Requirement
• Operation Temperature: 15~35℃,
Operation Humidity: ≤85%
• Avoid direct sunlight
• Avoid strong electric field and magnetic field
• Keep away from corrosive gas
• Keep away from dust and smudgy
Workbench Requirement
• Weight Capacity: 25kg
• Minimum Size: 500(L)×400(W)×600(H)
Power Supply Requirement
• Voltage: 100~240V AC, 50/60Hz
• Power: ≥150VA
• Good Earthing Terminal
Other Suggested Configuration
• You should use power stabilizer if the voltage is
unstable or changing frequency
Installation Environment
Unpacking
Operation
No.
1
2
3
4
5
6
7
8
Description
P9 Spectrophotometer
Glass Cuvette
Quartz Cuvette
Quick Manual
Power Cord (Euro/UK/CH)
Software USB Flash Dive
USB Cable
Dust Cover
Quantity
1 PC
4 PCS
2 PCS
1 PC
3 PCS
1 PC
1 PC
1 PC
Start a measurement
Main interface, press the measurement icon to start an
application.
Home Back to main interface
Measuring samples Put the “Sample” in the
measurement channel, press to measure.
General operation
After started an application, in the measurement interface.
Return Back to previous interface
Do blank/Scan baseline Put the “Reference”
in the measurement channel, press to do blank or
scan baseline.
Set method Press to goto the Method interface,
and setup the measuring parameters.
Other manuals for M4
1
This manual suits for next models
9
Table of contents
Other VWR Measuring Instrument manuals

VWR
VWR avantor PH-2500L User manual

VWR
VWR VisiScope 200 Series User manual

VWR
VWR Avantor MU 6100 L User manual

VWR
VWR OX 4000 H User manual

VWR
VWR avantor 76359-754 User manual

VWR
VWR avantor pH 1100 L User manual

VWR
VWR P2 Series User guide

VWR
VWR DO-230 User manual

VWR
VWR M4 User manual

VWR
VWR MU 6100 H User manual
Popular Measuring Instrument manuals by other brands

Keit
Keit IRmadillo DOC1048R user manual

VoiceCollect
VoiceCollect IR44CF-II Service maintenance manual

INNO Instrument
INNO Instrument VIEW 730 user manual

Rohde & Schwarz
Rohde & Schwarz EDS300 user manual

National Instruments
National Instruments PXIe-4163 Getting started guide

Aiwa
Aiwa CSD-ES577 Service manual