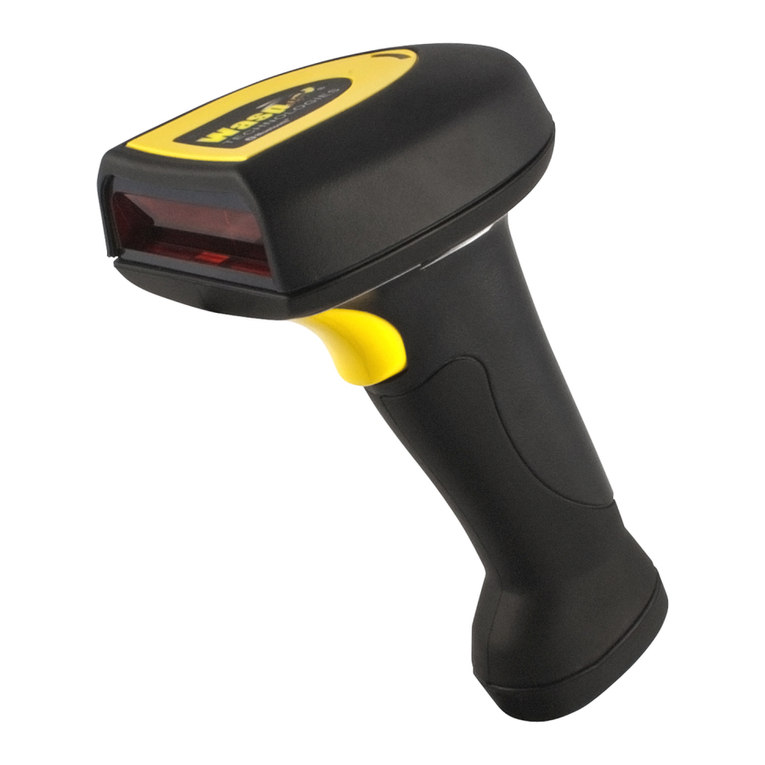
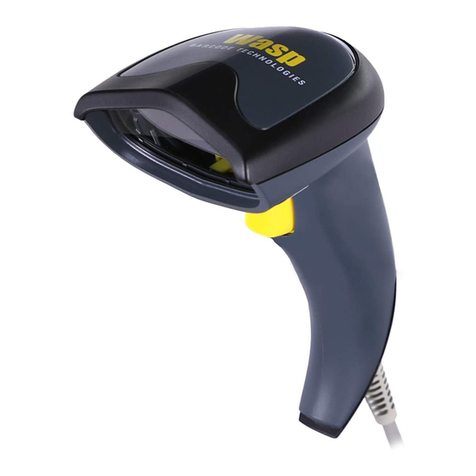
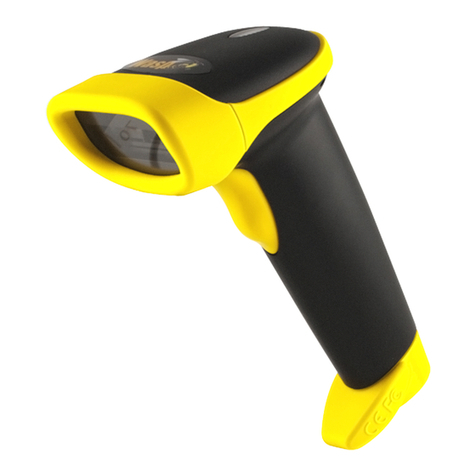
Wasp WPS1500 User manual

QUICK REFERENCE GUIDE
WPS1500
Omnidirectional Imaging Scanner

ORIGINAL VERSION
See the Regulatory Addendum included with your product
for additional regulatory, safety and legal information.
Wasp Barcode Technologies
1400 10th St.
Plano, TX 75024
Tel. 866-547-9277
©2020 Wasp Barcode Technologies and/or its affiliates
All rights reserved. Without limiting the rights under copyright, no part of this
documen-tation may be reproduced, stored in or introduced into a retrieval system,
or transmitted in any form or by any means, or for any purpose, without the express
written permission of Wasp Barcode Technologies (referenced as Wasp) and/or its
affiliates.
Owners of Wasp products are hereby granted a non-exclusive, revocable license
to reproduce and transmit this documentation for the purchaser's own internal
business purposes. Purchaser shall not remove or alter any proprietary notices,
including copyright notices, contained in this documentation and shall ensure that
all notices appear on any reproductions of the documentation.
Electronic versions of this document may be downloaded from the Wasp website
(www.waspbarcode.com). If you visit our website and would like to make
comments or suggestions about this or other Wasp publications, please let us
know via the "Contact" page.
Disclaimer
Wasp has taken reasonable measures to provide information in t his manual that is
complete and accurate, however, Wasp shall not be liable for technical or editorial
errors or omissions contained herein, nor for incidental or consequential damages
result-ing from the use of this material. Wasp reserves the right to change any
specification at any time without prior notice.
Trademarks
Wasp Barcode Technologies and the Wasp logo are registered trademarks of Wasp
in many countries, including the U.S.A. and the E.U.
Patents
See www.waspbarcode.com for patent list.
QUICK REFERENCE GUIDE
TABLE OF CONTENTS
Quick Reference ............................................................... 1
Features .......................................................................... 1
German GS Safety Certification ...............................................3
Installation ....................................................................... 3
Optional Stand/Riser..................................................................... 4
Removing the Stand/Bottom Cover ........................................4
Magnetic Base Mounting.............................................................. 4
How to Scan ..................................................................... 5
Handheld Scanning Mode............................................................. 5
Center Zone Qualification ............................................................. 6
Scanner Button ............................................................................. 6
Scanner Button Functions .......................................................6
LED and Beeper Indicators................................................ 8
Programming ................................................................. 10
Service Port Mode .................................................................10
Using Barcodes........................................................................... 10
Interface Selection ...................................................................... 11
Good Read Green Spot Duration................................................ 12
Cell Phone Mode ......................................................................... 13
Cell Mode Frequency .................................................................. 14
Troubleshooting.............................................................. 15
Error Codes ................................................................................. 16
Cleaning......................................................................... 17
Manufacturer Approved Cleaning Materials.............................. 18
Warranty........................................................................ 19

WASP WPS1500
NOTES

WPS1500
QUICK REFERENCE
This guide is provided to help get your scanner up and running quickly
and efficiently. For more details, including a nal programming
informa on, reference the Product Reference Guide (PRG), which is
available from the Wasp website.
FEATURES
Figure 1. Scanner Features - Front View
Tilting Stand
Good Read Light Pipe/
Scan
Window
Beeper Grille
Illumination LEDs
Scanner Button
QUICK REFERENCE GUIDE 1

2
WPS1500
Figure 2. Scanner Features - Bottom View
Figure 3. Labeling
NOTE
Remove the stand/cover to view the Regulatory
Labeling, as described on page 4. Labels are shown
to illustrate their location only. Please view the
labels on your product for actual details.
Power/Interface
Power/interface Cable
Latch Release Hole
Stand
Regulatory
Label (under
Regulatory
Label (under
Serial Number bottom cover)
bottom cover)

German GS Safety Certification
The following statement is required for the German GS safety
certification:
INSTALLATION
Route the interface cable from the terminal or host. Plug the AC adapter
(if one is used) into a wall outlet and the interface (I/F) cable, then route
and attach the I/F cable to the scanner. Verify operation by presenting
known-good bar codes to the scanner. The unit should beep1and/or
flash its good read LED and send the bar code data to the host or
terminal. If not, refer to the Troubleshooting section of this guide.
The WPS1500 uses intelligent illumination technology to optimize light
levels for a variety of bar code scanner functions including
automatic reading of bar codes from printed surfaces, mobile devices
and image capture in variable contrast environments.
This product is not intended for use in the immediate or direct visual
field of the display work place. To avoid disturbing reflections on
the display work place, this product shall not be placed in the
immediate or direct field of vision.
1. Beeper and LED behavior is selectable and may have been disabled by a pre-
vious user.
Connect
Here
I/F Cable
To Host/Terminal
A/C Adapter
(if needed)
QUICK REFERENCE GUIDE 3

Optional Stand/Riser
An optional stand / riser is available for the scanner. The stand and riser
have anti-skid pads on the bottom and can rest on any desired
horizontal surface or countertop. The scanner (along with the stand/
riser) can be easily repositioned on the counter or lifted for portable
use.
Removing the Stand/Bottom Cover
1. Unplug the Power Interface Cable by inserting a paper clip or
similar object into the latch release hole as shown in Figure 2 on
page 2.
2. After removing the Interface Cable, pull the bottom of the Stand
forward (in the direction of the Front Window) to detach it from
the unit. It will snap free easily if oriented correctly.
Magnetic Base Mounting
The magnetic swivel base can be used to semi-permanently attach a
scanner to a flat surface (vertical or horizontal), using the provided
adhesive or screw. Both the stand and riser options mount onto the
CAUTION
Do not attempt to remove the Stand without first
unplugging the Cable as described. Doing so may
result in damage to the scanner.
Front Window
Stand
4
WPS1500

magnetic swivel base and are held magnetically in place. The scanner
can easily be rotated to a desired orientation. The scanner (along with
the riser or stand) can be detached for portable use by lifting the entire
unit as shown in Figure 4 on page 5.
HOW TO SCAN
Bar codes can be presented to the scanner while it is resting on the
counter or in the optional stand, or the scanner can be picked up for
targeted scanning.
Figure 4. Scanning Methods
Handheld Scanning Mode
To read a barcode using Handheld Scanning Mode:
1. Pick up the scanner- the aimer LED will illuminate automatically.
2. With the aimer over the barcode to be read, press and release
the button.
Upon a successful read, the button will blink bright green and the
green spot will illuminate, highlighting the decoded barcode.
Scan Button/
PRESENTATION MODE
Good Read
HANDHELD MODE
Indicator
QUICK REFERENCE GUIDE 5

Center Zone Qualification
The configurable Center Zone can be set to limit the scan area to allow
Targeted Scanning of pick lists or other special items. Bar codes will read
in any orientation. The scanner will return to full pattern Presentation
Mode when set back down, after a configurable time has elapsed.
Scanner Button
The Scanner Button performs multiple functions, depending on how
long it is pressed:
Scanner Button Functions
NOTE
The Scanner Button functions shown below are
operational only when the Scanner is stationary. When
in Hand/Portable mode, the button acts as a trigger to
enable the reading of a barcode label.
PRESS
DURATION FUNCTION COMMENT
Momentary (when
scanner is asleep)
Wakes scanner from
Sleep Mode
Alternatively, the scanner can
be awakened by moving an
object through the scan zone.
Momentary (when
scanner is awake) Increments volume
Press the button momentarily
to increase speaker volume.
When the loudest volume is
reached, a repeated press of the
button cycles volume back to
the lowest setting, then volume
increases on subsequent
press(es). Five volume levels
are available.
Hold, then release
when the beeper
sounds
Increments tone
Press the button for
approximately 2 seconds, then
release. Each time this is done,
the beeper will sound at one of
three tones. Stop when the
desired tone (high, medium or
low) is sounded.
6 WPS1500

4 Seconds Scanner Diagnostics
Modea
This mode allows system
support personnel to
troubleshoot problems with the
scanner and is used to
determine if it can read bar
codes. Press the button for 8
seconds or cycle power to exit
Scanner Diagnostics Mode and
reset the scanner.
10 Seconds Resets ScannerbOnly system support personnel
should perform a reset.
a. By standard default, this function is normally disabled to prevent acciden-
tal activation by users.
b. Users should not perform scanner resets except under the direction of
trained systems support personnel.
NOTE
Volume changes made using the Scanner Button are
lost when the scanner is powered down and are reset
to the configured setting. If you wish to permanently
change the volume, use the special programming
labels in the Product Reference Guide.
PRESS
DURATION FUNCTION COMMENT
QUICK REFERENCE GUIDE 7

LED AND BEEPER INDICATORS
The scanner’s beeper sounds and its green LED illuminates to indicate
various functions or errors on the scanner. The tables that follow list
these indications. An exception is that the scanner’s functions are
programmable, and may or may not be turned on. For example, some
indications (such as the power-up beep) can be disabled using
programming bar code labels.
LED INDI-
CATION INDICATION COMMENT
Power-on
indication Bright green flash
Indicates the scanner has finished all
its power-up tests and is now ready for
operation.
Good Read
Indication Bright green flash Indicates a bar code has been read and
decoded.
Scanner
Ready Constant dim green The scanner is ready for operation.
Sleep Mode
Green LED slowly
and continuously
changes from off to
dim to off.
The scanner is in Sleep Mode. To wake
the scanner up, move an object in front
of its window or press the button atop
the unit. This indication is optionally
configurable, and may have been
programmed to behave differently.
Host Disable
Constant green flash
at 1 Hz (100mS on,
900mS off)
The scanner is disabled due to
receiving a disable command from the
POS terminal.
Diagnostics
Varies (see "Error
Codes" on page 16
for more
information)
The LED can provide diagnostic
feedback if the scanner discovers a
problem during SelfTest.
Prog. Mode
Constant green flash
at 1 Hz (500 ms on,
500 ms off).
The scanner is in Programming Mode.
8 WPS1500

BEEPER
INDICATION INDICATION COMMENT
Power On Beep Single beep
The Power-On LED indication is a
configurable feature which can be
enabled or disabled. When enabled, this
beep indicates the scanner has finished
all its power-up tests and is now ready
for operation.
Good Read
Indication Single beep
The good read beep indication is
configurable. Options include: Enable/
disable, frequency, duration and
volume. See the Product Reference
Guide (PRG) for more information.
Diagnostics
Varies (see "Error
Codes" on page 16
for more
information)
The Beeper can provide diagnostic
feedback if the scanner discovers a
problem during SelfTest.
Programming
Mode
Indications
Varies depending
upon the
feature(s) being
configured.
The Beeper will sound as programming
bar code labels are scanned, indicating
progress during scanner configuration.
QUICK REFERENCE GUIDE 9

PROGRAMMING
On leaving the factory, units are generally programmed with the most
common terminal and communications settings. If you need to change
these settings, custom programming can be accomplished using one of
several methods.
This manual offers programming barcodes for common functions.
Additional programming barcodes are available in the PRG, or use
software utilities which are available on the Wasp website.
Service Port Mode
To program the WPS1500 using Scanalyzer or Aladdin, the unit must
first be placed into Service Port mode, as follows:
1. Unplug the unit if needed.
2. While Holding down the Scan Button on the top of the unit, plug
the scanner in.
3. The scanner will enter Service Port Mode, enabling it to be
programmed via software utilities.
Using Barcodes
After completing the physical connection between the scanner and its
host, go to the Programming Bar Codes table on the following pages to
locate the interface type for your scanner (such as RS-232, USB, etc.).
Scan a START/END bar code once to enter Programming Mode. After
scanning the programming label for the desired interface, scan the
START/END barcode a second time to accept your changes, exit
Programming Mode and return the scanner to normal operation.
NOTE
It is not necessary to place the scanner into Service
Port Mode to program with barcode labels.
10 WPS1500

Interface Selection
START / END
PROGRAMMING BAR CODES
RS-232 Standard
RS-232 Wincor-Nixdorf
USB-OEM
USB Keyboard
USB COM Interface
NOTE
Reference the Product Reference Guide (PRG) or
configuration software for additional options. All are
available for download on the Wasp website at no charge.
000105(CR)
000112(CR)
000145(CR)
000135(CR)
000147(CR)
QUICK REFERENCE GUIDE 11

Good Read Green Spot Duration
Successful reading can be signaled by a good read green spot. Use the
bar codes that follow to specify the duration of the good read pointer
beam after a good read.
START / END
Disabled
Short (300 ms)
Medium (500 ms)
Long (800 ms)
12 WPS1500

Cell Phone Mode
Enables/disables mobile phone barcode reading.
START / END
Cell Phone Mode = Enable (Toggle)
Cell Phone Mode = Enable
(Always On)
Cell Phone Mode = Enable
(Timer Expiration)
046700(CR)
046702(CR)
DEFAULT
046701(CR)
QUICK REFERENCE GUIDE 13

Cell Mode Frequency
Specifies the frequency when reading cell phones. Cell phone mode
must be enabled for this feature to be active.
NOTE
Higher Settings will slow down read performance on
printed barcodes.
START / END
Cell Mode Frequency = Very Low
Cell Mode Frequency = Low
Cell Mode Frequency = Medium
Cell Mode Frequency = Med High
Cell Mode Frequency = High
047100(CR
047101\r
DEFAULT
047103\r
047104\r
047102\r
14 WPS1500

TROUBLESHOOTING
If the scanner is not operating properly, the following checks should be
performed:
If the scanner still does not function properly, consult the Product
Reference Guide (PRG) or contact your local supplier or Wasp
Customer Support Services.
PROBLEM SOLUTION
Scanner does not
power on
Exchange the power supply with a known good
power supply and retest operation.
If an RS-232 cable is used on a scanner
configured for USB, powerup will not occur
because the scanner will be waiting for
enumeration from the host.
As a workaround, hold the scanner’s button
down, then apply power. Release the button when
the green light comes on. The scanner will power
up with limited scanning, which will allow you to
scan programming labels to reconfigure the
scanner to the desired interface.
No communication
with the host
Verify the interface cable is securely attached to
the host and the scanner. Consult your technical
support personnel or refer to your host system
manual to verify the proper interface type, cable
and connection port(s) for the scanner.
The scanner will not
read bar codes at all,
or reads poorly
Check that the bar codes are of sufficient quality
to be recognized by the scanner. Wrinkled,
smudged, or torn labels can cause the scanner to
not read at all. Scan known-good labels of an
active symbologyato check the scanner's read
operation.
Make sure the window is clean.
a. Reading of the various bar code symbologies can be independently
enabled or disabled in the scanner.
QUICK REFERENCE GUIDE 15

Error Codes
If an error is detected, the scanner will sound a long low tone (for three
seconds) and flash its LED, indicating a failure. When this occurs, press
the Scanner button to hear the error code. If it is configured to do so,
the scanner will sound a series of beeps corresponding to the error code
and/or flash its LED simultaneous to the beeps. The table below
describes what these codes mean and what action should be taken for
each.
NUMBER
OF LED
FLASHES/
BEEPS
ERROR CORRECTIVE ACTION
1Configuration
Contact Helpdesk for assis-
tance
2Host Interface
6Main PCB
10 Button Error
11 USB Device
13 FPGA ID
16 WPS1500
Table of contents
Other Wasp Barcode Reader manuals

Wasp
Wasp WLR8900 Operating instructions

Wasp
Wasp WWS800 User manual

Wasp
Wasp WPL608 User manual

Wasp
Wasp WWS650 User manual

Wasp
Wasp WPL618 Series User manual

Wasp
Wasp Wasp WDI7500 Installation and operation manual

Wasp
Wasp N1181 Operating instructions

Wasp
Wasp WWS800 Manual

Wasp
Wasp WLR8950 User manual

Wasp
Wasp WLP 4170 CCD Operating instructions
Popular Barcode Reader manuals by other brands

Motorola
Motorola DS3508 Product reference guide

SICK
SICK CLV61 DualPort Series operating instructions

Freedom Scientific
Freedom Scientific ScanTalker 2.0 quick start guide

Motorola
Motorola MK1250-0N0DAKBNTWR - Symbol Micro Kiosk MK... Product reference guide

Intermec
Intermec SF61 user guide

Imperial
Imperial scantel 510 Instruction guide