White Rodgers 50T35-743 User manual
Other White Rodgers Control Unit manuals

White Rodgers
White Rodgers 50A55-285 User manual

White Rodgers
White Rodgers 36E52-214 User manual
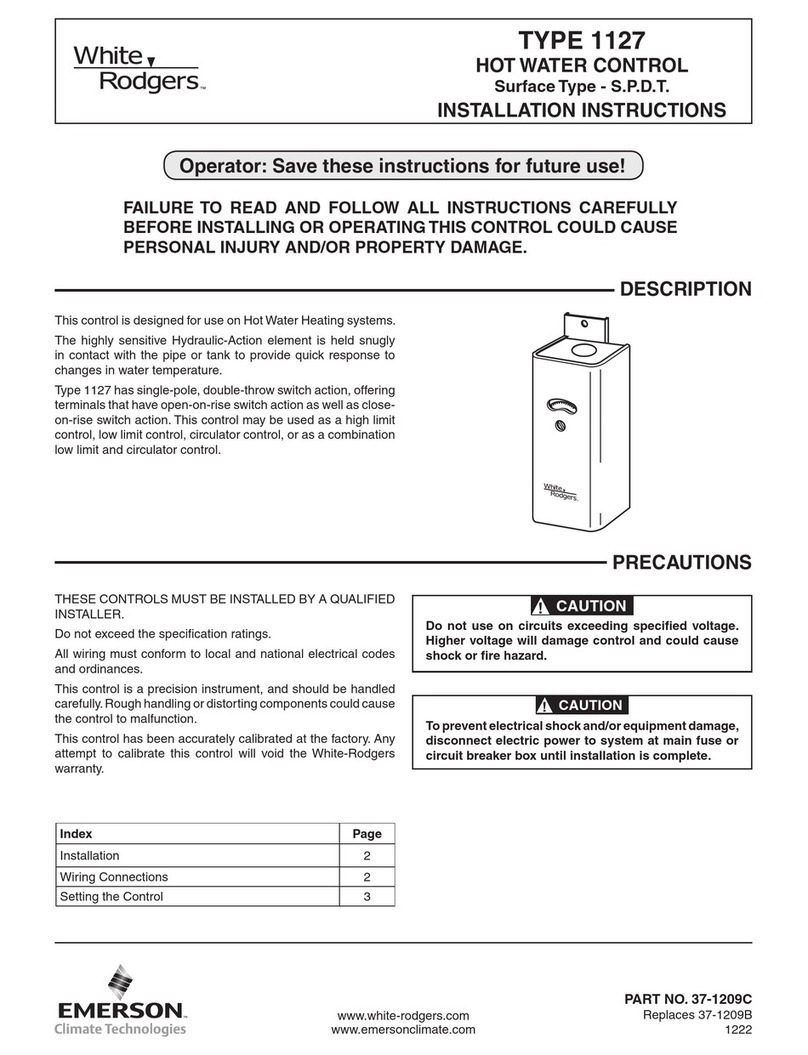
White Rodgers
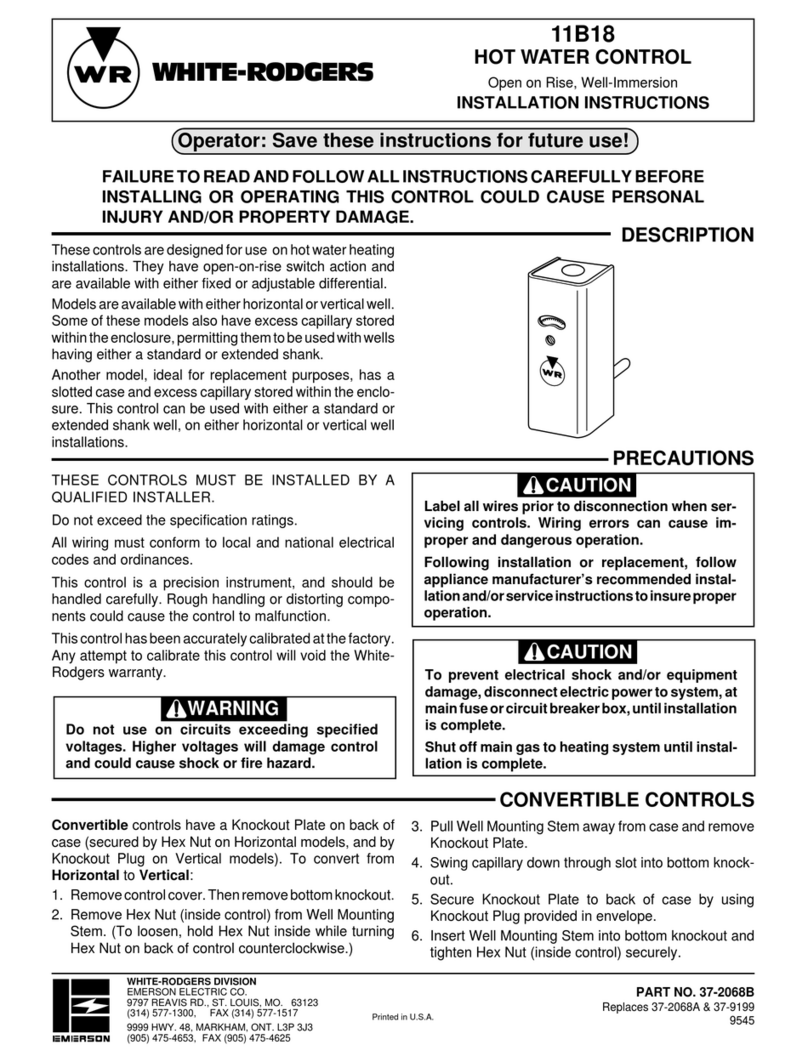
White Rodgers 1127 User manual

White Rodgers
White Rodgers 1311 User manual

White Rodgers
White Rodgers 36J27-554 User manual
White Rodgers
White Rodgers 11B18 User manual
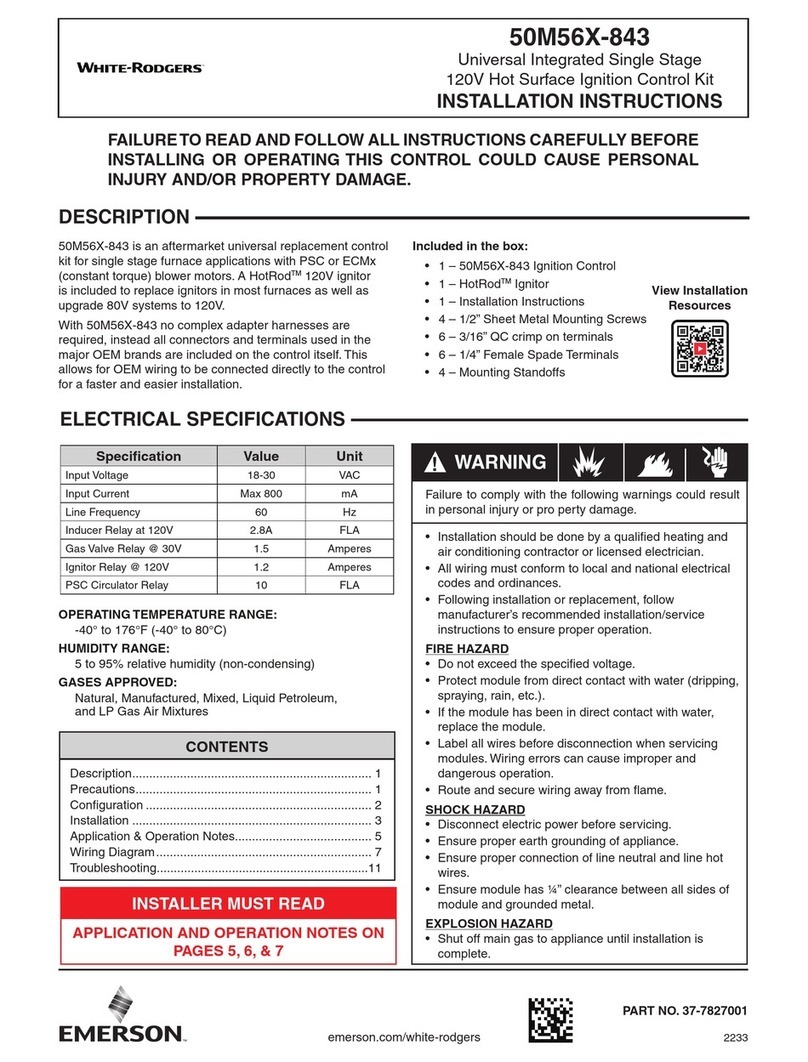
White Rodgers
White Rodgers 50M56X-843 User manual

White Rodgers
White Rodgers 50V64-743 User manual

White Rodgers
White Rodgers 5A75 User manual

White Rodgers
White Rodgers 50T35-743 User manual

White Rodgers
White Rodgers 36E22-214 User manual

White Rodgers
White Rodgers 8J48A User manual

White Rodgers
White Rodgers 47D43-811 User manual

White Rodgers
White Rodgers 50M56U-843 User manual

White Rodgers
White Rodgers 758-1 User manual
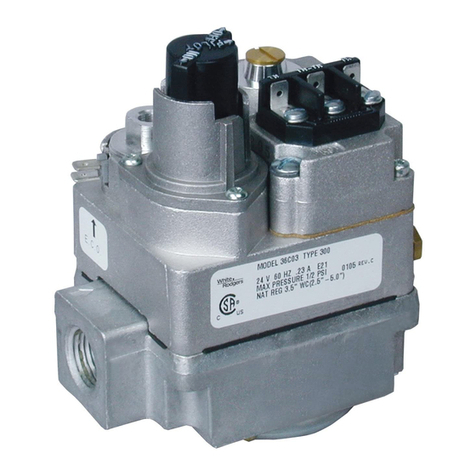
White Rodgers
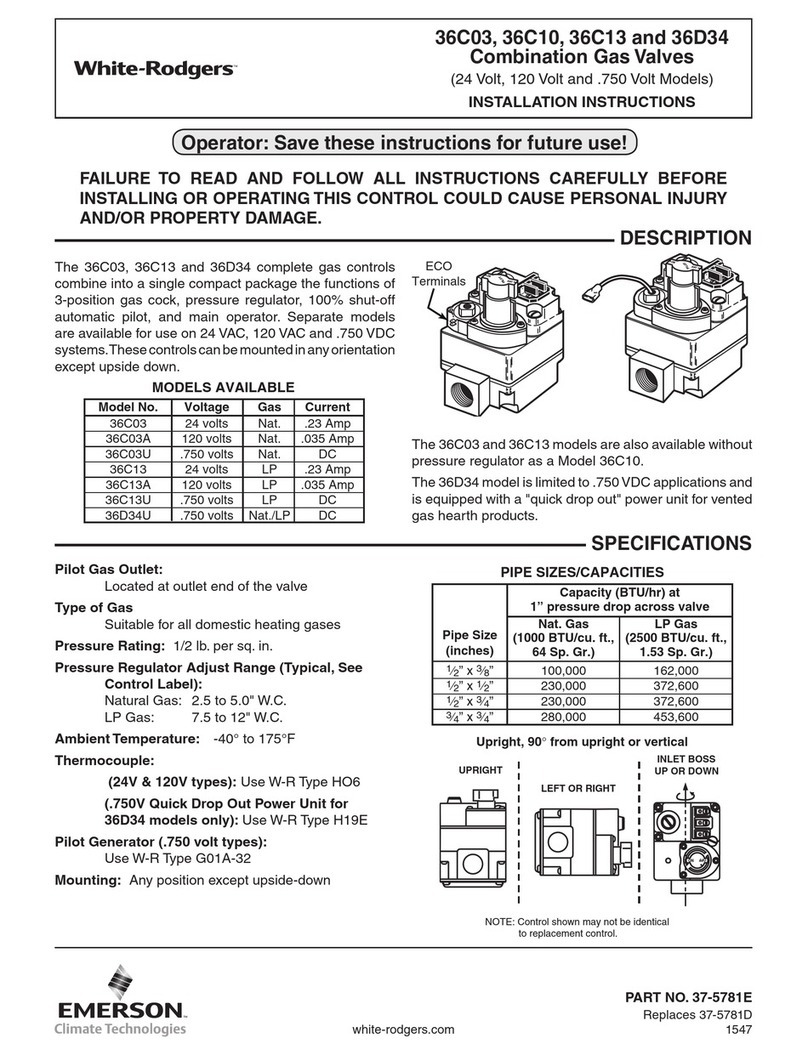
White Rodgers 36C03 User manual
White Rodgers
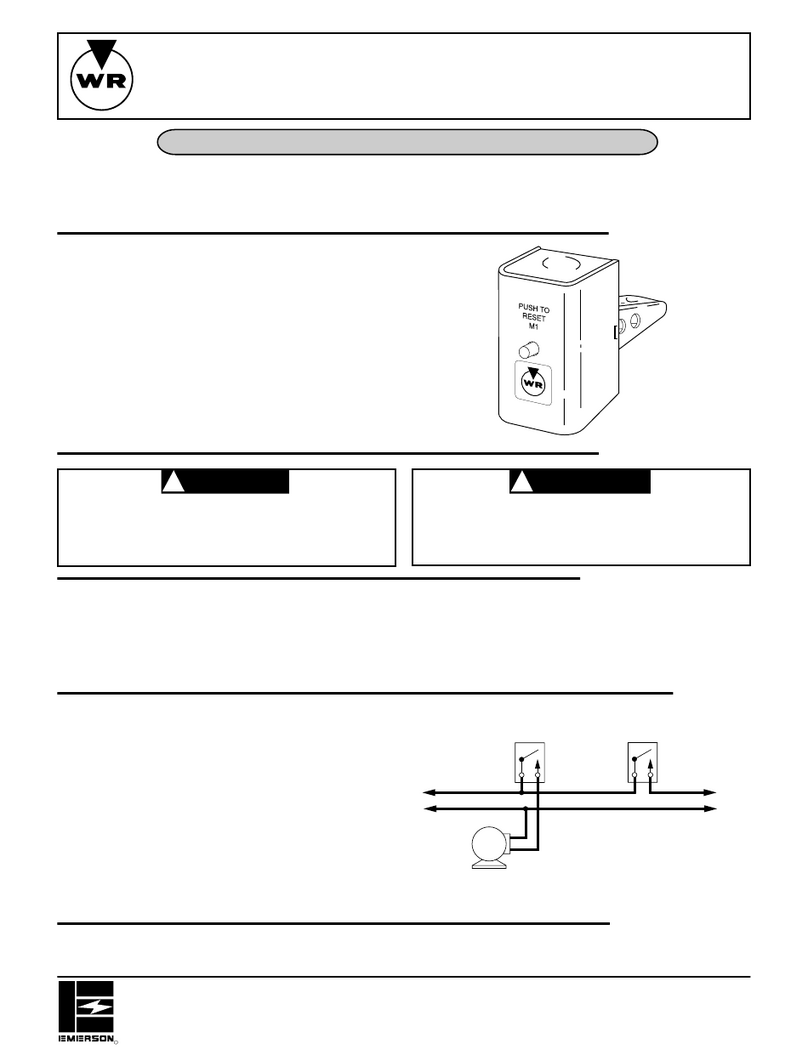
White Rodgers 36C03 Series User manual
White Rodgers
White Rodgers 5C06 User manual

White Rodgers
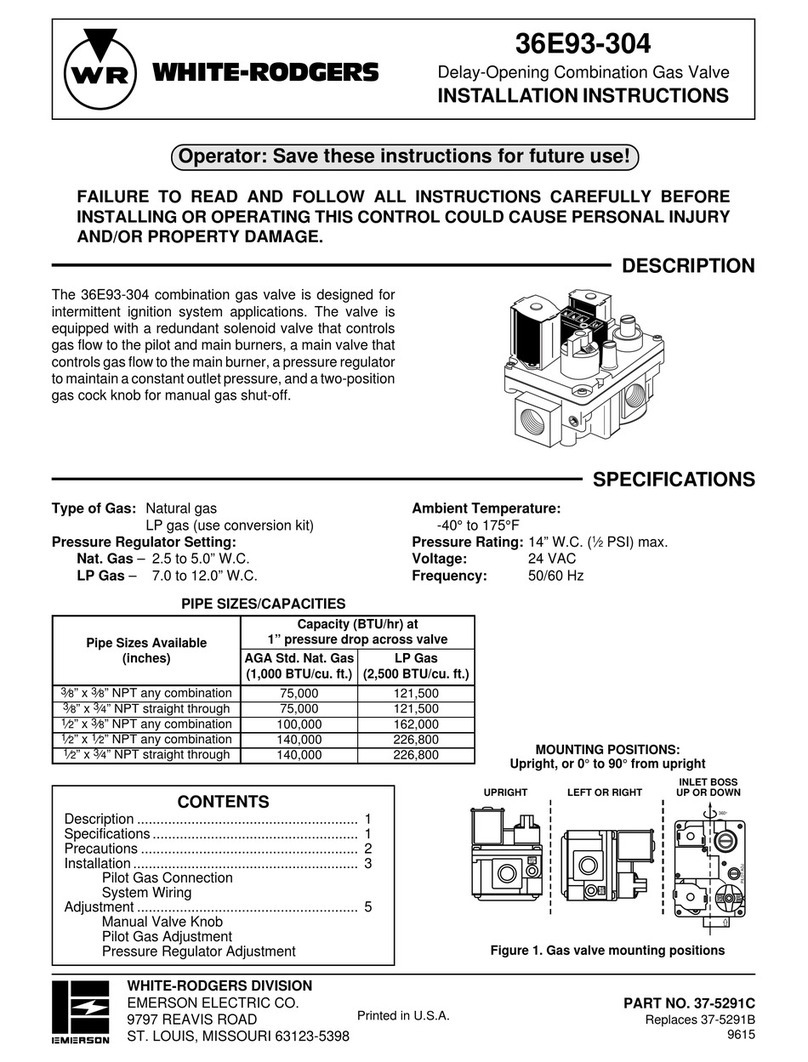
White Rodgers 764-700 User manual
White Rodgers
White Rodgers 36E93-304 User manual
Popular Control Unit manuals by other brands

Festo
Festo Compact Performance CP-FB6-E Brief description

Elo TouchSystems
Elo TouchSystems DMS-SA19P-EXTME Quick installation guide

JS Automation
JS Automation MPC3034A user manual

JAUDT
JAUDT SW GII 6406 Series Translation of the original operating instructions

Spektrum
Spektrum Air Module System manual

BOC Edwards
BOC Edwards Q Series instruction manual

KHADAS
KHADAS BT Magic quick start

Etherma
Etherma eNEXHO-IL Assembly and operating instructions

PMFoundations
PMFoundations Attenuverter Assembly guide

GEA
GEA VARIVENT Operating instruction

Walther Systemtechnik
Walther Systemtechnik VMS-05 Assembly instructions

Altronix
Altronix LINQ8PD Installation and programming manual


