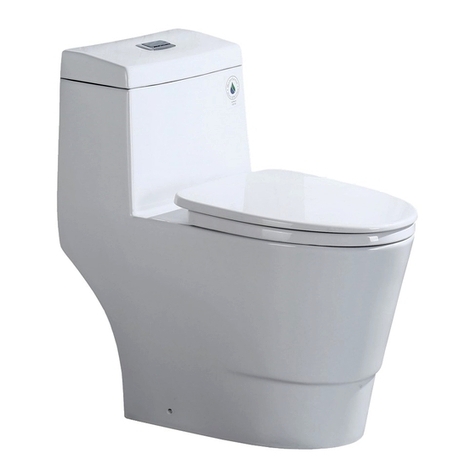
Woodbridge T0033 Assembly instructions
Other Woodbridge Toilet manuals

Woodbridge
Woodbridge T-0042 Assembly instructions

Woodbridge
Woodbridge B0950S/V8300 Assembly instructions

Woodbridge
Woodbridge V8300 Assembly instructions
Woodbridge
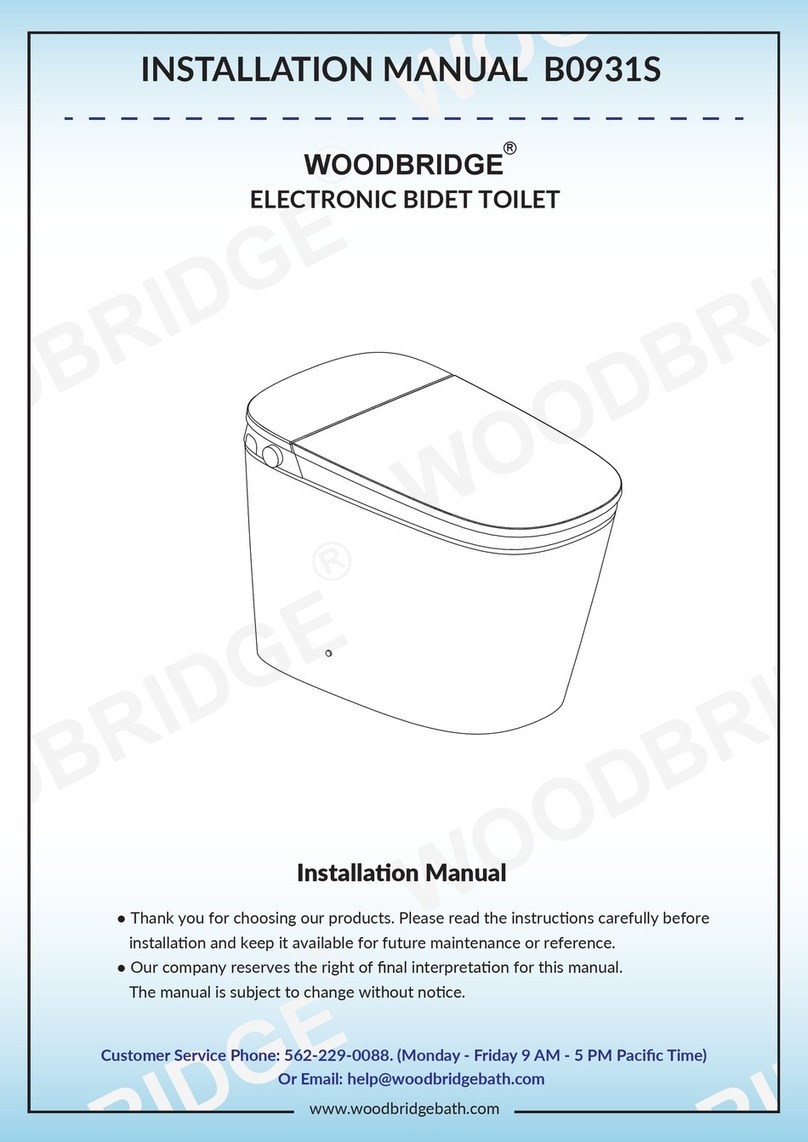
Woodbridge B0931S User manual
Woodbridge
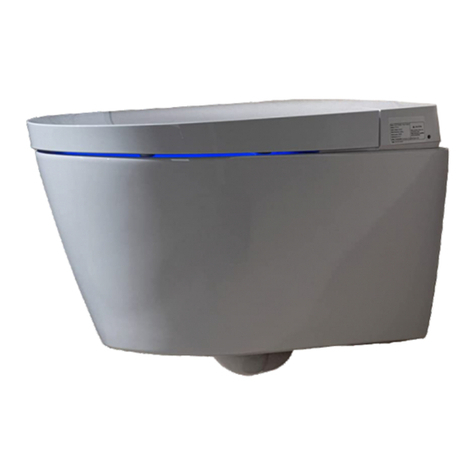
Woodbridge LT611 User manual

Woodbridge
Woodbridge LT610 Assembly instructions

Woodbridge
Woodbridge T0002W/B0720 Assembly instructions

Woodbridge
Woodbridge B0942 Assembly instructions

Woodbridge
Woodbridge B0735 Assembly instructions

Woodbridge
Woodbridge B0960S Assembly instructions

Woodbridge
Woodbridge B0980S Assembly instructions

Woodbridge
Woodbridge B0930S User manual

Woodbridge
Woodbridge B0990S Assembly instructions

Woodbridge
Woodbridge T-0047 Assembly instructions
Woodbridge
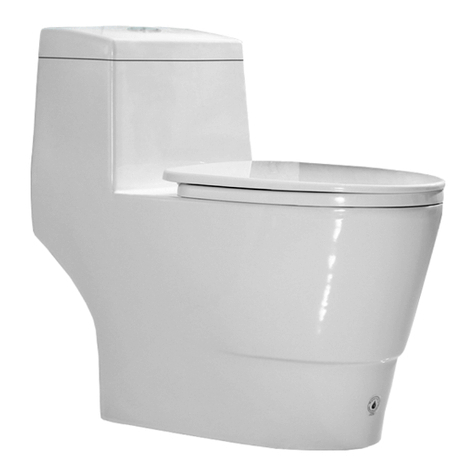
Woodbridge B0940 User manual

Woodbridge
Woodbridge T0001 User manual

Woodbridge
Woodbridge T-0044 Assembly instructions
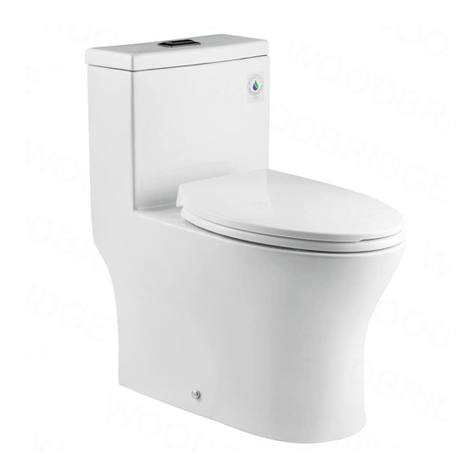
Woodbridge
Woodbridge T-0032/B0750 Assembly instructions

Woodbridge
Woodbridge BW5100S Assembly instructions

Woodbridge
Woodbridge BID 02 User manual
Popular Toilet manuals by other brands

Better Bathrooms
Better Bathrooms BUN/BeBa 27555/78725 user manual

American Standard
American Standard CONCEPT Cube TF-2704 installation manual

BIOLAN
BIOLAN ECO Instructions for installation, use and maintenance

Thetford
Thetford C260 Series user manual

KELISS
KELISS T162A Series instruction manual

Kohler
Kohler K-22241K Installation and care guide
