manuals.online logo
Brands
  1. Home
  2. •
  3. Brands
  4. •
  5. YOKOGAWA
  6. •
  7. Test Equipment
  8. •
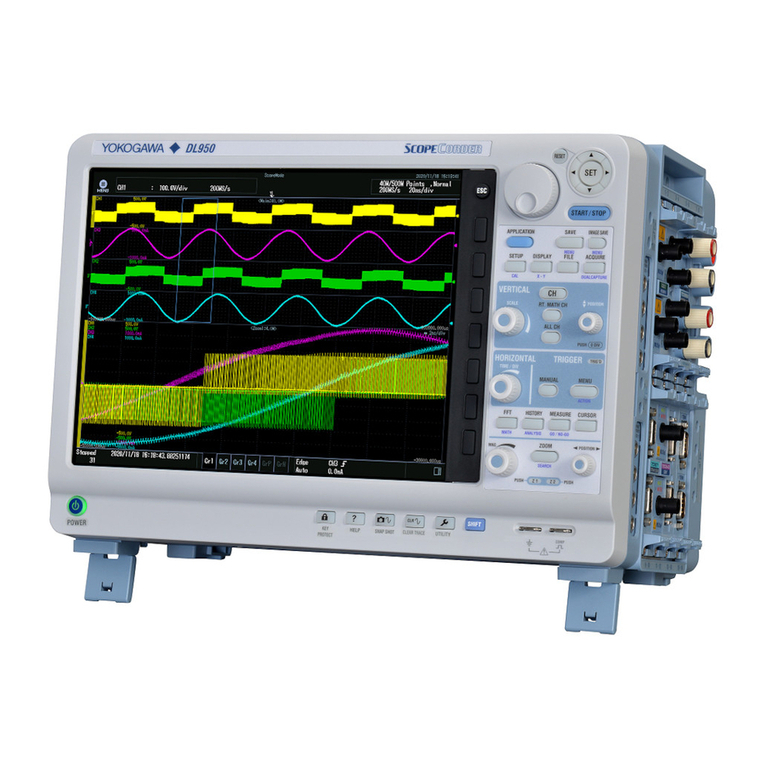
  9. YOKOGAWA DLM5034 User manual

YOKOGAWA DLM5034 User manual

Other manuals for DLM5034

1

This manual suits for next models

3

Other YOKOGAWA Test Equipment manuals

YOKOGAWA MY40 User manual

YOKOGAWA

YOKOGAWA MY40 User manual

YOKOGAWA 30032A User manual

YOKOGAWA

YOKOGAWA 30032A User manual

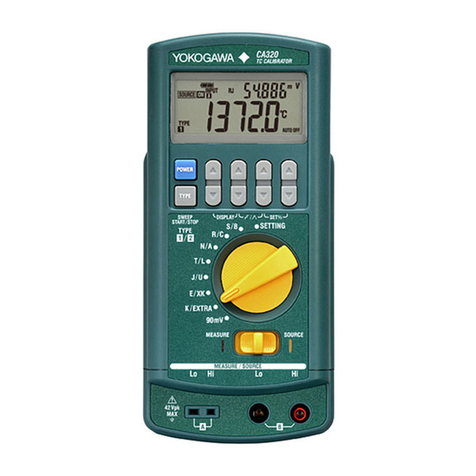
YOKOGAWA CA320 User manual

YOKOGAWA

YOKOGAWA CA320 User manual

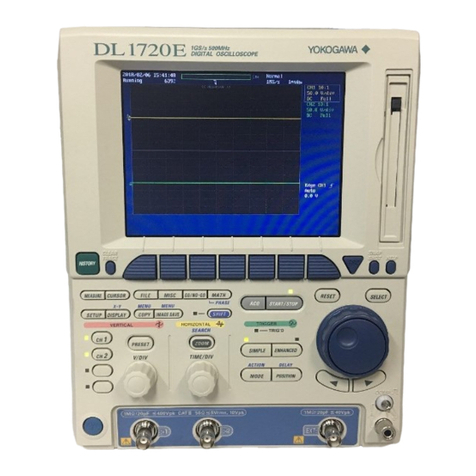
YOKOGAWA DL1720E User manual

YOKOGAWA

YOKOGAWA DL1720E User manual

YOKOGAWA DLM2000 Series User manual

YOKOGAWA

YOKOGAWA DLM2000 Series User manual

YOKOGAWA MY10-01 User manual

YOKOGAWA

YOKOGAWA MY10-01 User manual

YOKOGAWA CA11E User manual

YOKOGAWA

YOKOGAWA CA11E User manual

YOKOGAWA 30032A User manual

YOKOGAWA

YOKOGAWA 30032A User manual

YOKOGAWA DLM2000 Series User manual

YOKOGAWA

YOKOGAWA DLM2000 Series User manual

YOKOGAWA DL7440 User manual

YOKOGAWA

YOKOGAWA DL7440 User manual

YOKOGAWA 3226 User manual

YOKOGAWA

YOKOGAWA 3226 User manual

YOKOGAWA DL850E Operation instructions

YOKOGAWA

YOKOGAWA DL850E Operation instructions

YOKOGAWA 701985 Series User manual

YOKOGAWA

YOKOGAWA 701985 Series User manual

YOKOGAWA 30031A User manual

YOKOGAWA

YOKOGAWA 30031A User manual

YOKOGAWA CL250 User manual

YOKOGAWA

YOKOGAWA CL250 User manual

YOKOGAWA DL716 User manual

YOKOGAWA

YOKOGAWA DL716 User manual

YOKOGAWA 240413 User manual

YOKOGAWA

YOKOGAWA 240413 User manual

YOKOGAWA DL850E User manual

YOKOGAWA

YOKOGAWA DL850E User manual

YOKOGAWA DL7200 User manual

YOKOGAWA

YOKOGAWA DL7200 User manual

YOKOGAWA CA700 User manual

YOKOGAWA

YOKOGAWA CA700 User manual

YOKOGAWA CA500 User manual

YOKOGAWA

YOKOGAWA CA500 User manual

YOKOGAWA CA550 User manual

YOKOGAWA

YOKOGAWA CA550 User manual

YOKOGAWA CA320 User manual

YOKOGAWA

YOKOGAWA CA320 User manual

YOKOGAWA DLM3022 User manual

YOKOGAWA

YOKOGAWA DLM3022 User manual

Popular Test Equipment manuals by other brands

Ambit P.F. Series instruction manual

Ambit

Ambit P.F. Series instruction manual

Megger BMM500 Series user guide

Megger

Megger BMM500 Series user guide

RJG Lynx Sensor Tester operating instructions

RJG

RJG Lynx Sensor Tester operating instructions

Mark-10 TT02 Series user guide

Mark-10

Mark-10 TT02 Series user guide

Martel 3001 Operator's manual

Martel

Martel 3001 Operator's manual

ElproSys DiagProg4 instruction manual

ElproSys

ElproSys DiagProg4 instruction manual

Redtech TRAILERteck T05 user manual

Redtech

Redtech TRAILERteck T05 user manual

Venmar AVS Constructo 1.0 HRV user guide

Venmar

Venmar AVS Constructo 1.0 HRV user guide

Test Instrument Solutions SafetyPAT operating manual

Test Instrument Solutions

Test Instrument Solutions SafetyPAT operating manual

Hanna Instruments HI 38078 instruction manual

Hanna Instruments

Hanna Instruments HI 38078 instruction manual

Kistler 5495C Series instruction manual

Kistler

Kistler 5495C Series instruction manual

Waygate Technologies DM5E Basic quick start guide

Waygate Technologies

Waygate Technologies DM5E Basic quick start guide

StoneL DeviceNet CK464002A manual

StoneL

StoneL DeviceNet CK464002A manual

Seica RAPID 220 Site preparation guide

Seica

Seica RAPID 220 Site preparation guide

Kingfisher KI7400 Series Training manual

Kingfisher

Kingfisher KI7400 Series Training manual

Kurth Electronic CCTS-03 operating manual

Kurth Electronic

Kurth Electronic CCTS-03 operating manual

SMART KANAAD SBT XTREME 3G Series user manual

SMART

SMART KANAAD SBT XTREME 3G Series user manual

Agilent Technologies BERT Serial Getting started

Agilent Technologies

Agilent Technologies BERT Serial Getting started

manuals.online logo
manuals.online logoBrands
  • About & Mission
  • Contact us
  • Privacy Policy
  • Terms and Conditions

Copyright 2025 Manuals.Online. All Rights Reserved.

Operation
Guide
Workflow
Measuring the Waveform
Use vertical cursors to measure the time and voltage of the displayed waveform.
Displaying the Waveform
Use auto setup to display the input signal (the instrument
’
s probe compensation signal).
Saving the Waveform Screen Image
Save the displayed screen image as data.
Changing the Waveform Display Conditions
Change the vertical axis, horizontal axis, and edge trigger settings.
Using the Instrument according to the Workflow
What to Prepare
• The instrument. This guide explains the DLM5058 as an example.
• Power cord that complies with the standard specified by the country or region that the instrument
will be used in
• Included passive probe (701937)1
• Manual
Printed Operation Guide
IM DLM5058-04EN
This document. Explains the basic operations of this
instrument in steps.
Getting Started Guide
IM DLM5058-03EN
Explains the handling precautions and warnings of
this instrument, how to connect the power supply, how
to turn the power switch on and off, how to connect
probes, how to correct the probe phases, and other
common operations.
Before using the instrument, be sure to read the
handling precautions and warnings.
PDF data
(contained in
the CD)
Features Guide & Users
Manual.pdf
Features Guide (IM DLM5058-01EN) and User’s
Manual (IM DLM5058-02EN). Explain the features of
this instrument and how to configure them.
• Adjustment screwdriver (used in the phase correction of probes)2
DLM5000 Power cord Passive probe1Manual Adjustment
screwdriver2
1 Miniature passive probe 701949 is included with options /E2 and /E3.
2 Use a non-metallic adjustment driver that matches the dimensions of the probe phase
adjustment hole.
L
W
Driver bit dimensions (reference)
Tip shape: – (minus)
Tip thickness (W): 0.4 mm to 0.5 mm
Tip width (W): 1.3 mm to 2.5 mm
Measurement Preparation
1.
Turn on the power switch.
See section 2.3, “Connecting the Power Supply and Turning the Power Switch On and Off,” in
the Getting Started Guide (IM DLM5058-03EN).
2.
Connect a probe to the instrument’s input terminal (CH1).
See section 2.4, “Connecting Probes,” in the Getting Started Guide.
3.
Correct the probe phase.
See section 2.5, “Correcting a Probe Phase,” in the Getting Started Guide.
Probe compensation
signal output terminal
Functional ground
terminal
Phase adjustment
hole
This operation guide explains the basic operations of this instrument. In this guide, operations are
described in steps from “Preparation” to “Displaying Waveforms,” “Measuring Waveforms,” and “Saving
Screen Captures.”
For handling precautions and warnings of this instrument, read the Getting Started Guide (IM
DLM5058-03EN) thoroughly, and use the instrument properly.
IM DLM5058-04EN
1st Edition
Displaying the Waveform
Here, use the instrument’s probe compensation signal (frequency: approx. 1 kHz, amplitude: approx. 1 V,
square wave signal) for the input signal.
1.
Press AUTO to execute auto setup.
1
Voltage scale: 500 mV/div
When you execute auto setup, the voltage scale (V/div), time scale (Time/div), trigger level, and the like
are automatically set to values suitable for the input signal.*
* The auto setup feature may not work properly for signals that include a DC component or high-
frequency components.
To measure the voltage with high accuracy, adjust the vertical scale so that the input signal is
measured with the largest possible amplitude.
Changing the Vertical Axis Settings
Change the vertical scale (voltage sensitivity) from 500 mV/div to 200 mV/div to increase the waveform
amplitude. Setting the voltage sensitivity means setting the voltage per grid division (V/div).
1.
Press CH (
1
).
2.
Use the SCALE knob to change the voltage sensitivity to 200 mV/div.
Voltage sensitivity: 200 mV/div
The waveform is expanded vertically
causing a portion of the waveform to
go off the screen.
1
2
Measurements may not be performed correctly in this condition. Lower the vertical position to that the
entire waveform can be seen.
3.
Use the POSITION knob to move the vertical position down by 2 divisions.
3
2 div
Vertical
position ( )
The ground level
( ) also moves
along with the
waveform.
Lowering the vertical position causes
the entire waveform to be seen.
For details on the vertical axis, see chapter 1, “Vertical Axis (Analog Signal),” in the Features
Guide (IM DLM5058-01EN).
DLM5034, DLM5038, DLM5054, DLM5058
Mixed Signal Oscilloscope
Operation Guide
1st Edition: September 2020 (YMI)
All Rights Reserved, Copyright © 2020, Yokogawa Test & Measurement Corporation
Printed in Japan
IM DLM5058-04EN 1/2
nbn@nbn.at
www.nbn.at
Riesstraße 146, 8010 Graz
Tel. +43 316 4028 05 | Fax +43 316 40 2506
nbn Austria GmbH
Changing the Trigger Position from 50% (screen center) to 30%
When you start waveform acquisition, the instrument triggers according to the specified conditions
and displays the waveform captured in the acquisition memory. You can move the trigger position
on the screen to change the display ratio of the data previous to the trigger point (pre-trigger
section) and the data after the trigger position (post-trigger section).
1.
Use the POSITION to move the trigger position to the left by 2 divisions. The trigger position is
set to 30%.
Set the trigger position ( ) to 30%.
Post-trigger section
The waveform moves to the left causing more of the
waveform after the trigger (post-trigger section) to
be seen.
Pre-trigger
section
1
For details on triggers, see chapter 4, “Trigger,” in the Features Guide (IM DLM5058-01EN).
Measuring the Waveform
Use vertical cursors (ΔT cursors) to measure the time and voltage of the displayed waveform.
1.
Press CURSOR.
1
3
2
T cursor 1 T cursor 2
Measured values
2.
Press the Type soft key to select (ΔT cursor).
Two vertical cursors, the times (T1, T2) and voltages (V1, V2) at the cursor positions, and other
measurements are displayed.
3.
Turn the jog shuttle ( ) to move a cursor.
The cursor that the jog shuttle controls switches each time you press SET ( ). You can also
select both T cursor 1 and T cursor 2.
Saving the Waveform Screen Image
You can save screen captures. The available data formats are PNG, BMP, and JPEG.
1.
Press SHIFT + PRINT.
2
3
3
1
(SHIFT + PRINT)
4
(PRINT)
2.
Press the Print To soft key to set the output destination to File.
3.
Use the Format soft key to set or view the data format, the File List soft key to set or view the
save destination, and the File Name soft key to set or view the file name.
4.
Press PRINT. A screen capture is saved.
• For details on saving screen captures, see chapter 16.5, “Saving Screen Captures to Files,” in
the User’s Manual (IM DLM5058-02EN).
• To use the built-in printer (option), change Print To to BuiltIn.
Changing the Horizontal Axis Settings
Change the horizontal (time) scale from 200 µs/div to 100 µs/div. Setting the time scale means setting
the time per grid division.
1.
Use the TIME/DIV knob to change Time/div to 100 µs/div.
Time/div: 200 µs/div
10 div = 2 ms
Time/div: 100 µs/div
10 div = 1 ms
(the waveform is expanded horizontally)
1
For details on the horizontal axis, see chapter 3, “Horizontal Axis (Time Axis),” in the Features
Guide (IM DLM5058-01EN).
Changing the Edge Trigger Settings
Edge triggers are simple triggers that are activated when the trigger source passes through a trigger
level. A change in the waveform that causes it to pass through a trigger level is called an edge.
When you execute auto setup, the edge trigger is automatically set.
Trigger level
Trigger source
Triggers here
(rising edge ( ))
Here, change trigger slope and trigger position settings of the edge trigger.
Changing the Trigger Slope from Rising to Falling
Use the slope to set the direction of the edge. There are two edge directions: rising (movement from
a low level to a high level) and falling (movement from a high level to a low level). Setting the slope
allows triggers to be activated on the rising edge ( ), falling edge ( ), or both ( ).
1
.
Press EDGE.
Trigger level
Triggers here when
the slope is set to
falling ( ).
12
2.
Press the Slope soft key to select (falling). The instrument will trigger on the falling edges of
the trigger source.
IM DLM5058-04EN 2/2 nbn@nbn.at
www.nbn.at
Riesstraße 146, 8010 Graz
Tel. +43 316 4028 05 | Fax +43 316 402506
nbn Austria GmbH