manuals.online logo
Brands
  1. Home
  2. •
  3. Brands
  4. •
  5. ZKTeco
  6. •
  7. Lock
  8. •
  9. ZKTeco Padlock User manual

ZKTeco Padlock User manual

Other ZKTeco Lock manuals
ZKTeco AL30B User manual

ZKTeco

ZKTeco AL30B User manual
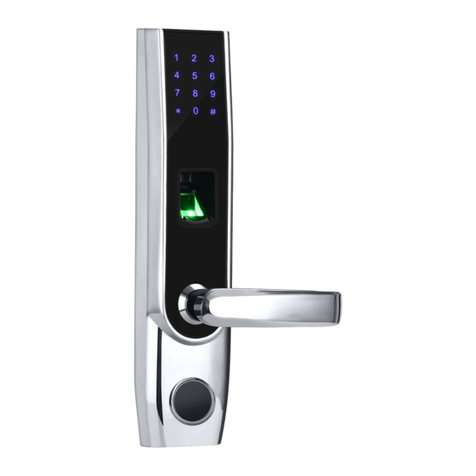
ZKTeco AL30B User manual

ZKTeco

ZKTeco AL30B User manual

ZKTeco TL400B User manual

ZKTeco

ZKTeco TL400B User manual
ZKTeco SBTL9000 Series User manual

ZKTeco

ZKTeco SBTL9000 Series User manual
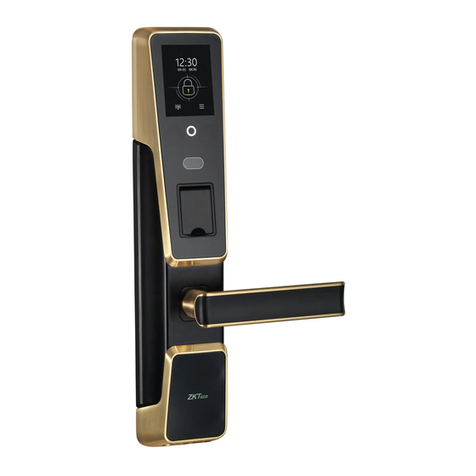
ZKTeco ZM100 User manual

ZKTeco

ZKTeco ZM100 User manual
ZKTeco PL10 Series User manual

ZKTeco

ZKTeco PL10 Series User manual
ZKTeco DL30B User manual

ZKTeco

ZKTeco DL30B User manual
ZKTeco AL10B User manual

ZKTeco

ZKTeco AL10B User manual
ZKTeco DL30Z User manual

ZKTeco

ZKTeco DL30Z User manual
ZKTeco CL10 User manual

ZKTeco

ZKTeco CL10 User manual
ZKTeco AL20B User manual

ZKTeco

ZKTeco AL20B User manual
ZKTeco TL100 User manual

ZKTeco

ZKTeco TL100 User manual
ZKTeco DL30DB User manual

ZKTeco

ZKTeco DL30DB User manual
ZKTeco TL800 User manual

ZKTeco

ZKTeco TL800 User manual

ZKTeco AL10B User manual

ZKTeco

ZKTeco AL10B User manual
ZKTeco Plock 2 User manual

ZKTeco

ZKTeco Plock 2 User manual

ZKTeco DL30B User manual

ZKTeco

ZKTeco DL30B User manual

ZKTeco ZM100 User manual

ZKTeco

ZKTeco ZM100 User manual

ZKTeco AL20B User manual

ZKTeco

ZKTeco AL20B User manual
ZKTeco ZL500 User manual

ZKTeco

ZKTeco ZL500 User manual

ZKTeco PL10 Series User manual

ZKTeco

ZKTeco PL10 Series User manual

ZKTeco DL30B User manual

ZKTeco

ZKTeco DL30B User manual

ZKTeco TL300 User manual

ZKTeco

ZKTeco TL300 User manual

ZKTeco LH3000 User manual

ZKTeco

ZKTeco LH3000 User manual

Popular Lock manuals by other brands

Magic 105 manual

Magic

Magic 105 manual

Gantner GAT NET.Lock 7020 System Installation, configuration & operation

Gantner

Gantner GAT NET.Lock 7020 System Installation, configuration & operation

Dorma Studio Classic Installation instruction

Dorma

Dorma Studio Classic Installation instruction

Securam ECSL-601 quick start guide

Securam

Securam ECSL-601 quick start guide

Sudhaus 3003 operating manual

Sudhaus

Sudhaus 3003 operating manual

Safety 1st 48517 user guide

Safety 1st

Safety 1st 48517 user guide

Pado FDS-10 user manual

Pado

Pado FDS-10 user manual

Esco systeQ Series installation instructions

Esco

Esco systeQ Series installation instructions

COMPX National D8951 instruction sheet

COMPX

COMPX National D8951 instruction sheet

secureo Key Box instruction manual

secureo

secureo Key Box instruction manual

Stock Loks C8713 instruction sheet

Stock Loks

Stock Loks C8713 instruction sheet

COMPX 1T-058 Information

COMPX

COMPX 1T-058 Information

Auslock T11 user manual

Auslock

Auslock T11 user manual

Stealth SAFES ShadowVault Instructions & Troubleshooting

Stealth SAFES

Stealth SAFES ShadowVault Instructions & Troubleshooting

Knox KeySecure 5 Admin & user guide

Knox

Knox KeySecure 5 Admin & user guide

Kwikset 48334/01 Quick installation guide

Kwikset

Kwikset 48334/01 Quick installation guide

Metra Electronics Door Access Terminal Combo Technical manual

Metra Electronics

Metra Electronics Door Access Terminal Combo Technical manual

Kilitronik miniK10m operating manual

Kilitronik

Kilitronik miniK10m operating manual
manuals.online logo
manuals.online logoBrands
  • About & Mission
  • Contact us
  • Privacy Policy
  • Terms and Conditions

Copyright 2025 Manuals.Online. All Rights Reserved.

User Manual
5
Delete Fingerprints
6
Low Power Alert and Recharge
Version: 1.1
Date: Jul 2019
Padlock
ZK Building, Wuhe Road, Gangtou, Bantian, Buji Town,
Longgang District, Shenzhen China 518129
Tel: +86 755-89602345
Fax: +86 755-89602394
www.zkteco.com
Copyright©2019 ZKTECO CO., LTD. All rights reserved.
5
After unlocking the lock, verify with administrator
fingerprint and keep pressing on the sensor until
the blinking green LED turns to bluish red.
Now move the finger from the sensor, and then
press again with administrator fingerprint on the
sensor until the blinking red LED turns to green,
which indicates all the fingerprints are deleted.
If the system detects low power, the yellow LED will blink
when you touch the sensor. You can still open the lock for
about 50 times when the yellow LED blinks.
If the battery is totally discharged, you need to link the
lock to a charge pal or other portable power supply
before trying to unlock it. After unlocking, recharge the
lock.
Note: Do not move the finger from the sensor until the red LED blinks, otherwise the deletion will interrupt.
For charging remove the silicone USB plug, then insert
the USB cable and link it to any PC/tablet or charge pal.
The red LED will be blinking while charging. After about
60 minutes of charging, the green LED will light up, which
indicates the completion of charging.
1
Factory Default Mode
2
Verify and Unlock
3
Register First Fingerprint
4
Register More Fingerprints
1
Note: The maximum number of fingerprints the lock can register is 10, where the first two registered
fingerprints belong to the administrator group, and they have the right to register or delete other fingerprints.
Factory settings of all new locks allow any fingerprint to unlock them.
Unlock the lock with any
fingerprint and keep pressing
on the sensor until the green
LED blinks.
Now move the finger from the sensor
and the blue LED will blink, which
means the lock has entered in
registration mode.
Then press a desired finger on the
sensor, and move the finger when
the green LED lights up, then
press the same finger two more
times until the lock turns off
automatically, which means the
fingerprint is registered.
Press a registered finger on the sensor, the green LED lights up if the
verification is successful, and then the lock will unlock automatically.
If the red LED lights up, then please press your finger correctly.
Note: After seven failed verifications, the lock will turn off automatically.
After unlocking the lock, verify with
administrator fingerprint and keep
pressing on the sensor until the green
LED blinks.
Now move the finger from the
sensor and the blue LED will blink,
which means the lock has entered
in registration mode.
Then press a new finger on the
sensor, and move the finger
when the green LED lights up,
then press the same finger two
more times until the lock turns
off automatically, which means
the fingerprint is registered.