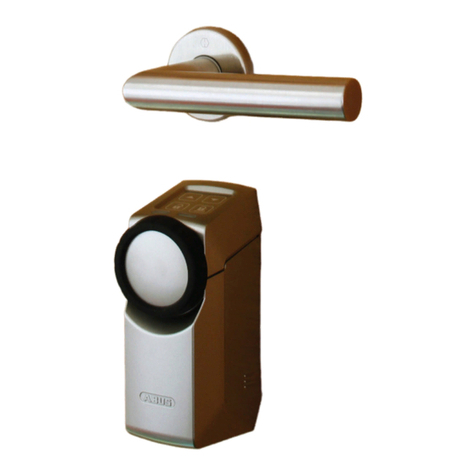
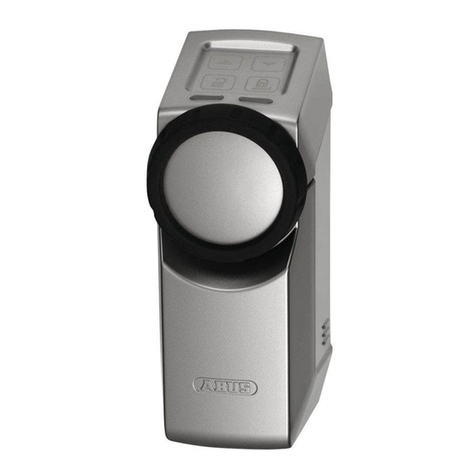
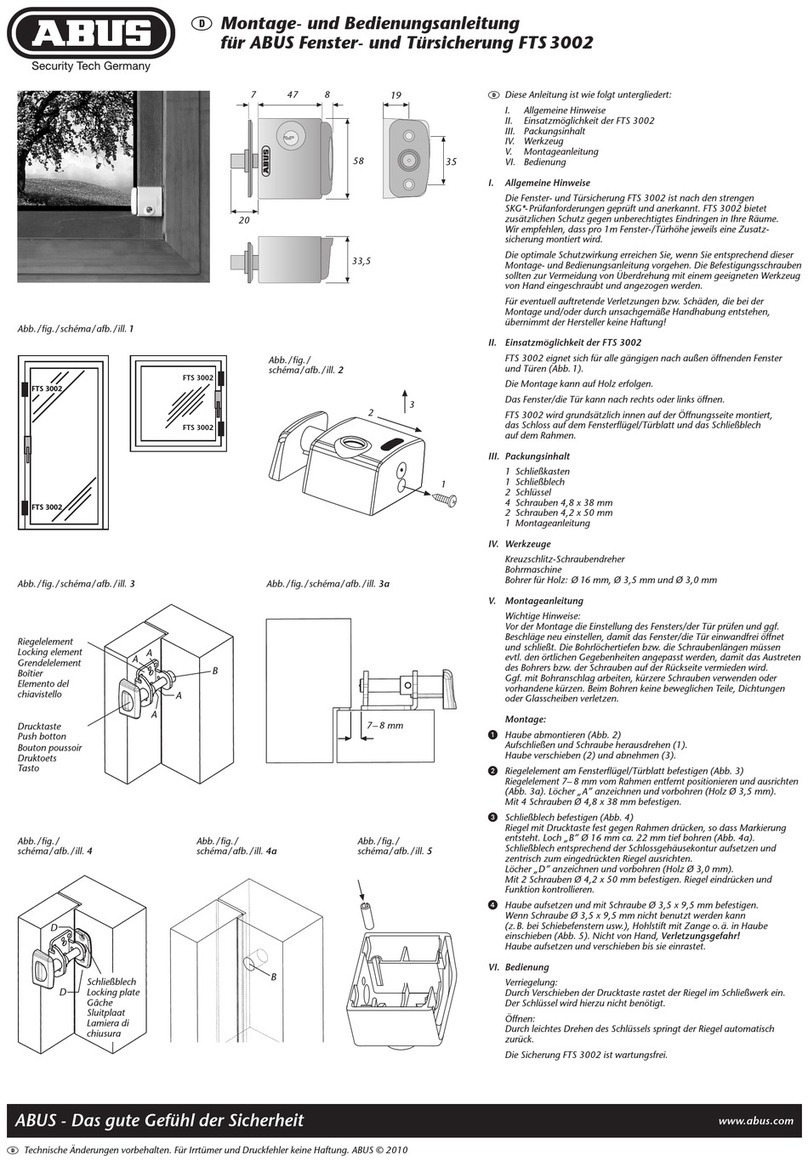
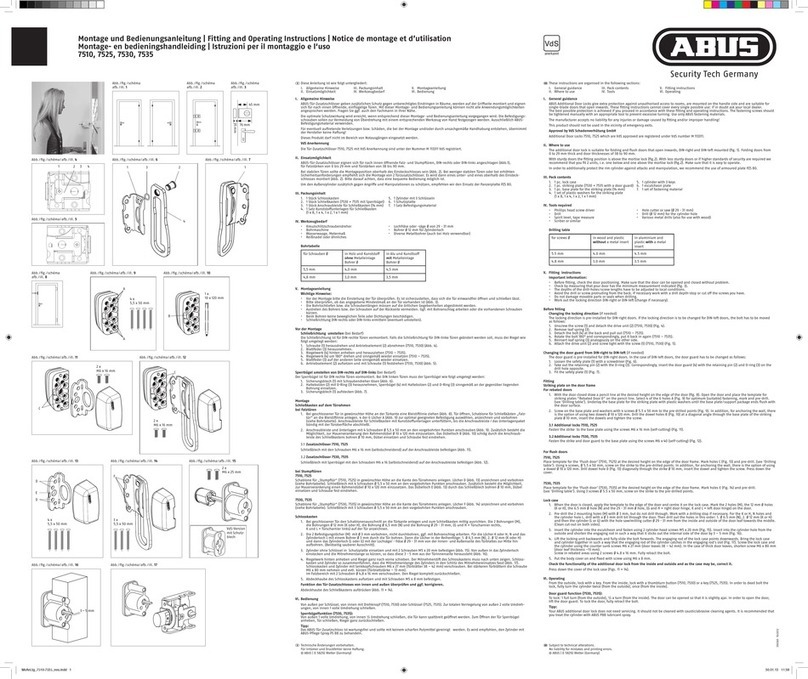
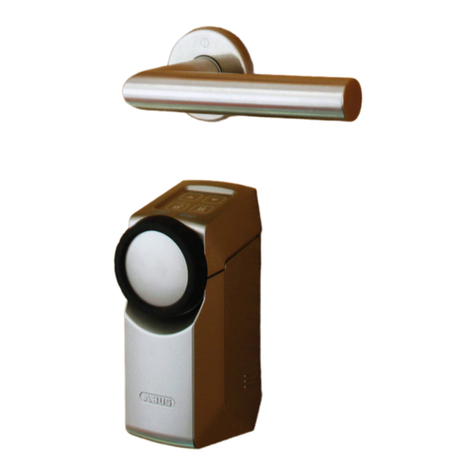
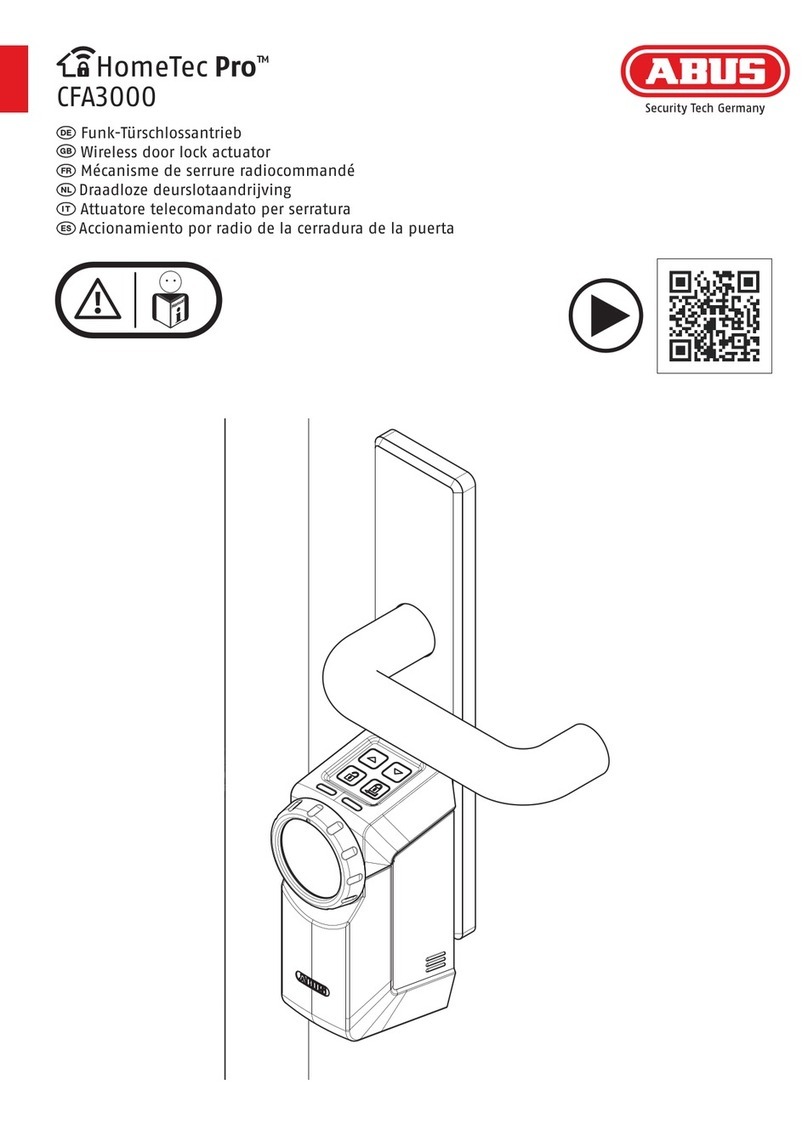
Abus HomeTec Pro CFA3000 Instruction Manual

Dieses Dokument beschreibt die aufgrund einer Soware-Aktualisierung entstehenden Änderungen und ergänzt die beigefügte Montage- und Bedienungsanleitung.
- Der Betrieb von Akkus im HomeTec Pro Antrieb ist nun möglich. Hierzu sind Akkus mit der Bezeichnung “ready to use“ zu verwenden.
- Dreiteiliger Reset ( 5.4 03. )
Der dreiteilige Reset bei den HomeTec Pro Funk-Fensterantrieben FCA3000 und FSA3000 ist nun auch beim Tür-Antrieb CFA3000 in gleicher Weise umgesetzt.
Nach Eintritt in das Reset-Menü ist eine dreiteilige Auswahl (grün, gelb, rot) durch die Pfeiltasten möglich. Die Funktionen sind nebenstehend dargestellt.
- Drücken Sie Tasten 1 + 2 gleichzeitig, nach kurzer Zeit leuchtet LED 1 grün. Drücken Sie 2x hintereinander Taste 2; LED 1 leuchtet rot.
- Bestätigen Sie den Eintritt in das Menü Werksreset durch Druck auf Taste 4.
- LED 1 leuchtet rot, LED 2 leuchtet grün = Auswahl I. Diese Position setzt den Einlernvorgang sowie alle Einstellungen des Expertenmenüs zurück.
- Mit Druck auf die Tasten 1 oder 2 wechseln Sie zu Auswahl II und Auswahl III:
LED 1 leuchtet rot, LED 2 leuchtet gelb = Auswahl II. Diese Position löscht alle Handsender (Fernbedienung, Tastatur).
LED 1 leuchtet rot, LED 2 leuchtet rot = Auswahl III. Diese Position führt einen vollständigen Werksreset durch. Der Antrieb bendet sich danach wieder im Auslieferungszustand.
- Drücken Sie bei der gewünschten LED-Anzeige für ca. drei Sekunden die Taste 4; beide LED blinken im Wechsel. Drücken Sie erneut für ca. drei Sekunden Taste 4 und der Reset
wurde durchgeführt. Es erfolgt eine akustische Bestätigung und die LEDs erlöschen.
- Zum Verlassen des Menüpunktes drücken Sie Taste 3.
- Anlernen 5,8 tourige Zylinder ( 5.3 )
Es ist nun auch das Anlernen des Antriebs an bis zu 5,8-tourige Tür-Zylinder möglich. Erkennt der Antrieb beim Einlernvorgang, dass die Wegstrecke größer zwei Umdrehungen
ist, wird das Drehmoment automatisch auf „maximal“ eingestellt. Eine manuelle Drehmomenteinstellung über den Antrieb oder die Tastatur ist daher nicht möglich ( 5.5 ).
- Fallenzug deaktivierbar (ab Tastatur CFT3000, Firmware V 3.0)
Die in der Tastatur (ab Firmware V 3.0) realisierte Funktion “Touchbedienung / Falle inaktiv“ ist nun für den Antrieb realisiert. Die Funktion verhindert den Fallenzug beim Önen-Befehl über das Tastenfeld des Antriebs.
- Verzögertes Verriegeln durch Halten der Taste „Verriegelt“ am Antrieb
Ein zeitverzögertes Verriegeln des Antriebes kann durch Halten der „Verriegelt“-Taste ausgelöst werden. Das Halten der Taste erfolgt bis ein kurzer Signalton ertönt. Nun ist die zeitliche Verzögerung aktiv - dabei blinken
beide LED grün. Die Verzögerung hat eine Dauer von ca. 15 Sekunden.
CFA3000
Anzeige
LED 1 LED 2
Reset Lernfahrt & Änderungen Expertenmenü
Löschen aller Handsender
Vollständiger Werksreset
V1 | G19
Ergänzung zur Montage- und Bedienungsanleitung
Supplement to installation instructions and user guide
Taste 1
Taste 3
Taste 4
LED 1
Taste 2
LED 2
This document describes the changes brought about by a soware update and supplements the installation instructions and user guide included.
- It is now possible to operate the HomeTec Pro drive using accus. Accus with the designation “ready to use” must be used for this.
- Three reset options ( 5.4 03. )
The three reset options for HomeTec Pro Wireless Window Drives FCA3000 and FSA3000 now also apply analogously for Door Drive CFA3000.
Aer opening the reset menu, you can choose from three options (green, yellow, red) using the cursor keys. The functions are shown opposite.
- Press keys 1 + 2 simultaneously, aer a short time LED 1 turns green. Press key 2 twice in succession: LED 1 turns red.
- Conrm your intention to carry out a factory reset by pressing key 4.
- LED 1 is red, LED 2 is green = option I. This position resets the programming process and all settings on the advanced menu.
- Pressing key 1 or 2 switches to option II and option III:
LED 1 is red, LED 2 is yellow = option II. This position clears all transmitters (remote controls, keypad).
LED 1 is red, LED 2 is red = option III. This position triggers a complete factory reset. Aer this, the drive will be returned to its default settings.
- With the LED display required, press and hold key 4 for approx. three seconds; both LEDs ash alternately. Press key 4 again for approx. three seconds and the reset is carried
out. An acoustic conrmation follows and the LEDs go out.
- To exit the menu item, press key 3.
- Pairing 5,8-turn cylinders ( 5.3 )
It is now also possible to pair the drive with up to 5,8-turn door cylinders. If the drive identies during the programming process that the distance is greater than two
revolutions, the torque is automatically set to “maximum”. It is therefore not possible to set the torque manually via the drive or the keypad ( 5.5 ).
- Latch cable can be disabled (CFT3000 keypad, rmware V 3.0 and higher)
The function “Touch operation / latch inactive” implemented in the keypad (rmware V 3.0 and higher) is now implemented for the drive. The function disables the latch cable when an opening command is made via the drive’s keypad.
- Delayed locking by holding down the “Locked” key on the drive
Time-delayed locking of the drive can be triggered by holding down the “Locked” key. The key should be held down until a short signal tone is emitted. Time delay is now active – both LEDs ash green at this point.
The delay lasts for approx. 15 seconds.
Information
LED 1 LED 2
Clearing the programming & any other settings
Clearing all saved transmitters
Complete factory reset
Key 1
Key 3
Key 4
LED 1
Key 2
LED 2

V1 | G19
Complément au manuel de montage et d’utilisation
Aanvulling op de montage- en gebruikershandleiding
Ce document décrit les modications apportées suite à une mise à jour logicielle et complète le manuel de montage et d’utilisation fourni.
- L’utilisation de batteries rechargeables dans l’automatisme HomeTec Pro est désormais possible. Dans ce cas, utiliser uniquement les batteries portant la mention « ready to use ».
- Réinitialisation en trois parties ( 5.4 03. )
La réinitialisation en trois parties des automatismes de fenêtre sans l HomeTec Pro FCA3000 et FSA3000 a été appliquée de la même façon à l’automatisme de porte CFA3000.
Après l’accès au menu de réinitialisation, une sélection en trois parties (vert, jaune, rouge) est possible avec les touches échées. Les fonctions s’achent côte à côte.
- Appuyez en même temps sur les touches 1 et 2, la LED 1 devient verte peu après. Appuyez 2x de suite sur la touche 2 ; la LED 1 devient rouge.
- Conrmez l’accès au menu Réinitialisation en appuyant sur la touche 4.
- La LED 1 devient rouge, la LED 2 devient verte = sélection I. Cette position réinitialise la procédure d’apprentissage et tous les réglage du menu expert.
- Appuyez sur la touche 1 ou 2 pour basculer vers la sélection II et la sélection III :
La LED 1 devient rouge, la LED 2 devient jaune = sélection II. Cette position supprime tous les émetteurs portatifs (télécommande, clavier).
La LED 1 devient rouge, la LED 2 devient rouge = sélection III. Cette position eectue une réinitialisation complète. L’automatisme retrouve son état à la livraison.
- Avec l’achage LED souhaité, appuyez pendant env. trois secondes sur la touche 4 ; les deux LED clignotent en alternance. Appuyez à nouveau pendant env. trois secondes
sur la touche 4, la réinitialisation s’eectue. Une conrmation acoustique est émise et les LED s’éteignent.
- Pour quitter l’option de menu, appuyez sur la touche 3.
- Programmation des cylindres à 5,8 tours ( 5.3 )
Il est désormais possible de programmer l’automatisme sur des cylindres de porte jusqu’à 5,8 tours. Pendant la programmation, si l’automatisme reconnaît que le parcours
est supérieur à deux tours, le couple de rotation se règle automatiquement sur « maximum ». C’est pourquoi le réglage manuel du couple de rotation via l’automatisme ou
le clavier est impossible ( 5.5 ).
- Fonction tactile câble de gâche désactivable (à partir du clavier CFT3000, rmware V 3.0)
La fonction « Commande tactile / gâche inactive » exécutée par le clavier (à partir du rmware V 3.0) est désormais disponible pour l’automatisme. La fonction désactive le câble de gâche lors de la commande
d’ouverture via le clavier de l’automatisme.
- Verrouillage temporisé par le maintien de la touche « Verrouillé » sur l’automatisme
Le verrouillage temporisé de l’automatisme peut être déclenché en maintenant la touche « Verrouillé ». La touche est enfoncée jusqu‘à ce qu’un bref signal sonore retentisse. La temporisation est désormais active -
les deux LED clignotent maintenant en vert. La temporisation dure env. 15 secondes.
Achage
LED 1 LED 2
Suppr. de la procédure de réglage &
réglages dans le menu expert
Suppr. de tous les émetteurs
Initialisation complète
Touche 1
Touche 3
Touche 4
LED 1
Touche 2
LED 2
Dit document beschrij de wijzigingen die voortvloeien uit een soware-update en vormt een aanvulling op de bijgevoegde montage- en gebruikershandleiding.
- Het gebruik van accu‘s in de HomeTec Pro-aandrijving is nu mogelijk. Gebruik hiervoor accu‘s met de aanduiding „ready to use“.
- Driedelige reset ( 5.4 03. )
De driedelige reset bij de draadloze raamaandrijvingen HomeTec Pro FCA3000 en FSA3000 is nu ook op dezelfde manier uitgevoerd voor de deuraandrijving CFA3000. Nadat u het
reset-menu hebt geopend, kunt u kiezen uit drie functies (groen, geel, rood) met behulp van de pijltjestoetsen. De functies worden hiernaast weergegeven.
- Druk gelijktijdig op de toetsen 1 + 2, LED 1 licht na korte tijd groen op. Druk tweemaal opeenvolgend op toets 2; LED 1 licht rood op.
- Bevestig dat u zich in het menu Fabrieksreset bevindt door op toets 4 te drukken.
- LED 1 brandt rood, LED 2 brandt groen = keuze I. Deze positie reset het programmeren en alle instellingen van het expertmenu.
- Door op de toetsen 1 of 2 te drukken schakelt u om naar keuze II en keuze III:
LED 1 brandt rood, LED 2 brandt geel = keuze II. Deze positie wist alle handzenders (afstandsbediening, toetsenbord).
LED 1 brandt rood, LED 2 brandt rood = keuze III. Deze positie voert een complete fabrieksreset uit. De aandrijving bevindt zich hierna weer in de aeveringstoestand.
- Druk voor de gewenste LED-weergave ca. drie seconden op toets 4; beide LED‘s knipperen afwisselend. Druk opnieuw gedurende ca. drie seconden op toets 4 en de reset
wordt uitgevoerd. Er wordt een akoestische bevestiging gegeven en de LED‘s gaan uit.
- Voor het verlaten van de menuoptie drukt u op toets 3.
- Programmeren van cilinders met 5,8 toeren ( 5.3 )
Het is nu ook mogelijk om de aandrijving te programmeren op deurcilinders met max. 5,8 toeren. Detecteert de aandrijving tijdens het programmeren dat het traject
groter is dan twee omwentelingen, dan wordt het draaimoment automatisch ingesteld op “maximaal“. Het handmatig instellen van het draaimoment via de aandrijving
of het toetsenbord is daarom niet mogelijk ( 5.5 ).
- Touch-bediening schoot uitschakelbaar (vanaf toetsenbord CFT3000, rmware V 3.0)
De in het toetsenbord (vanaf rmware V 3.0) gerealiseerde functie “Touch-bediening//schoot inactief“ is nu geïmplementeerd voor de aandrijving. De functie voorkomt dat de schoot valt bij het commando ‘Openen’
via het toetsenbord van de aandrijving.
- Vertraagd vergrendelen door het ingedrukt houden van de toets „Vergrendeld“ op de aandrijving
Vertraagd vergrendelen van de aandrijving kan door het ingedrukt houden van de toets ‘Vergrendelen’ worden geactiveerd. De toets moet zo lang worden ingedrukt, tot een korte signaal klinkt. Nu is de vertraging
actief - hierbij knipperen beide LEDs groen. De vertraging duurt ca. 15 seconden.
Weergave
LED 1 LED 2
Wissen van de programmering & instellingen
expertmenu
Wissen van alle opgeslagen zenders
Volledig terugzetten naar fabrieksinstellingen
Knop 1
Knop 3
Knop 4
LED 1
Knop 2
LED 2

V1 | G19
Integrazione alle istruzioni per il montaggio e l’uso
Suplemento del manual de montaje e instrucciones
Il presente documento descrive le modiche a seguito di un aggiornamento del soware e integra le istruzioni per il montaggio e l’uso allegate.
- È ora possibile utilizzare batterie ricaricabili nell’attuatore HomeTec Pro. Utilizzare batterie pronte per l’uso (“ready to use“).
- Reset a tre componenti ( 5.4 03. )
Il reset a tre componenti degli attuatori per nestre senza li HomeTec Pro FCA3000 e FSA3000 è ora utilizzabile anche per l‘attuatore della porta CFA3000. Una volta aperto il
menu Reset è possibile usare i pulsanti freccia per scegliere fra tre opzioni (verde, giallo, rosso). Le funzioni vengono di seguito descritte.
- Premere i tasti 1 e 2 contemporaneamente; dopo poco tempo, LED 1 lampeggia di verde. Premere 2 volte di seguito il tasto 2; LED 1 lampeggia di rosso.
- Confermare l’apertura del menu Reset alle impostazioni di fabbrica premendo il tasto 4.
- LED 1 lampeggia di rosso, LED 2 lampeggia di verde = Opzione I. Questa combinazione ripristina la procedura di codica e tutte le impostazioni del menu Esperti.
- Premendo il tasto 1 o 2, si passa da Opzione II a Opzione III:
LED 1 lampeggia di rosso, LED 2 lampeggia di giallo = Opzione II. Questa combinazione elimina tutti i trasmettitori manuali (telecomando, tastiera).
LED 1 lampeggia di rosso, LED 2 lampeggia di rosso = Opzione III. Questa combinazione esegue un reset completo alle impostazioni di fabbrica. L‘attuatore torna così con
le stesse impostazioni di quando è stato consegnato.
- Premere il tasto 4 per l’indicatore LED desiderato per circa tre secondi; i due LED lampeggiano alternandosi. Premere nuovamente il tasto 4 per circa tre secondi per
eseguire il reset. Viene emesso un suono di conferma e i LED si spengono.
- Per uscire dalla voce di menu, premere il tasto 3.
- Avviare il cilindro con giro da 5,8 ( 5.3 )
È ora possibile avviare l‘attuatore con cilindri della porta con una rotazione no a 5,8. Se l‘attuatore, durante la procedura di codica, individua che il tratto è maggiore di
due giri, il momento torcente si imposta automaticamente su “massimo”. Non è quindi possibile impostare il momento torcente manualmente tramite l‘attuatore o la tastiera ( 5.5 ).
- Trazione della maniglia disattivabile (a partire dalla tastiera CFT3000, rmware V 3.0)
La funzione nella tastiera (a partire dal rmware V 3.0) “Comando touch / paratoia disattivata” è solo per l’attuatore. La funzione blocca la trazione della maniglia in caso di ordine di apertura tramite i tasti dell‘attuatore.
- Bloccaggio ritardato tenendo premuto il tasto “Bloccaggio” sull’attuatore
Il bloccaggio ritardato dell’attuatore può essere rimosso tenendo premuto il tasto “Bloccaggio”. Tenendo premuto il tasto viene emesso un breve segnale acustico. Il ritardo è ora attivo ed entrambi i LED lampeggiano
di verde. Il ritardo ha una durata di circa 15 secondi.
Visualizzazione
LED 1 LED 2
Reset funzionamento & Modiche menu esperto
Eliminazione di tutti i trasmettitori manuali
Reset completo alle impostazioni di fabbrica
Tasto 1
Tasto 3
Tasto 4
LED 1
Tasto 2
LED 2
Este documento describe los cambios producidos a raíz de una actualización de soware y complementa el manual de montaje e instrucciones incluido.
- Ahora es posible el funcionamiento de baterías recargables en el accionamiento HomeTec Pro. Para ello, deben utilizarse baterías con la denominación „ready to use“ (listas para usar).
- Reseteo en tres partes ( 5.4 03. )
El reseteo en tres partes de los accionamientos inalámbricos de ventana HomeTec Pro FCA3000 y FSA3000 ahora también se aplica del mismo modo al accionamiento de puerta
CFA3000. Una vez se entra en el menú de reseteo, puede realizarse una selección triple (verde, amarillo, rojo) mediante las teclas de echa. Las funciones se representan al lado.
- Pulse las teclas 1 + 2 simultáneamente y al poco tiempo se ilumina el LED 1 en verde. Pulse 2 veces seguidas la tecla 2; el LED 1 se ilumina en rojo.
- Conrme la entrada en el menú de restablecimiento de fábrica pulsando la tecla 4.
- El LED 1 se ilumina en rojo, el LED 2 se ilumina en verde = Selección I. Esta posición restablece el proceso de memorización y todos los ajustes del menú para expertos.
- Pulsando las teclas 1 o 2 se cambia a la Selección II y a la Selección III:
El LED 1 se ilumina en rojo, el LED 2 se ilumina en amarillo = Selección II. Esta posición elimina todos los mandos (control remoto teclado).
El LED 1 se ilumina en rojo, el LED 2 se ilumina en rojo = Selección III. Esta posición lleva a cabo un restablecimiento de fábrica completo. Tras él, el accionamiento estará
de nuevo en el estado de entrega.
- En el indicador LED deseado, pulse la tecla 4 durante unos tres segundos; los dos LED parpadean alternativamente. Vuelva a pulsar la tecla 4 durante unos tres segundos y
el reseteo se habrá efectuado. Se emite una conrmación acústica los LED se apagan.
- Para salir de la opción de menú, pulse la tecla 3.
- Programación de cilindros de 5,8 vueltas ( 5.3 )
Ahora también se pueden programar el accionamiento con cilindros de puerta de 5,8 vueltas. Si el accionamiento detecta al programar que el recorrido supera las dos
revoluciones, el par de giro se ajusta automáticamente a „máximo“. Por ello, no es posible ajustar manualmente el par de giro mediante el accionamiento o el teclado ( 5.5 ).
- Desactivación de tracción de pestillo táctil (a partir del teclado CFT3000, rmware V 3.0)
La función ejecutable por medio del teclado (a partir del rmware V 3.0) „Manejo táctil / pestillo inactivo“ está disponible ahora para el accionamiento. La función impide la tracción del pestillo en la orden de apertura
mediante el teclado del accionamiento.
- Cierre retardado reteniendo la tecla „cerrado“ del accionamiento
Es posible iniciar el cierre retardado del accionamiento reteniendo la tecla „cerrado“ del accionamiento. La retención de la tecla tiene lugar hasta que suena una breve señal acústica. Así queda activo el retardo
temporal, durante el cual, ambos LED parpadean en verde. El retardo tiene una duración de unos 15 segundos.
Visualización
LED 1 LED 2
Eliminar el proceso de programación &
ajustes en el menú experto
Eliminar todos los transmisores
Restablecimiento to de fábrica
Tecla 1
Tecla 3
Tecla 4
LED 1
Tecla 2
LED 2
Other manuals for HomeTec Pro CFA3000
2
Table of contents
Other Abus Door Lock manuals
Popular Door Lock manuals by other brands

HomeMatic
HomeMatic HmIP-DLS Mounting instruction and operating manual

Glutz
Glutz 5630S Fixing instructions

Trimco
Trimco 1069 quick start guide

Assa Abloy
Assa Abloy Corbin Russwin Access 700 ED5000N Series installation instructions

BEA
BEA 10STRIKEREV34 quick start guide

Kwikset
Kwikset 553 installation instructions