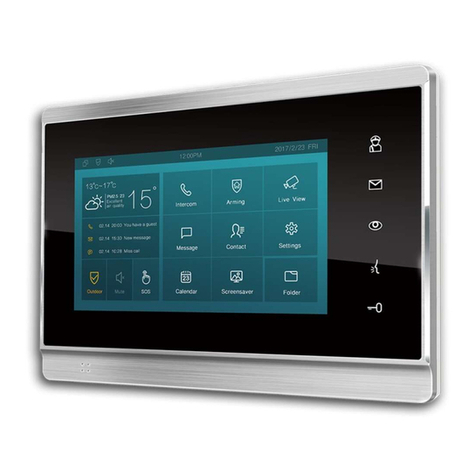
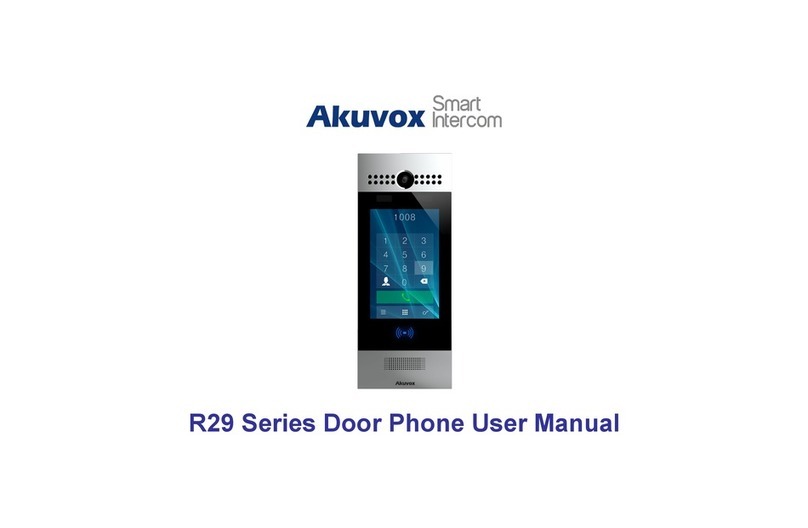
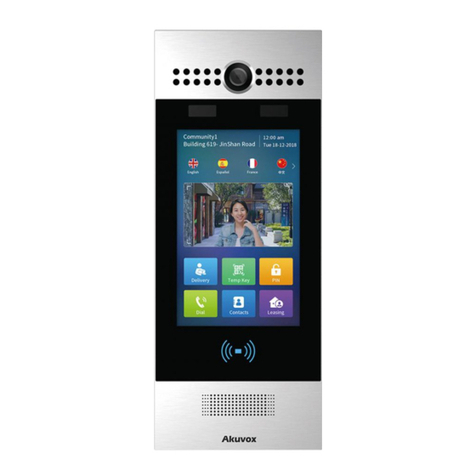
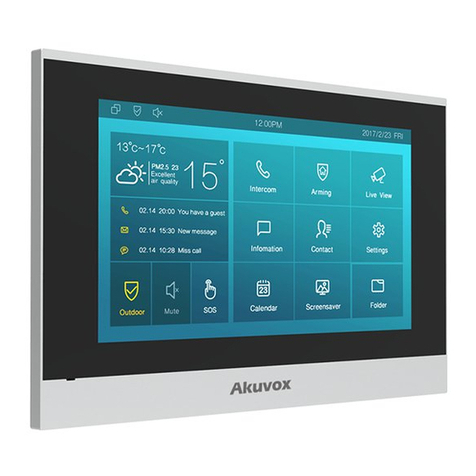
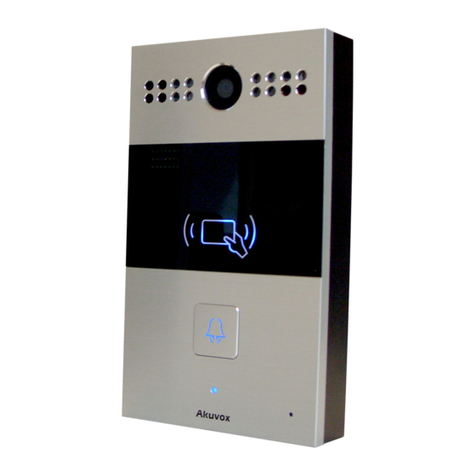
Akuvox R20A Manual

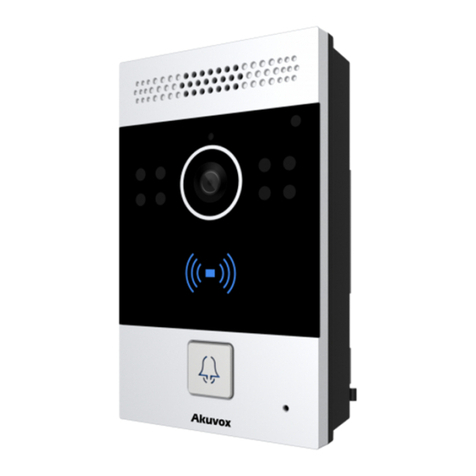
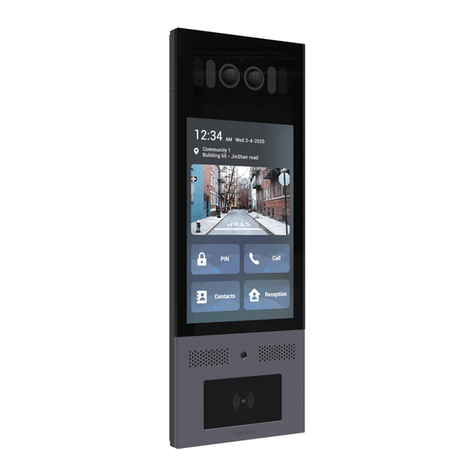
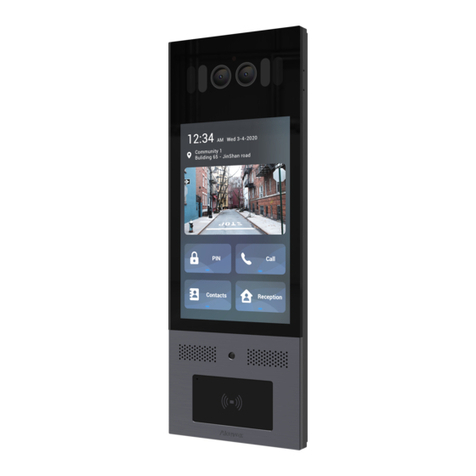
Version: 1.0 | Date: Jan.2021
Version: 1.0 | Date: June.2021

About This Manual
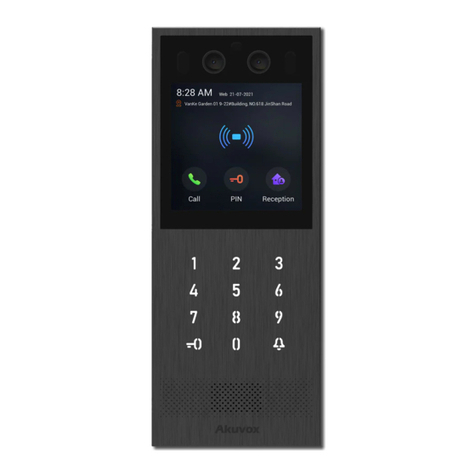
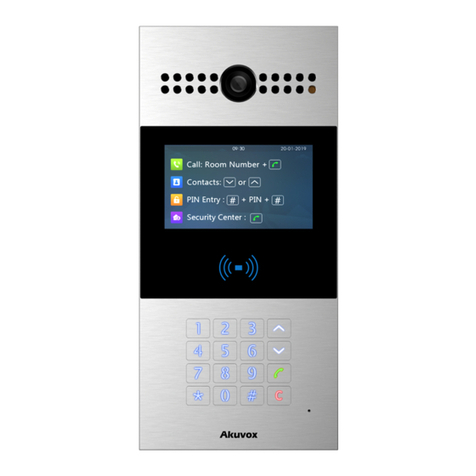
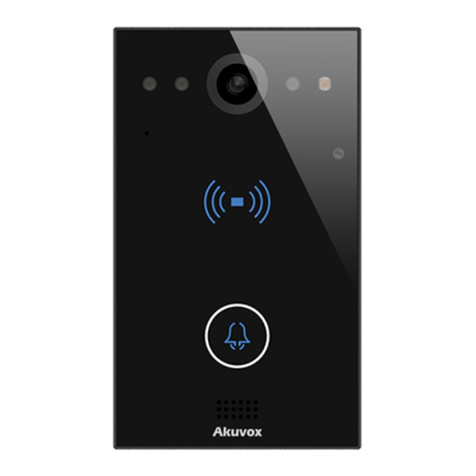
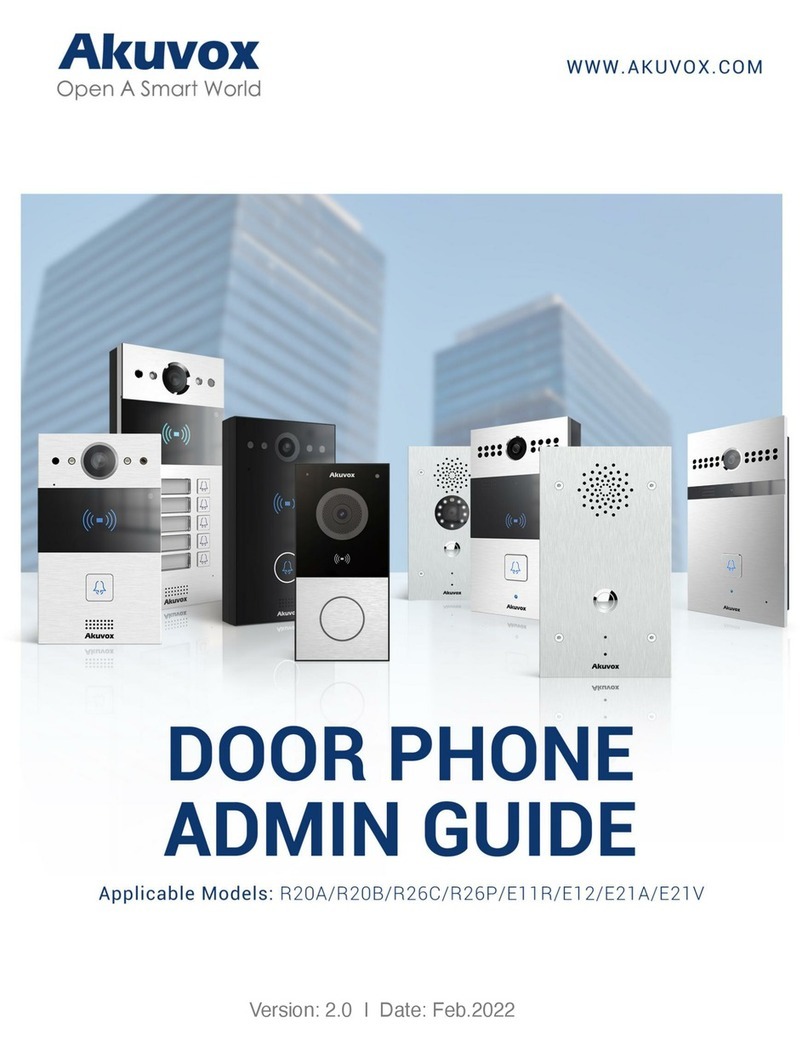
Thank for choosing Akuvox R20A/R20B/R26C/R26P/E11R/E21A/E21V/E12W
series door phone. This manual is intended for the administrators who need
to properly configure the door phone. This manual applies to 220.30.2.104,
110.30.1.216,226.30.2.10,221.30.1.106, 12.30.1.103 version, and it provides
all the configurations for the functions and features of Akuvox door phone.
Please visit Akuvox forum or consult technical support for any new
information or latest firmwares.

Introduction of Icons and Symbols
Warning:
Always abide by this information in order to prevent the persons
from injury.
Caution:
Always abide by this information in order to prevent the damages to
the device.
Note:
Informative information and advice from the efficient use of the
device.
Tip:
Useful information for the quick and efficient use of the device.

Table of Contents
1. Product Overview....................................................................................................1
2. Change Log..............................................................................................................2
3. Model Specification............................................................................................... 3
4. Introduction to Configuration Menu....................................................................5
5. Access the Device...................................................................................................7
5.1. Obtain Device IP Address...........................................................................7
5.2. Access the Device Setting on the Web Interface....................................8
6. Language and Time Setting.................................................................................. 9
6.1. Language Setting........................................................................................ 9
6.2. Time Setting................................................................................................. 9
7. LED Setting............................................................................................................11
7.1. Infrared LED Setting..................................................................................11
7.2. LED Display Status....................................................................................12
7.3. Set up LED Display from HTTP URL....................................................... 13
7.4. LED Setting on Card Reader Area........................................................... 13
7.5. LED Settings on Keypad...........................................................................15
8. Volume and Tone Configuration........................................................................ 16
8.1. Volume Configuration...............................................................................16
8.2. Open Door Tone Configuration................................................................17
8.3. Upload Tone Files......................................................................................18
8.3.1. Upload Ringback Tone.................................................................. 18
8.3.2. Upload Open Door Tone................................................................18
9. Network Setting.................................................................................................... 20
9.1. Network Status.......................................................................................... 20
9.2. Device Network Configuration................................................................ 20
9.3. Device Deployment in Network............................................................... 21
9.4. Device Local RTP configuration..............................................................22
9.5. NAT Setting.................................................................................................23
9.6. WIFI Setting................................................................................................ 24
10. Intercom Call Configuration............................................................................. 25
10.1. IP call & IP Call Configuration............................................................... 25
10.2. SIP Call &SIP Call Configuration...........................................................25
10.3. SIP Account Registration.......................................................................26
10.4. SIP Server Configuration........................................................................27
10.5. Configure Outbound Proxy Server........................................................27
10.6. Configure Data Transmission Type......................................................28
10.7. Configure Calling Feature...................................................................... 29
10.7.1. DND................................................................................................ 29
10.7.2. Push Button Call.......................................................................... 30
10.7.3. Robin Call...................................................................................... 31
10.7.4. Web Call.........................................................................................31

10.7.5. Auto Answer................................................................................. 32
10.7.6. Multicast....................................................................................... 33
10.7.7. Configure Maximum Call Duration............................................34
10.7.8. Maximum Dial Duration..............................................................34
11. Audio& Video Codec Configuration for SIP Calls......................................... 36
11.1. Audio Codec Configuration................................................................... 36
11.2. Video Codec Configuration....................................................................37
11.3. Configure DTMF Data Transmission....................................................38
12. Access White List Configuration..................................................................... 39
12.1. Managing Contact Group.......................................................................39
12.2. Managing Contacts................................................................................ 40
13. Relay Setting.......................................................................................................41
13.1. Relay Switch Setting...............................................................................41
13.2. Select Chime Bell Relay..........................................................................42
13.3. Web Relay Setting................................................................................... 42
14. Door Access Schedule Management.............................................................. 45
14.1. Configure Door Access Schedule......................................................... 45
14.1.1. Manage Door Access Schedule.................................................45
15. Door Unlock Configuration............................................................................... 48
15.1. Configure Access Card Format.............................................................48
15.2. Configure Access Card for Door Unlock..............................................49
15.3. Import and Export Card Data of Access Control................................50
15.4. Configure Open Relay via HTTP for Door Unlock...............................51
15.5. Configure Exit Button for Door Unlock................................................ 52
16. Security................................................................................................................54
16.1. Tamper Alarm Setting.............................................................................54
16.2. Motion Detection.....................................................................................54
16.2.1. Configure Motion Detection.......................................................55
16.3. Security Notification Setting................................................................. 56
16.3.1. Email Notification Setting...........................................................56
16.3.2. FTP Notification Setting............................................................. 57
16.3.3. SIP Call Notification Setting.......................................................58
16.3.4. HTTP URL Notification Configuration...................................... 58
16.3.5. TFTP Notification Setting...........................................................59
16.4. Security Action Configuration...............................................................59
16.4.1. Configure Push button Action................................................... 59
16.4.2. Configure Motion Action.............................................................60
15.4.3. Configure Input Action................................................................ 60
16.5. Voice Encryption..................................................................................... 61
16.6. User Agent................................................................................................62
17. Monitor and Image.............................................................................................63
17.1. RTSP Stream Monitoring....................................................................... 63
17.1.1. RTSP Basic Setting......................................................................63
17.1.2. RTSP Stream Setting...................................................................64

17.2. MJPEG Image Capturing........................................................................66
17.3. ONVIF........................................................................................................ 68
17.4. Live Stream.............................................................................................. 69
18. Logs......................................................................................................................70
18.1. Call Logs................................................................................................... 70
18.2. Door Logs................................................................................................. 71
19. Debug................................................................................................................... 73
19.1. Event Log..................................................................................................73
19.2. System Log.............................................................................................. 74
19.3. PCAP......................................................................................................... 75
20. Firmware Upgrade..............................................................................................77
21. Backup................................................................................................................. 78
22. Auto-provisioning via Configuration File....................................................... 79
22.1. Provisioning Principle............................................................................ 79
22.2. Configuration Files for Auto-provisioning.......................................... 80
22.3. AutoP Schedule....................................................................................... 81
22.4. PNP Configuration.................................................................................. 82
22.5. Static Provisioning Configuration........................................................ 82
23. Integration with Third Party Device................................................................ 84
23.1. Integration via Wiegand......................................................................... 84
23.2. Integration via HTTP API....................................................................... 85
24. Password Modification..................................................................................... 88
24.1. Modifying Device Web Interface Password........................................ 88
24.2. Configure Web Interface Automatic Logout....................................... 88
25. System Reboot&Reset...................................................................................... 89
25.1. Reboot.......................................................................................................89
25.2. Reset......................................................................................................... 89
26. Abbreviations......................................................................................................90
27. FAQ....................................................................................................................... 92
28. Contact us........................................................................................................... 95

Single Tenant Door Phone
AKUVOX SMART INTERCOM www.akuvox.com
1
1.Product Overview
The security that comes with being able to control who comes into your
building along with the ability to verbally and visually confirm their identity is
immeasurable. Akuvox R20A/R20B/R26C/R26P/E11R/E21A/E21V/E12W is
a SIP-compliant, hands-free and video(optional) door phone. It can be
connected with Akuvox indoor monitors for remote access controlling and
monitoring. Users can communicate with visitors via audio and video calls,
and unlock the door if they need. The door phone enables you to easily
monitor an entrance door or gate and gives you the peace of mind knowing
that your facility is more secure.

Single Tenant Door Phone
AKUVOX SMART INTERCOM www.akuvox.com
2
2.Change Log
The change log will be updated here along with the changes in the new
software version.

Single Tenant Door Phone
AKUVOX SMART INTERCOM www.akuvox.com
3
3.Model Specification
Model
&
Feature
R20A
R20B
R26C
R26P
E11R
E21V
E21A
E12W
Button
1
Physi
cal
butto
n
5
Physic
al
button
s
1
Physical
button
1
Physic
al
button
1
Physic
al
button
1
Physic
al
button
1
Physic
al
button
1
Physic
al
button
Housing
Material
Alumi
num
Alumin
um
Aluminu
m
Alumin
um
Alumin
um
Alumin
um
Alumin
um
Alumin
um
Camera
3
Mega
pixels
,
auto
matic
lighti
ng
3 Mega
pixels,
autom
atic
lighting
2 Mega
pixels,
automat
ic
lighting
2
Mega
pixels,
autom
atic
lightin
g
2 Mega
pixels,
autom
atic
lighting
2Mega
pixels,
automa
tic
lighting
X
2
Mega
pixels,
autom
atic
lightin
g
Relay In
2
2
3
3
2
2
2
2
Relay
Out
2
2
2
2
2
2
2
1
RS485
√
√
√
√
√
√
√
√
PoE
√
√
√
√
√
√
√
√
RAM
64MB
64MB
128MB
128MB
64MB
128MB
128MB
128MB
ROM
128M
B
128MB
16MB
16MB
128MB
128MB
128MB
16MB
Card
Reader
√
√
√
X
√
X
X
√
IP
Rating
IP65
IP65
IP65
IP65
X
IP65
IP65
IP65
IK
Rating
X
X
X
X
X
IK10
X
X
Wall
Mountin
g
√
√
√
√
√
√
√
√

Single Tenant Door Phone
AKUVOX SMART INTERCOM www.akuvox.com
4
Flush
Mountin
g
√
√
√
√
√
√
√
√

Single Tenant Door Phone
AKUVOX SMART INTERCOM www.akuvox.com
5
4.Introduction to Configuration Menu
Status: this sections gives you basic information such as product
information, Network Information, and account information etc.
Account: this section concerns SIP account, SIP server, proxy server,
transport protocol type, audio&video codec, DTMF, session timer, etc.
Network: this section mainly deals with DHCP&Static IP setting, RTP port
setting, and device deployment etc.
Intercom: this section covers Intercom settings, Call Log etc.
Surveillance: this section covers Motion Detection, RTSP, MJPEG, ONVIF,
Live stream.
Access Control: this section covers Input control, Relay, Card settings,
Face Recognition setting, Private PIN Code, Wiegand connection etc.
Tenants: this section involves Tenants management and Dial Plan.
Device: this section includes Light settings, tab&button display, LCD
settings and Voice settings.
Settings: this section includes Time&language, Action settings, Door
settings, Schedule for access control.
Upgrade:this section covers Firmware upgrade, device reset&reboot,
configuration file auto-provisioning, fault Diagnosis.
Security: this section is for Password modification.
Mode selection :
1. Discovery mode: It is a plug and play configuration mode. Akuvox
devices will configure themselves automatically when users power on
the devices and connect them to network. It is super time-saving mode

Single Tenant Door Phone
AKUVOX SMART INTERCOM www.akuvox.com
6
and it will greatly bring users convenience by reducing manual
operations. This mode requires no prior configurations previously by the
administrator.
2. Cloud mode: Akuvox Cloud is an all-in-one management system. Akuvox
Cloud is the mobile service that allows audio, video, remote access
control between smart phones and Akuvox intercoms. All configurations
in the device will be issued automatically from cloud. If users decide to
use Akuvox cloud, please contact Akuvox technical support, and they
will help you configure the related settings before using.
3. SDMC mode: SDMC (SIP Device Management Controller) is a simple and
comprehensive software for building management. It provides a
topography for a community while offering you a graphical configuration
interface for the door access, intercom, monitoring, alarm etc.,. It is a
convenient tool for property manager to manage , operate and maintain
the community.
Tool selection
Akuvox has many configuration tools for you to set up devices more
conveniently. Here we list some common tools, please contact your
administrator to get the tool if you need them.
1. SDMC: SDMC is suitable for the management of Akuvox devices large
communities, including access control, resident information, remote
device control etc.
2. Akuvox Upgrade tool: Upgrade Akuvox devices in batch on a LAN (Local
Area Network)
3. Akuvox PC Manager: Distribute all configuration items in batch on a LAN.
4. IP scanner: it is used to search Akuvox device IP addresses on a LAN.
5. FacePro: Manage face data in batch for the door phone on a LAN.

Single Tenant Door Phone
AKUVOX SMART INTERCOM www.akuvox.com
7
5.Access the Device
R20A/R20B/R26C/R26P/E11R/E21V/E21A/E12W series system setting can
be accessed on the device web interface.
5.1. Obtain Device IP Address
Check the Device IP address by holding the push button for 5s. Or searching
the device IP by the IP scanner in the same LAN network. Just click Scan tab
in IP scanner to check the device IP.
Note:
For R20B, just holding the first push button for 5s to get the IP
address.

Single Tenant Door Phone
AKUVOX SMART INTERCOM www.akuvox.com
8
5.2. Access the Device Setting on the Web
Interface
Enter the device IP address on the web browser in order to log in the device
web interface where you can configure and adjust parameter etc. The initial
user name and password are all “admin” and please be case-sensitive to the
user names and passwords entered.
Tip:
You can also obtain the device IP address using the Akuvox IP
scanner to log in the device web interface. Please refer to the URL
below for the IP scanner application:
http://wiki.akuvox.com/doku.php?id=tool:ip_scanner&s[]=ip&s[]
=scanner
Note:
Google Chrome browser is strongly recommended.

Single Tenant Door Phone
AKUVOX SMART INTERCOM www.akuvox.com
9
6.Language and Time Setting
6.1. Language Setting
When you first set up the device, you might need to set the language to your
need or you can do it later if needed. And the language can be set up on the
device web Phone > Time/Lang > Web Language interface according to
your preference.
Parameter Set-up:
Type: choose a suitable web language. Normally, English is the default
web language.
Note:
For E12, the operation path is Setting >Time/Lang > Web
Language
6.2. Time Setting
The set-up on the the device web interface is identical with the setting on the
device, it however allows you to set up the NTP server address that you
obtained to automatically synchronize your time and date. And when your
time zone is selected, the device will automatically notify the NPT server of
its time zone in order that the NTP server can synchronize the time zone
set-up to your device.

Single Tenant Door Phone
AKUVOX SMART INTERCOM www.akuvox.com
10
Parameter Set-up:
Time Zone: select the specific time zone depending on where the device
is used and then press Confirm tab for the confirmation. The default time
zone is GMT GMT+0.00.
Primary/Secondary Server: the time zone server,normally it will
automatically obtain the time when connecting to the network. The
secondary server will take effect when the primary server is invalid.
Update Interval: to configure interval between two consecutive NTP
requests.
You can also set up time manually, select the Manual checkbox, and input
time data.

Single Tenant Door Phone
AKUVOX SMART INTERCOM www.akuvox.com
11
7.LED Setting
7.1. Infrared LED Setting
Infrared LED is applied in the dark environment in which a resident might not
be able to see a visitor clearly via the video from the door phone. If the
infrared LED is turned off, the door phone will turn to night mode so that you
can have a clear view of the visitor.
Parameter Set-up:
LED Type:select”Auto” if you want the Infrared LED light to be turned on
automatically according to the setting. select “Aways ON” to enable the
Infrared LED light to stay on permanently. select “Aways OFF” to turn off
the Infrared LED light. LED mode is set “Always OFF” by default. select
“Schedule” to turn on the infrared LED according to the time schedule.
Min/Max Photoresistor :set the minimum and maximum photoresistor
value based on the current actual photo-resistor value detected to
control the ON-OFF of the LED light. You can set the maximum
photoresistor value for the IR LED to be turned on and the minimum value
for it to be turned off. While the default Minimum and maximum
photoresistor value is from “0” minimum to “1000” maximum
respectively.
Start Time: set the start time for the infrared LED to be turned on.
End Time: set the end time for the infrared LED to be turned off.

Single Tenant Door Phone
AKUVOX SMART INTERCOM www.akuvox.com
12
Note:
Start Time and End Time will not be displayed unless you select
Specfic Time for your LED mode.
7.2. LED Display Status
LED display adjustment is used to display the light changes of call button in
the six status - normal(idle), offline, calling, talking and receiving a call. and
the user can also verify the current mode of the device through the LED
status. To setup on device web Intercom > LED Setting interface.
The default LED Display Status:
LED Status
Description
Blue
Always on
Normal status
Flashing
Calling
Red
Flashing
Network is unavailable
Green
Always
on
Talking on a call
Flashing
Receiving a call
Pink
Flashing
Upgrading
Parameters Set-up:
State: there is five states: Normal, Offline, Calling, Talking and
Receiving.

Single Tenant Door Phone
AKUVOX SMART INTERCOM www.akuvox.com
13
Color Off: the default status is OFF.
Color On: it can support three colors: Red, Green, Blue.
Blink Mode: to setup the different blink frequency.
Note:
The Status and Color off item can not be changed.
The LED of upgrading mode can not be adjusted.
E12W support three colors: Red, Blue and Purple.
7.3. Set up LED Display from HTTP URL
Akuvox door phones support to use HTTP URL to remote control the LED
display status. You can enter the HTTP URL in the browser to manage the
LED color and frequency.
Parameters Set-up:
HTTP URL format:
http://PhoneIP/fcgi/do?action=LedAction&State=1&Color=1&Mode=2500
Status: 1=Idle; 2=OffLine; 3=Calling; 4=Talking; 5=Receiving; Color:
1=Green; 2=Blue; 3=Red; Mode: 0=Always On; 1=Always Off;
500/1000/1500/2000/25000/3000
7.4. LED Setting on Card Reader Area
You can enable or disable the LED lighting on the card reader area as needed
on the web interface. Meanwhile, If you do not want to have the LED light on
the card reader area to stay on, you can also set the timing for the exact time
Other manuals for R20A
7
This manual suits for next models
16
Table of contents
Other Akuvox Intercom System manuals