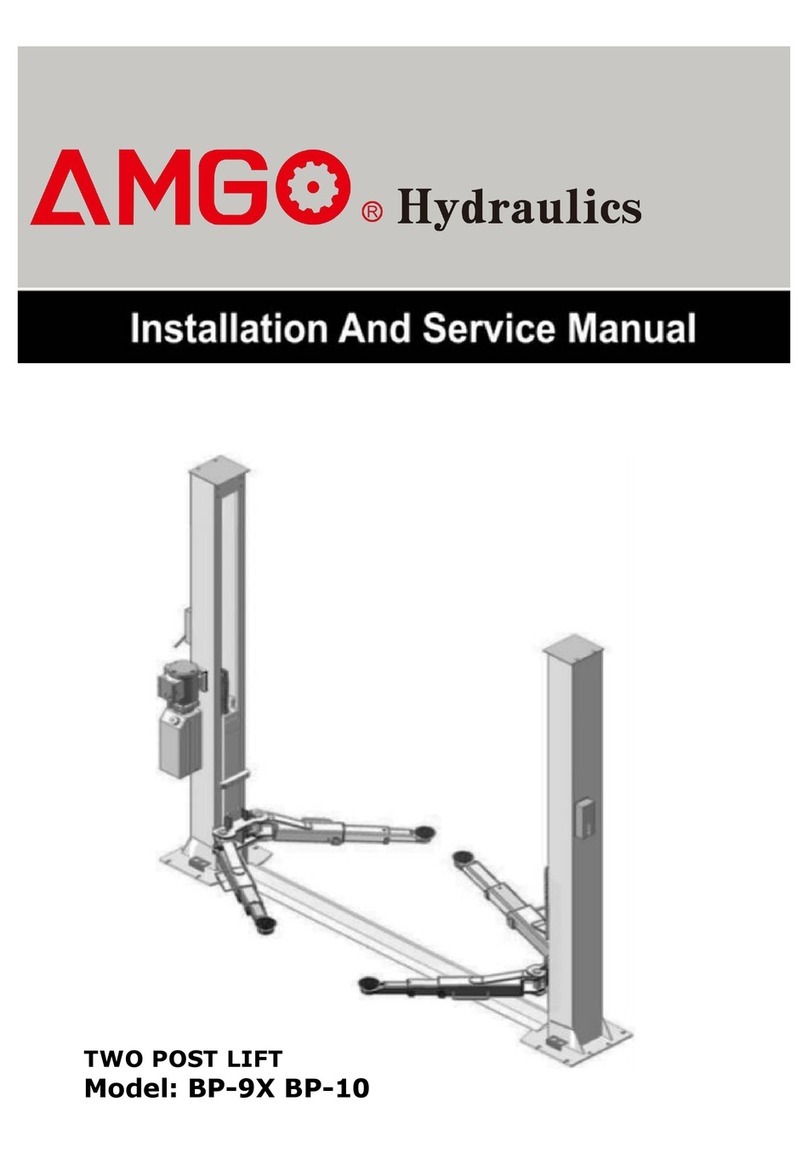
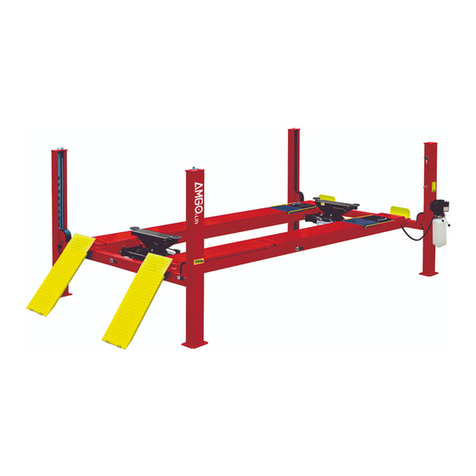
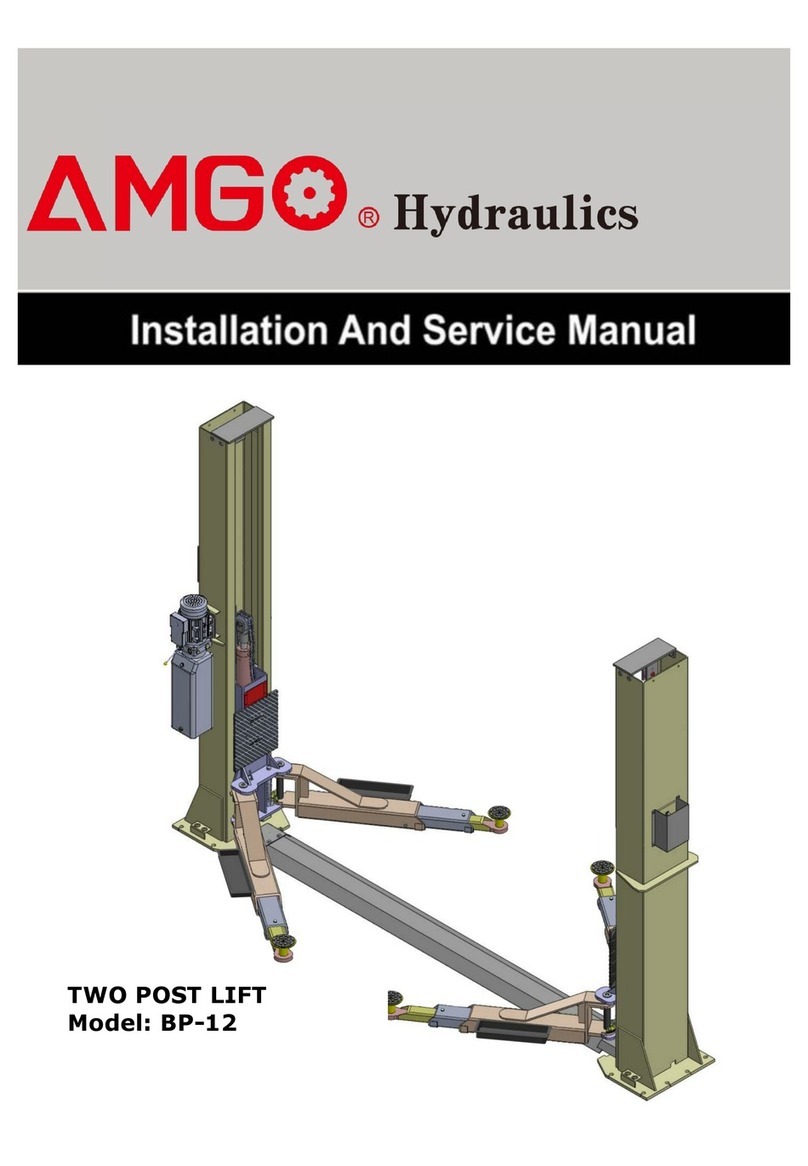
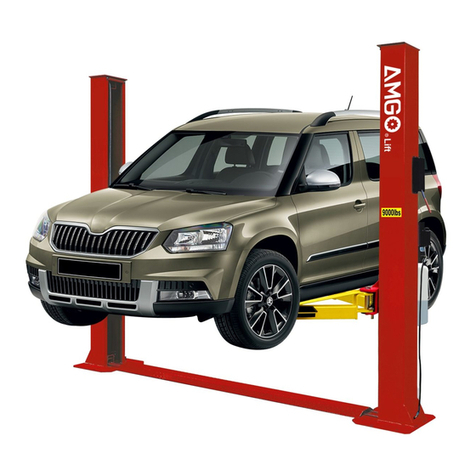
AMGO A255 Manual

CHAIN-DRIVE TWO POST LIFT
Model: A255
Original
Cargo Claims
If there is any missing or damaged
product during transportation, the
buyer must notate on the shipping
paperwork or refuse the shipment.
NOTATE ALL DAMAGE OR REFUSE
DAMAGED SHIPMENT!
△
!DANGER
Read the entire contents of this manual before
using this product. Failure to follow instructions
and safety precautions could result in serious
injury or even death. Make sure all other
operators also read this manual. Keep this
manual near the machine so that it can be seen
by all users. By proceeding with installation and
operation, you agree that you are fully
understand the contents of this manual and take
full responsibility for the use of the product.

CONTENTS
PROFILE ........................................................................................1
IMPORTANT SAFETY INSTRUCTIONS .................................................3
I. PRODUCT FEATURES AND SPECIFICATIONS ................................... 5
II. INSTALLATION REQUIREMENT .....................................................7
III. INSTALLATION STEPS ............................................................... 9
IV. EXPLODED VIEW ..................................................................... 30
V. TEST RUN ................................................................................ 37
VI. OPERATION INSTRUCTIONS ..................................................... 39
VII. MAINTENANCE SCHEDULE .......................................................40
VIII. TROUBLE SHOOTING .............................................................41
IX. CAR LIFT SAFETY TIPS .............................................................42
X. LIFT DISPOSAL ........................................................................ 42
Explanation of the safety warning symbols used in this manual
△
!DANGER Risk of death or injury
△
!WARNING Dangerous or unsafe practices that may result in death or injury
△
!CAUTION Dangerous or unsafe practices that may result in personal injury,
product damage or property damage
ATTENTION Conditions that may result in damage to products or property

1
PROFILE
The two post lift is a commonly used vehicle repair and maintenance tool that uses a
hydraulic system that can lift the car up to a certain height so that the vehicle can be
placed in a suitable position for inspection and repair. Car lifts can be divided into
pneumatic and electric, which have the characteristics of safe and reliable, simple
structure and quick installation.
This instruction manual is specially prepared for you. Your new lift is the product of over
a decade of continuous research, testing and development and is the most
technologically advanced lift on the market today.
Please make sure to read through this manual before operating the lift.
Record the information on the nameplate label here:
Model No.:
Serial No.:
Manufacturer date:
WARRANTY
The warranty period for the steel structure part of new car lift is 5 years, hydraulic
components, bronze bushings, sliders are under warranty for 2 years, and electrical
components and sync cable, lock release cable warranty for 1 year. Rubber pads are
without warranty. During the warranty period, the manufacturer will repair or replace
the defective parts free of charge including shipping costs.
This warranty does not cover damage caused by normal wear and tear, improper use,
damage in transit, or damage caused by lack of maintenance.
This warranty is unique and supersedes what is expressed and implied in all other
warranties. The manufacturer shall not be liable for any particular, indirect or accidental
damage resulting in breach of or delay in the execution of the warranty. The
manufacturer reserves the right to design and improve the product and has no
obligation to make notice of the changes in advance.
The product warranty based on the above clause is based on the model number and
serial number of the equipment. This information must be provided in conjunction with
all warranty information at the time of service and warranty.

2
SAFETY WARNING LABEL
Fig.1

3
IMPORTANT SAFETY INSTRUCTIONS
In order to properly maintain your product and ensure operator safety, it is the
responsibility of the product owner to read and follow these instructions!
1. Ensure product installation complies with all applicable local regulations and rules,
such as Occupational Safety and Health Administration regulations and electrical
codes.
2. Ensure that all operators are properly trained, know how to operate the unit safely,
and are properly supervised.
3. Do not operate the lift until you are sure all parts are in place and operating correctly.
4. Keep your hands and feet away from the machine. Keep hands and feet away from
any moving parts. Keep your feet away from the lift as it descends to avoid pressing
on pointed objects.
5. Keep the work area clean. A cluttered workspace can lead to injuries.
6. The machine is only approved for indoor installation and use. Outdoor installation is
prohibited.
7. Only trained operators are allowed to handle the lift machine. All untrained persons
must stay away from the workplace. Never allow untrained persons to handle or
operate the machine.
8. Use the lift properly. Use the lift in the correct way.
9. Warning! Keep persons and objects from the lift when lifting the a vehicle.
10. If the vehicle is at risk of falling, make sure no one is around the lift.
11. Before preparing to approach or service the vehicle, ensure that the safety device is
in effect.
12. Dress appropriately when operating machines, and consider wearing non-slip
steel-toe shoes for safety..
13. Beware of electric shock. In order to protect the operator from electric shock, the lift
in use must be grounded. Do not connect the green wire to the terminal. This is the
ground wire.
14. Danger! The power supply used in this type of lift has high voltage. Please
disconnect the power supply before any circuit repair. Unplug in case the power
supply is accidentally switched on during maintenance.
15. Warning! There is a risk of explosion. There are parts in the equipment that produce
arc light and spark. Do not operate near flammable gas. This machine should not be
placed in the lounge or basement.
16. Maintain with care. Keep the machine clean for better and safer operation. Perform

4
proper lubrication and maintenance procedures according to the manual. Keep
handles or buttons clean, dry, and free of oil.
17. Stay alert. Use common sense to observe what you are doing and stay alert.
18. Check for damaged parts. Check for adjustments to moving parts, damage to parts,
or anything that may affect their operation. Do not use the machine if the parts are
damaged.
19. Do not remove relevant safety parts from the machine. Do not use a lift if it is
damaged or missing.
20. Operate the lift only at temperature between 5°C to 40°C (41°F to 104°F).
△
!DANGER Be very careful when installing, operating, maintaining or
repairing this equipment. Failure to comply may result in property damage,
product damage, injury or (in very rare cases) death. Ensure that only
authorized personnel operate the equipment. All repairs must be carried out
by an authorized technician. Do not modify the machine, this voids the
warranty and increases the probability of personal injury or property
damage. Ensure to read and follow this instructions on the label.

5
I. PRODUCT FEATURES AND SPECIFICATIONS
FLOORPLATE CHAIN-DRIVE MODEL FEATURES
Model A255
· Lifting capacity:5500KG, a heavy duty floor-plate design two post lift;
· Hydraulic cylinders: each cylinder is designed and made on high standards,
utilizing imported oil seal in cylinder. Each cylinder has passed 25Mpa test;
. Available with 2 different width settings for installation. Distance between columns:
3000mm or 3137mm;
. Stackable rubber pads with 76mm,152mm extension adapters;
. Automatic arm restraints, with high-strength moon gear and arm lock;
· Self- lubricating UHMW Polyethylene sliders and bronze bush;
· Single-point safety release, and dual safety design;
· ₵ 9.5 mm areo sync cables used for synchronization.
MODEL A255 SPECIFICATION
Model
Lifting
Capacity
Lifting
Time
Max Lifting Height
Max safety lock height
Overall
Height
Overall Width
Minimum
Pad
Height
Motor
Without
extension
adapter
Include
extension
adapter
Without
extension
adapter
Include
extension
adapter
A255
5500KG
65S
1825-1890mm
2054-2119mm
1780-1854mm
2009-2074mm
3110mm
3692 / 3829mm
110mm
4.0HP
Fig.2

6
955-1820mm
2673/2810mm
3692/3829mm
Arm Swings for Model A255
II.
Fig. 3
Fig. 4
△
!CAUTION When driving the vehicle, stay in the middle between the
columns. If you hit any part of the lift, you could damage the car or lift.
Car-in direction

7
II. INSTALLATION REQUIREMENT
A. Tools Required
Rotary Hammer Drill (Φ19)
Carpenter’s ink marker
Hammer
Screw Sets
Level Bar
Tape Measure (7.5m)
English Spanner (12")
Pliers
Ratchet Spanner with Socket (28#)
Socket Head Wrench (10#)
Wrench set
(8#, 10#, 13#, 14#, 17#, 19#, 24#)
Lock Wrench
Fig. 5

8
B. Equipment storage and installation requirements.
1.Store the equipment in a dry, non-moldy, non-flammable environment;
2.The lift is only approved for indoor installation and use, and outdoor installation is
prohibited;
3.When installing the device, take safety precautions according to the instructions to
avoid device damage;
4.Do not install the device outdoors if the installation area is not protected;
5.During installation, all parts should be fastened to ensure the stability and smooth
operation of the machine;
6.After installation, the whole machine should be checked to make sure that every
component is working properly.
C. The equipment should be unload and transferred by forklift.
D. Specifications of concrete (See Fig. 7).
Specifications of concrete must be adhered to the specification as following.
Failure to do so may result in lift and/or vehicle falling.
1. Concrete must be thickness 120mm minimum and without reinforcing steel bars,
and must be dried completely before the installation;
2. Concrete must be in good condition and must be of test strength 3,500psi
(245kg/cm²) minimum.Solidify at least 15 days;
3. Floors must be level and no cracks;
4. Do not install the lift on asphalt or any surface other than concrete.
Fig. 6

9
E. Power supply
1. You are required to use a licensed and qualified electrician for the installation
process.
2. The power supply capacity must be more than 3kw, with a cord larger than 2.5mm²,
and must be properly grounded.
III. INSTALLATION STEPS
A. Location of Installation
1. Installation space: Ensure there is enough space for the lift. Accurately measure the
front, back, side and top mounting dimensions and refer to the below figure
data(See Fig. 8);
2. Overhead obstacle: Check for overhead obstacles, such as building supports,
heaters, lights, wires, and low ceilings, etc;
3. Installation: The lift is only approved for indoor installation and use, and outdoor
installation is prohibited;
4. Floor: Install lift only on flat concrete floor. Do not install on asphalt or any other
surface. The surface must be flat. Do not install if the surface slope exceeds 3°.
120mm
Fig.7
Concrete intensity must be 3500psi
(245Kg/cm2) minimum
78
△
!DANGER All electrical wiring must be performed by a licensed and
certified electrician. Attempting to connect the circuit without proper
certification may cause damage to the lift or electrocution, resulting in
serious injury or death.

10
B. Use a carpenter’s chalk line to establish installation layout of base-plate
(See Fig. 9).
Click a line
Fig.9
Car-in direction
Installation ceiling height requirement: >3110mm
Fig.8
⚠CAUTION Installing the lift on a surface with slopes more than 3° could lead to injury or
even death. PEAK lifts are designed for installation on a flat and level surface only. (Defined as
no more than 10mm difference over the installation area ). If the floor cannot be leveled,
consider changing installation locations.
1500mm
3000mm
1500mm

11
C. Check the parts before assembly.
1. Received lift and hydraulic power unit (See Fig.10).
2. Move the lift aside with fork lift or hoist, and open the outer packing carefully, check
all parts according to the shipment parts list. (See Fig. 11).
3. Take out the floor cover and the parts inside the top layer column , then move aside
to the installation site. (See Fig. 12).
4. Remove the bolts of the upper package, take out the column of top layer with forklift
or manually, then remove the package stand.
Shipment Parts list
Floor cover
Fig. 12
Fig. 11
Fig. 10

12
5. Move aside all parts to installation site, and check according to the shipment parts list.
(See Fig. 13, 14).
6. Open the parts bag and check the parts according to parts bag list (See Fig. 15).
Fig. 15
Parts in the shipment parts list
Fig. 13
Parts in the parts box (80)
Fig. 14
80
Parts bag 1
Parts bag 2

13
D.Parallelly lay down the two columns on the installation site, position the power-side
column according to the actual installation site. Usually, it is suggested to install the
power-side column on the front-right side from which vehicles are driven to the lift, then
install the top plate (See Fig.16).
Car-in direction
Powerside column
Offside column
Fig. 16
49
Assemble top-plate using
M12*30 hex bolt with flat
washer, lock washer and nut

14
E. Erect the columns, install anchor bolts, check the columns plumbness with level bar,
and adjust with shims if the columns are not vertical. Don’t tighten the anchor bolts
at this time (See Fig. 17).
Note: There are 2 width settings for installation, please choose according to
your need.
F. Fix anchor bolts
1. Prepare anchor bolts (See Fig. 18).
3000mm / 3137mm
50/51
3692mm / 3829mm
Lock washer
Flat washer
Nut
Fig. 18
Adjust the columns
to vertical with
shims
Check the columns
plumbness (front and
side) with level bar
Fig. 17

15
2. Using the prescribed rotary hammer drill, and drill all the anchor holes and install the
anchor bolts. Then tighten the anchor bolts. (See Fig.19)
Note: Torque of anchors is 150N.m. Minimum embedment of anchors is 110mm.
G. Install safety device (See Fig. 20 & 21).
Power side safety device
Fig. 20
Fig. 19
Offside safety device
Fig. 21
Min.110mm
△
!CAUTION Concrete and anchor bolts must comply with above specifications.
Install lifts only on concrete surfaces. If you are in asphalt or either any other
surface on which the lift is mounted, or the concrete or anchor bolts do not meet
these specifications, it may result in product damage, vehicle damage, personal
injury, or even loss of life.

16
H.Install sync cables
Raise both sides of carriages and lock them to the same level.
1. Sync cable installation of narrow setting (width between columns: 3000mm).
1.1 Pass the cable from the bottom to the top of carriage, pull it out from the hole of
carriage and then tighten the two cable nuts. (See Fig.22)
Cable connecting
direction
Pass the cable through the
holes.
Cable connecting
direction
66
Tighten the two
cable nuts
Fig. 22

17
1.2 Illustration of sync cable connection.
Fig. 23
65
65

18
Cable connecting
direction
2. Sync cable installation of wide setting (Width between columns: 3137mm)
2.1 Pass the cable from the bottom to the top of carriage, pull it out from the hole of
carriage and then tighten the two cable nuts. (See Fig.24)
Cable connecting
direction
Pass the cable through the hole.
66
Tighten the two
cable nuts
Fig. 24
Table of contents
Other AMGO Lifting System manuals
Popular Lifting System manuals by other brands

HiGH-LiFT
HiGH-LiFT OPK-ME500 Manual instruction

Telpro
Telpro PaneL Lift 439 Operator's manual

Fantek
Fantek FT-6860 operating instructions

Milltronics
Milltronics MWL instruction manual

Lift Tech Marine
Lift Tech Marine DC REMOTE GEN 2 owner's manual

BraunAbility
BraunAbility Century 2 NCL10000 Series Service manual