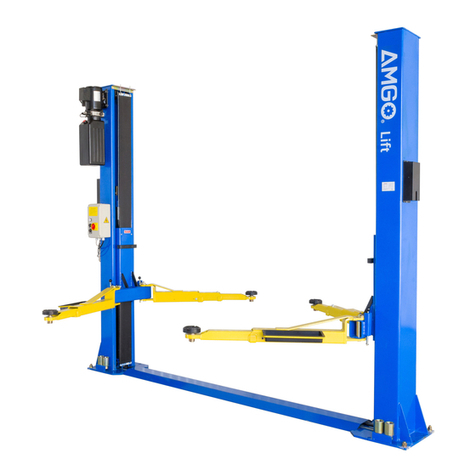
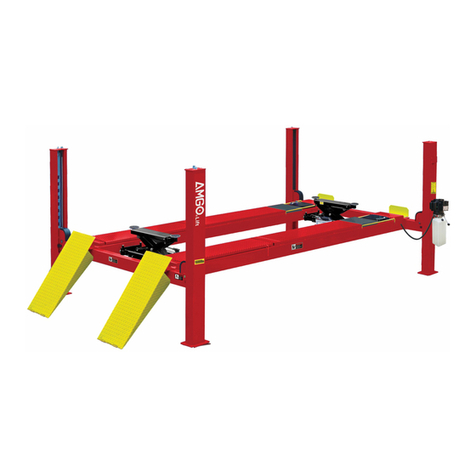
AMGO BP-12 Manual

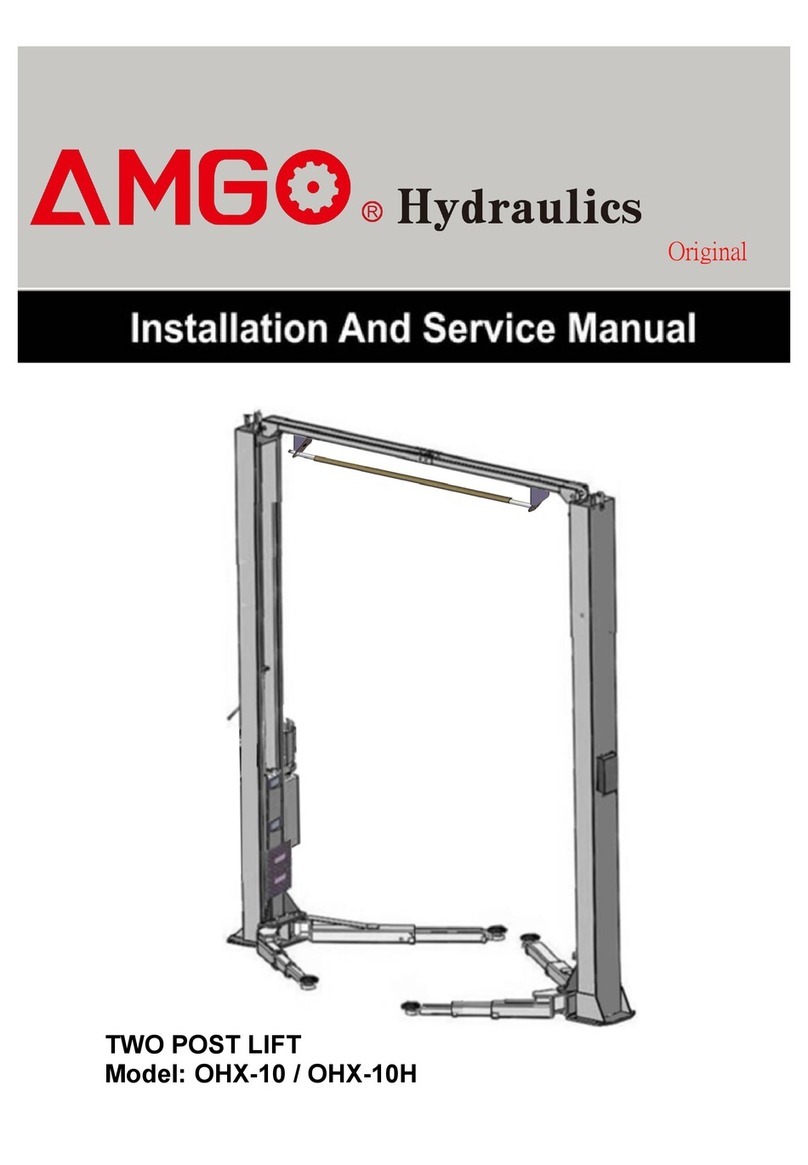
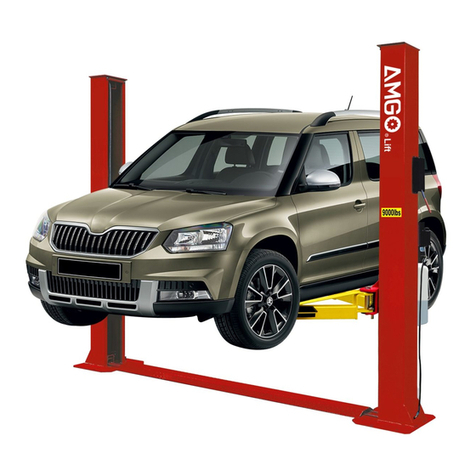
TWO POST LIFT
Model: BP-12

CONTENTS
Product Features and Specifications .........................................................1
Installation Requirement ........................................................................3
Steps of Installation ………………………………………………………..…………....................4
Exploded View .....................................................................................20
Test Run .............................................................................................23
Operation Instruction ...........................................................................24
Maintenance .......................................................................................25
Trouble Shooting .................................................................................26
Parts List ……….....................................................................................27

1
I. PRODUCT FEATURES AND SPECIFICATIONS
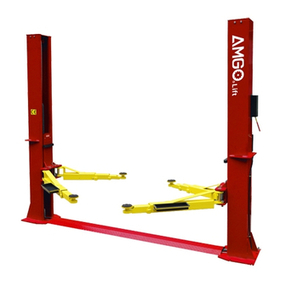
FLOORPLATE CHAIN-DRIVED MODEL FEATURES
MODEL BP-12 (See Fig.1)
· 12000lbs lifting capacity, compact design small footprint.
· Dual hydraulic chain-drive cylinders, designed and made on ANSI standard, utilizing oil
seal in cylinder.
·Adjustable column width, two optional column width installation 118 1/8” or 123 1/2”
· Stackable adapters 1.5”, 2.5”, 5” can adjust the minimum pad height in a short time.
· Self-lubricating UHMW Polyethylene sliders and bronze bush.
· Single-point safety release, and dual safety design.
· Super-symmetric arms design, make lifts easily find the lift point of the car.
·¢9.5 mm cable using for the lift make it more safety and more reliable.
MODEL BP-12 SPECIFICATIONS
Model
Style
Lifting
Capacity
Lifting
Time
Lifting Height
Overall
Height
Overall
Width
Width
Between
Columns
Minimum
Pad Height
Motor
BP-12
Floor-plate
Chain-drive
12000lbs
55S
73 1/8”~82 1/4”
122 1/2”
145 3/8”
150 3/4”
118 1/8”
123 1/2”
4 3/4”~13 3/4”
2.0HP
Fig.1

2
Arm Swings View
Fig. 2

3
II. INSTALLATION REQUIREMENT
A. TOOLS REQUIRED
✓Rotary Hammer Drill (Φ19)
✓Hammer
✓Level Bar
✓English Spanner (12")
✓Ratchet Spanner With Socket (28#)
Wrench set
✓Carpenter’s Chalk
✓Screw Sets
✓Tape Measure (7.5m)
✓Pliers
✓Socket Head Wrench ( 6#)
Lock Wrench
(10#, 13#, 14#, 15#, 17#, 19#, 24# ,27#)
Fig. 3

4
B. SPECIFICATIONS OF CONCRETE (See Fig. 4)
Specifications of concrete must be adhered to the specification as following.
Failure to do so may result in lift and/or vehicle falling.
1. Concrete must be thickness 6in minimum and without reinforcing steel bars,and
must be dried completely before the installation.
2. Concrete must be in good condition and must be of test strength 3,500psi
minimum.
3. Floors must be level and no cracks.
C. POWER SUPPLY
The electrical source must be 2.0HP minimum. The source cable size must be
2.5mm² and in good condition of contacting with floor.
III. STEPS OF INSTALLATION
A. Location of Installation
Check and insure the installation location (concrete, layout, space size etc.) is
suitable for lift installation.
B. Use a carpenter’s chalk line to establish installation layout of baseplate (See Fig. 5).
Concrete intensity must be 3,500psi
Fig. 4
83
Chalk a line
Fig. 5

5
C. Check the parts before assembly
1.Packaged lift and hydraulic power unit (See Fig. 6)
2. Move the lift aside with a fork lift or hoist, and open the outer packing carefully,
take off the parts from upper and inside the column, take out the parts box,check
the parts according to the shipment parts list (See Fig. 7).
3.Take out the parts upper and inside the column, move them beside the installation
site.
4. Loose the screws of the upper package stand, take off the upper column and remove
the package stand.
5. Move aside the parts and check the parts according to the shipment parts list (See
Fig. 9, 10).
Fig. 6
Shipment Parts list
Protect Cover
Parts Box
Fig. 8
Label
Fig. 7

6
Parts in the shipment parts list
Parts in the parts box
84
Fig. 9
Fig. 10

7
6. Open the parts bag and check the parts according to parts box list (See Fig. 10).
D. Lay down two columns on the installation site parallelly, position the power-side
column according to the actual installation site. Usually, it is suggested to install
Power side column on the front-right side from which vehicles are driven to the lift.
Then install the top plate (See Fig. 11).
Fig. 11
Offside column
Power-side column
Car in direction
Fig. 12
Assemble top-plate using
M12*30 hex bolt with nut
and washer.
53
54
55

8
E. Position columns and install anchor bolts (See Fig. 13)
Check the columns plumbness with level bar, and adjusting with the shims if the columns
are not vertical. Anchor bolts should not be tightened.
Note: Lifts are designed to two level width, install according to customer’s needs
F. Install anchor bolts
1. Prepare the anchor bolts (See Fig.14)
Adjust the columns
to be vertical with
shims
54/54A
118-1/8” / 123-1/”
Check the columns
plumbness with
level bar from front
and side column
145-3/8” / 150-3/4”
Fig. 13
Washer
Lock washer
Nut
Fig. 14

9
2. Using the prescribed rotary hammer drill, drill all the anchor holes and install the
anchor bolts. Then tighten the anchor bolts (See Fig. 16).
Note: Torque of Anchors is 150N.m. Minimum embedment of Anchors is 4-1/2”.
G. Install safety Lock (See Fig. 16&17)
.
Fig. 15
Drilling
4-1/2”
Tighten
Bolting
Power-side safety
lock installation
Fig. 16
57
58
56
55
6
60
52
59
61
62
69
68
65
67
63
64
Offside safety lock
installation
Fig. 17
66

10
H. Lift the carriages up by hand and make them be locked at the same
level (See Fig.18).
Safety block locked at
the same level
Fig. 18

11
I. Connecting cables (See Fig. 19)
1. Select the width of the foundation according to step E (Fig.13) and select
the width of the foundation size 145-3/8”to install the cable..
Note: Cable pass through from one carriage to another must be passed through the
hole of the bottom steel plate of carriages
Fig. 19
70
70
steel plate of
carriages
Cable pass through the two
steel plates of carriages
from bottom to the top

12
2.Select the width of the foundation according to step E (Fig.13) and select
the width of the foundation size 145-3/8”to install the cable.(Fig.20&Fig21)
2.1. Cable go through from bottom to the top, tighten the two cable nuts when it pass
through the opening of the carriage. (Fig.20)
Fig. 20
Cable go through from
the inside two cable
connecting block holes
of the carriage.
71
Cable connecting
block
Nuts be locked each other
Cable go through
direction
Cable go through direction

13
2.2 Foundation size 145-3/8” cable installation diagram.
70
Fig. 21

14
J. Install safety cable
63
72
73
1.Insert safety cable
from offside safety lock
2.Insert safety cable
from offside safety lock
to power-side safety
lock according to the
arrow direction
3.Tighten the nuts after
installing the safety
cable
Fig.22

15
K. Install power unit and oil hose (See Fig. 23)
81A
82
81
74
20
81
80
79
78
20
81
74
75
A View
Width in 118-1/8”, use L= 54-7/8”oil hose
Width in 123-1/2”, use L= 59-7/8”oil hose.
77
76
7
Fig.23
203

16
L. Install protect cover (see Fig.24)
Note: Install cable protect cover or cable protect cover assy with connecting protect
cover according to the foundation width of step 5
Fig. 24
7
selection
1
9
8
1
Install the cable
protect cover
with protect
cover plate,
choosing
columns width
in 118-1/8”
Install the cable
protect cover assy
with protect cover
plate, choosing
columns width in
123-1/2”

17
I. Install lifting arms
1. Install the lifting arms (See Fig. 25) Lowing the carriages down to the lowest position,
then use the 8# wrench to loosen the nut of the fixed gear (See Fig. 26).
Adjust the gear according to the arrow direction, tighten the screws until the gear and rack
match in good condition (see Fig.28)
Snap Ring
Use wrench to
loosen the Socket
bolt
Fig. 25
Fig. 26
Adjust gear and
rack meshing.
Lock the screws by wrench after the
gear and rack are in good meshing
condition
Fig. 27

18
2. Install lifting arm guardrails
J. Tighten all the hydraulic fittings, and fill the reservoir with hydraulic oil
Note: In consideration of Hydraulic Power Unit’s durability and keep the equipment
running in the perfect condition, please use Hydraulic Oil 46#.
K. Install Electrical System Connect the power source on the data plate of
power unit.
Note: 1. For the safety of operators, the power wiring must contact the floor well.
2. Pay attention to the direction of rotations when using three phase motors.
Single phase motor 220V (See Fig. 29).
1.1 circuit diagram
86
31
8
85
87
Fig. 28
单相
Single phase
Switch
Table of contents
Other AMGO Lifting System manuals
Popular Lifting System manuals by other brands

HiGH-LiFT
HiGH-LiFT OPK-ME500 Manual instruction

Telpro
Telpro PaneL Lift 439 Operator's manual

Fantek
Fantek FT-6860 operating instructions

Milltronics
Milltronics MWL instruction manual

Lift Tech Marine
Lift Tech Marine DC REMOTE GEN 2 owner's manual

BraunAbility
BraunAbility Century 2 NCL10000 Series Service manual