manuals.online logo
Brands
  1. Home
  2. •
  3. Brands
  4. •
  5. APS
  6. •
  7. Automobile Accessories
  8. •
  9. APS iArmor IA-S002H User manual

APS iArmor IA-S002H User manual

iArmor®
Customer Support: [email protected]
Rev. 20221201
1
Driver Center Mounting
Bracket (DCM/PCM)
iArmor® by APS PART#: IA-S002H
BEFORE INSTALLATION
REMOVE CONTENTS FROM BOX. VERIFY ALL PARTS ARE
PRESENT. READ INSTRUCTIONS CAREFULLY BEFORE
STARTING INSTALLATION. ASSISTANCE IS RECOMMEND-
ED. THANK YOU FOR CHOOSING OUR PRODUCT!
*ROCKER PANEL MOUNT
*DRILLING IS REQUIRED/ NO TRIMMING REQUIRED
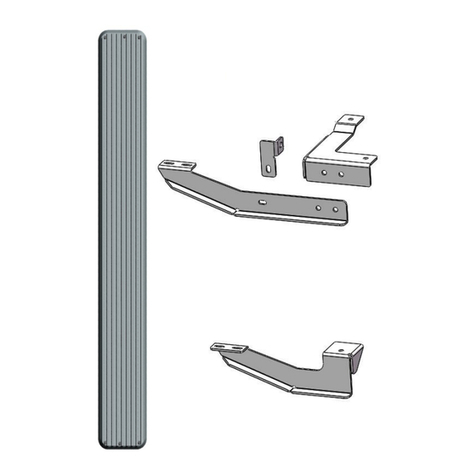
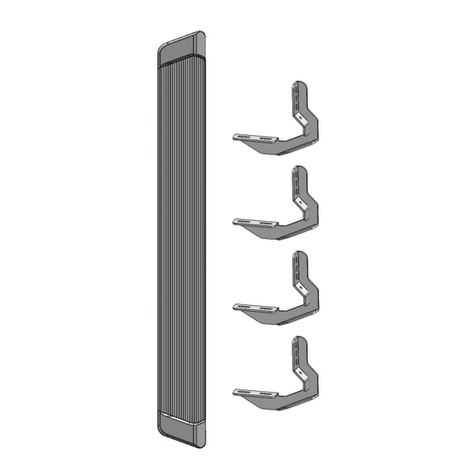
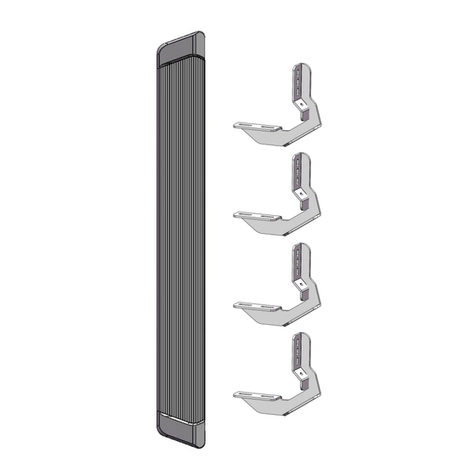
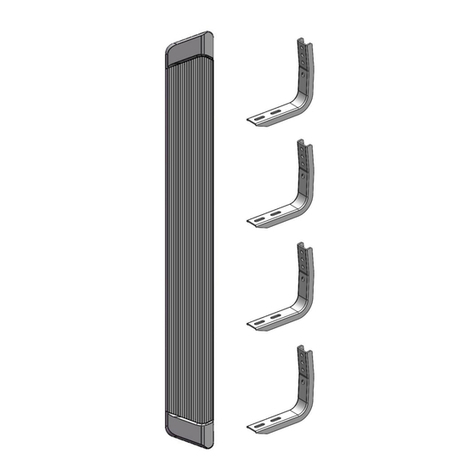
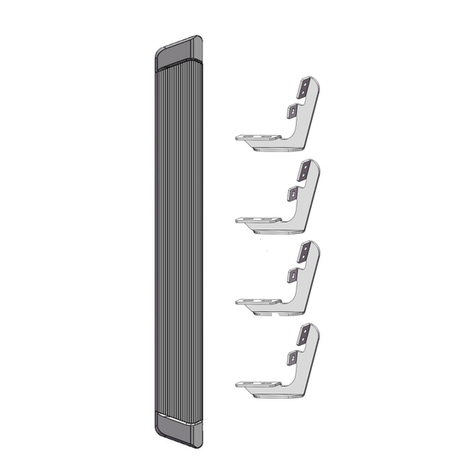
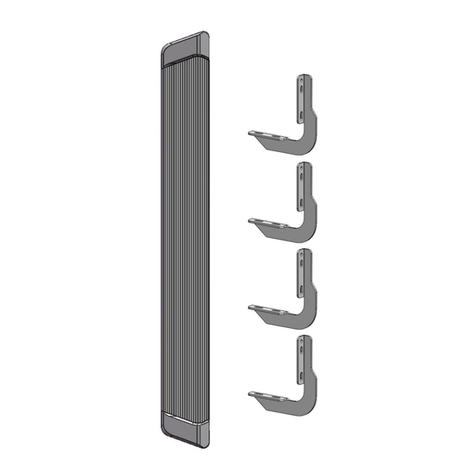
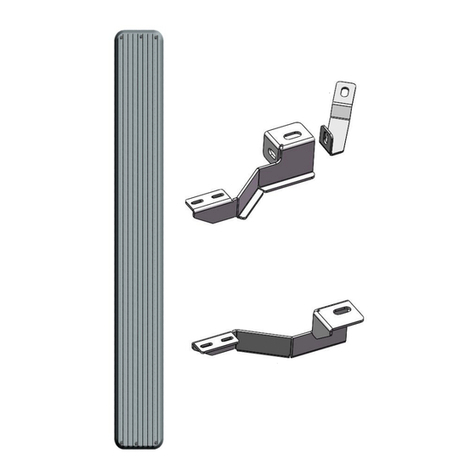
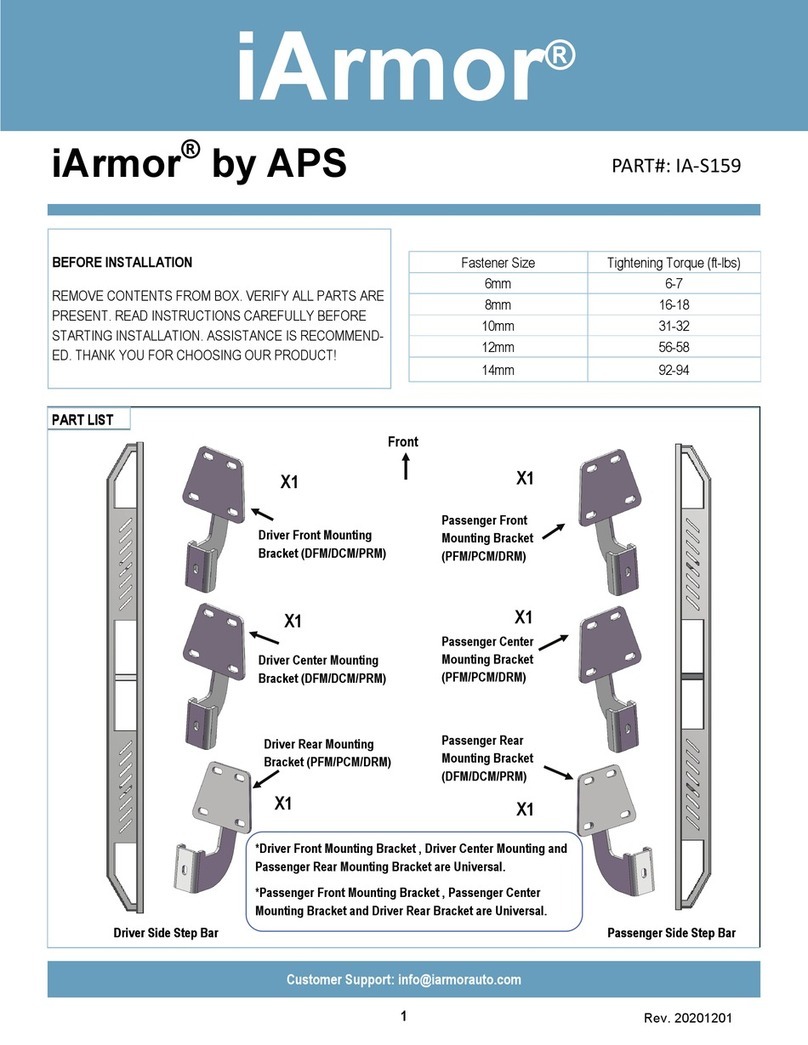
PART LIST
Driver Side Step Bar Passenger Side Step Bar
Passenger Front Mount-
ing Bracket (PFM)
Passenger Rear Mount-
ing Bracket (PRM)
Driver Rear Mounting
Bracket (DRM)
(DCM/PCM)
Driver Front Mounting
Bracket (DFM)
Front
Torque Value
Fastener Size Tightening Torque (ft-lbs) Required
6mm 6-7 √
8mm 16-18 X
10mm 31-32 √
12mm 56-58 X
14mm 92-94 X
iArmor®
Customer Support: [email protected]
Rev. 20221201
2
1#
Hardware Package A (For Bracket Installation)
Item QTY Description Item QTY Description
1# 6U Brackets 7# 6ST6.3X25 Self Tapping Screws
2# 6M10X35 Bolt Plates 8# 6M6X1-25 Hex Bolts
3# 6M10 Plastic Washers 9# 12 M6 Flat Washers
4# 6M10 Flat Washers 10# 6 M6 Lock Washers
5# 6M10 Lock Washers 11# 6 M6X1 Hex Nuts
6# 6M10X1.5 Hex Nuts
6 #
5#
8 #
Hardware Package B (For Step Bar Installation)
Item QTY Description Item QTY Description
1# 6M8X1.25-55mm Carriage Bolts 3# 6 M8 Lock Washers
2# 6M8 Large Flat Washers 4# 6 M8 Hex Nuts
1 # 3 # 4 #
2#
7#
4#
3#2#
10 #9 # 11#
iArmor®
Customer Support: [email protected]
Rev. 20221201
3
Start from the front of the driver side, locate the (2) oval holes
in the inner body panel. Remove the tape covering the second
factory hole (Fig 1). Thread (1) M10 Plastic Washer onto (1)
M10X35 Bolt Plate, insert the Bolt Plate into the factory hole on
the rocker panel (Fig 2). Hold the Bolt Plate in place with one
hand and continue to thread the M10 Plastic Washer down
against the sheet metal until it holds the Bolt Plate in place (Fig
2).
IMPORTANT: The M10 Plastic Washer is designed to pre-
vent the Bolt Plate from falling into the body panel and to
aid Bracket installation.
STEP 1
The instruction here is for your reference only. We strongly
recommend the professional installer for best result. We are not
responsible for any damage caused by the installation.
Remove sealing tape to uncover
mounting hole. Insert M10X35
Bolt Plate W/M10 Plastic Washer
Front
Along the inner body panel, identify the Driver Side Center and
Rear Mounting Location (Fig 3 & 4). Repeat STEP 1, insert the
M10X35 Bolt Plates into the oval holes on the mounting loca-
tions. Thread the M10 Plastic Washers down against the sheet
metal to hold the Bolt Plates in place.
STEP 2
(Fig 2) Insert Bolt Plate into the Oval Hole
(Fig 1) Driver Side Front Mounting Location
Front
Front
(Fig 3) Driver Side Center Mounting Location
(Fig 4) Driver Side Rear Mounting Location
STEP 3
Attach the Driver Front Mounting Bracket onto the M10X35 Bolt
Plate on the Driver Side Front Mounting Location with (1) M10
Flat Washer, (1) M10 Lock Nut & (1) M10X1.5 Hex Nut. Mark
holes. Remove the bracket and Drill holes as shown (Fig 5).
NOTE: Be sure to use the correct drill bit size for each
hole.
iArmor®
Customer Support: [email protected]
Rev. 20221201
4
STEP 4
Attach the Driver Front Mounting Bracket to the Bolt Plate, and
secure the mounting bracket as shown on Fig 6. Don’t fully
tighten at this time.
(Fig 6) Driver Front Mounting Bracket Installation
(1) M6X1-25 Hex Bolt
(2) M6 Flat Washers
(1) M6 Lock Washer
(1) M6X1 Hex Nut
Front
(1) M10 Flat Washer
(1) M10 Lock Washer
(1) M10X1.5 Hex Nut
(1) ST6x25 Self Tap-
ping Screw
STEP 5
Repeat Steps 3-4 to install Driver Center and Rear Mounting
Brackets. Don’t fully tighten at this time.
STEP 6
Once all (3) driver side mounting brackets are installed, select
and attach the Driver Side Step Bar onto the Mounting Brackets
with (3) U Brackets, (3) M8X1.25-55 Carriage Bolts, (3) M8
Large Flat Washers, (3) M8 Lock Washers and (3) M8X1.25
Hex Nuts (Fig 7). Do not fully tighten hardware at this time.
(Fig 5) Driver Side Front Mounting Holes Mark and Drill
(1) M10 Flat Washer
(1) M10 Lock Washer
(1) M10X1.5 Hex Nut
DFM
Front
Hole size: 3/16”
Hole size: 5/16”
STEP 7
Properly level and adjust the Step Bar and fully tighten all hard-
ware.
STEP 8
Move to the passenger side of the vehicle. Repeat Steps 1-7 to
install passenger side step bar.
Installation completed.
Attention
Do periodic inspections to the installation to make sure
that all hardware is secure and tight.
In order to protect your bars/boards, please use mild
soap/non-abrasive products for cleaning only.
iArmor®
Customer Support: [email protected]
Rev. 20221201
5
(Fig 7) Driver Side Step Bar Installation
Front
NOTE: Torque all M8 X1.25-55 Car-
riage Bolts to 16~18 Ib-ft. Don't over
tighten, or the square bars will be
damaged by the brackets
M8X1.25-55mm
Carriage Bolt
U Bracket
M8 Large Flat Washer
M8 Lock washer
M8X1.25 Hex Nut
Mounting Bracket
U Bracket

Other APS Automobile Accessories manuals
APS iBoard IB-R296 User manual

APS

APS iBoard IB-R296 User manual

APS iBoard IB-R062 User manual

APS

APS iBoard IB-R062 User manual

APS IB03DJJ7A User manual

APS

APS IB03DJJ7A User manual

APS iArmor User manual

APS

APS iArmor User manual
APS iArmor IA-S926 User manual

APS

APS iArmor IA-S926 User manual

APS iBoard IB-R934 User manual

APS

APS iBoard IB-R934 User manual

APS iBoard IB-R921 User manual

APS

APS iBoard IB-R921 User manual

APS IA06SJD4B User manual

APS

APS IA06SJD4B User manual

APS iBoard IB-R905 User manual

APS

APS iBoard IB-R905 User manual

APS iArmor IA-S022 User manual

APS

APS iArmor IA-S022 User manual

APS IA04SBE8B User manual

APS

APS IA04SBE8B User manual

APS iBoard IB-019&020A-B User manual

APS

APS iBoard IB-019&020A-B User manual

APS iBoard IB-R159 User manual

APS

APS iBoard IB-R159 User manual

APS IA20SJI8B User manual

APS

APS IA20SJI8B User manual

APS iBoard IB-R962 User manual

APS

APS iBoard IB-R962 User manual

APS iArmor IA-S926H User manual

APS

APS iArmor IA-S926H User manual

APS iBoard IB-R001 User manual

APS

APS iBoard IB-R001 User manual
APS IA10SAA1B User manual

APS

APS IA10SAA1B User manual
APS iArmor User manual

APS

APS iArmor User manual

APS iArmor User manual

APS

APS iArmor User manual

APS IB04EDJ2B User manual

APS

APS IB04EDJ2B User manual

APS GR18HEC11A User manual

APS

APS GR18HEC11A User manual

APS iBoard User manual

APS

APS iBoard User manual

APS iBoard IB-R094 User manual

APS

APS iBoard IB-R094 User manual

Popular Automobile Accessories manuals by other brands

STO N SHO SNS 300 Installation procedures

STO N SHO

STO N SHO SNS 300 Installation procedures

Directed 933.SUBARU1 installation guide

Directed

Directed 933.SUBARU1 installation guide

Hook BTZ 26 27B manual

Hook

Hook BTZ 26 27B manual

Whispbar K949W Fitting instructions

Whispbar

Whispbar K949W Fitting instructions

AVS Bugflector installation instructions

AVS

AVS Bugflector installation instructions

BURY CC 9050 operating manual

BURY

BURY CC 9050 operating manual

Safe Fleet Prime Design PRR 0005 quick start guide

Safe Fleet

Safe Fleet Prime Design PRR 0005 quick start guide

Dometic FP210 Installation and operating manual

Dometic

Dometic FP210 Installation and operating manual

FVC Sprinter Bed System Adventure Wagon Kit installation guide

FVC

FVC Sprinter Bed System Adventure Wagon Kit installation guide

Softride Element Rack instructions

Softride

Softride Element Rack instructions

Parrot CK3100 LCD installation manual

Parrot

Parrot CK3100 LCD installation manual

DC Power Solutions B-COOL9000RM-12V Operator's manual

DC Power Solutions

DC Power Solutions B-COOL9000RM-12V Operator's manual

Simple ISMGM509E instruction manual

Simple

Simple ISMGM509E instruction manual

Safe Fleet PRIME DESIGN VRR3-E-PM21 manual

Safe Fleet

Safe Fleet PRIME DESIGN VRR3-E-PM21 manual

Encore E9 installation manual

Encore

Encore E9 installation manual

Dakota Digital HDX-47C-PU Instrument Installation

Dakota Digital

Dakota Digital HDX-47C-PU Instrument Installation

Tesla POWERWALL 2 AC installation manual

Tesla

Tesla POWERWALL 2 AC installation manual

Erde ST1272A Assembly instructions

Erde

Erde ST1272A Assembly instructions

manuals.online logo
manuals.online logoBrands
  • About & Mission
  • Contact us
  • Privacy Policy
  • Terms and Conditions

Copyright 2025 Manuals.Online. All Rights Reserved.