manuals.online logo
Brands
  1. Home
  2. •
  3. Brands
  4. •
  5. Argos
  6. •
  7. Indoor Furnishing
  8. •
  9. Argos Malvern 604/0105 User manual

Argos Malvern 604/0105 User manual

Malvern - 3 Door Display Cabinet
Dimensions
Width - 123cm
Depth - 41.6cm
Height - 185.2cm
BK01000 - Issue 2 - 12/06/2014
Important – Please read these instructions fully before starting assembly
If you need help or have damaged or missing parts, call the Customer Helpline: 0345 6403030
Assembly Instructions - Please keep for future reference 604/0105
1
Safety and Care Advice
Important – Please read these instructions fully before starting assembly
Note: if required the next
page can be cut out and used
as reference throughout the
assembly. Keep this page with
these instructions for future
reference.
• Check you have all the
components and tools listed on
pages 2 and 3.
• Remove all fittings from the
plastic bags and separate them
into their groups.
• Keep children and animals
away from the work area, small
parts could choke if swallowed.
• Make sure you have enough
space to layout the parts before
starting.
• Do not stand or put weight on
the product, this could cause
damage.
• Assemble the item as close
to its final position (in the same
room) as possible.
• Assemble on a soft level
surface to avoid damaging the
unit or your floor.
• Parts of the assembly will be
easier with 2 people.
• Due to difference in floor
levels, doors may not be
aligned. Adjustment may be
necessary.
• Do not use extended drawers
to aid standing. Do not stand on
extended drawers.
• Do not over load drawers,
the maximum load per drawer
should not exceed 3kg
• To prevent bowing of shelves
do not over load, and always
distribute weight evenly.
• If a residual aroma is
experienced with your new
furniture after the packaging
is removed simply ensure the
room is well ventilated and this
will assist a speedy removal
• We do not
recommend the
use of power
drill/drivers for
inserting screws,
as this could
damage the unit. Only use hand
screwdrivers.
• Dispose of all packaging
carefully and responsibly.
• It is essential that this unit be
fixed to a wall with the fittings
provided.
• Please retain the product label
on the back of the unit, as this
information will help support any
queries.
• Dust with a clean cloth or, if
required a slightly damp cool
cloth. Do not use household
cleaners, abrasives or polishes
as permanent damage may
occur.
• Your furniture is finished to the
required colour. Avoid exposure
to strong sunlight as this can
change the colour. Change in
appearence may also occur if
items are permanently left on a
surface.
• Do not drag the furniture or lift
it by its top.
• Avoid sharp objects, contact
with water and direct heat on all
surfaces
• From time to time check that
there are no loose screws on
this unit.
• You should get assistance
when moving or lifting your
furniture. Furniture consisting of
more than one unit should be
disassembled before attempting
to move it.
• Doors and drawers should
be secured or removed before
moving.
• Electrical fittings must be fitted
with a 3-amp fuse to BS1362.
Disconnect from the source of
power before changing bulbs.
Replace bulbs with the same
type and wattage.
• This product should not be
discarded with household waste.
Take to your local authority
waste disposal centre.
Care and maintenance
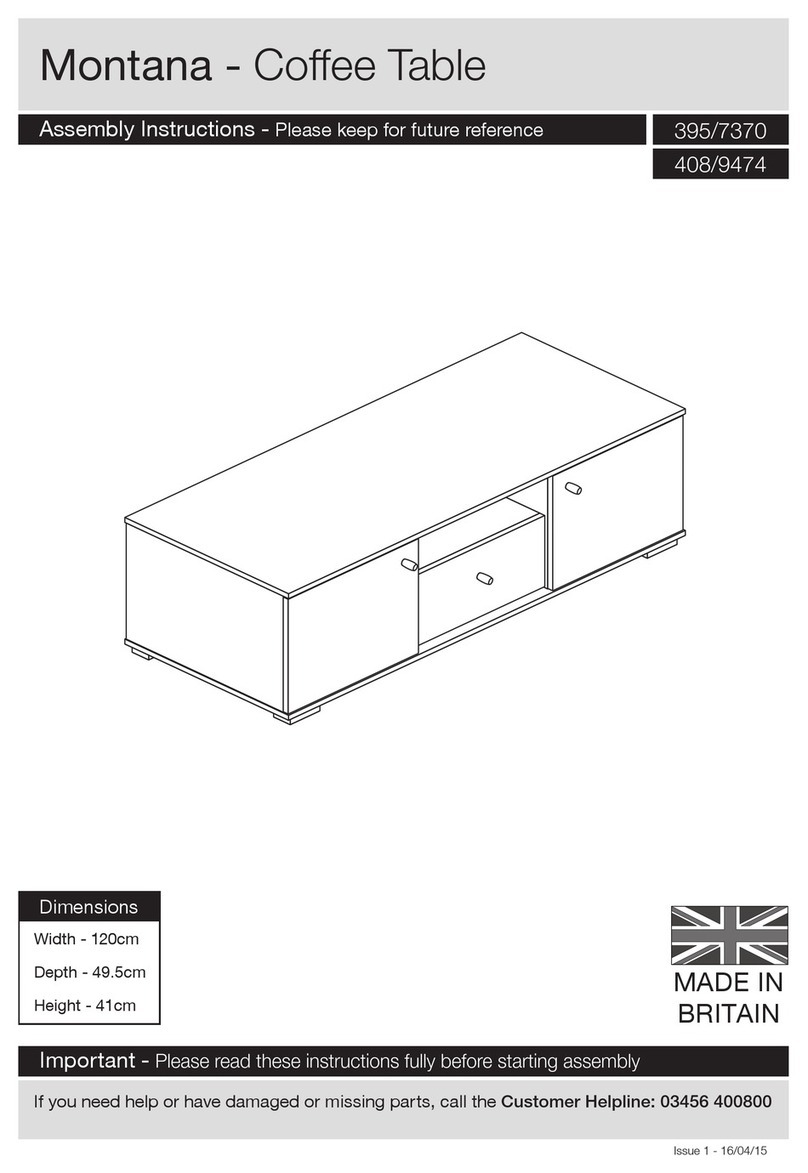
Components - Panels
Please check you have all the panels listed below
2
Display Base (76.2 x 123 x 41.6cm)
2
Display top (109 x 123 x 32.2cm)
1
If you have damaged or missing components,
call the Customer Helpline:
0345 6403030
3
Please check you have all the fittings listed below
Ruler - Use this ruler to help correctly identify the screws
0 5 10 15 20 25 30 35 40 45 50 55 60 65 70 75 80 85 90 95 100 110 115 120 125 130 135 140 145 150 155 160 165 170
105
Components - Fittings
Tools required
A
E
B C
D
Phillips screwdriver
(medium)
15mm Screw x 1 15mm Washer x 2 Wall strap x 1
The following components are pre-fitted and are illustrated for reference only.
Twist bar handle x 8 20mm Handle screw x 16 Display light [with bulb] x 2
F
Multi socket adapter x 1
Note: The quantities below are the correct amount to complete the assembly. In some cases more fittings
may be supplied than are required.
12mm Screw x 4 Connecting bracket x2
Step Ladder
(or equivalent)
4
Assembly Instructions
Step 1
Joining the Top to the
Base
a: Position display base
2slightly away from
the wall in the position
required [please note it
will be hard to move once
assembled]. When in
place sit the display top
1on top of the display
base 2and align the
backs of the two units
and centralize the top on
the base.
b: Take one of the
connecting brackets
Fand a 12mm screw
E and using philips
screwdriver fix the plate
to the top of the base unit
and then to the bottom of
the top unit.
Repeat bon the other sid
of the unit
1
2
a:
Step 2
b:
2
1
Philips screwdriver
4
Assembly Instructions
F
E
Assembly Instructions
Step 2
5
Philips screwdriver
20mm handle screw
Twist bar handle
Philips screwdriver
20mm handle screw
Remove and replace
handle
a: The twist bar handles
are fitted to the inside of
the unit, using a Philips
screwdriver unscrew the
20mm handle screws in
each handle and remove
both the 20mm handle
screw and the twist bar
handle.
b: Replace the twist bar
handle on the front of
the unit. Fix in position
by screwing the 20mm
handle screw into each
twist bar handle from
inside the unit using a
Philips screwdriver.
a:
b:
2
1
2
1
Twist bar handle
E
6
Assembly Instructions
Step 3
Connecting display
lights
a: The display light is
fixed to the light pelmet
inside the display
cabinet. Push the fitting
on the end of the cable
through the hole in the
back panel.
connection from display light
1
a:
b:
D
Connection from display light
b: Connect the socket on
the display light into the
connection on the multi
socket adapter D. You
can now connect to the
mains.
Note: the light display
light fitting has is own on
/ off switch on the back of
the fitting
Warning:
Always turn the
lights of at the
mains when changing the
bulb.
Assembly Instructions
Step 4
Fixing to wall
It is recommended that
the unit is fixed to a wall
Fix wall strap Cto the
back of the unit using
15mm screw Aand
15mm washer B.
Warning: The
15mm screw A
is for fixing the
wall strap Cto furniture
only. In addition to this
you will need to choose
a screw or fitting which is
suitable for securing the
wall strap Cto the type
of walls you have. If you
are unsure about what
type of screw to use seek
professional help.
7
Step 5
A
A
B
C
1
3
Adjusting doors
1. To adjust the height /
level of the door loosen
all screw ‘A’s on all hinge
plates, level the door
height and retighten all
screw ‘A’s.
2. To adjust the gap
between the doors
loosen screw ‘B’, then
turn screw ‘C’ clockwise
to close the gap or
anticlockwise to increase
the gap. Re-tighten
screw ‘B’ to lock position.
3. To adjust the distance
away from the unit
loosen screw ‘B’, this
allows the hinge arm
to slide back and forth.
Adjust as required then
re-tighten screw ‘B’.
Assembly is complete.
2
CUsing the correct type of
screw, screw through the
washer and wall strap
into a pre-drilled hole in
the wall
Back Panel
Unit Top
A
B
If you need help or have damaged or missing parts, call the Customer Helpline: 0345 6403030
8

Other Argos Indoor Furnishing manuals

Argos Tolga 2drw Bedside User manual

Argos

Argos Tolga 2drw Bedside User manual

Argos 346/0348 User manual

Argos

Argos 346/0348 User manual

Argos Wow Raye Wooden Chair User manual

Argos

Argos Wow Raye Wooden Chair User manual

Argos Dutch Glam 846/1108 User manual

Argos

Argos Dutch Glam 846/1108 User manual

Argos 615967012 User manual

Argos

Argos 615967012 User manual

Argos HOME New Pagnell Deep 3+2 Chest 610/8793 User manual

Argos

Argos HOME New Pagnell Deep 3+2 Chest 610/8793 User manual

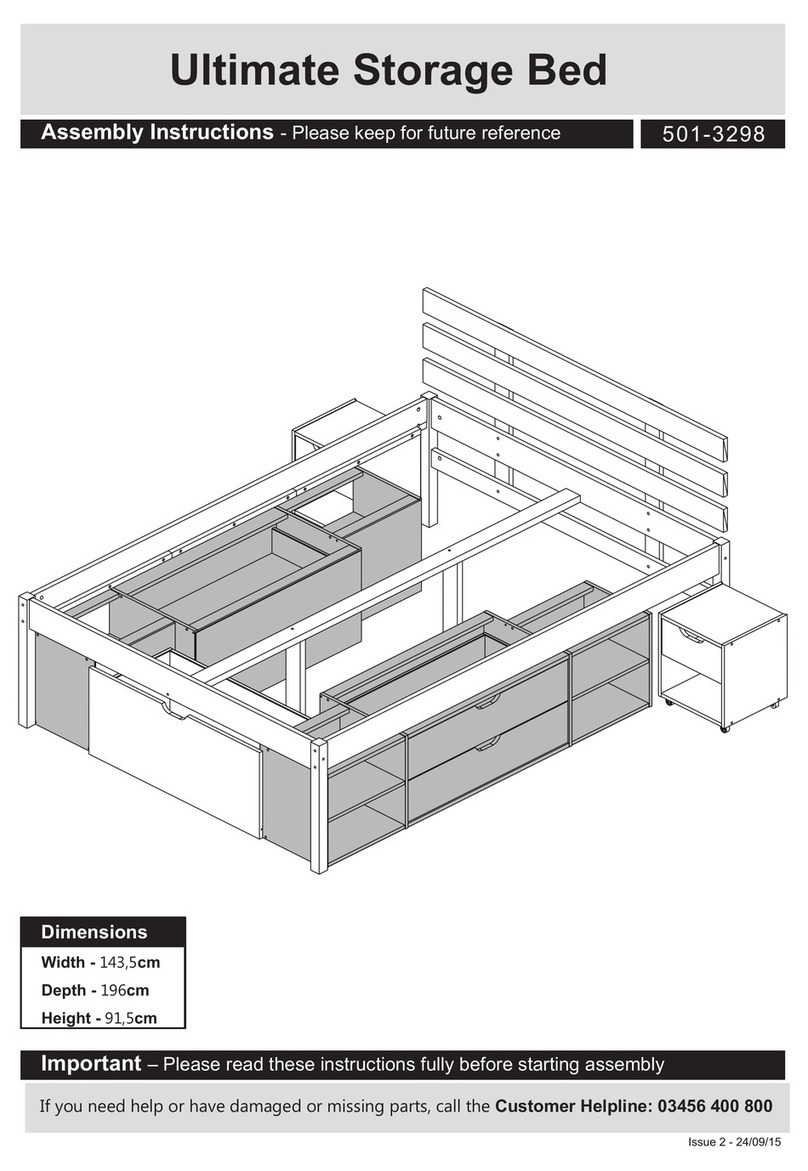
Argos 501-3298 User manual

Argos

Argos 501-3298 User manual

Argos HOME 617/9296 User manual

Argos

Argos HOME 617/9296 User manual

Argos Amersham 724/4199 User manual

Argos

Argos Amersham 724/4199 User manual

Argos Habitat DUO CLIC CLAC 3553657 User manual

Argos

Argos Habitat DUO CLIC CLAC 3553657 User manual

Argos Antique 7587430 User manual

Argos

Argos Antique 7587430 User manual

Argos 213/7816 User manual

Argos

Argos 213/7816 User manual

Argos Oslo Oak Table 603/3071 User manual

Argos

Argos Oslo Oak Table 603/3071 User manual

Argos Fuji 8 607/2960 User manual

Argos

Argos Fuji 8 607/2960 User manual

Argos 900/2566 User manual

Argos

Argos 900/2566 User manual

Argos 322/8645 User manual

Argos

Argos 322/8645 User manual

Argos Melamine 633/1591 User manual

Argos

Argos Melamine 633/1591 User manual

Argos Ottawa 194803 User manual

Argos

Argos Ottawa 194803 User manual

Argos Malibu 617/1225 User manual

Argos

Argos Malibu 617/1225 User manual

Argos Capella 268/1647 User manual

Argos

Argos Capella 268/1647 User manual

Argos Iceland 279721 User manual

Argos

Argos Iceland 279721 User manual

Argos Stakka 475/9955 User manual

Argos

Argos Stakka 475/9955 User manual

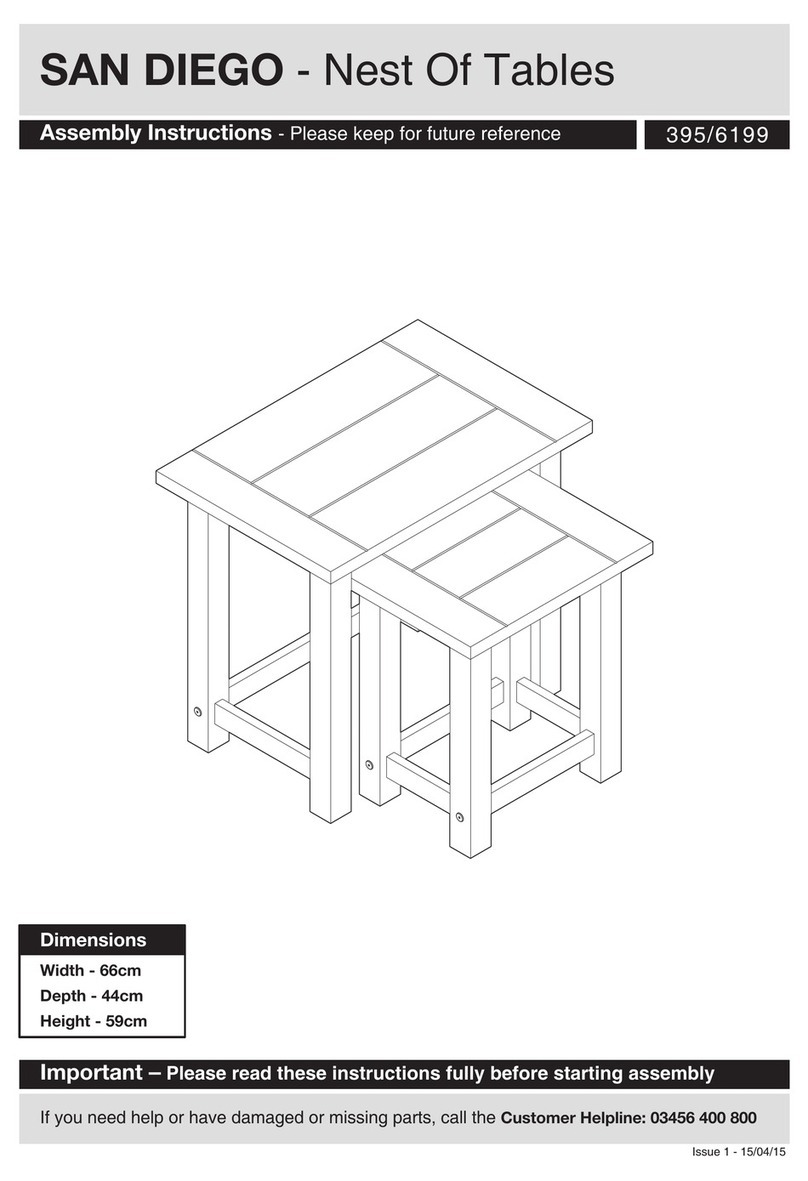
Argos SAN DIEGO 395/6199 User manual

Argos

Argos SAN DIEGO 395/6199 User manual

Argos Henley 428/0369 User manual

Argos

Argos Henley 428/0369 User manual

Popular Indoor Furnishing manuals by other brands

ofichairs Victory manual

ofichairs

ofichairs Victory manual

FLEXI STORAGE CLEVER CUBE Assembly instructions

FLEXI STORAGE

FLEXI STORAGE CLEVER CUBE Assembly instructions

Lifestyle Solutions RETRO BED Assembly instructions

Lifestyle Solutions

Lifestyle Solutions RETRO BED Assembly instructions

WIEMANN 990941 manual

WIEMANN

WIEMANN 990941 manual

Habitat Macadam 904536 manual

Habitat

Habitat Macadam 904536 manual

Connection Centro Assembly instructions

Connection

Connection Centro Assembly instructions

OSP Home Furnishings INP25 Assembly instructions

OSP Home Furnishings

OSP Home Furnishings INP25 Assembly instructions

Forte MGAT221 Assembling Instruction

Forte

Forte MGAT221 Assembling Instruction

E-WIN RGB-C-CF Assembly guide and user manual

E-WIN

E-WIN RGB-C-CF Assembly guide and user manual

Knight Cubit Credenza Assembly instructions

Knight

Knight Cubit Credenza Assembly instructions

Next 125803 Assembly instructions

Next

Next 125803 Assembly instructions

Brooklyn B172-LOZ160B Assembly

Brooklyn

Brooklyn B172-LOZ160B Assembly

STRUCTUBE BOKARO Assembly instructions

STRUCTUBE

STRUCTUBE BOKARO Assembly instructions

Forte Tempra T2KK20 Assembling Instruction

Forte

Forte Tempra T2KK20 Assembling Instruction

BorMann BPC1200 quick start guide

BorMann

BorMann BPC1200 quick start guide

Extreme Networks VX-RPS-CH3 quick reference

Extreme Networks

Extreme Networks VX-RPS-CH3 quick reference

Pitarch 5046 Assembly instructions

Pitarch

Pitarch 5046 Assembly instructions

KLOBER Cato Series operating instructions

KLOBER

KLOBER Cato Series operating instructions

manuals.online logo
manuals.online logoBrands
  • About & Mission
  • Contact us
  • Privacy Policy
  • Terms and Conditions

Copyright 2025 Manuals.Online. All Rights Reserved.