manuals.online logo
Brands
  1. Home
  2. •
  3. Brands
  4. •
  5. Assa Abloy
  6. •
  7. Door Opening System
  8. •
  9. Assa Abloy King 640 User manual

Assa Abloy King 640 User manual

kinq
ASSAABLOY'
i
* II*•
BODY
SIZE
4
installation
MODEL:
640,
eso,
740,750,840,
sso
Instructions
1640.
teso.
1740.1750.
mo.
tsso
A
Type
Regular
Arm
Installation
I£
Right
hand
door
SPEED
ADJUSTING
VALVE
PULL
side
of
door
Bjype
Top
Jamb
Installation
Left
hand
door
SPEED
ADJUSTING
VALVE
PULL
side
of
door
Please
note
This
drawing
isnotto
full
scale.Therefore,
donotuseitas
your
template
to
locate
the
hole
positions
while
you
fabricate
your
door
and
frame
forthe
installation
of
this
product.
Instead,
make
the
measurements
needed
manually
without
theuseofthe
enclosed
templatewhich
isnotto
full
scale.
REGULAR
ARM
(PULL
SIDE)
Mounting
i
i
1
(25)
3/4
(IS)
i
!
4
1
.61/2.
.13/4]
1
rM
f
—fe
P
(101)
1
Right
ham
Lett
hand
"
(ItS)
'_:(44.4
ISLJEJ
>
9
1/16
""
(230)
1
door
shown,
door
opposite.
}
(
i,
CM-4)
V
t/
•
v
Dimension*:
Inchaa
(mm)
Hinge
or
Pivot
U
B
INSTALLATION
INSTRUCTIONS
1.
Using
templatedimensionsshownabove,mark
FORE(4)
HOLES
ON
DOOR
for
doorcloser
and
TWO(2)
HOLES
ON
FRAME
forarm
shoe.
2.
Drill
pilot
holes
in
door
and
frame
for
#14
all-purpose
screws
or
drill
andtapfor
1/4-20
machine
screws.
3.
Installadjustable
forearm/arm
shoe
to
frame
using
screws
provided.
4.
Mountcloser
on
doorusing
screws
provided.SPEEDADJUSTING
VALVE
MUST
BE
POSITIONEDTOWARDHINGEEDGE.
5.
Install
main
arm
to
too
pinion
shaft,
perpendteular
to
door
as
shown
below.Secure
tightly
with
arm
screw/washerassemblyprovided.
6.
Adjust
length
of
forearm
so
that
forearm
is
perpendicular
to
frame
whenassembled
to
preloaded
main
armOllustration
below).
Secure
forearm
to
main
arm
with
screw/washer
assemblyprovided.
7.
Adjust
closing
speed
of
door,
8.
Snap
pinion
cap
overshaft
at
bottom
of
closer.
Blype
TOP
JAMB
(PUSH
SIDE)
Mounting
"
(101)
i
i
i
4-
1
^
r
^
3/4
1/2
4
,
y
(230)
>
61/4
?
1
f
(K|
i
j
112.7)
(15M
<««•«)
Lefthanddoorshown.
Right
handdoor
opposite.
Dimensions:
Inches
(mm)
r
'1
3/4
(44.4)
Hinge
or
Pivot
INSTALLATION
INSTRUCTIONS
1.
Using
templatedimensionsshownabove,mark
FORE(4)
HOLES
ON
FRAME
for
doorcloser
and
TWO(2)HOLES
ON
DOOR
forarm
shoe.
2.
Drill
pilot
holes
in
door
and
frame
for
#14
all-purpose
screws
or
drill
andtapfor
1/4-20
machinescrews.
3.
Install
adjustableforearm/armshoe
to
door
using
screws
provided.
4.
Mountcloser
on
frame
using
screws
provided.SPEEDADJUSTING
VALVE
MUST
BE
POSITIONED
TOWARD
HINGE
EDGE.
5.
Install
main
armtotop
pinion
shaft,perpendicular
to
door
as
shown
below.Secure
tightly
with
arm
screw/washerassemblyprovided.
6.
Adjust
length
of
forearm
so
thatforearm
is
perpendicular
to
door
whenassembled
to
preloadedmain
arm
(Illustration
below).
Secure
forearm
to
main
arm
with
screw/washer
assemblyprovided.
7.
Adjust
closing
speed
of
door,
Snap
pinion
cap
overshaft
at
bottom
of
closer.
king
ASSAABLOY
4
BODY
SIZE
Installation
MODEL:
040,
eso,
740,750,840,
sso
Instructions
1640.
ieso.
1740.1750.1840.
isso
Cryp^
Parallel
Arm
Installation
o
/
/\
-•'/
*
__b
SMfcizf1
x~x_
L\*
Tw
Main
/V&J~7
ViP*5^
\m
\JWT__)
SPEED
ADJUSTING
Left
hand
door
^
1]
=^»
°r
\E
PULL
side
of
door
W
Type
Opposite
<-,
Riflht
hand
door
||
*~i
<^S
^^^^^
PULL
SPFFD
side
of
door
orCCU
X\
\"v
x^Si7r
/
*!-=aV
ADJUSTING
n
,,i
J
^C_
y-Yy^S
Main
(
r^a|
)
arm
VALVE
Please
note
This
drawing
isnotto
full
scale.
Therefore,
donotuseitas
your
template
to
locate
the
hole
positions
while
you
fabricate
your
door
and
frame
forthe
installation
of
thisproduct.Instead,
make
the
measurements
neededmanuallywithout
theuseofthe
enclosed
templatewhich
isnotto
fullscale.
Clype
PARALLEL
ARM
(PUSH
SIDE)
Mounting
8
3/10
(211)
3/4
L_J
j
i
IS/IS
aa-s)
a/4
33
(121)
(230)
Left
handdoorshown.
Right
hand
door
opposite.
Dimensions:Inches(mm)
Hinge
or
Pivot
INSTALLATION
INSTRUCTIONS
1.
Using
template
dimensions
shownabove,mark
FORE(4)
HOLES
ON
DOOR
for
doorcloser
and
THREE
(3)
HOLES
ON
FRAME
for
parallel
bracket.
2.
Drill
pilot
holes
in
door
and
frame
for
#14
all-purpose
screws
or
drill
andtapfor
1/4-20
machinescrews.
3.
Install
Parallel
Arm
Bracketshoe
to
frame
using
screws
provided.
4.
Mountcloser
on
door
using
screwsprovided.SPEED
ADJUSTING
VALVE
MUST
BE
POSITIONED
TOWARD
AWAY
FROM
HINGE
EDGE.
5.
Install
main
armtotop
pinion
shaft,with
arm
pointing
towardspeed
adjusting
screw.
Secure
fighBy
with
arm
screw/washer
assembly
provided.
6.
Remove
arm
shoefromfore
armand
discard.
Install
RODendof
fore
arm
to
bracket
using
screw/washer
assemblyprovided.
Adjust
length
of
fore
armtosetarm
elbowapproximately
1
-1/2"(38mm)
from
door(refer
to
Illustration
below).
Attachfore
armto
main
armby
rotatingmain
arm
away
from
door.Secureforearm
to
main
arm
using
screw/washer
assemblyprovided.
7.
Adjust
length
of
fore
arm
so
when
it
is
attached
to
main
arm
the
main
arm
wiH
be
slightly
away
from
parallel
with
closed
door
and
assemble
at
elbowthentighten
tocknut.
8.
Adjust
door
closing
speed
by
speed
adjusting
valves.
9.
Snap
pinion
cap
overshaft
at
bottom
of
closer.
CLOSER
ADJUSTMENT
CLOSING
SPEED
ADJUSTMENT
-
Turn
the
speedadjustingvalve
CLOCKWISE
for
SLOWER
CLOSE
arc
closingspeed,
-
Turn
the
speed
adjusting
valveCOUNTER-CLOCKWISE
fora
FASTER
CLOSE
arc
closing
speed.
BACK
CHECK
CONTROL
(OPENING
CYCLE)
-To
increasebackcheckintensity,turnbackcheckcontrolvalveclockwise.
-To
decreasebackcheckintensity,turnbackcheckcontrolvalve
counter-clockwise.
-
Neverclosethisvalve
completely.
CAUTION!
I
Donot
turnspeed
adjusting
valvemorethan
two(2)
full
turns
counter-
clockwisefromfactory
set
position,
astwo
speed
adjusting
valves
could
become
dislodged
from
the
doorcloser
body,
resulting
inthe
loss
of
internal
fluid
and
failure
ofthe
device.
SWEEP
Adjusting
Valve
\H
Adjusting
Valve
\K
or
DELAY
Adjusting
Valvel
Closing
cycle
Opening
cycle

This manual suits for next models

11

Other Assa Abloy Door Opening System manuals
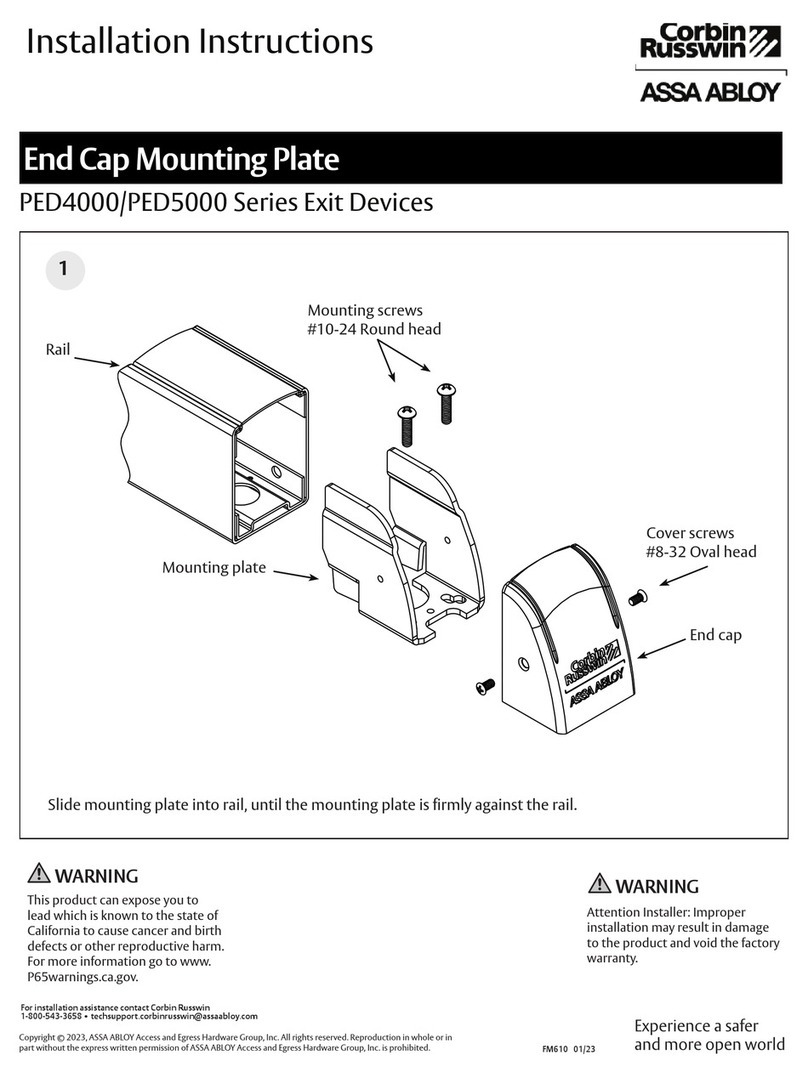
Assa Abloy Corbin Russwin PED5800 Series User manual

Assa Abloy

Assa Abloy Corbin Russwin PED5800 Series User manual

Assa Abloy DC700G-FT User manual

Assa Abloy

Assa Abloy DC700G-FT User manual

Assa Abloy Corbin Russwin PED4600 A Series User manual

Assa Abloy

Assa Abloy Corbin Russwin PED4600 A Series User manual

Assa Abloy CMD User manual

Assa Abloy

Assa Abloy CMD User manual

Assa Abloy SARGENT 281 Series User manual

Assa Abloy

Assa Abloy SARGENT 281 Series User manual

Assa Abloy NORTON RIXSON 6300 Series User manual

Assa Abloy

Assa Abloy NORTON RIXSON 6300 Series User manual

Assa Abloy SARGENT 281 Series User manual

Assa Abloy

Assa Abloy SARGENT 281 Series User manual

Assa Abloy Yale 2500 Series User manual

Assa Abloy

Assa Abloy Yale 2500 Series User manual

Assa Abloy Corbin Russwin PED4800 Series User manual

Assa Abloy

Assa Abloy Corbin Russwin PED4800 Series User manual

Assa Abloy Norton LEO 5700 Series User manual

Assa Abloy

Assa Abloy Norton LEO 5700 Series User manual

Assa Abloy G-CO-C User manual

Assa Abloy

Assa Abloy G-CO-C User manual

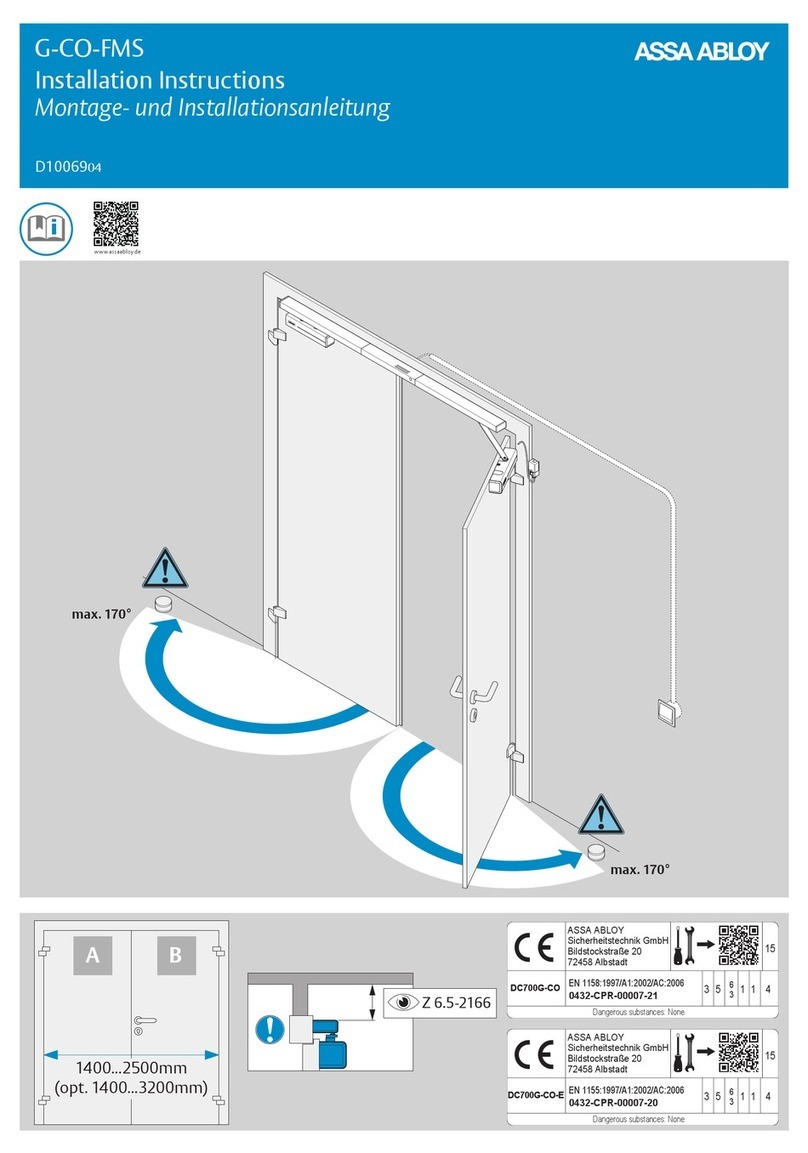
Assa Abloy Norton 6011 Series User manual
Assa Abloy

Assa Abloy Norton 6011 Series User manual

Assa Abloy Corbin Russwin PED5600 Series User manual

Assa Abloy

Assa Abloy Corbin Russwin PED5600 Series User manual

Assa Abloy SARGENT 8800 Series Instruction Manual

Assa Abloy

Assa Abloy SARGENT 8800 Series Instruction Manual

Assa Abloy Norton 9300BCH User manual

Assa Abloy

Assa Abloy Norton 9300BCH User manual

Assa Abloy Corbin Russwin PED5200 User manual

Assa Abloy

Assa Abloy Corbin Russwin PED5200 User manual

Assa Abloy NORTON RIXSON 6200 Series User manual

Assa Abloy

Assa Abloy NORTON RIXSON 6200 Series User manual

Assa Abloy G-CO-CS User manual

Assa Abloy

Assa Abloy G-CO-CS User manual

Assa Abloy 1370 User manual

Assa Abloy

Assa Abloy 1370 User manual
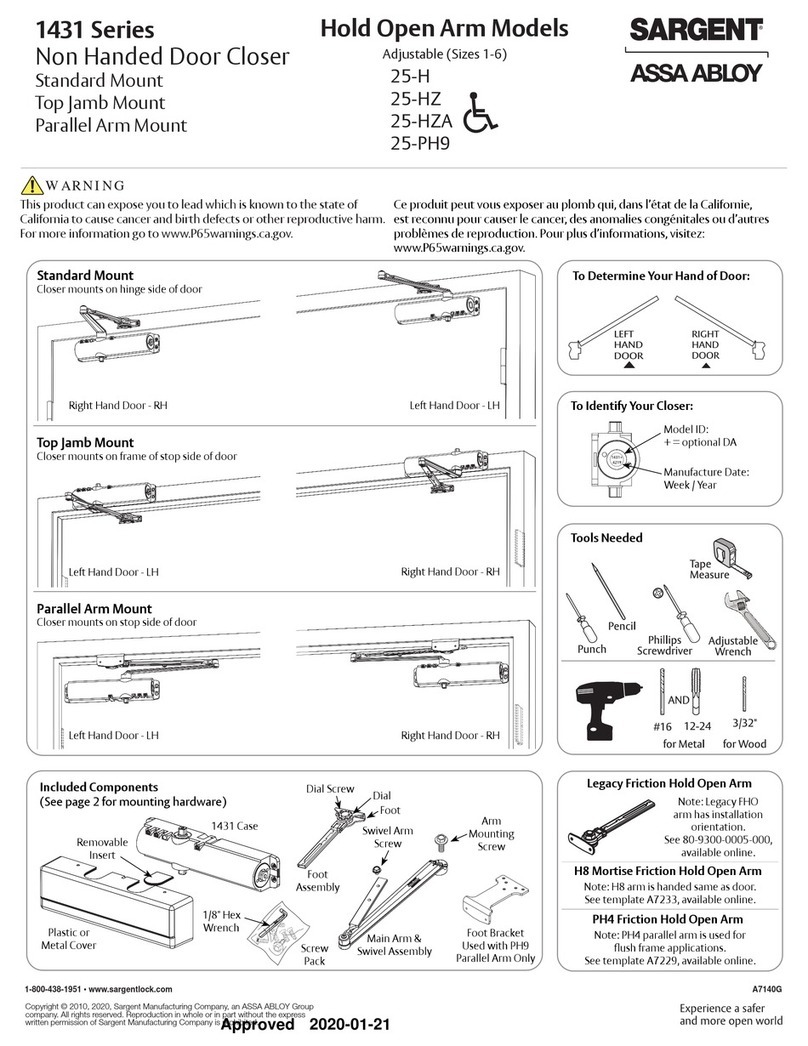
Assa Abloy Norton UniTrol UNI-1600BC Series User manual

Assa Abloy

Assa Abloy Norton UniTrol UNI-1600BC Series User manual

Assa Abloy Norton 5700 Series Quick guide

Assa Abloy

Assa Abloy Norton 5700 Series Quick guide

Assa Abloy Norton CloserPlus CLP8101 User manual

Assa Abloy

Assa Abloy Norton CloserPlus CLP8101 User manual

Assa Abloy Corbin Russwin ED5600 Series User manual

Assa Abloy

Assa Abloy Corbin Russwin ED5600 Series User manual

Assa Abloy DC340 User manual

Assa Abloy

Assa Abloy DC340 User manual

Popular Door Opening System manuals by other brands

Genie GCL OPGSX Series installation manual

Genie

Genie GCL OPGSX Series installation manual

PDQ 3100 Instruction

PDQ

PDQ 3100 Instruction

BBC Bircher CleanSwitch Translation of the original instructions

BBC Bircher

BBC Bircher CleanSwitch Translation of the original instructions

Dormakaba RTS88 installation instructions

Dormakaba

Dormakaba RTS88 installation instructions

GEZE TS 4000 R installation instructions

GEZE

GEZE TS 4000 R installation instructions

GEZE ECturn user manual

GEZE

GEZE ECturn user manual

BEA IXIO-ST user guide

BEA

BEA IXIO-ST user guide

Auta 700105 manual

Auta

Auta 700105 manual

Lamp FD30EX installation manual

Lamp

Lamp FD30EX installation manual

GAL MOM How to connect

GAL

GAL MOM How to connect

Dormakaba ED250 installation instructions

Dormakaba

Dormakaba ED250 installation instructions

CRL JACKSON 300 Series installation instructions

CRL

CRL JACKSON 300 Series installation instructions

GEZE TS 1500 installation instructions

GEZE

GEZE TS 1500 installation instructions

GDO 72 Series owner's manual

GDO

GDO 72 Series owner's manual

Chamberlain DDO8900W manual

Chamberlain

Chamberlain DDO8900W manual

Lamp KF28 installation manual

Lamp

Lamp KF28 installation manual

Cookson FDO-A10E owner's manual

Cookson

Cookson FDO-A10E owner's manual

Bortoluzzi slider M50 manual

Bortoluzzi

Bortoluzzi slider M50 manual

manuals.online logo
manuals.online logoBrands
  • About & Mission
  • Contact us
  • Privacy Policy
  • Terms and Conditions

Copyright 2025 Manuals.Online. All Rights Reserved.